Call To Arms !!
Can you figure out what will be the focus of this post from the title? If you did not manage to, allow me to tell you. This post will be about the arms and weapons.
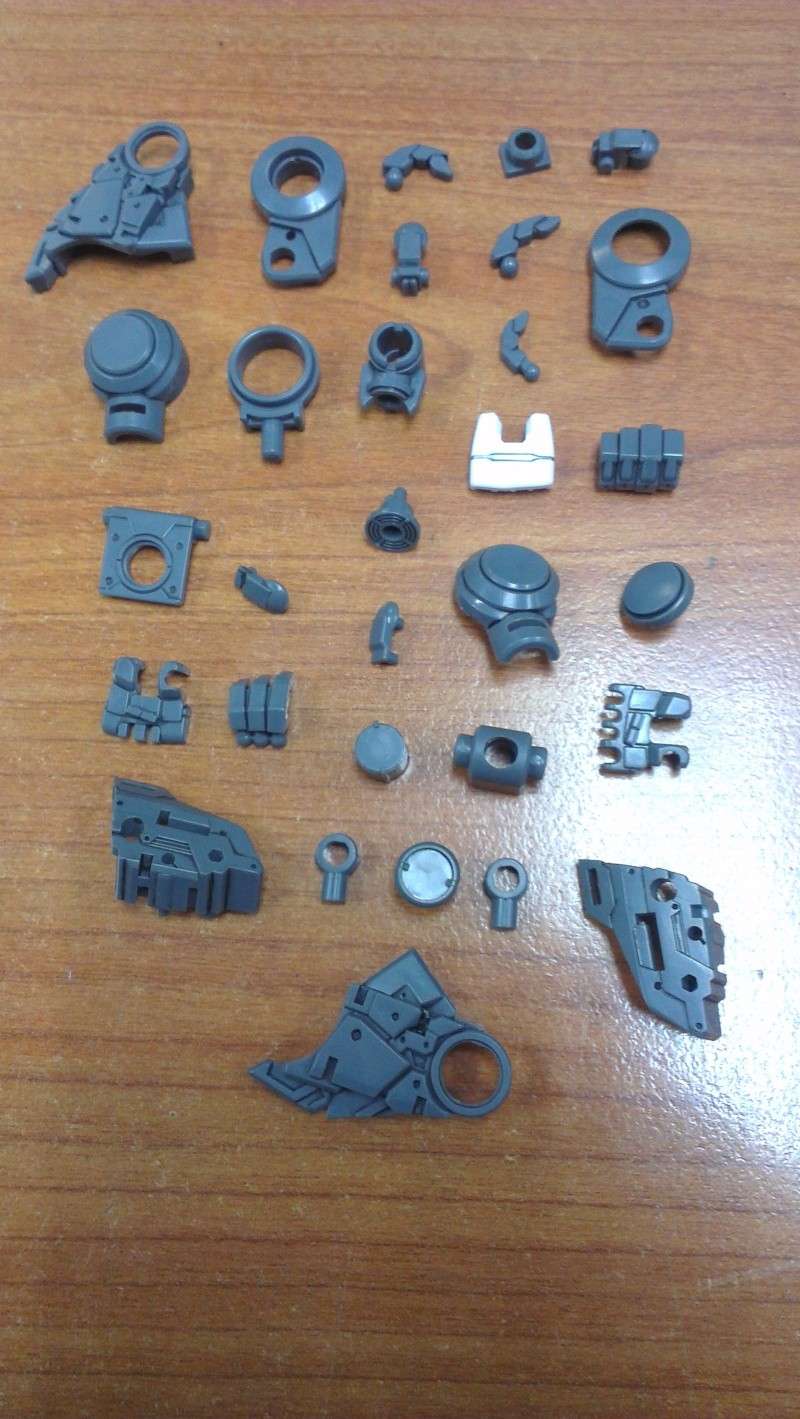
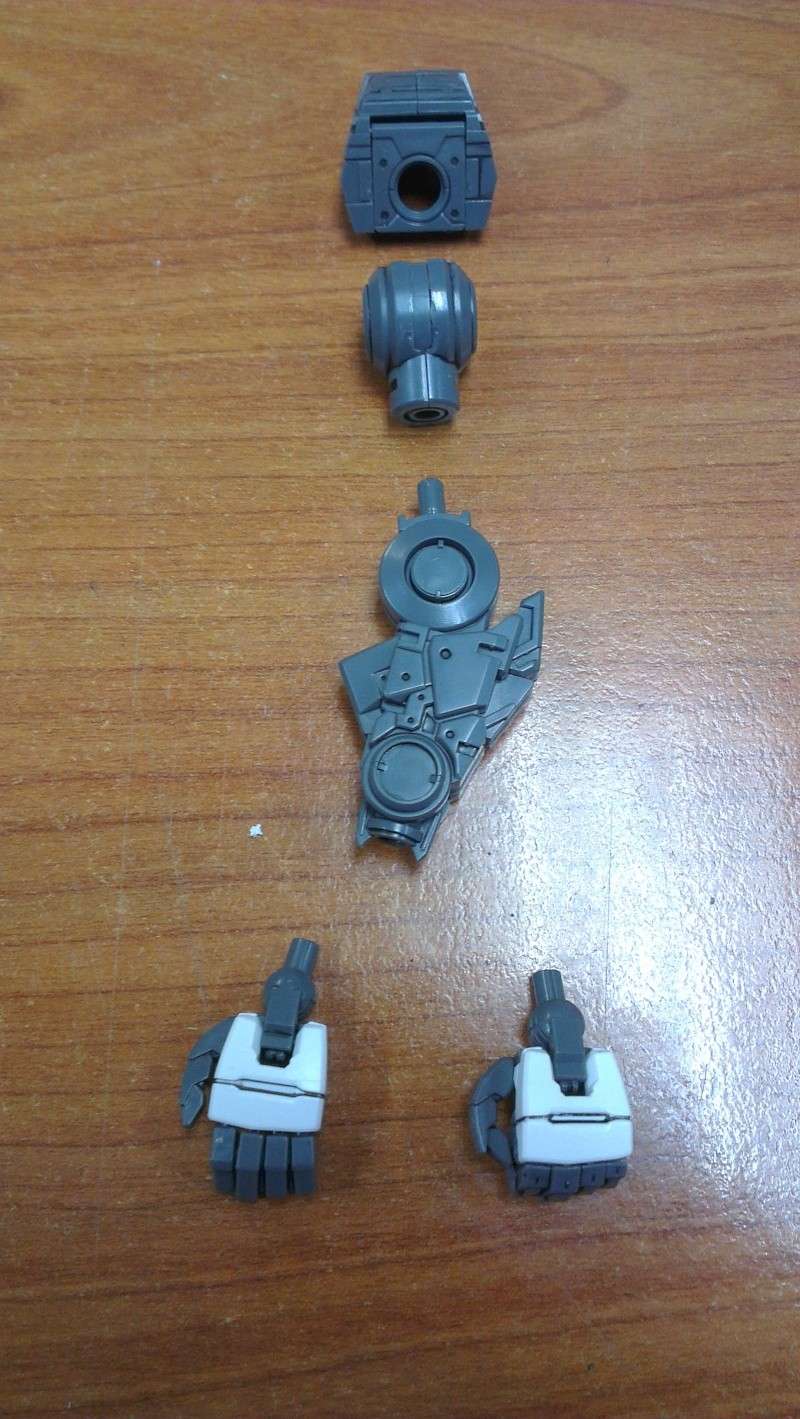
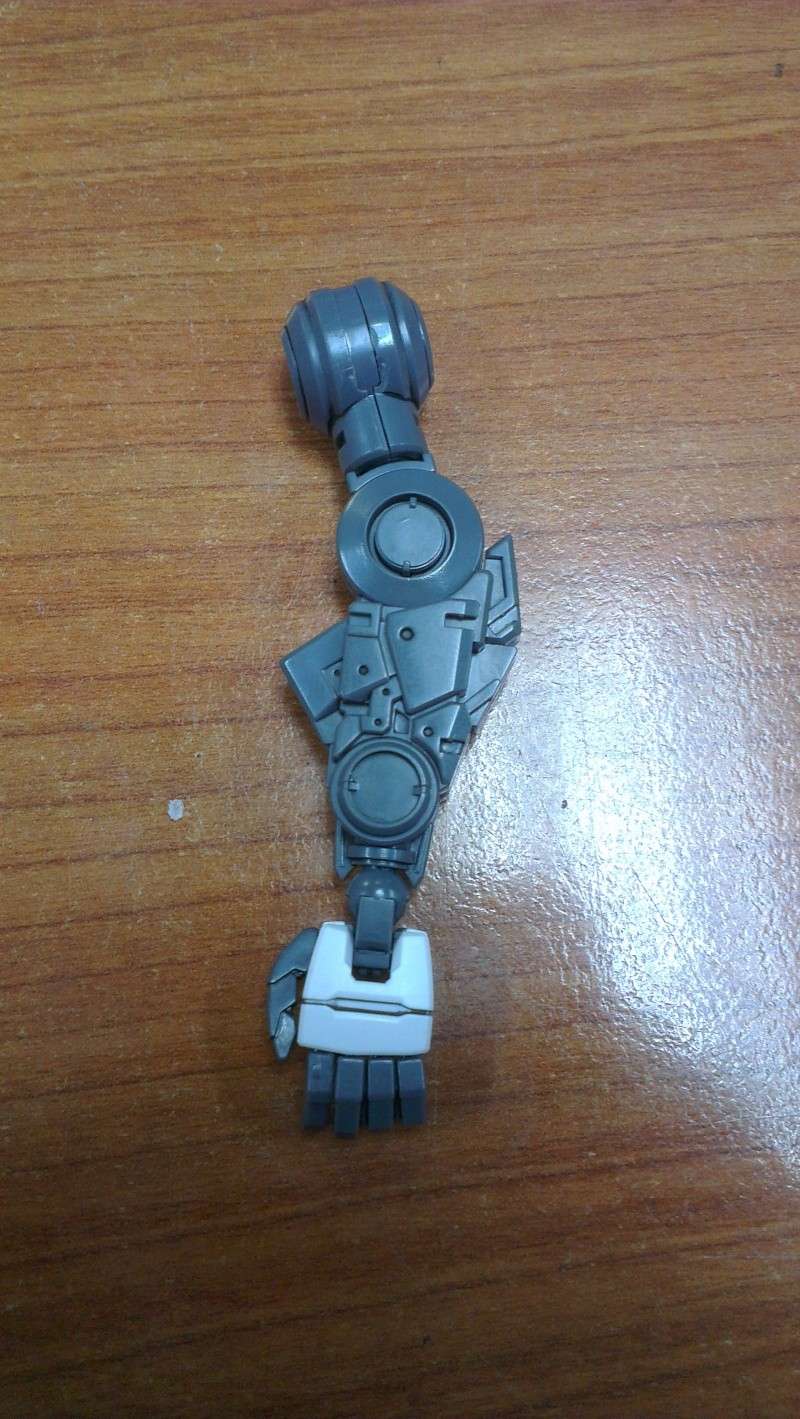
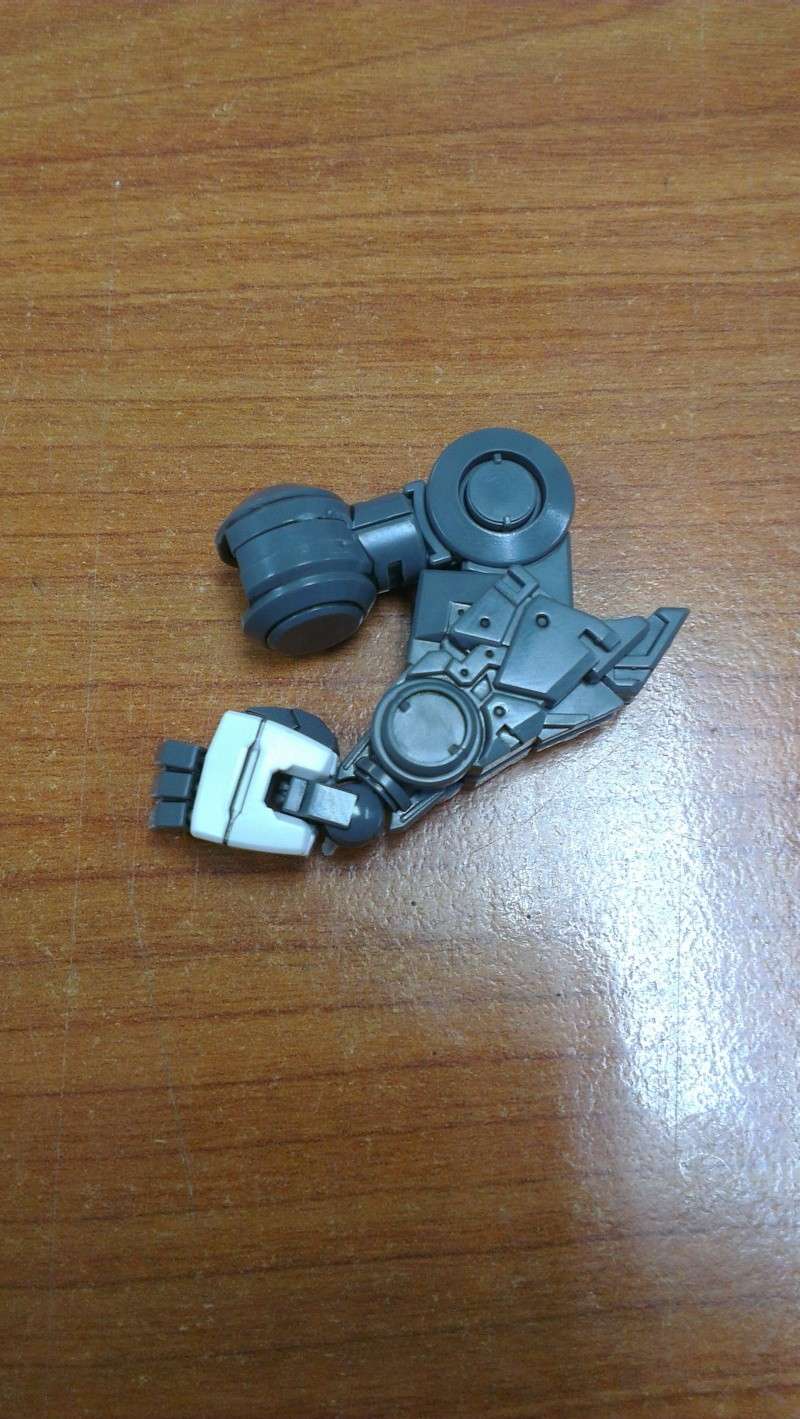
Parts of the left (above) and right (bottom) hand before and after assembly
There are 2 different type of fingers for both left and right hand. One is the open fingers and the other is the closed fingers.
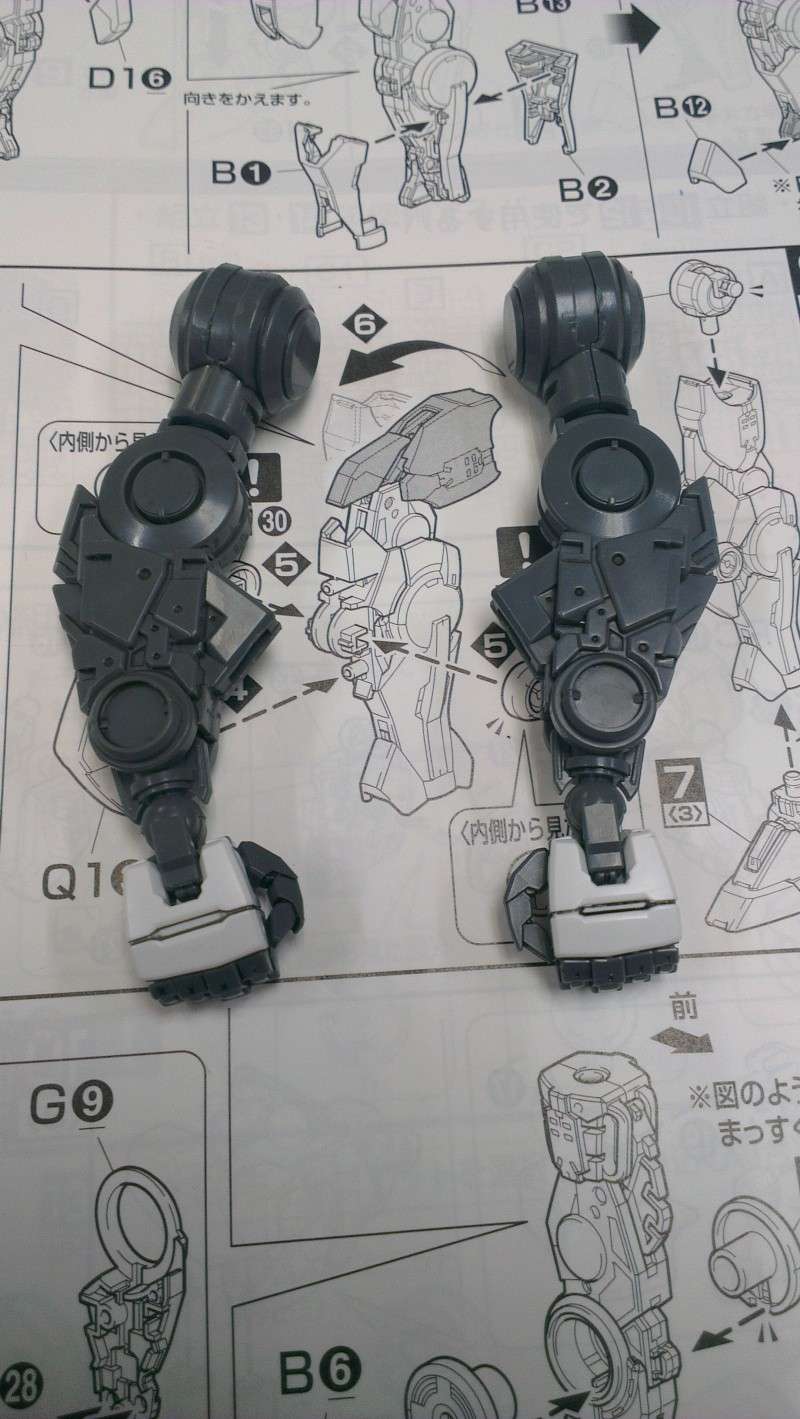
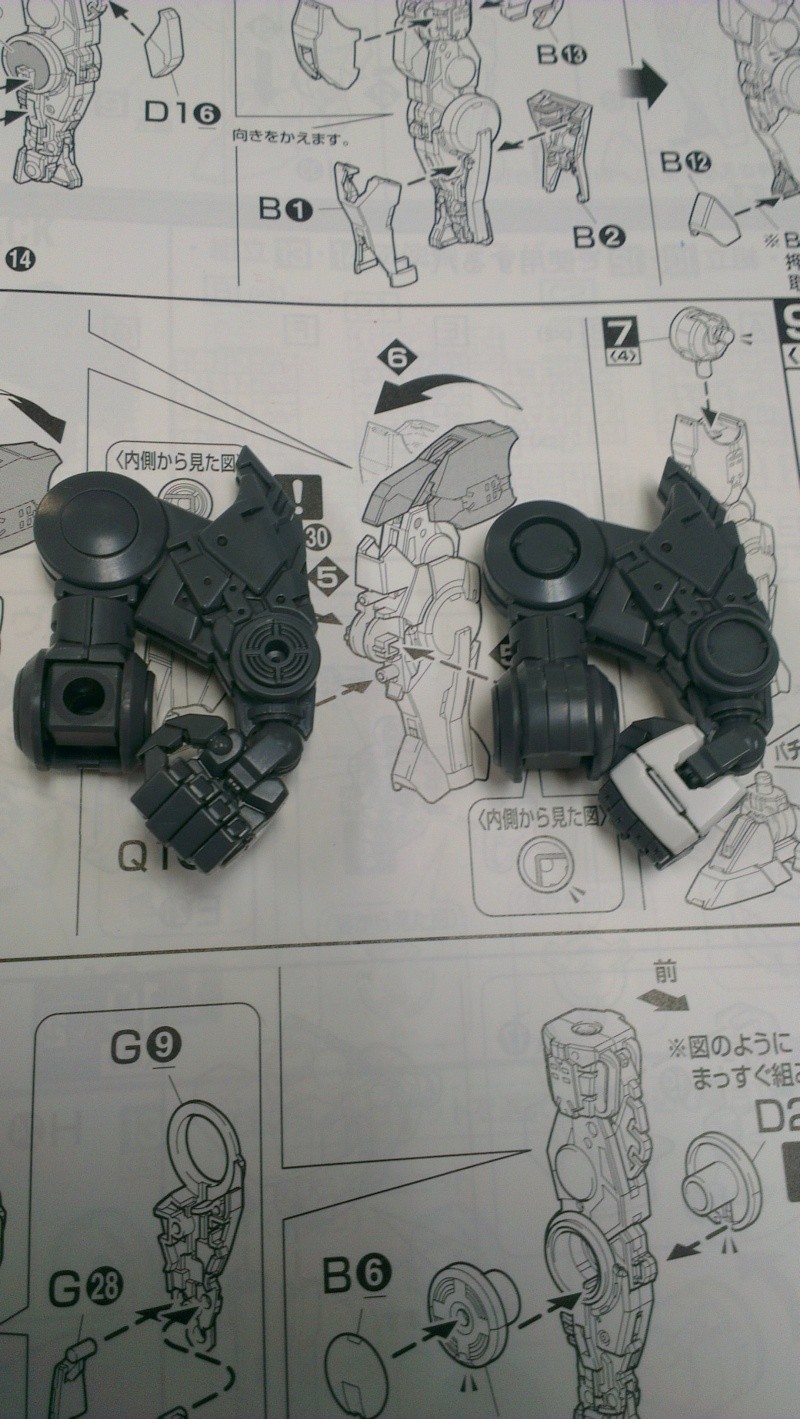
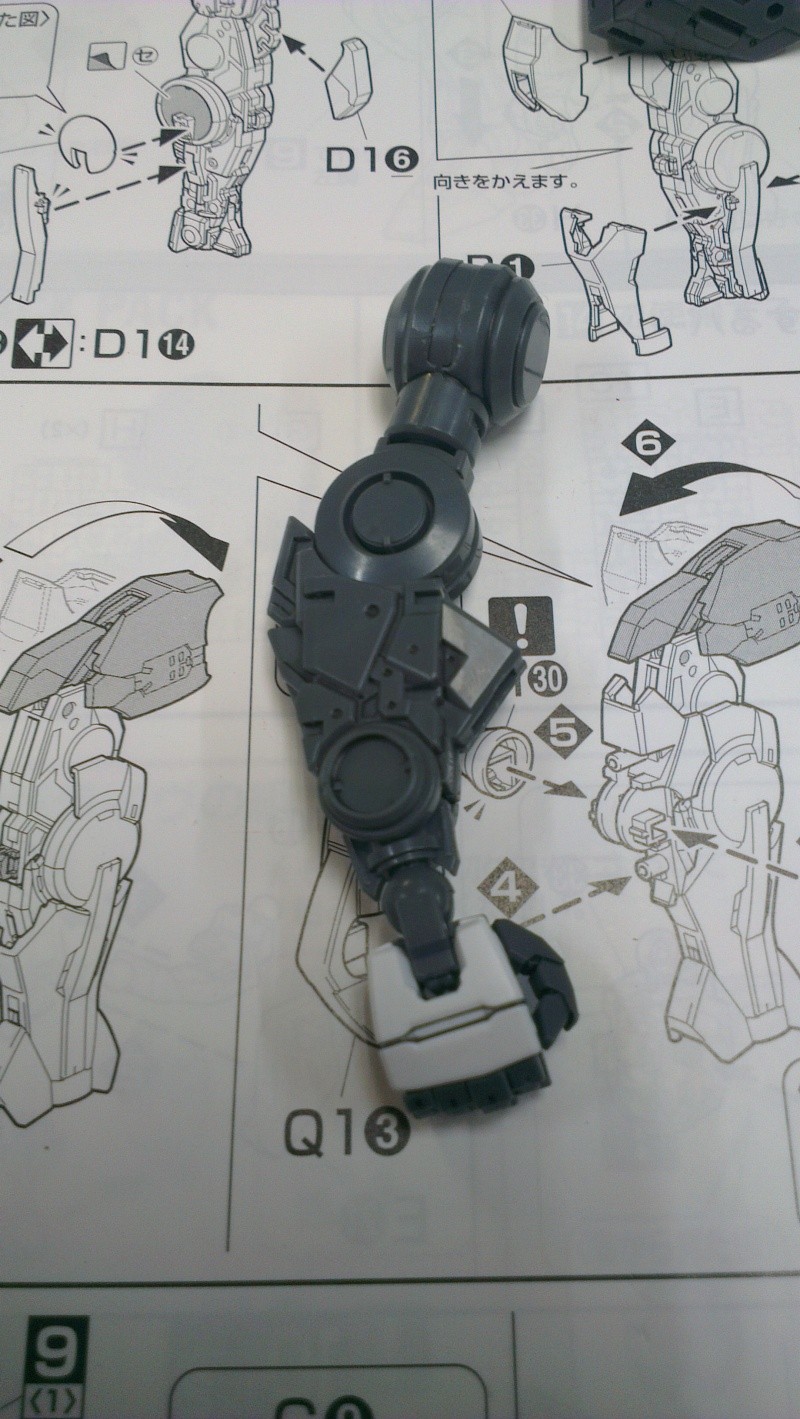
Comparison of both the left and right arms
The articulation for both arms are the same. They can be bend at the elbows and the wrists. I suspect that once the armour for the arms are on, they will both loose their mobility. Now that the hands are done, we can move on to the main focus of this kit. The swords.
The first of seven swords to be built is the GN Sword II Blaster. The original colours for the Blaster are the same as the inner frame. I decided to give it a paint over. Painted the frame flat black and the blue a darker shade. Also the Blaster looks a bit boring all black so the decision to pimp it up with some silver. At least now the Blaster doesn't look so dull.
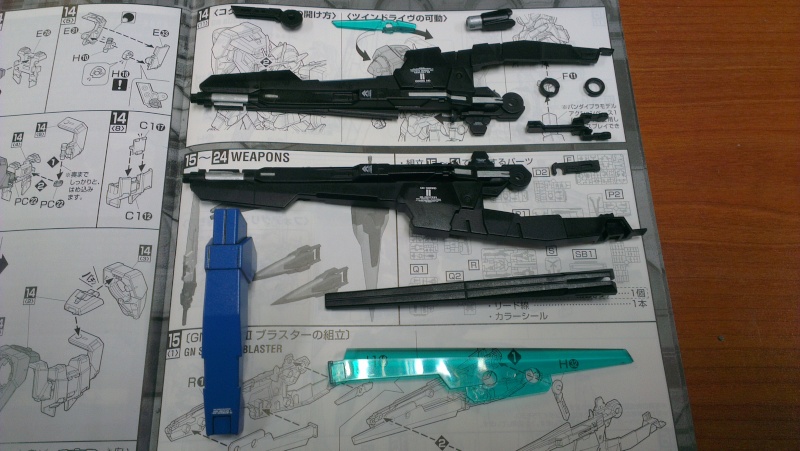
Added decals, panel lined and top coated the Blaster
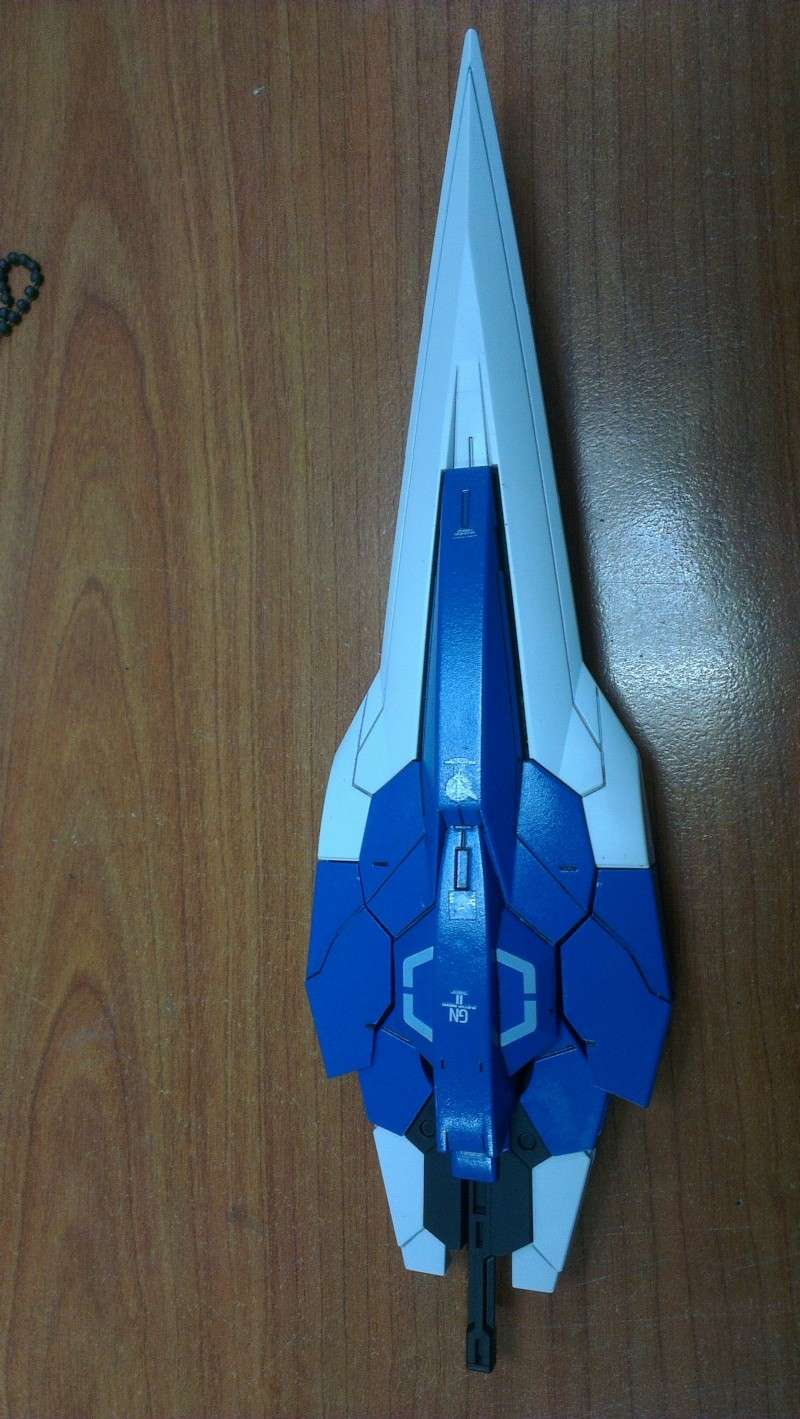
After the completion of the Blaster is the GN Buster Sword II. The same treatment of colour was given to the Buster Sword as well. Somehow this sword doesn't agree with me and gave me lots of problem during assembly.
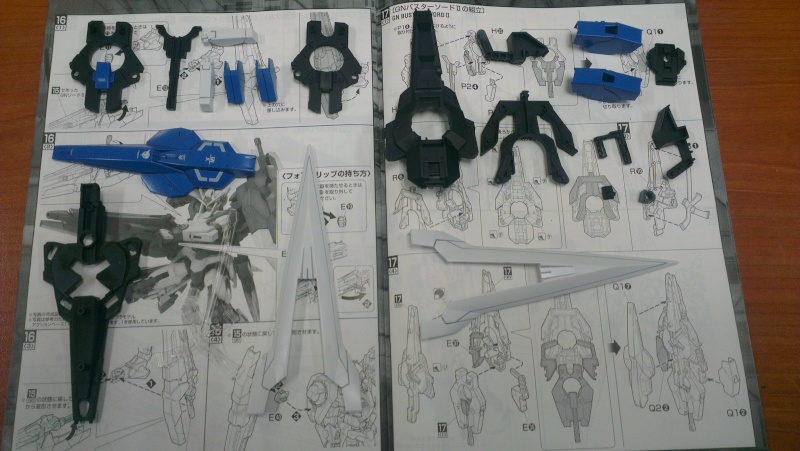
I find the mechanism for the Buster Sword interesting. It has the ability 'pop' the sword if it is pulled out. The handle also has the same mechanism but somehow one of the handle of my kit always detaches itself from the mechanism. At one time, I think I was too rough and one of the white parts broke. Now when the handle is pulled down, only one side of the white part opens automatically. I would need to open the other side manually.
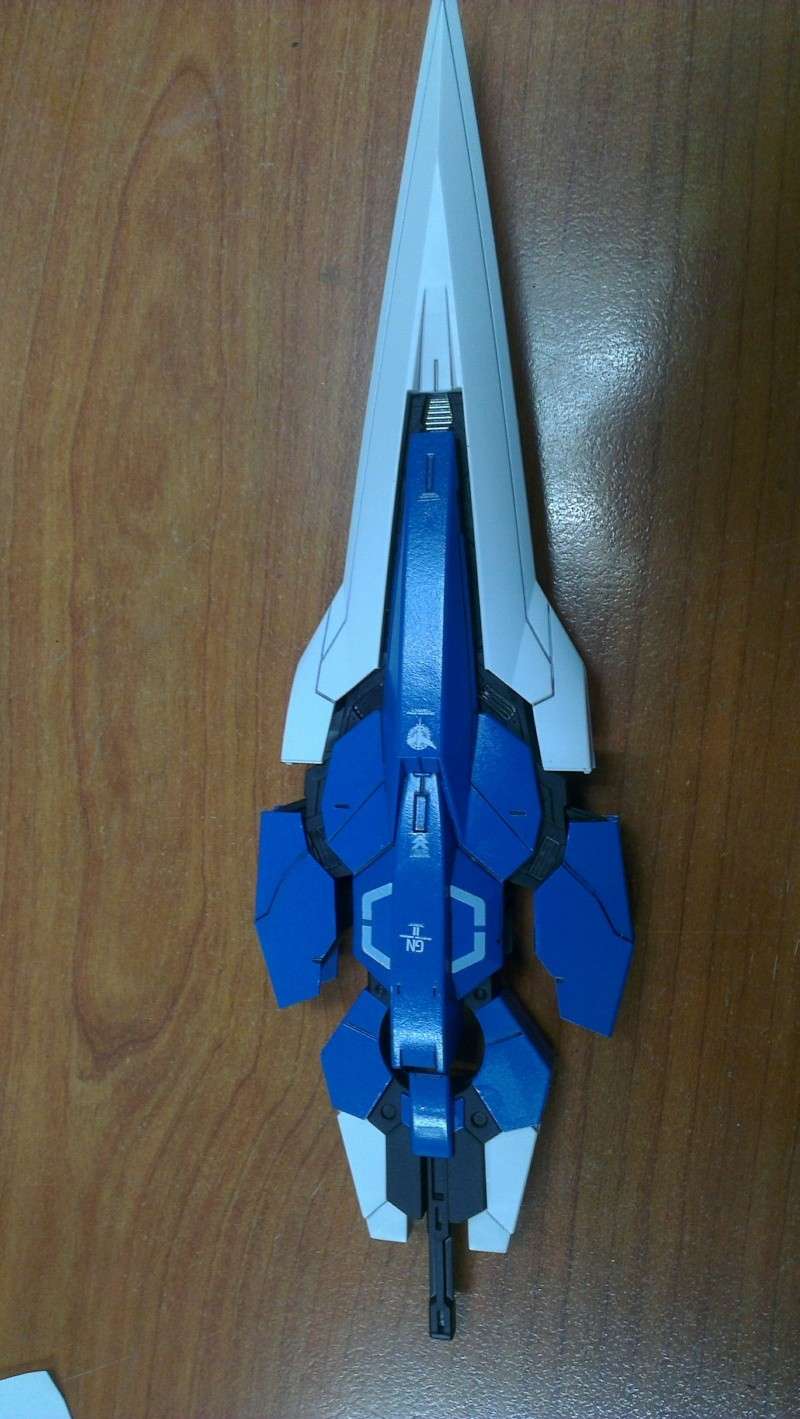
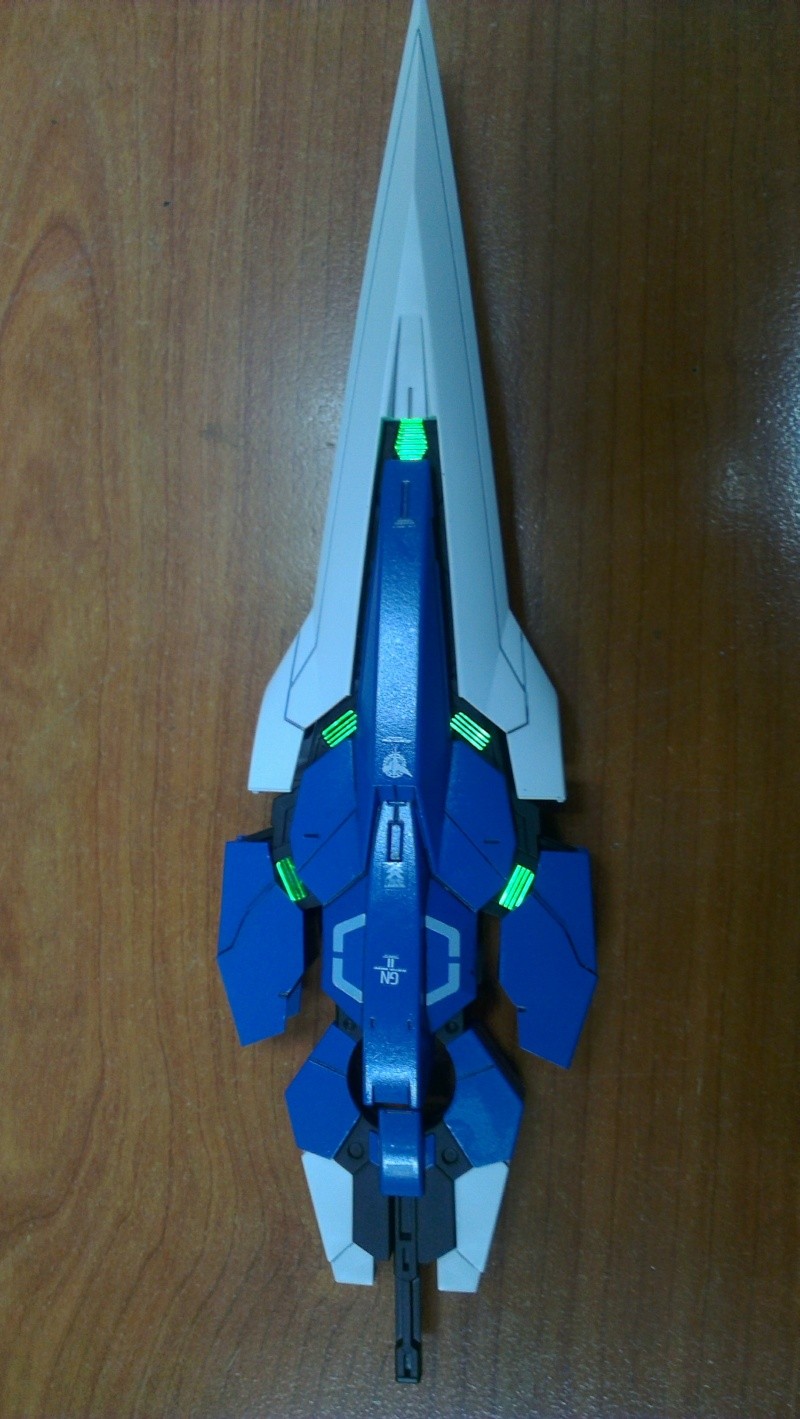
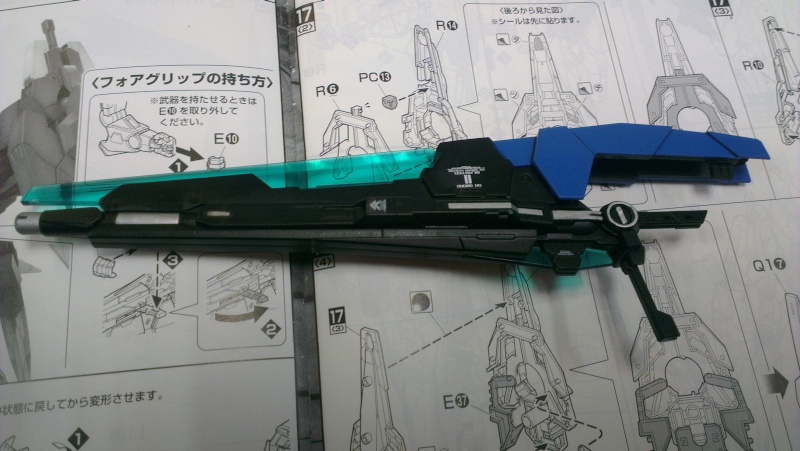
With (right) and without (left) the lights from the LED
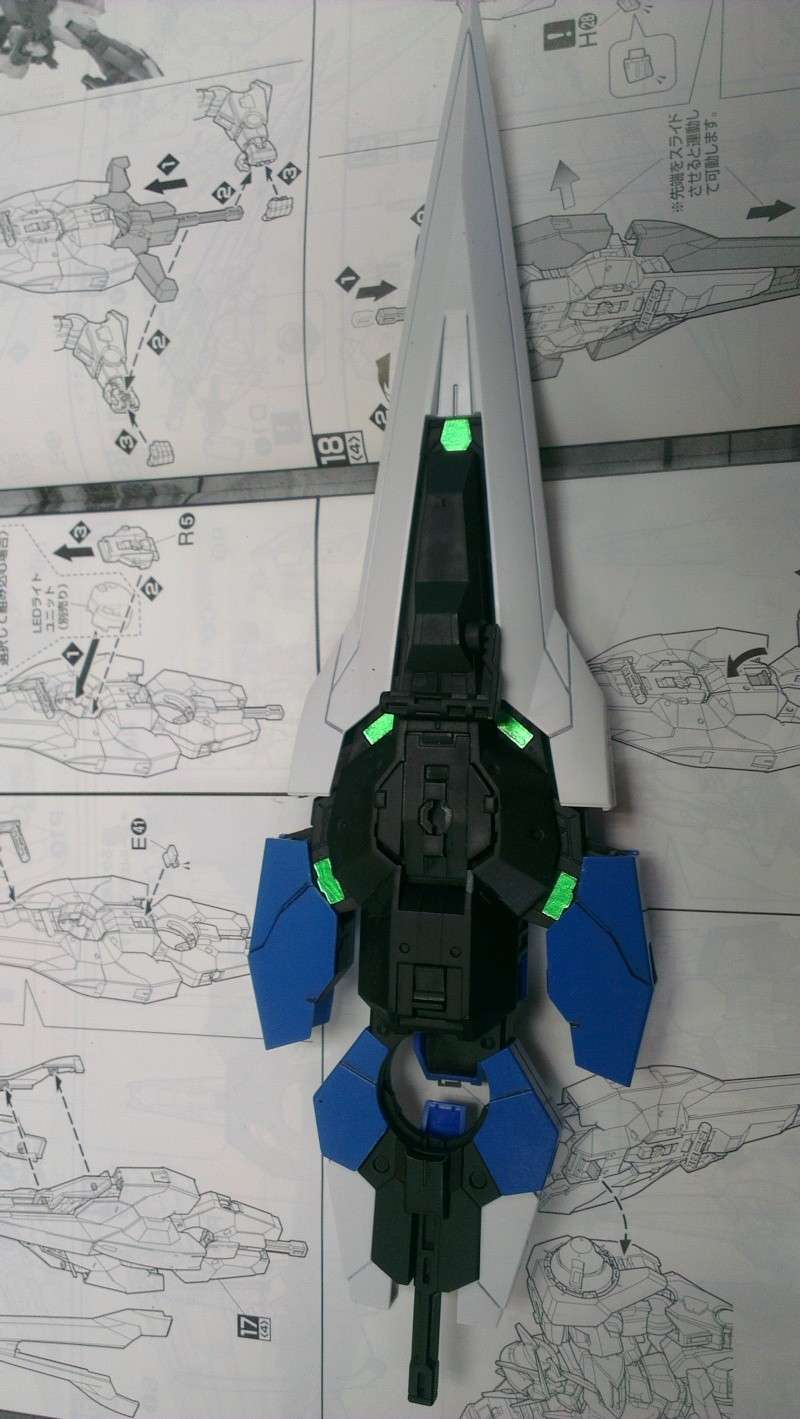
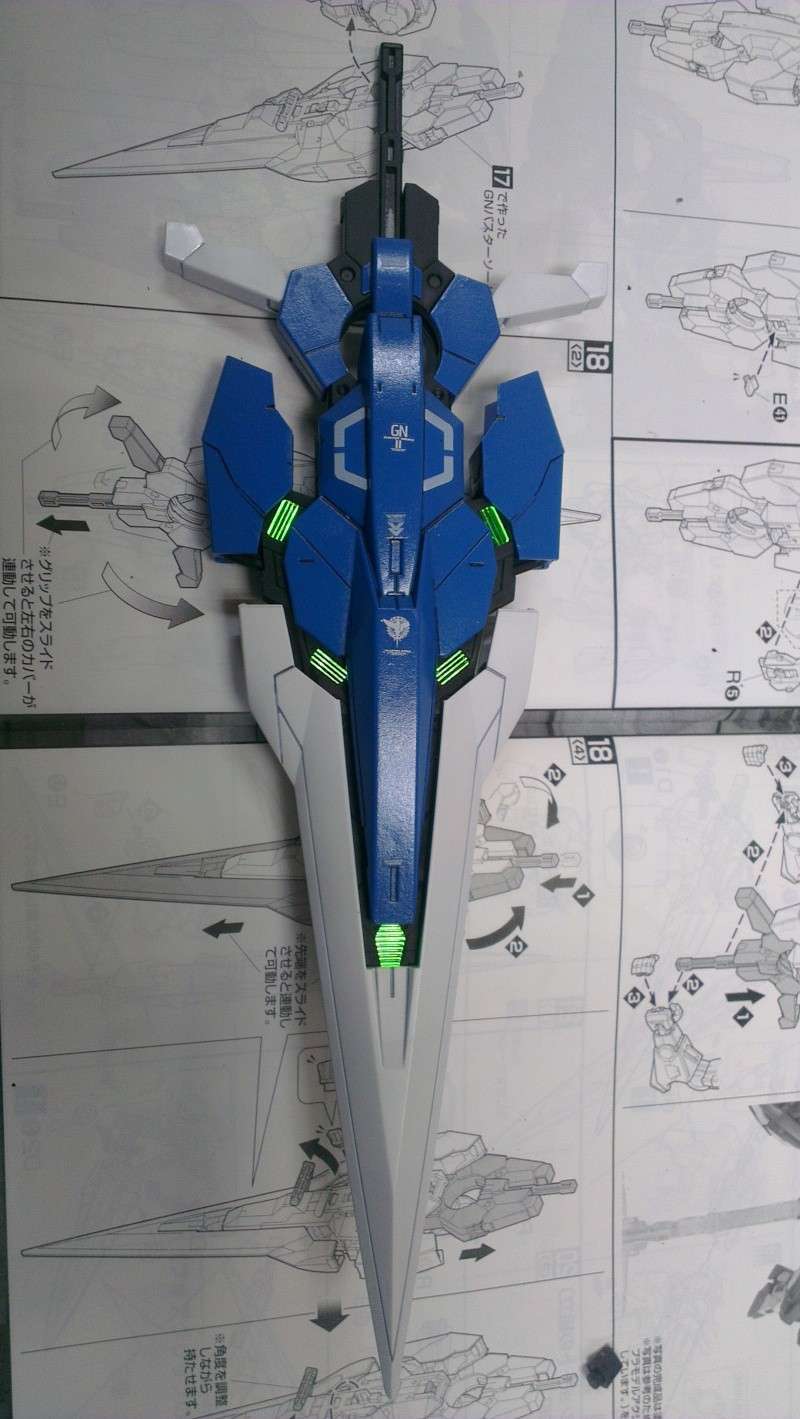
As can be seen in the above photos, the LED was on for the Buster Sword. One side has green foil stickers and the other is a transparent plastic which allows the light from the LED to shine through. Did I mention that this will be the first time I will be using dry transfer? I was scared if the decals will be transferred nicely onto the parts, how it would turn out and also if the paint will come off when I peel off the tape. As you can see, I guess I did a not bad job on dry transfer.
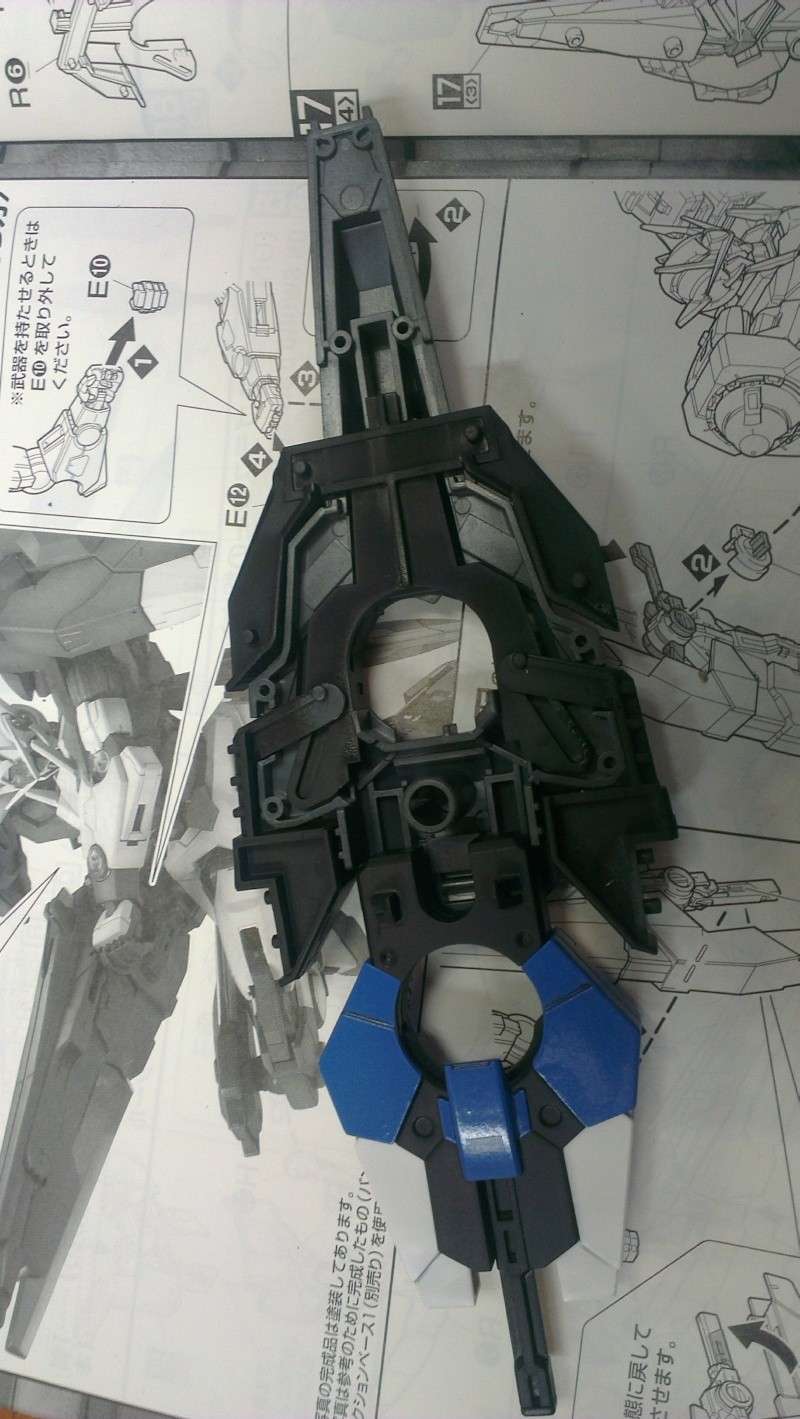
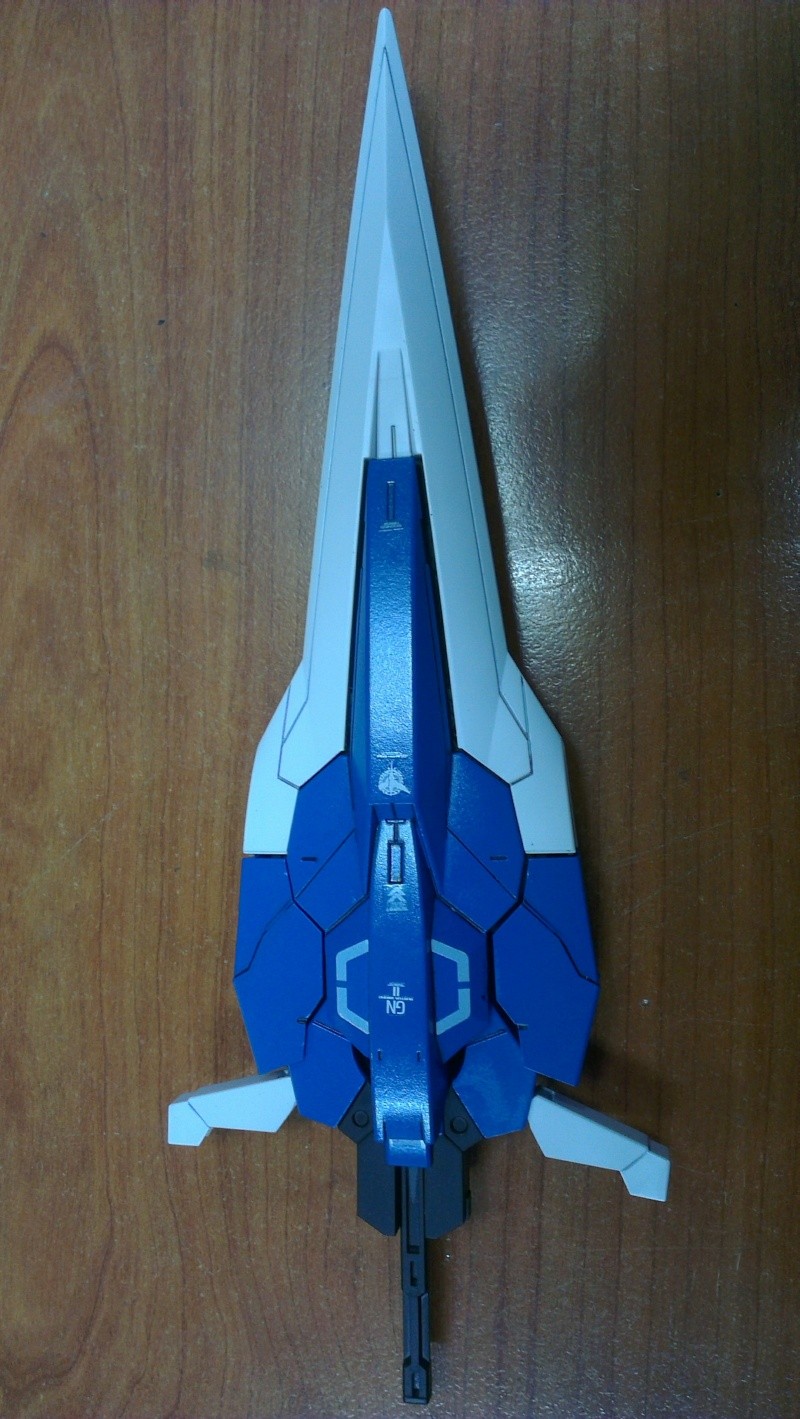
In order to attach the Buster Sword to the backpack, you will have to pull the handle down to reveal the hole. After that, pull out a peg on the Buster Sword and attach it to the backpack. It is as simple as that.
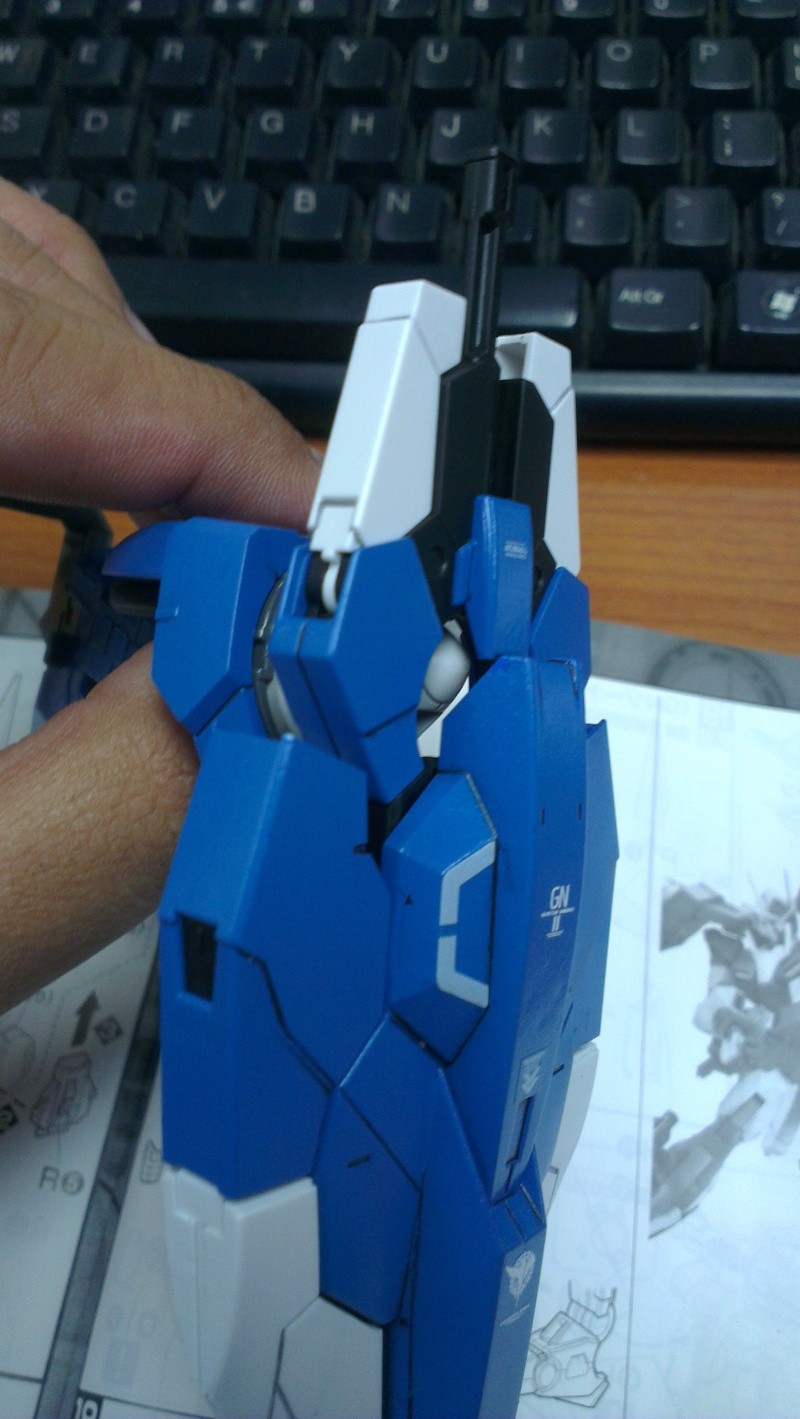
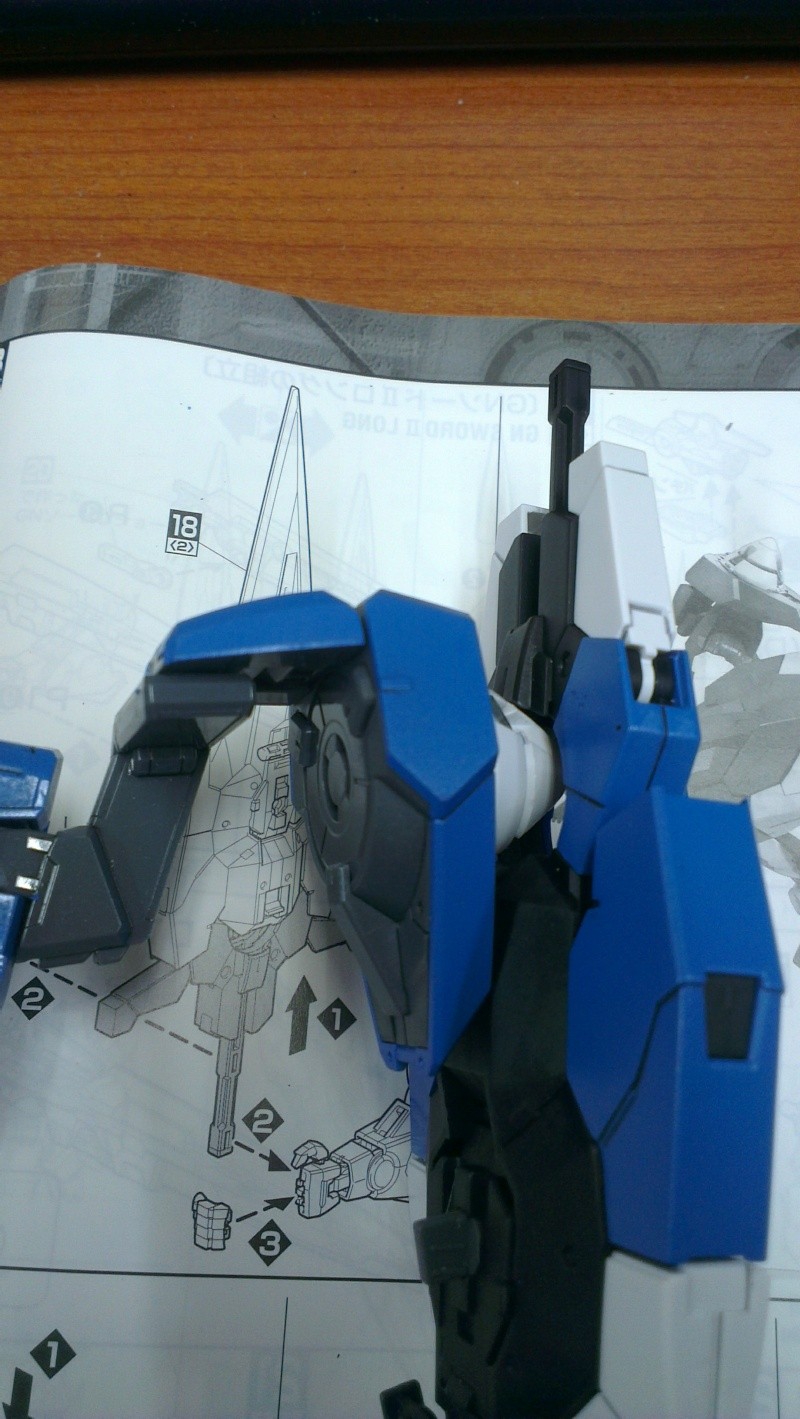
Buster Sword attached to the backpack.
That's the progress for now. Next post be the continuation of the other weapons.

No comments:
Post a Comment