Showing posts with label High Grade. Show all posts

Wednesday, November 27, 2024

HG Kamiki Burning Gundam - WIP 7 (Final)

All Well That Ends Well

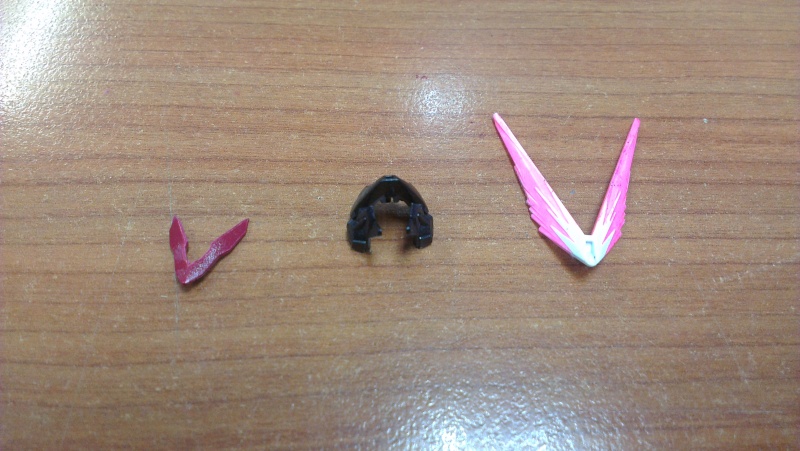
Finally got the right mindset to tackle the unfortunate broken v-fin after a brief break working on the D-Style Shield Liger. First thought that came to mind was to use Mr.Hobby Mr.Cement S.


The original plan was to cement the v-fin onto the red piece then attach it to the helmet. It was a messy process as the red piece was so small and when I managed to place the fin on the correct spot, the red piece would be stuck to my finger and mess up the position of the fin.

   
Came up with the idea to attach the red piece onto the helmet first before cementing the fins in place

Thursday, November 21, 2024

HG Kamiki Burning Gundam - WIP 6

My Worst Nightmare Came True

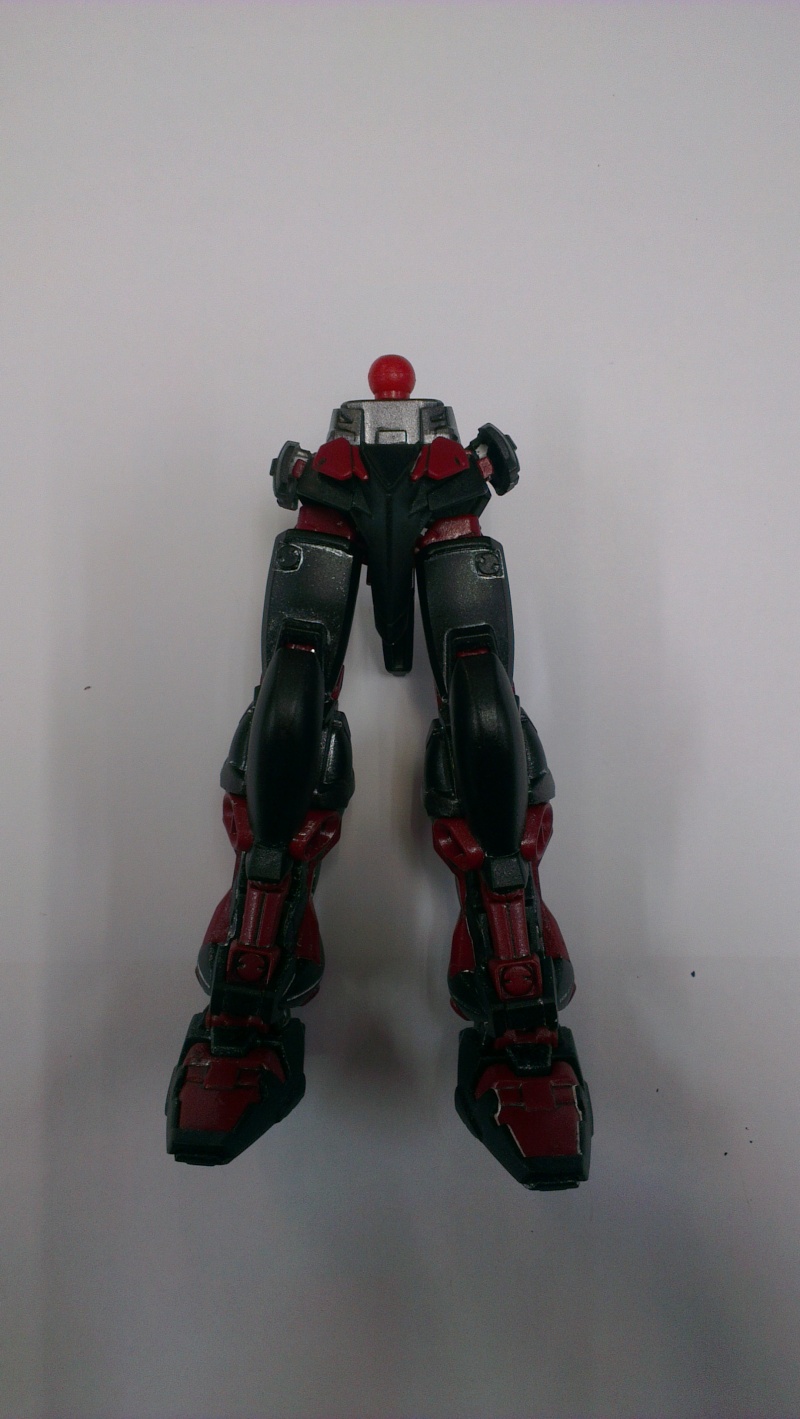
Had a short intermission with this kit to complete the RG GP01 Zephyranthes since all the painting works was done in WIP 5. The time has now come to assemble to the kit. The build will start from the leg up.

[Legs]

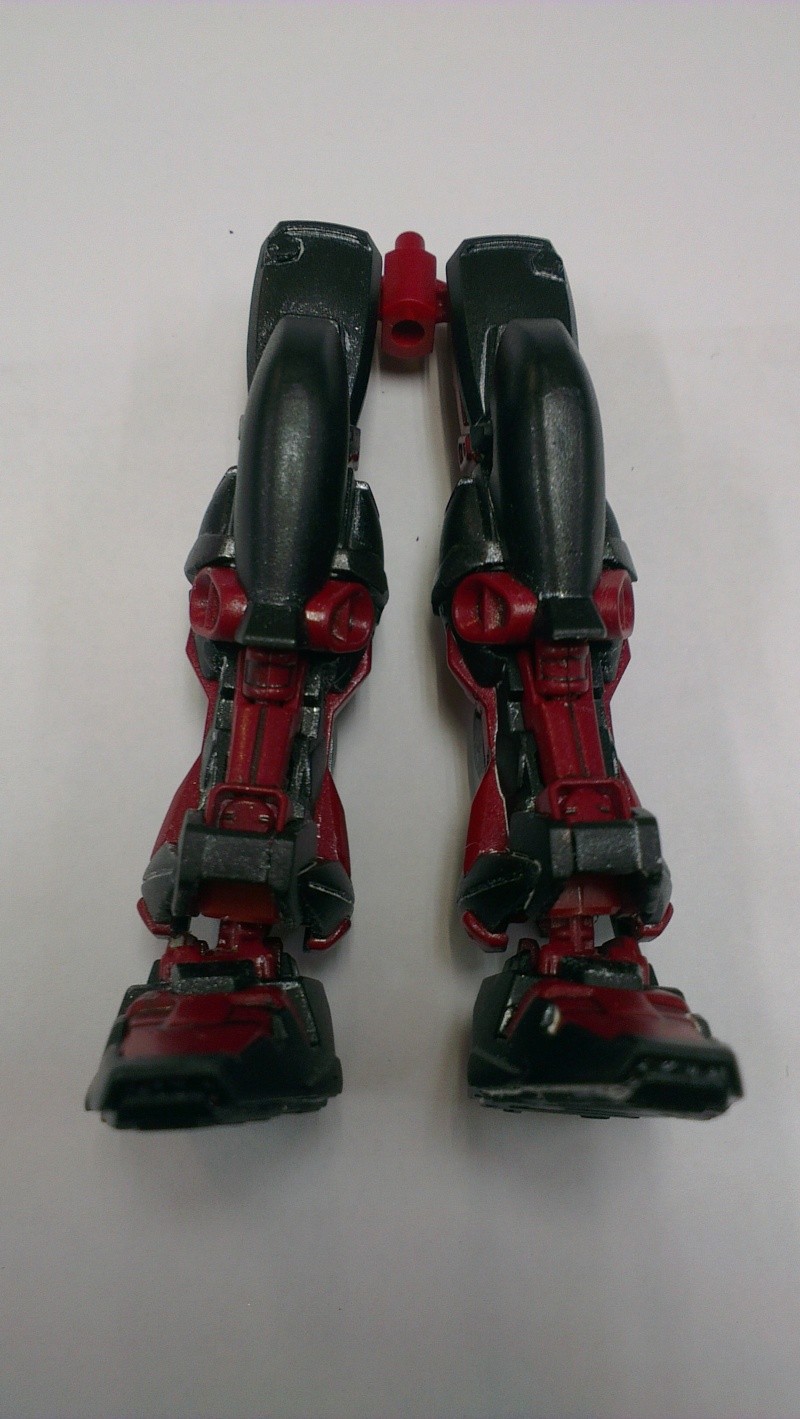
Parts of the leg before assembly

First thing to assemble is the feet

   
How the clear blue parts will look with silver under it

Friday, November 15, 2024

HG Kamiki Burning Gundam - WIP 5

 Final Touches

Since most of the major painting work completed in the previous post, this post will be the final touch up and panel lining.

   
Looked at the manual and noticed that there are some yellow parts which I missed at the legs

Painted the parts yellow and the black was done with the 0.03 Fineliner pen

   
Another thing I missed out was the black inside the hand guard

Sunday, November 10, 2024

HG Kamiki Burning Gundam - WIP 4

 The Paint Work Continues

Continuation of painting works from the previous post. The first painting work is the gold color for the sheath and the hand guard of the katana.

Mr.Hobby Mr.Metallic Color GX 209 Red Gold 

Tried the Replenishing Agent for the Red Gold although stated on the bottle that it is not to be used for Aqueous and Mr.Metallic paint.

Stated on the bottle to not use on Mr.Metallic Color but had to try as I did not want to get a new bottle of paint. Hopefully nothing bad happens to the paint in future

Wednesday, November 6, 2024

HG Kamiki Burning Gundam - WIP 3

 Here I come to save the day!

Started with painting works for the feet in the last post. With what happened, I made sure to check the paint before use and had the correct thinner at hand.

Red paint used is Mr. Hobby Mr. Color 158 Gloss Super Italian Red

Grey paint used for armor is Gaia Base Color 074 Gloss Neutral Grey IV

   
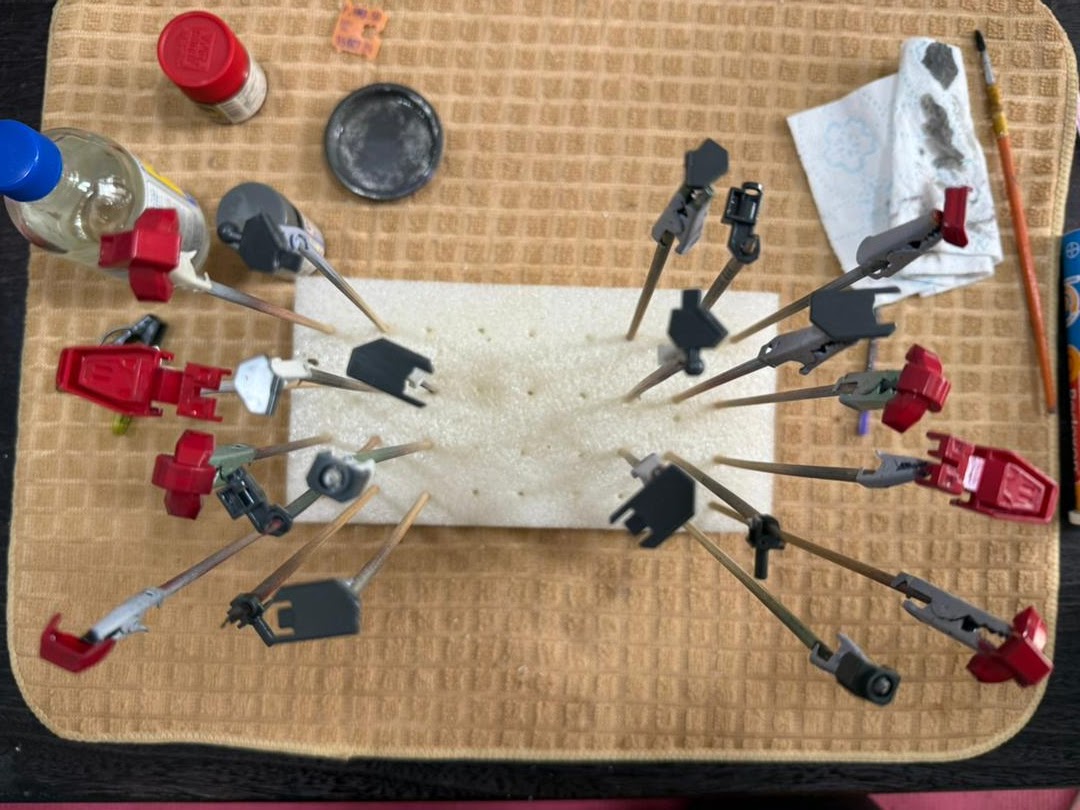
Parts of the red and inner frame of the feet. Luckily I have enough clips for all the parts for both sides of the feet. Parts are waiting to dry to see if they require a second coat but only one coat is sufficed 

I did not use any type of palette for painting. All I used is an old used metal cap from an industrial thinner which can be seen in the top picture next to the red paint. That is where I pour a bit of thinner onto it and use the paint from the cap after shaking it. When the paint on the cap starts to dry out, simply close the paint, give it another shake and you are good to go. This might not be the correct method but it works for me.

Monday, October 28, 2024

HG Kamiki Burning Gundam - WIP 2

 A Bad Start For The Build

After separating the parts in previous post, proceeded with nub marks removal which took longer than expected. After that has been done started with brush painting process with the white part. After looking through my paint collection from 8 years ago, this is the only white paint I got in my collection

Mr.Base White 1000

As the paint has been sitting there for years, the content dried up and was a bit rubbery. Figured it would still be usable and went to look for the thinner. It did not hit me that I have taken the wrong thinner. The paint did start to thin like it should have and noticed the mistake when I started painting with it.

'This is not the thinner you are looking for'

Friday, October 25, 2024

HG Kamiki Burning Gundam - WIP 1

 Gotta Love The Burn

With the work all done for the RG Zephyranthes, I have decided to take a break from RG and start a HG kit. The last HG kit was the HG Red Frame (Flight Unit) completed ten years ago. The reason I bought this kit was cause it comes with a katana and I am a sucker for anything with a katana.

Why did I decide to start with this kit? I needed an easy kit to start off and try my hands on brush painting. The most I have brush painted are small details (which I have forgotten how I did it 8 years ago) and this time round I want to try to brush paint an entire model kit. I have some SD in the backlog as well but had an itch to start this as well cause I am curious about the effect pieces.

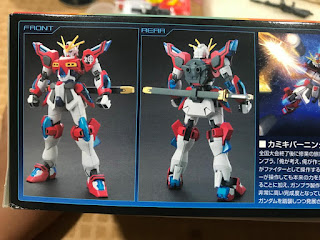
Box art looks awesome

   
One of the side of the box shows the model front and back, details of the gundam and a brief summary of the storyline

Saturday, November 22, 2014

HGUC MSV Zaku II - WIP 5 (Final)

Warning!! Damage acquired !!

In the previous post, we have completed the kit. Now is time for it to show off with it's weapons.
 
Zaku II and its armaments

HGUC MSV Zaku II - WIP 4

Fine looking MS

In the previous post, we have completed the body and legs for this MS. It is time to give this MS hands to hold the weapon and finally the head to complete the kit. The hands are simple and straight forward. There are no hidden surprises here like the legs and body section. 
 
Parts of the right (left) and left (right) hand before assembly

Saturday, November 15, 2014

HGUC MSV Zaku II - WIP 3

Not so straight forward build
 
Mentioned in the previous post, this post will be about the legs and body. There are some things in this build which was unexpected. This makes the kit more interesting (for me) and I wish Ban Dai has done more of this for more kits. In order to reveal the twist in this build, let's start building from the legs.
 
Parts of the legs before assembly
 
Section of the legs after assembly
 

Monday, November 10, 2014

HGUC MSV Zaku II - WIP 2

Paint job
 
After taking a look at the manual and separating the parts into their respective boxes in the last post, this post will be about parts which requires painting. I did not take photos of how the pieces are before they were painted. All I can say is that they all come in one color. The amount of parts required for a paint job is not a lot. This is also true for the number of paints required. One thing I did differently are putting on the decals/stickers right after the paint job has been completed.
 
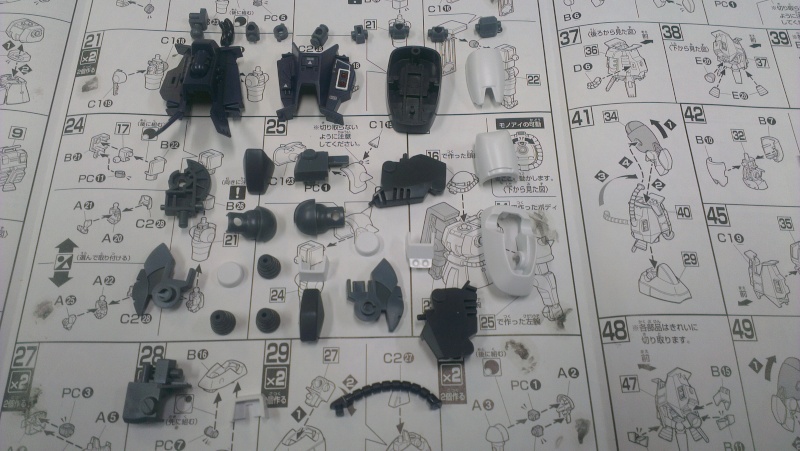
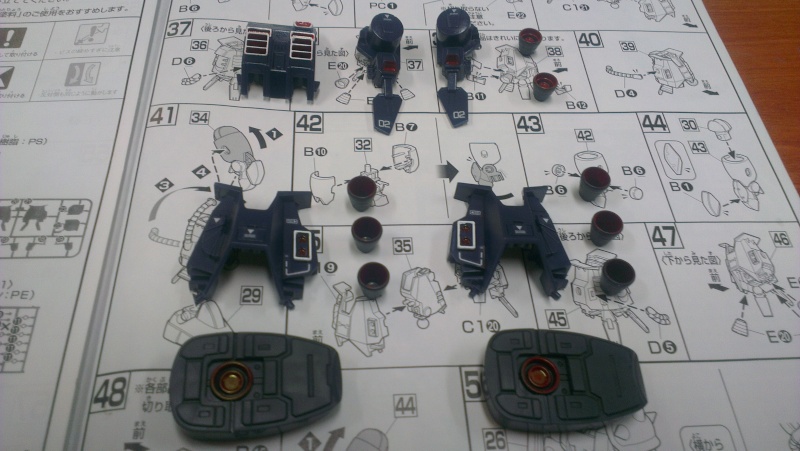
Parts that required a paint job

Wednesday, October 22, 2014

HGUC MSV Zaku II - WIP 1

Another MSV suit
 
After completing the MG OO Gundam Seven Sword /G, the next project I decided to tackle is another MSV (Mobile Suit Variant) kit. This is the MSV Zaku II. From what I know, the only difference between this suit and normal suit are the legs. This suit has more thrusters and stickers compared to other hg kits.
 

Saturday, June 28, 2014

HG Red Frame (Flight Unit) - WIP 15 (Final)

This is the final part for the Red Frame (Flight Unit). In this post, the entire arsenal of the RF will be shown and how he will carry it into battle. First off as mentioned in the previous post, I shall give the Red Frame a new name. Been thinking of a name for a long time and I feel this name is appropriate. I present to you the Shinobi Astray Red Frame Seven Swords (Flight Unit).

Why the name Seven Swords? If you remember correctly, there are a total of seven swords built in this entire process. First is the Gerbera Straight, next would be the 2 Caletvwichs and followed by 2 katanas from the Builders Part. If you are counting, the total comes up to 5. Where are the other 2 swords? They are the 2 beam sabers on the back of the kit. Hence the name Seven Swords.

Friday, June 27, 2014

HG Red Frame (Flight Unit) - WIP 14

In the previous post, we saw how the flight unit was attached to the RF with a few action poses and all the standard weapons were shown, I will show the RF with the Caletvwich as discussed in Part 10 and the additional 2 katanas which was reviewed in Part 11.
Before we go into that, let's change the RF's front section of the helmet first. All we need to do is to replace the existing V fin and front helmet with the ones supplied with the Caletvwich kit.
The parts to be replaced
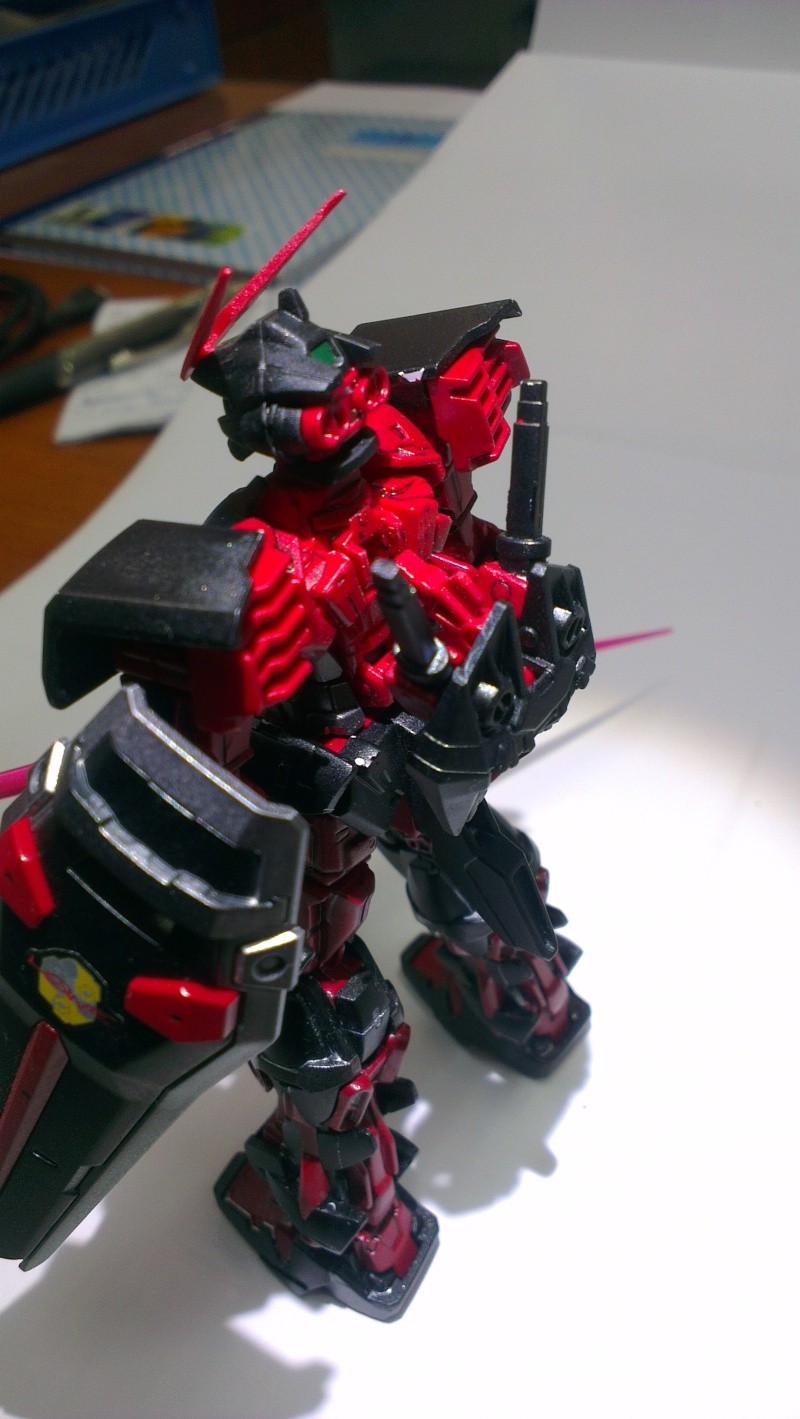
The assembly is a simple process. Attach the front helmet on, attach the pink V fin and finally the red V fin on top of the pink. Once completed, the RF should look like this:
Thursday, June 26, 2014

Neo Zeong unboxing

Here is a live streaming of the Neo Zeong from Gunpla TV. All I can say is that it is a very huge kit. Sit back and enjoy!


Tuesday, June 24, 2014

HG Red Frame (Flight Unit) - WIP 13

In Part 6, the flight unit was assembled and waiting for its time for Red Frame to summon it. To attach the flight unit, you must first move the backpack of the RF down.


There is a peg at the back of the backpack. Align the peg with the hole found in the flight pack and push them in.

Monday, June 23, 2014

HG Red Frame (Flight Unit) - WIP 12

Since all the work are done, it is now time to assemble the Red Frame. What I usually do when assembling any gundam is from the bottom up.
  
Left to Right: Red Frame before assembly. Assembled the legs
 
To assemble the legs, you just need to insert it into the peg and then attach it to the waist section.

Waist and chest section assembled.
 

Sunday, June 22, 2014

HG Red Frame (Flight Unit) - WIP 11

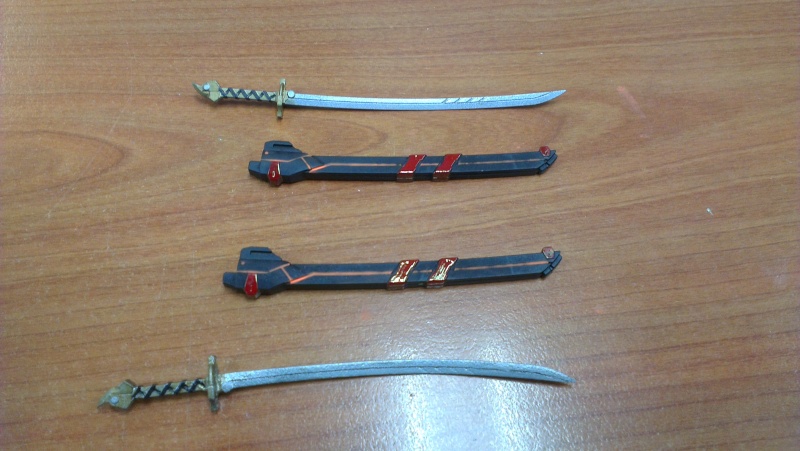
As mentioned in WIP 8, I got the Gunpla Builders Parts HD: MS Launcher 01. I will be only using the katanas. There was a slight problem with the silver paint when I used it. It came out too thick for one of the katana. The only thing I could do was sand the paint off and re-spray.
By the time I got all the silver out from the blade, the plastic was already thinned till breaking point. I had to make sure that the silver comes out properly this time round. Worse case scenario, get another set of builders part.

Katanas from the Gunpla Builders Parts HD: Launcher 01

HG Red Frame (Flight Unit) - WIP 10

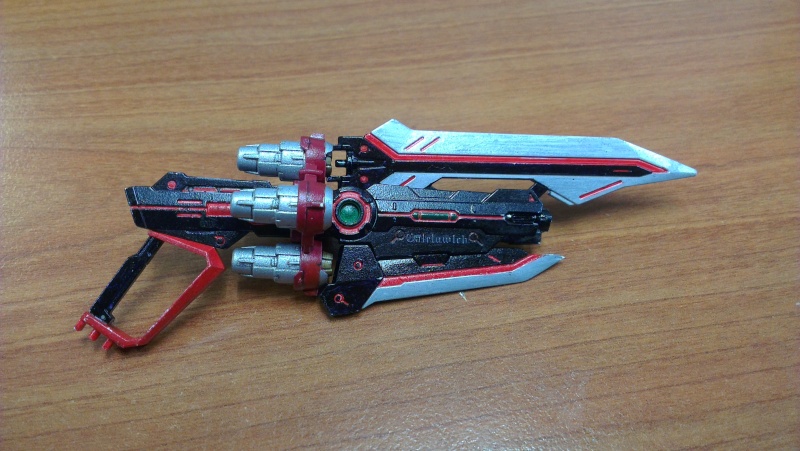
A continuation of the functions of the Caletvwich from the previous post. This post will be about the different types of combination the Caletvwich. For me, the main form of the Caletvwich is the gun mode with the 2 blades on it.

The next mode would be the sword mode which can be seen in most Gundam Hobby magazines. To make this mode, just remove the big blade on the top, flip it 180° and attach it to the front. The handle will be changed from the bottom to the top.

Related Posts Plugin for WordPress, Blogger...