Nice smelling kit
Starting this post with the transformation from the core fighter to core block. Here are the step-by-step guide to transforming the core fighter:

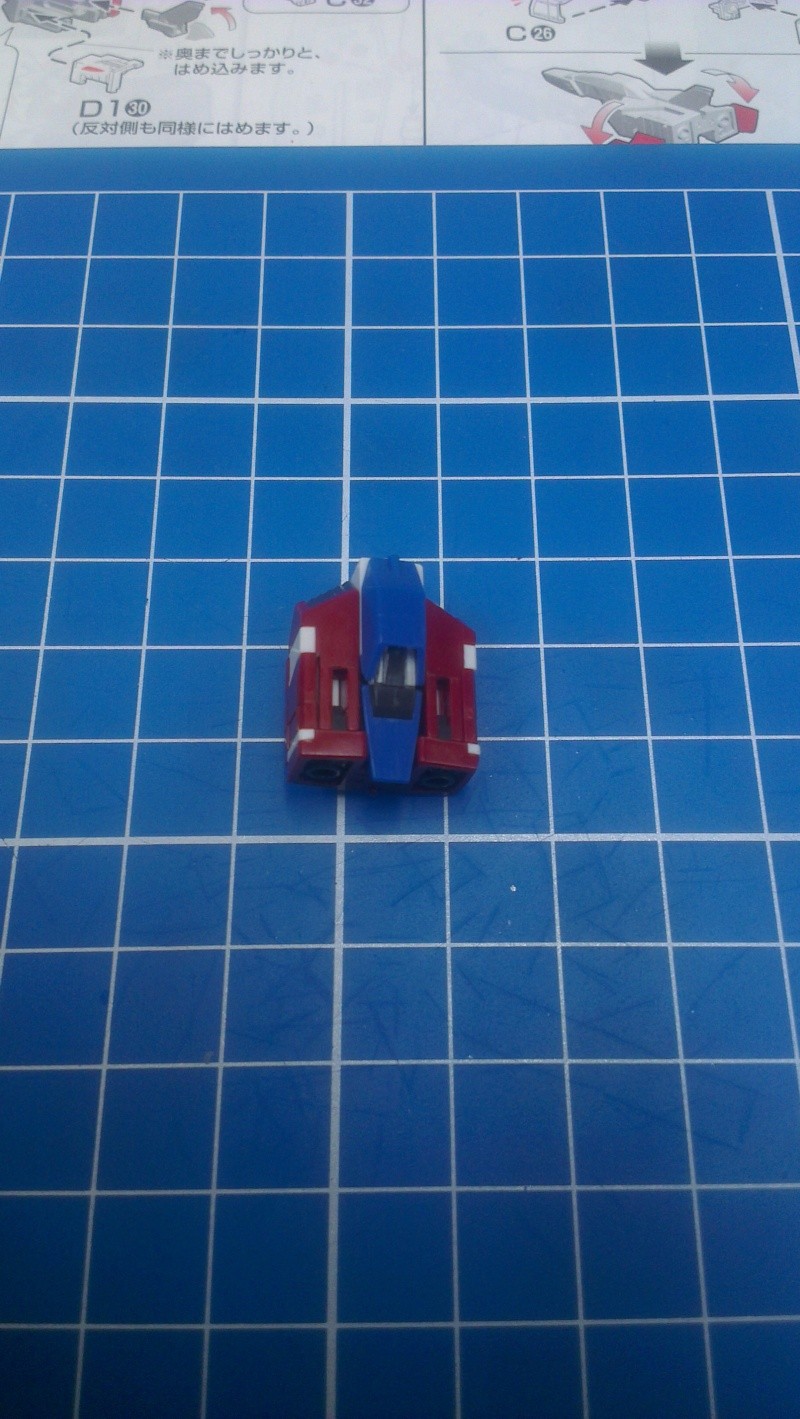
1. Prepare the core fighter
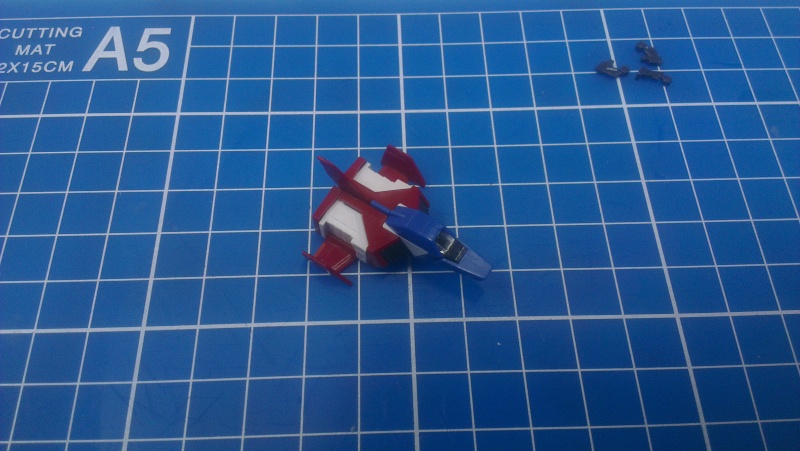
2. Remove the landing gears and push in the nose

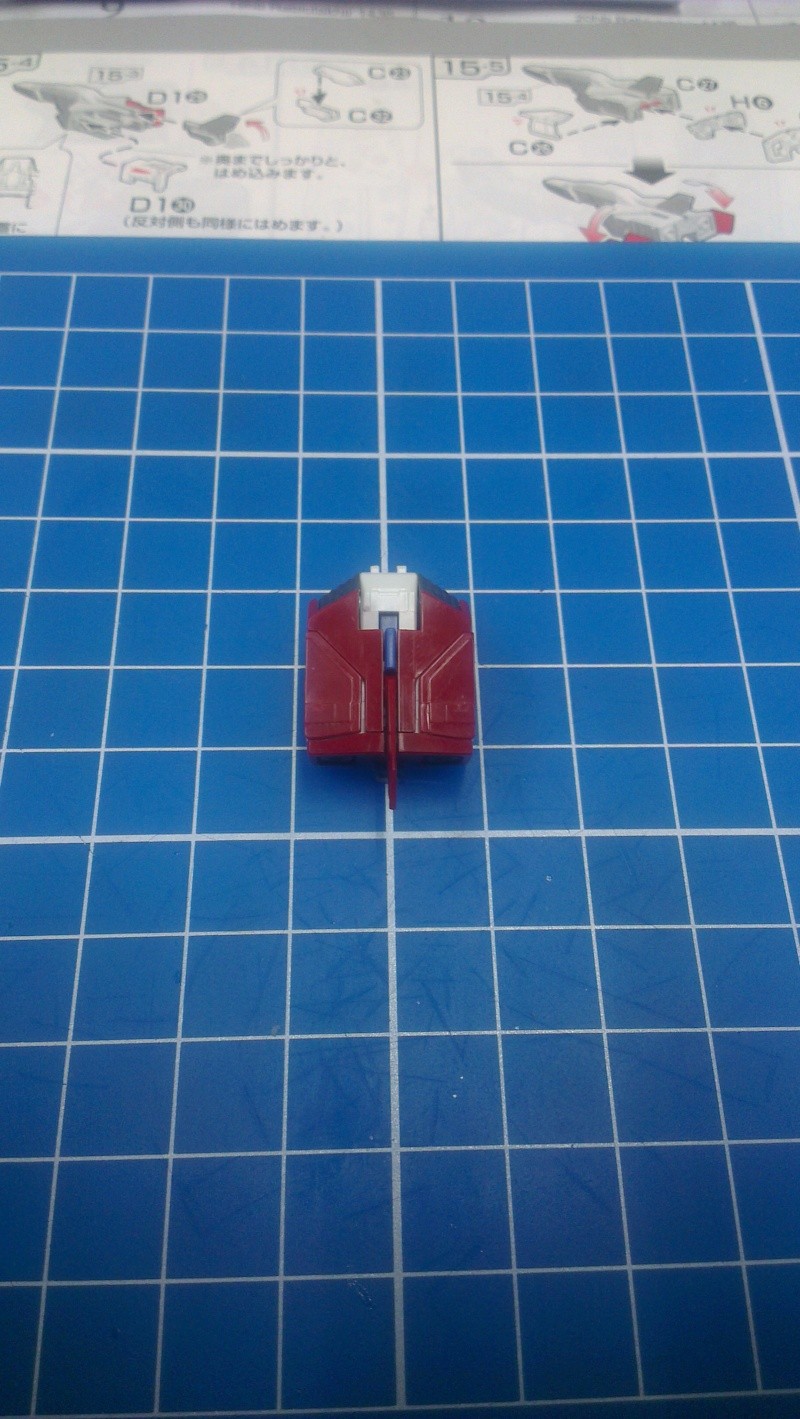
3. Fold both wings towards the body

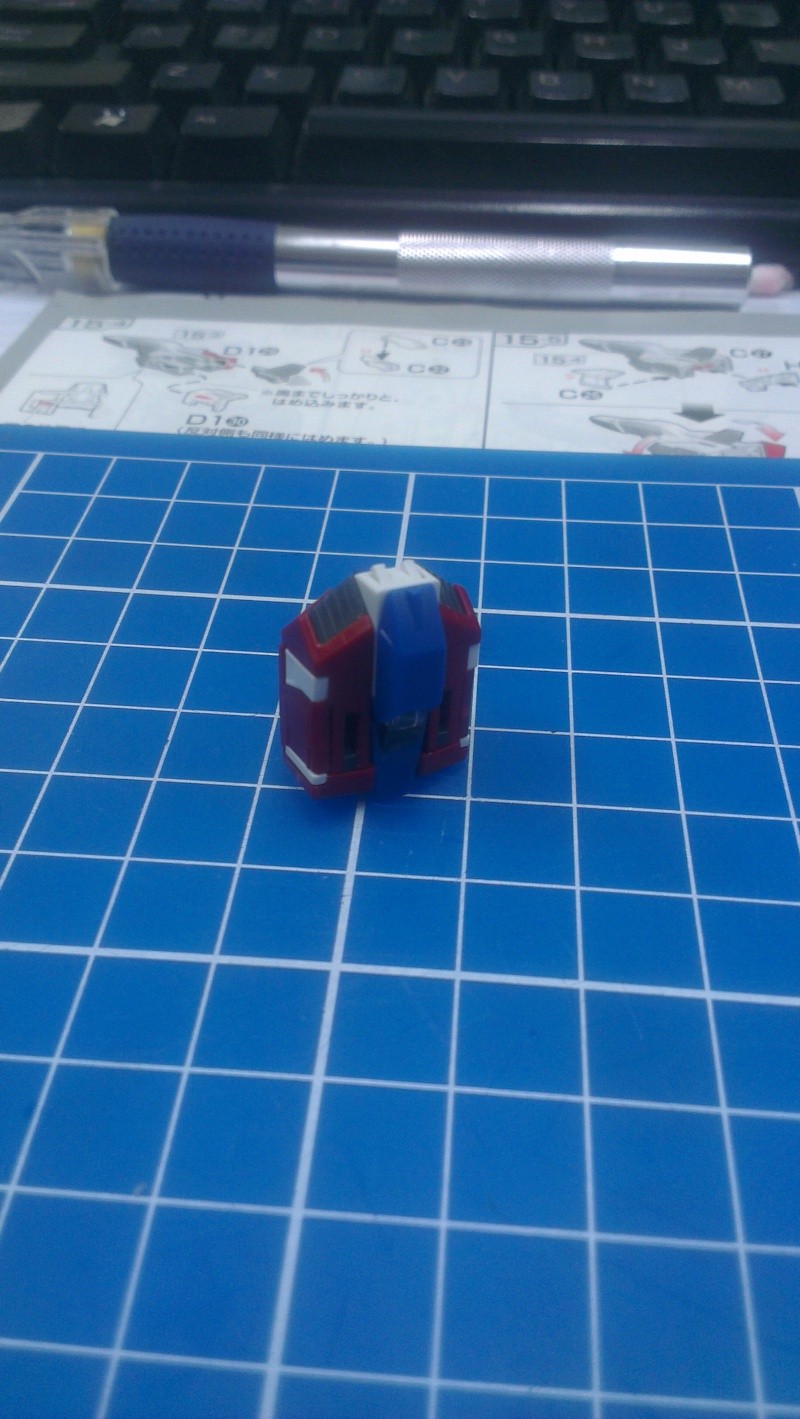
4. Fold the tail back (left) and push it up (right)
That's it. Core fighter has successfully transformed into a core block. Some photos of the core block:
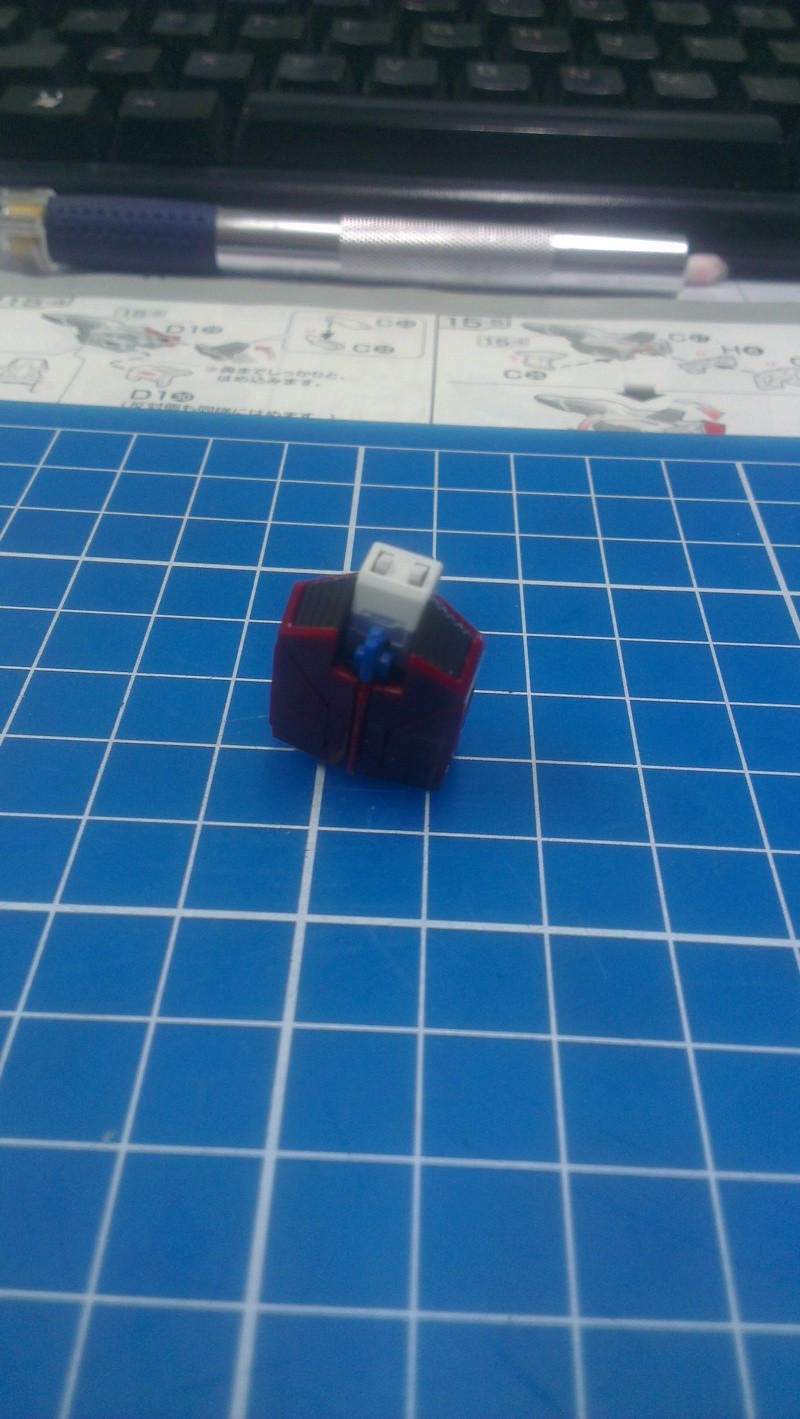
I did not put the core block into the MS because I couldn't remove the existing core block from the chest section. I also don't want to risk scratching the decal and the layer of Future. I will be displaying the core fighter next to the MS anyways. As far as I know, the only core fighter which cannot be displayed next to the MS is the GP01.
As mentioned in the previous post, the core fighter is the final part to be assembled. This means that the last decal to be used is also for the core fighter. Since starting this kit till now, this is the end result of the waterslide sheet. As with stickers, the leftover decals will be kept for future use.
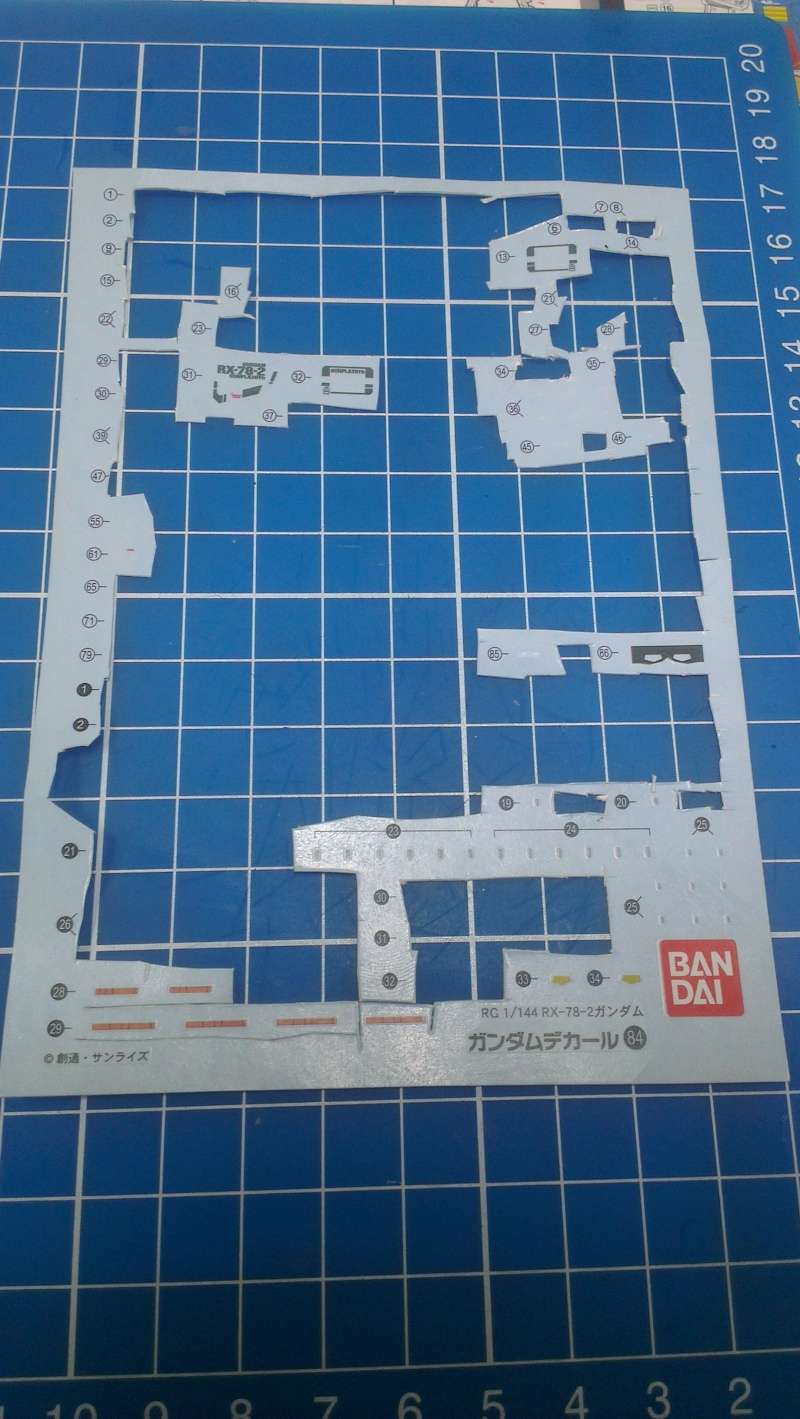
The last of the waterslides
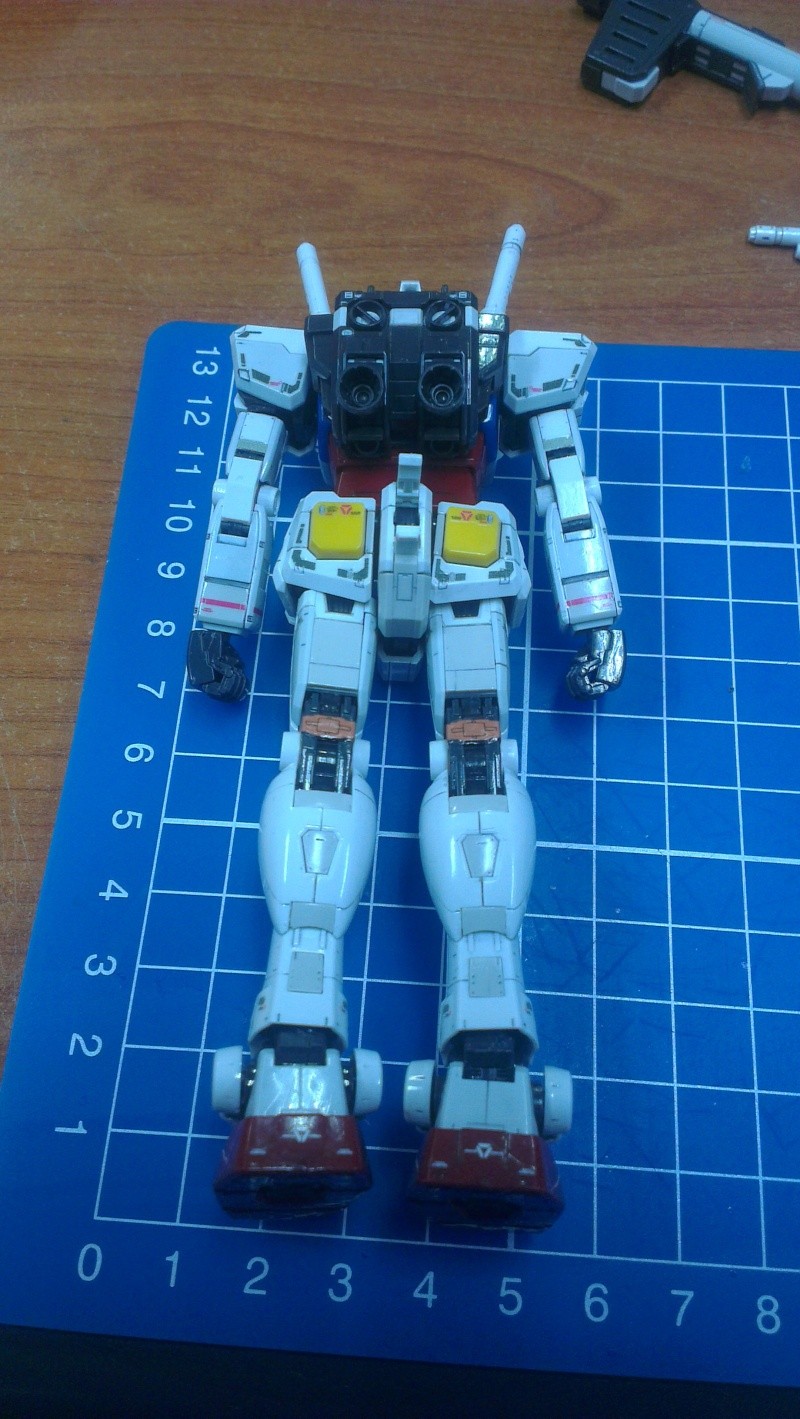
With all parts completed, the time has come to put together all the different sections of the kit together to form the MS.
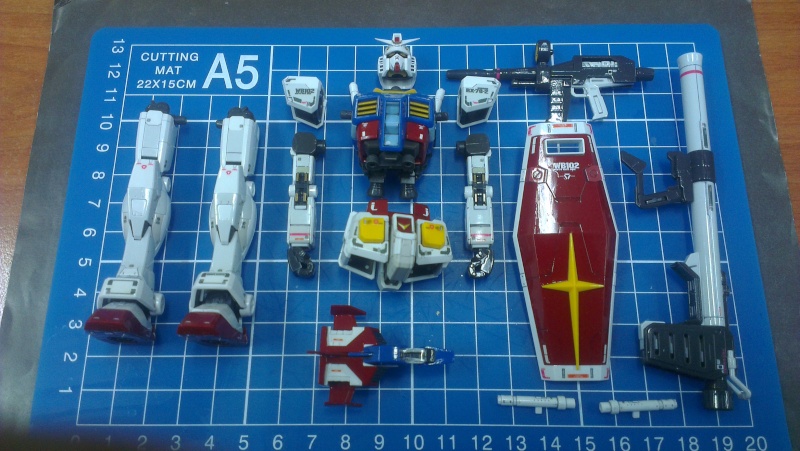
Different sections of the kit
All the sections are panel lined, decaled and top coated with a layer of Future. The problem I had when putting it all together was the legs and the shoulder armor. The pegs for the legs did not want to connect so had to use some force. As for the shoulder armor, there is a hole which you will need to push the hand peg through. Somehow the peg does not want to go through the hole but managed to get it through after some time.
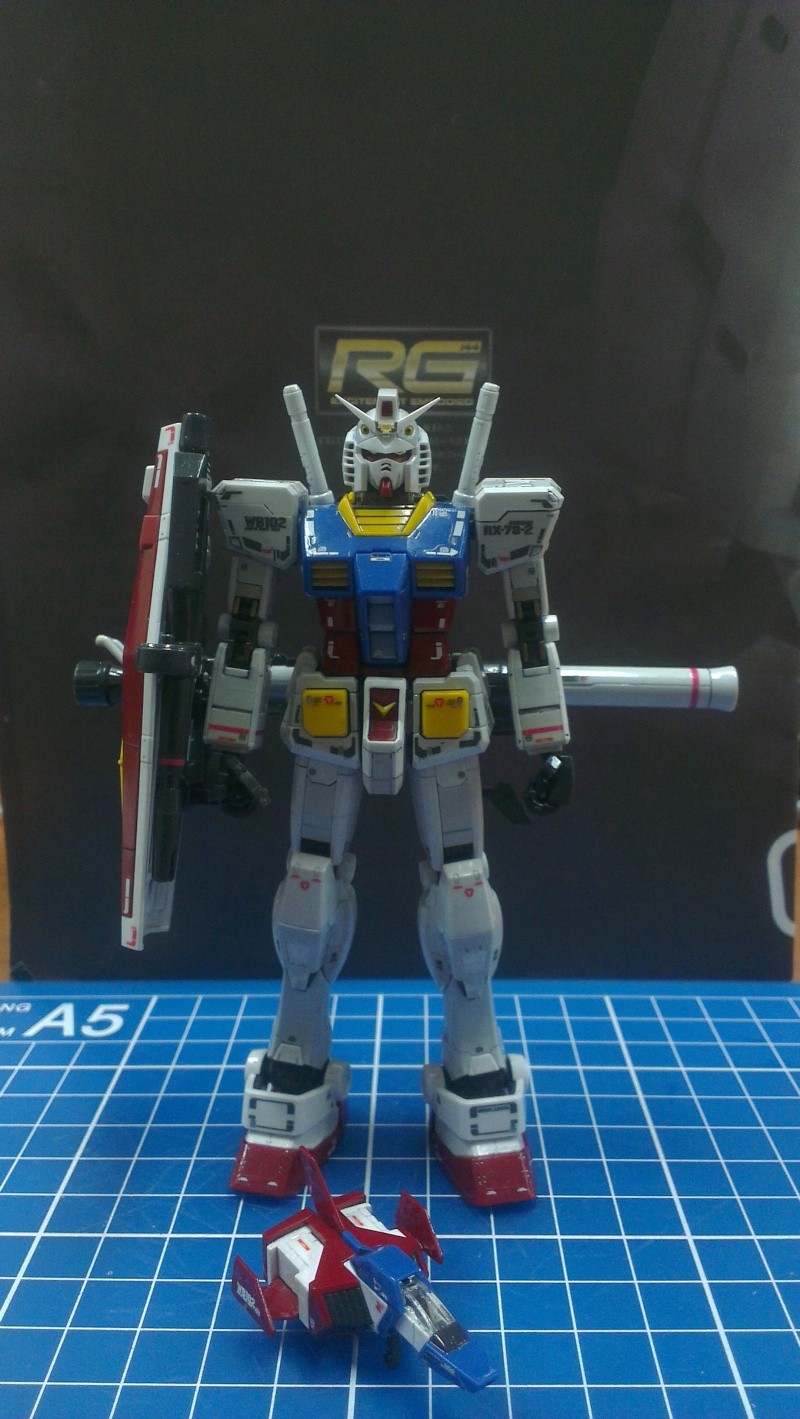
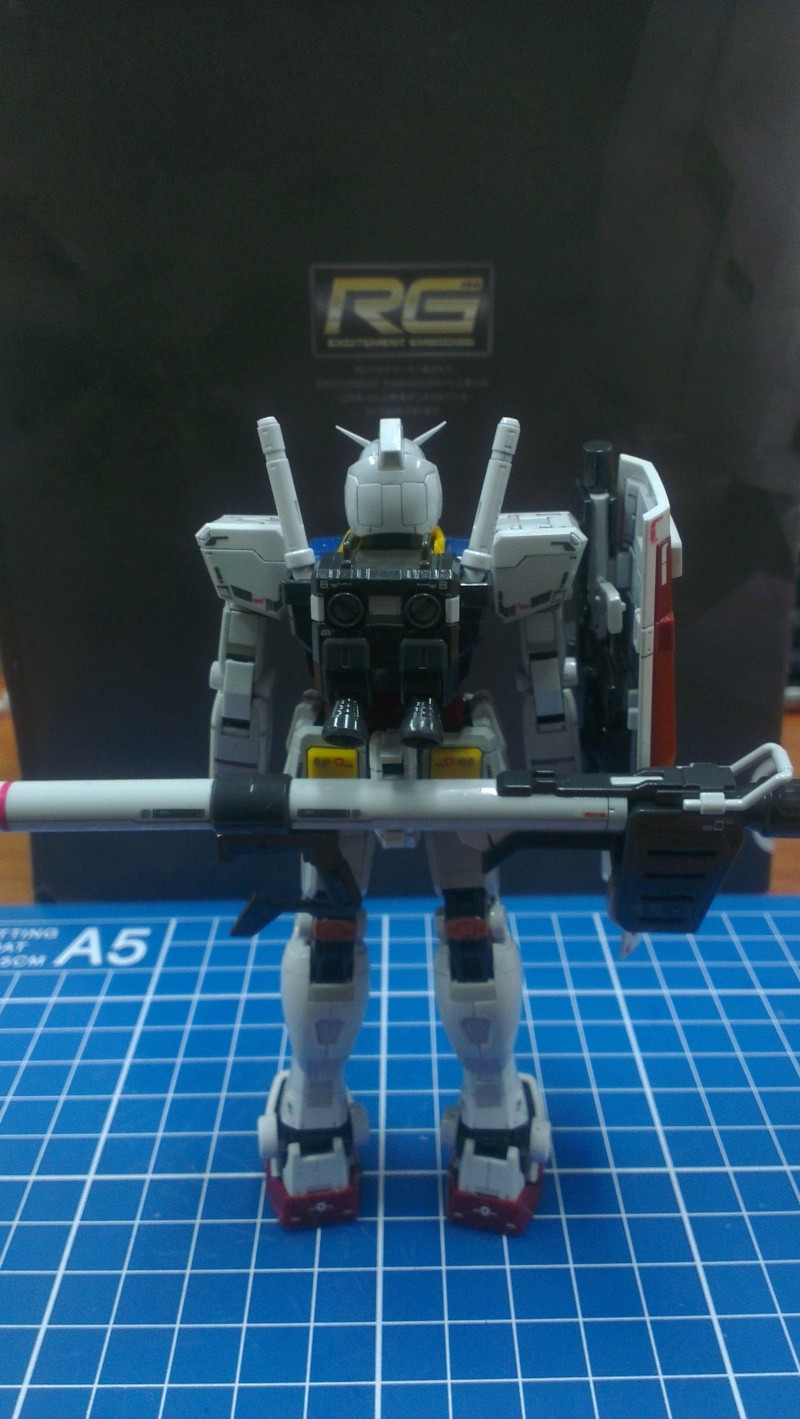
When all the sections are connected to each other like how they should, this is what the MS looks like:
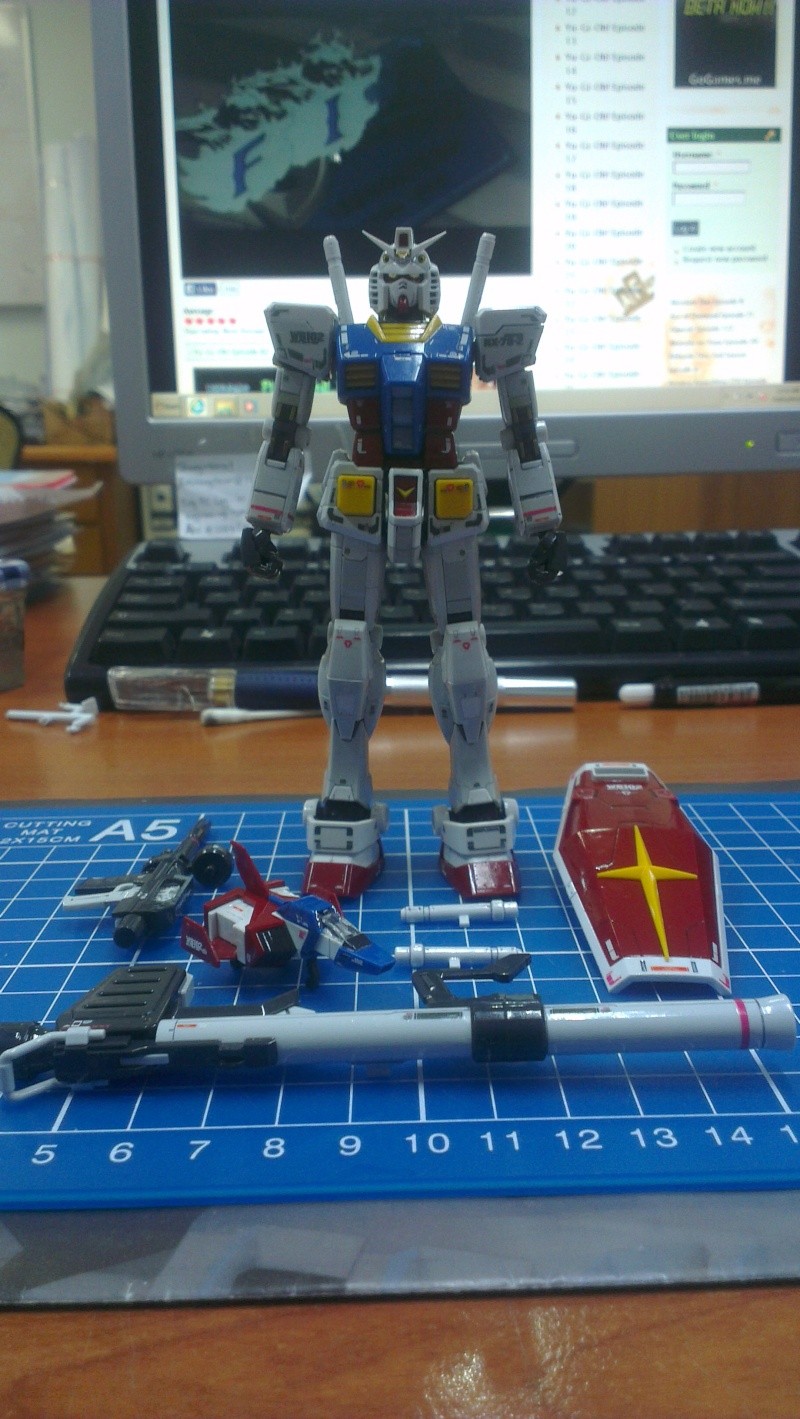
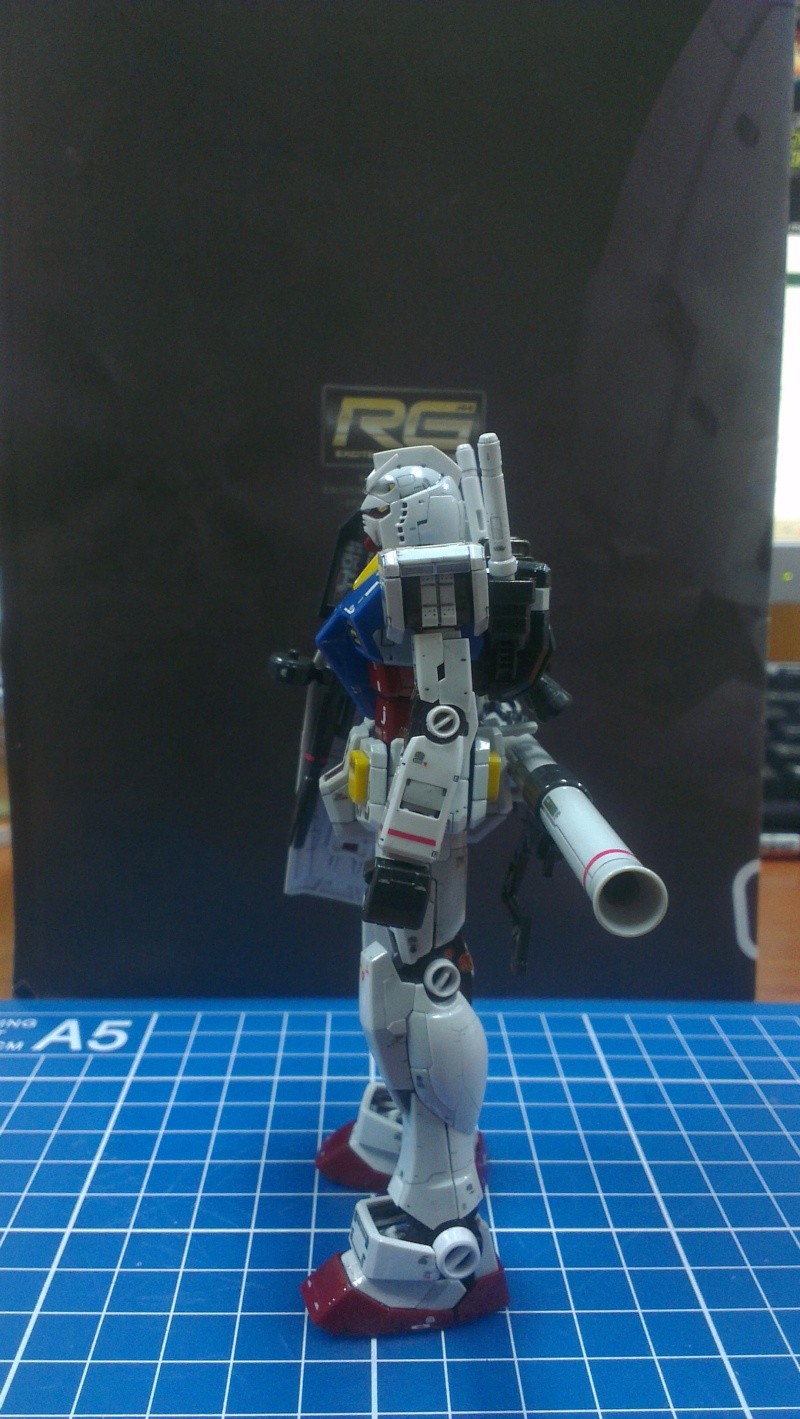
Completed RX 78-2 with the weapons
After completion, I ran into my first problem with this kit. The MS has a hard time balancing. I thought I did something wrong with the feet but that was not the case. The main problem is the feet are small and the end of the foot is not flushed with the surface. A little patience is required to make it balance. A way around this problem would be an action base.
The beam rifle and bazooka can be held in the hands or carried at the back (bazooka) or behind the shield (Beam rifle). I plan to display him holding the shield in one hand and the rifle in another but I got a shock when I found out that there is one missing part. The last part to be missing is the hand armor for posable hands. There are 2 pieces but I only manage to find one. With that, I have changed the way I am going to display this kit.
Before getting to the final display, the first thing to show is attaching the bazooka to the back of the MS. Mentioned in WIP 3, the back part of the waist section can be opened to store the bazooka. The bazooka has a peg on it and all you have to do is just attach it into the hole.

Open hatch for the bazooka
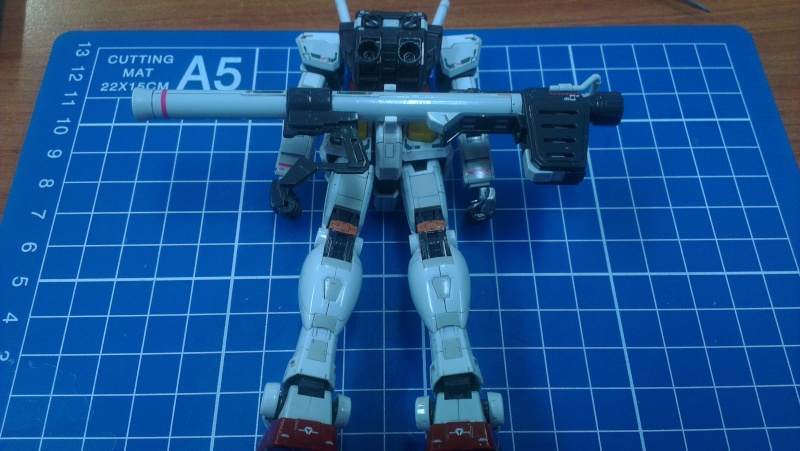
Bazooka attached to the MS
Since only one hand can be used to carry the weapon, I decided to attach the rifle to the back of the shield and let the MS hold the shield. There is a peg on the rifle which allows you to attach it to the back of the shield. There are also 2 pegs at the back of the shield where you can store the 2 beam sabers instead of storing it at the backpack.

Beam rifle stored at back of shield
With the beam rifle and bazooka safely tucked away, the MS can now hold the shield without worrying about which weapon to take with it to battle.

Following the post of the SD Epyon, I have list down the pros and cons and the conclusion of what I think about the kit according to my personal experience.
Pros:
- Lots of details- Transformable core fighter
- Very articulated
- Good color separation
Cons:
- Removing extra parts from existing parts
- Ridiculous placement of some decals
- Putting decals takes as much time as building the kit
- Some parts requires hobby knife to deploy
- Tip of the feet not flushed with the surface
Conclusions:
This kit has a ridiculous amount of details and decals for a first Real Grade kit. You will have to be extra careful with this kit because there are a lot of small pieces involved. As with all other RG kits, this kit looks good for an OOB build provided panel lining and top coating is done.
I would recommend picking up a set of waterslide decals but make sure that you set a side lots of time for decaling RG kits. I think I used as much time decaling as I did assembling. This is not a kit for those who are new to plamo but for those who have built a few HGs and MGs before, I would highly recommend this line. It has a totally different level of building experience.
On a side note, using Future leaves your kit not only with a glossy finish but also with a nice smell.
All WIPs for RG RX 78-2:
WIP 1 - The Granddaddy of Gundams
WIP 2 - Something new for the new year
WIP 3 - Some mistakes are never learned
WIP 4 - The need to be extra careful
WIP 5 - Problems after problems
WIP 6 - Change for a better future

No comments:
Post a Comment