Showing posts with label Red Frame. Show all posts

Saturday, September 26, 2015

PG Astray Red Frame - WIP 5

Missing caps here and there
 
I know I mentioned in one of the previous post that all work on the Red Frames will come to a halt. I figure I might as well complete what I was working on before my work schedule went bonkers. This way in future I won't have to try and figure out what I was working on and what was my idea for this kit when I decided to stop. I know that I should be working on the smaller kits instead but I promise that after this, I will either concentrate on them or start another small kit. Why another small kit? Well, if you compare any other kits (other than Mega Size) to this, all other kits are small. ^_^.
 
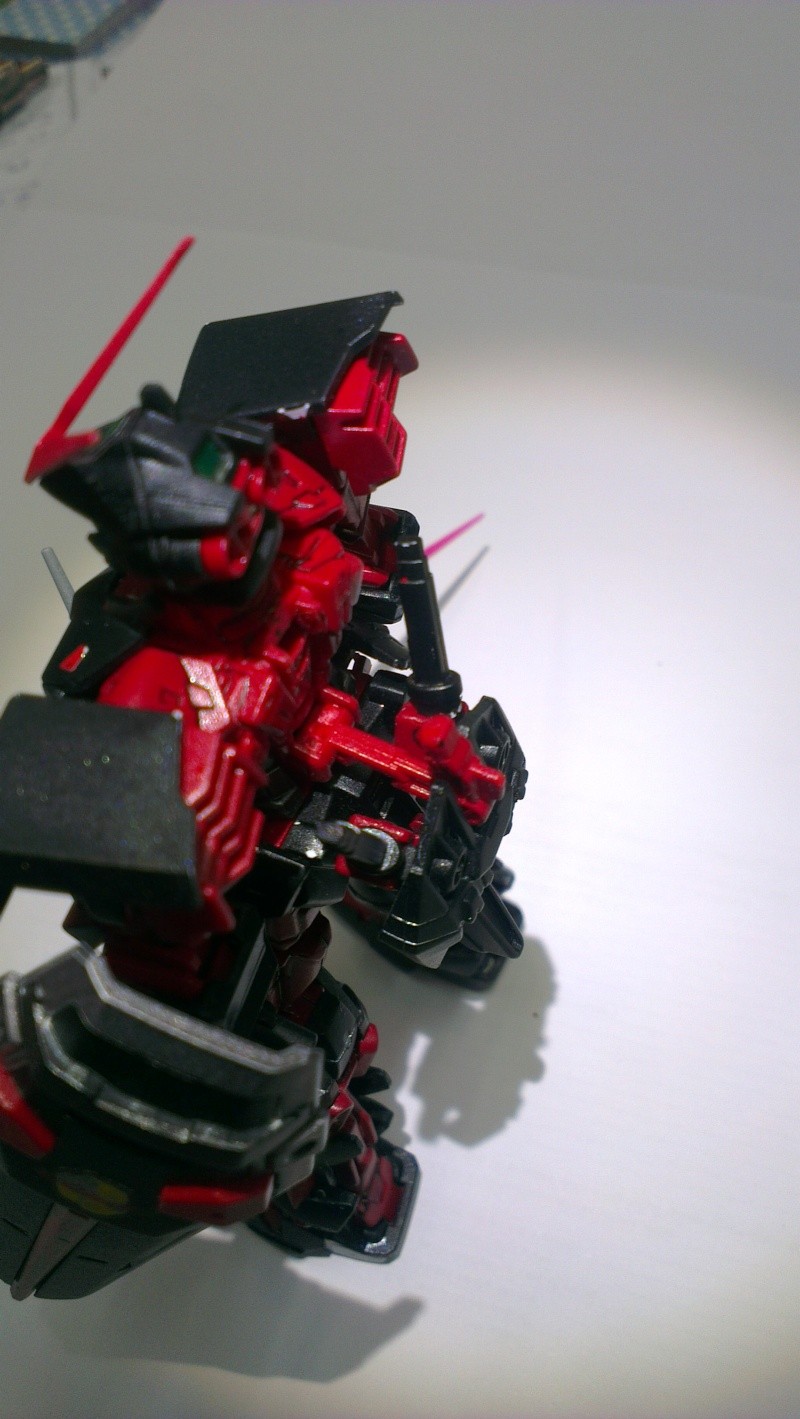
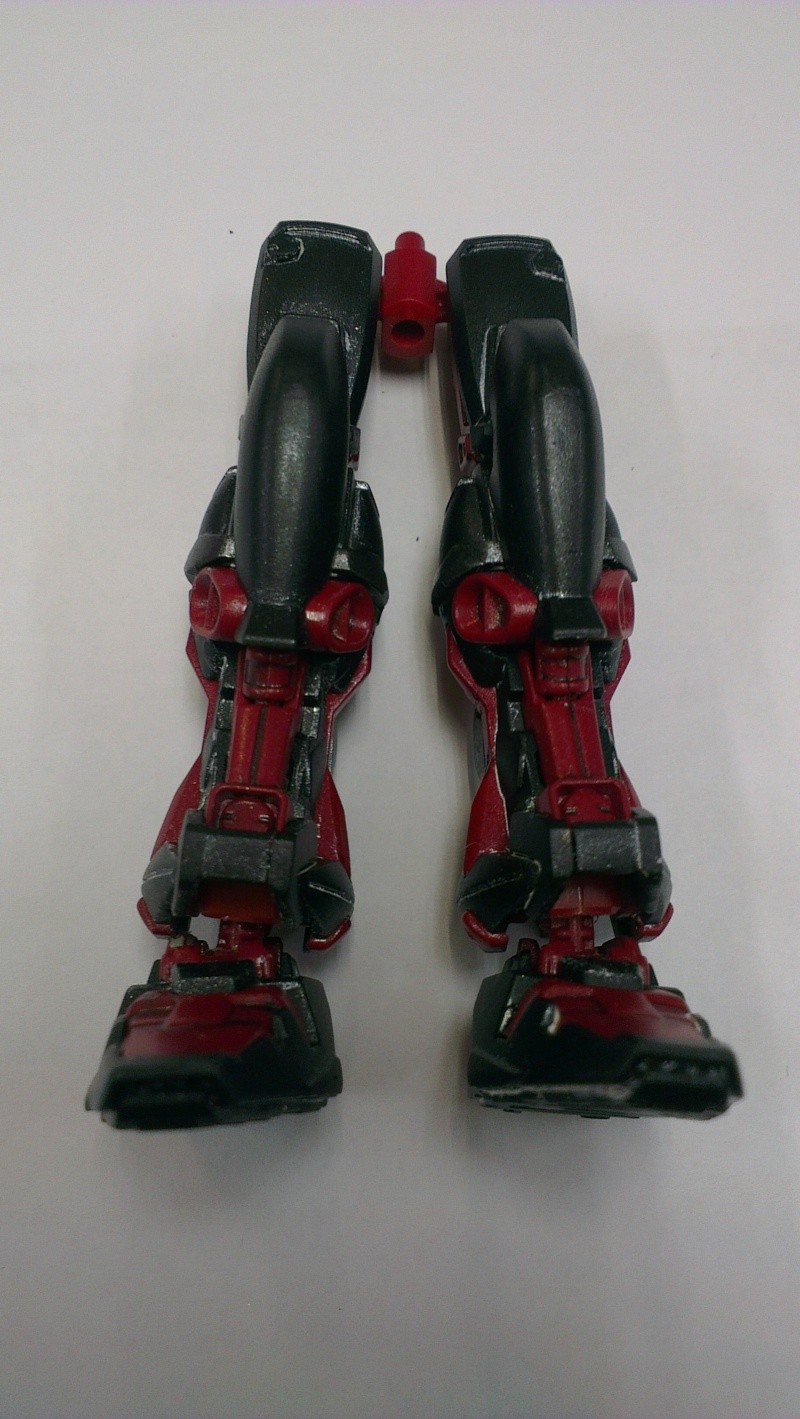
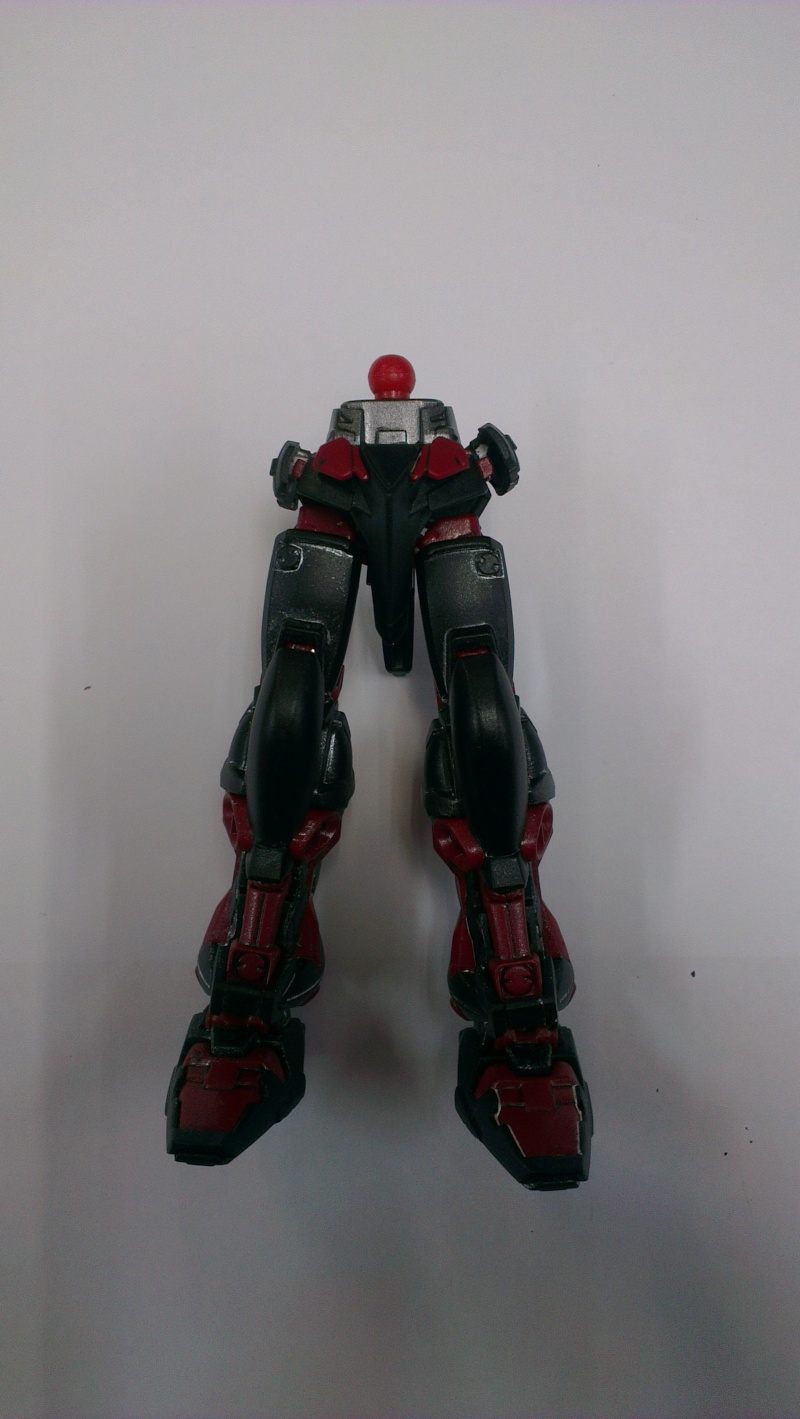
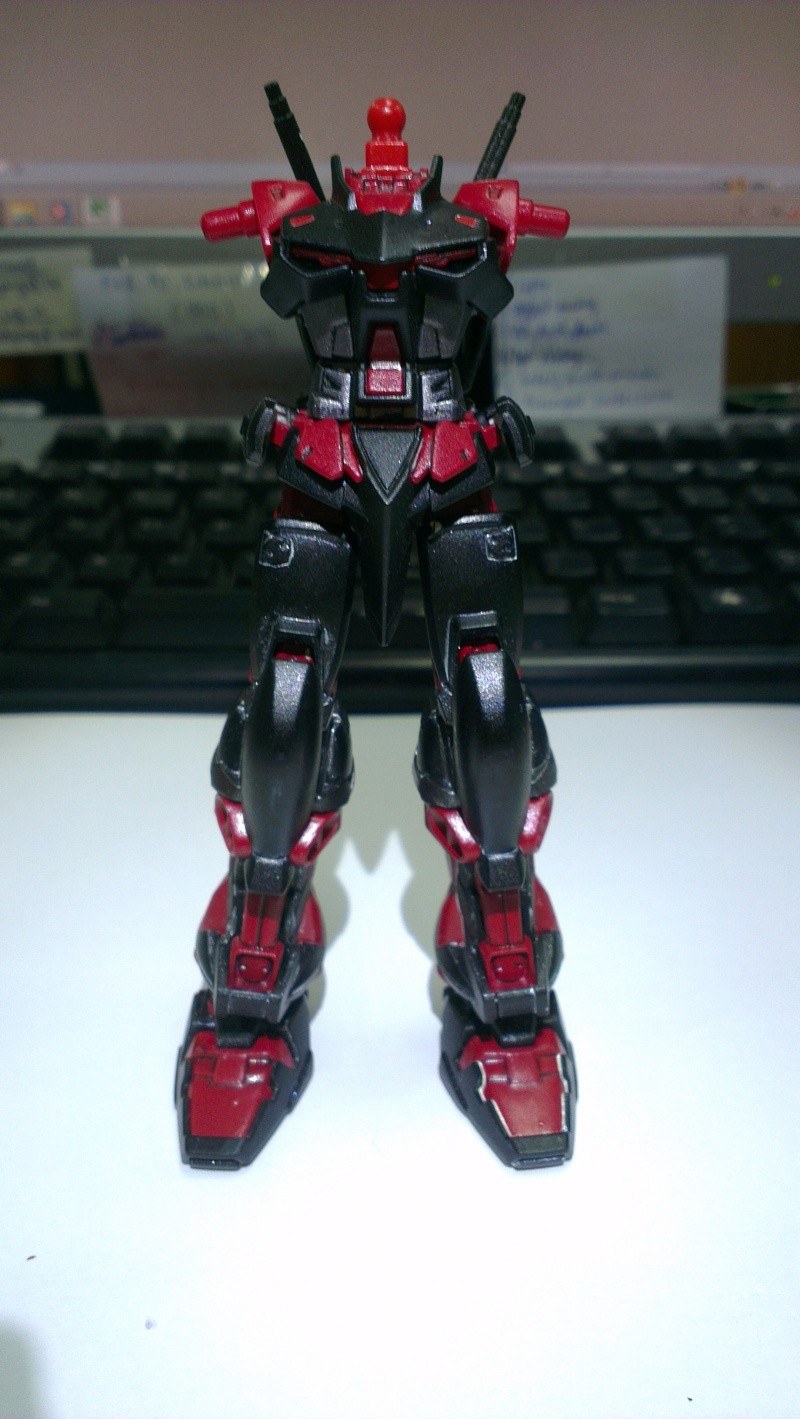
Back to the main purpose of this post. Since the inner frame of the upper legs was completed, the next work to be done will be the inner frame of the lower leg.
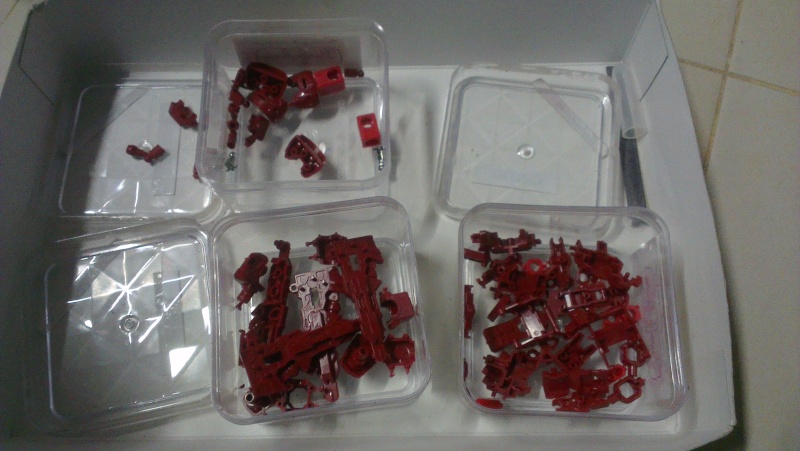
Parts of the lower legs separated into their respective color boxes

Saturday, July 18, 2015

PG Red Frame - WIP 7

Remember what happened the last time...
 
Back to working on the Red Frame after reviewing Roar. Since the katanas were completed, the legs for the Red Frame will be the star of this post. I will use the same concept when I was building the legs of the Blue Frame i.e. splitting the legs into two sections: upper and lower legs.

Work will begin with the upper legs first. Parts of the legs were split into their respective boxes according to the color they will be sprayed in. I started on the gold parts because they were the least amount of pieces to work on.

Gold pieces for the upper leg

Some minor detailing, panel lining and a layer of Future was applied to pieces when the paint was dry.
 
Gold pieces of the upper legs waiting for the Future to dry

Tuesday, June 16, 2015

PG Red Frame - WIP 6

A little comparison doesn't hurt
 
Since the metal katana and the Daban katana are at the same place at the same time, I thought it might be a good time to do a quick comparison between the two.
 
Left: Length comparison between the plastic (left) and metal (right) katana
Right: Details at the pommel
 
Left: Metal (top) and plastic (bottom) katana handle
Right: Details of the guard between the metal (left) and plastic (right) katana
 

Thursday, June 11, 2015

PG Red Frame - WIP 5

A display for something exquisite
 
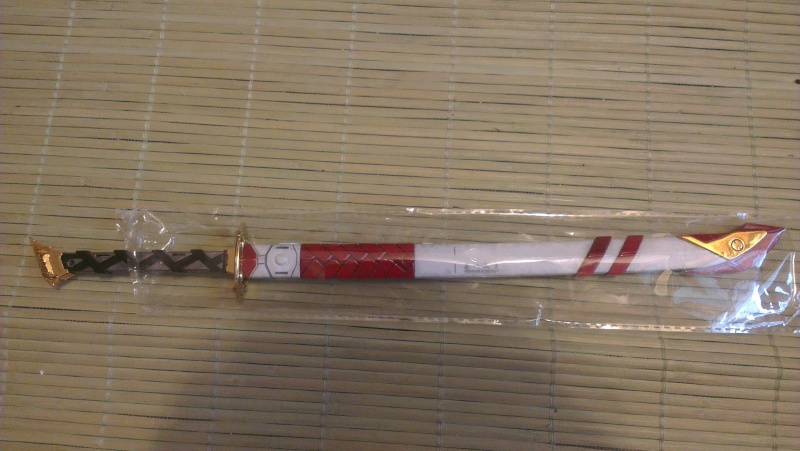
With one set of the Gerbera Straight (Daban) done, I should start work on the second set but I could not bare to see the completed katana in the a plastic. Makes the Gerbera Straight looks like it has been abandoned. 
 
Completed Gerbera Straight kept in a plastic
 
The katana should have a place where it can be displayed to show its full glory:

Sunday, May 24, 2015

PG Astray Red Frame - WIP 4

Extra care is given to the process of making the katana
 

With the completion of the legs and waist of the ABF and only the feet for ARF, it is fair to start work on the ARF. By the way, I have been given a dateline by my missus to finish both kits and tidy the room. Dateline: 30th November 2015.

Instead of starting with the legs, I went and start work on the katanas instead. This is the main reason I fell in love with ARF in the first place. What is sexier than a mecha with katanas. I am planning to make one of the sheath to be a darker color scheme (hopefully) than the other to differentiate between the Daban and BanDai version of Gerbera Straight.

Friday, May 15, 2015

RG 1/144 Gundam Astray Red Frame - On Display @ Shizouka Hobby Show 2015

RG of everybody's favourite mech
 
It is safe to say that this is everyone's favourite mech. No matter what type of mech you like, you will surely have this one either in your collection or in your wishlist. Release Date: Aug 2015 with the price of 2700 yen.
 
Let's get on with the photos of this mech which was on display @ Shizouka Hobby Show 2015:


Friday, March 27, 2015

PG Astray Red Frame - WIP 3

Impossible task ahead
 
From this post on I decided to split the title to PG Astray Red Frame and PG Astray Blue Frame as opposed to PG Astrays. This might seem redundant because both kits are PG Astray Red Frame but in the long run it will make an easier reference.

Mentioned in the previous post, the other RF has arrived. I'm thinking of building both RFs together meaning I will be building double of everything. I might be crazy but I think this is the way to go for this project. Besides, I need to clear space before the Mechanicore Deepstriker arrives later this year. With that being said, I will need lots more paints and time to complete the kits.

Plus side to this craziness is I will have to stop this project sooner or later to replenish my paint stocks or to prevent burnt out from working on 2 pg kits simultaneously. When I stop, I can do other smaller kits to clear even more space. Another plus side is I can do a direct comparison between the BanDai and Daban RF. This is like killing 3 birds with one stone.

Sunday, March 22, 2015

PG Astrays - WIP 2

Unsteady pilots

Mentioned in the next kit post few weeks back, I have decided to get a 2nd PG Red Frame just for the accessory (mainly the Gerbera Straight). The kit has finally arrived and I'm more excited than ever because now my RF is able to carry 2 sheath instead of one. For now I'm still pondering on what frame to paint the other RF to. Blue, Green, Gold? Blue would be more suitable because the 2nd RF kit comes with a free 1/60 TA. While thinking about a new color scheme, I decided to paint the pilot figures first before embarking on the MS.
 
Why did I choose to paint the pilot first? I decided to join a Pilot Painting Contest hosted by DC23. The prizes are attractive. GreatToysOnline.com will be shipping a couple of Gundam Metallic Nano Puzzles, myhmshop.com will be shipping a HM135 0.3 nozzle airbrush and Don himself will be shipping a set of Vallejo Acrylic Paints.

Sunday, March 15, 2015

Secret kit - WIP 1

Secret kit revealed
 
Mentioned some post back that I have this urge to start building this particular kit. I also mentioned that 'I have all the necessary materials ready. There is this one particular accessory which I'm thinking whether I should get. If yes means I have to get another kit but the kit can be painted in another color scheme. Still undecided if it looks nicer with one or two. One thing I can say it that this will be a big kit'.
 
Did you manage to figure out what the next kit will be? The next big and I mean big project is none other than.....

Saturday, June 28, 2014

HG Red Frame (Flight Unit) - WIP 15 (Final)

This is the final part for the Red Frame (Flight Unit). In this post, the entire arsenal of the RF will be shown and how he will carry it into battle. First off as mentioned in the previous post, I shall give the Red Frame a new name. Been thinking of a name for a long time and I feel this name is appropriate. I present to you the Shinobi Astray Red Frame Seven Swords (Flight Unit).

Why the name Seven Swords? If you remember correctly, there are a total of seven swords built in this entire process. First is the Gerbera Straight, next would be the 2 Caletvwichs and followed by 2 katanas from the Builders Part. If you are counting, the total comes up to 5. Where are the other 2 swords? They are the 2 beam sabers on the back of the kit. Hence the name Seven Swords.

Friday, June 27, 2014

HG Red Frame (Flight Unit) - WIP 14

In the previous post, we saw how the flight unit was attached to the RF with a few action poses and all the standard weapons were shown, I will show the RF with the Caletvwich as discussed in Part 10 and the additional 2 katanas which was reviewed in Part 11.
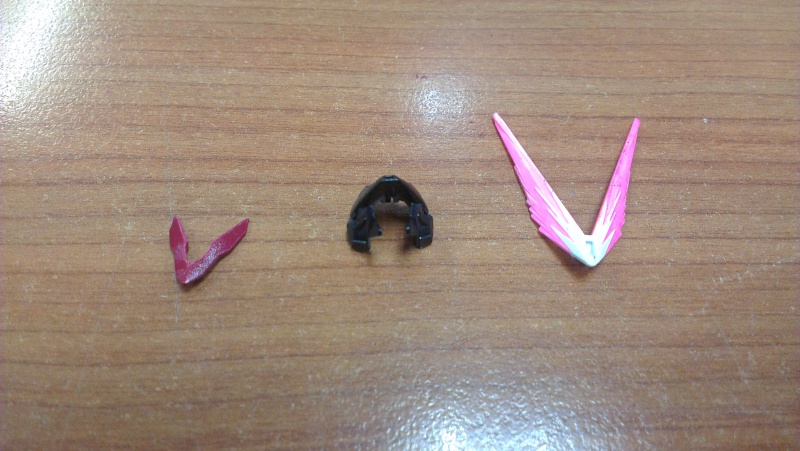
Before we go into that, let's change the RF's front section of the helmet first. All we need to do is to replace the existing V fin and front helmet with the ones supplied with the Caletvwich kit.
The parts to be replaced
The assembly is a simple process. Attach the front helmet on, attach the pink V fin and finally the red V fin on top of the pink. Once completed, the RF should look like this:

Tuesday, June 24, 2014

HG Red Frame (Flight Unit) - WIP 13

In Part 6, the flight unit was assembled and waiting for its time for Red Frame to summon it. To attach the flight unit, you must first move the backpack of the RF down.


There is a peg at the back of the backpack. Align the peg with the hole found in the flight pack and push them in.

Monday, June 23, 2014

HG Red Frame (Flight Unit) - WIP 12

Since all the work are done, it is now time to assemble the Red Frame. What I usually do when assembling any gundam is from the bottom up.
  
Left to Right: Red Frame before assembly. Assembled the legs
 
To assemble the legs, you just need to insert it into the peg and then attach it to the waist section.

Waist and chest section assembled.
 

Sunday, June 22, 2014

HG Red Frame (Flight Unit) - WIP 11

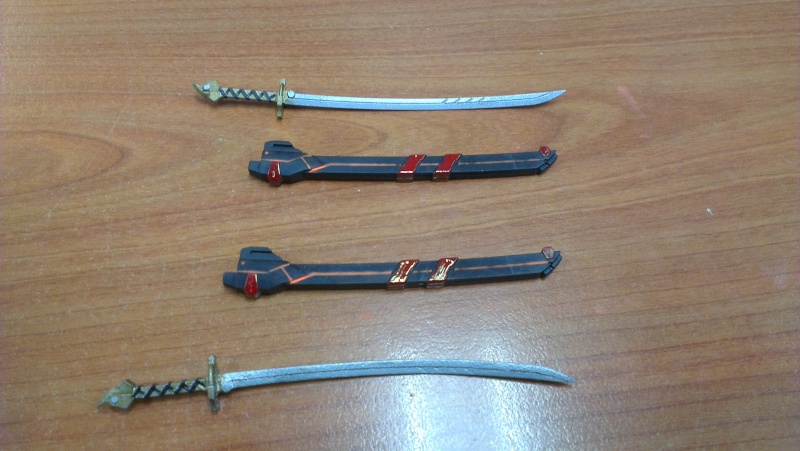
As mentioned in WIP 8, I got the Gunpla Builders Parts HD: MS Launcher 01. I will be only using the katanas. There was a slight problem with the silver paint when I used it. It came out too thick for one of the katana. The only thing I could do was sand the paint off and re-spray.
By the time I got all the silver out from the blade, the plastic was already thinned till breaking point. I had to make sure that the silver comes out properly this time round. Worse case scenario, get another set of builders part.

Katanas from the Gunpla Builders Parts HD: Launcher 01

HG Red Frame (Flight Unit) - WIP 10

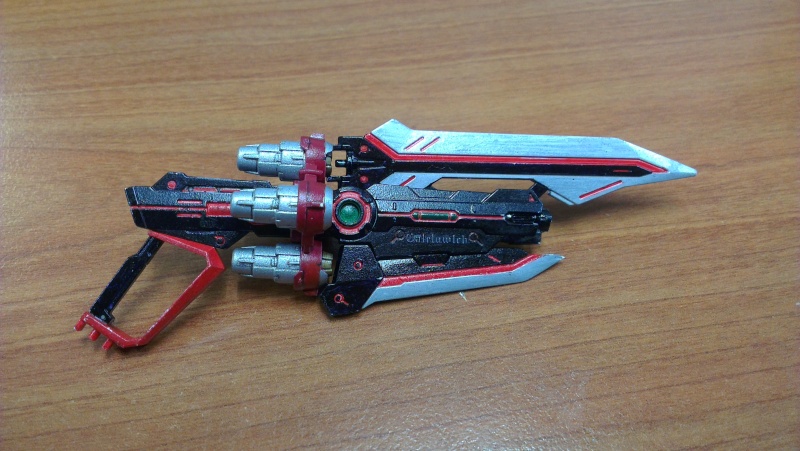
A continuation of the functions of the Caletvwich from the previous post. This post will be about the different types of combination the Caletvwich. For me, the main form of the Caletvwich is the gun mode with the 2 blades on it.

The next mode would be the sword mode which can be seen in most Gundam Hobby magazines. To make this mode, just remove the big blade on the top, flip it 180° and attach it to the front. The handle will be changed from the bottom to the top.

Tuesday, June 17, 2014

HG Red Frame (Flight Unit) - WIP 9

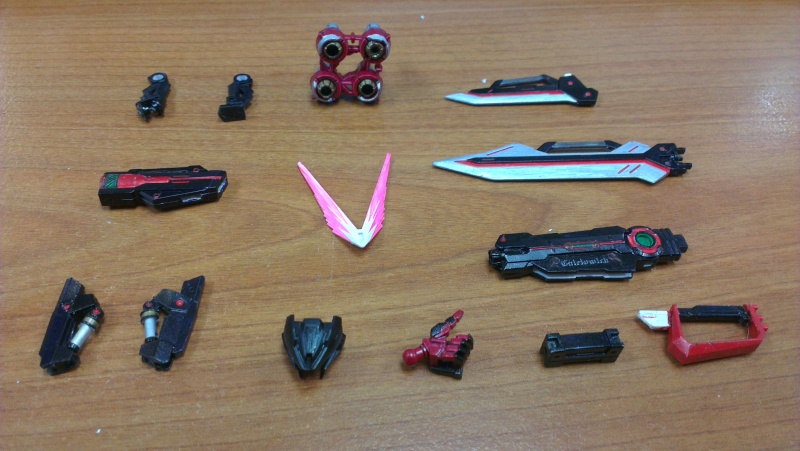
From the last post, the decision was made to paint Caletvwich. The whites were painted black and red. There are 2 V fins included in the kit. The big V fin was painted pink and the other is painted red. Some white parts on the big V fin were left unpainted. Hopefully it will come along nicely when both the fins are attached together.

Parts of the Caletvwich before assembly.

Notice anything missing in the above photo? Yup, one V fin missing. Looking at the parts, the assembly of this kit should be a straight process, right? That's what I thought too. When I first assembled the Caletvwich, the thrusters were loose and both blades could not be assembled on without touching the thrusters. After looking for a solution on the net (the instructions were no help because they are in Japanese), I found out that there is a proper way to assemble the thrusters. There are holes in the thrusters for you to connect the big blade to it.

Friday, June 13, 2014

HG Red Frame (Flight Unit) - WIP 8

Started working on the caletvwich. The whole kit comes in white colour. The original colour of the product is white with red lining and some blacks for the thrusters and handle.

Image from GundamGuy

Caletvwich kit fresh from the box

Monday, June 2, 2014

HG Red Frame (Flight Unit) - WIP 7

Instead of starting shadowing on the RF, I got itchy and got these two add-on for the kit.


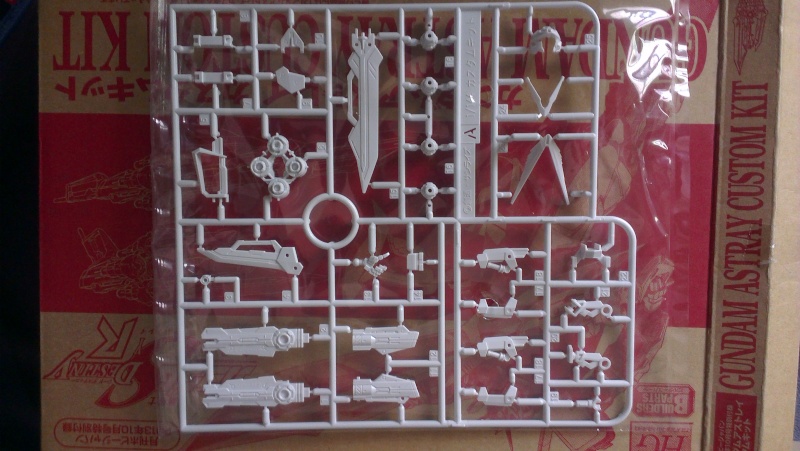
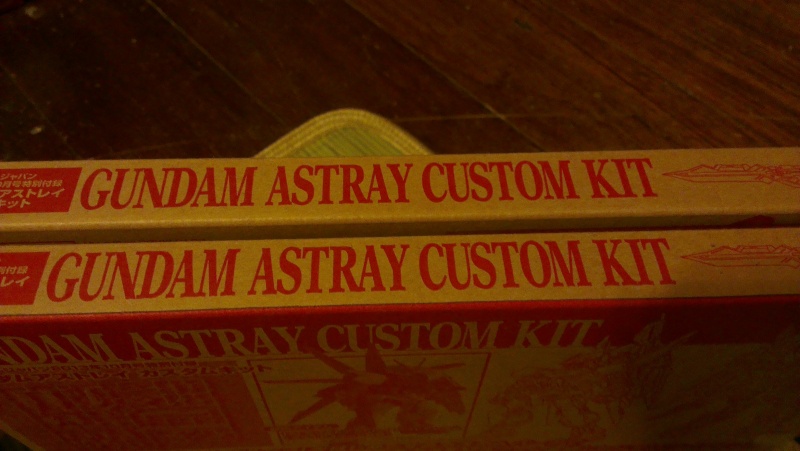
What is it? you may ask since all it states is Gundam Astray Custom Kit. For those who are not familiar, this is the add-on for HG Red Frame (Flight Unit). This kit comes together with the Hobby Japan (October 2013) magazine. It is the Caletvwich (I cannot and don't know how to pronounce it).

Sunday, June 1, 2014

HG Red Frame (Flight Unit) - WIP 6

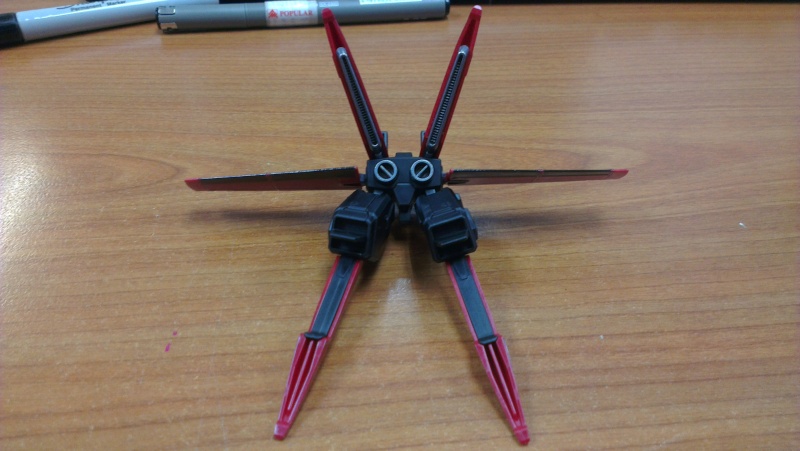
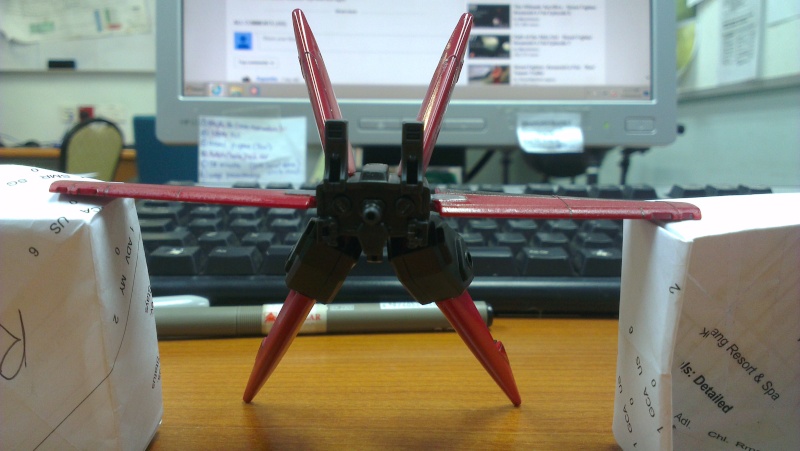
Photos of the completed flight unit:


Back of the flight unit.
Front of the flight unit
Also panel lined and matt coated all the parts in preparation for shadowing. Hope it turns out well as this is my first time doing it. As mentioned in the part 5, this will be a short post on the completed flight unit.

HG Red Frame (Flight Unit) - WIP 5

The time has come to feature the weapons of the Red Frame (Flight Unit). Not sure if it can be seen in the photos but all the black parts have a little 'metallic' shine to it.

Left to right: BuCUE head, shield, gerbera straight and beam rifle
Related Posts Plugin for WordPress, Blogger...