Showing posts with label Flight Unit. Show all posts

Saturday, June 28, 2014

HG Red Frame (Flight Unit) - WIP 15 (Final)

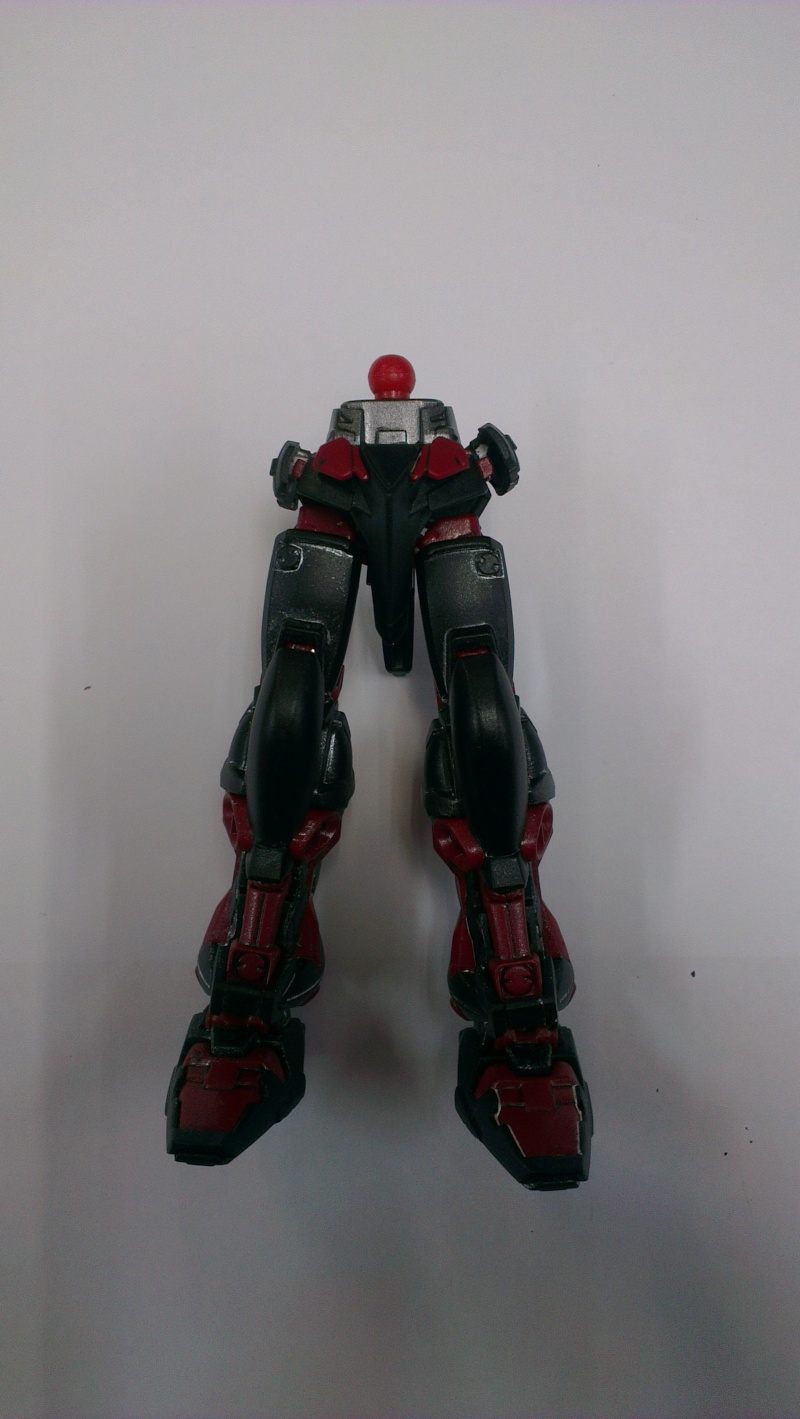
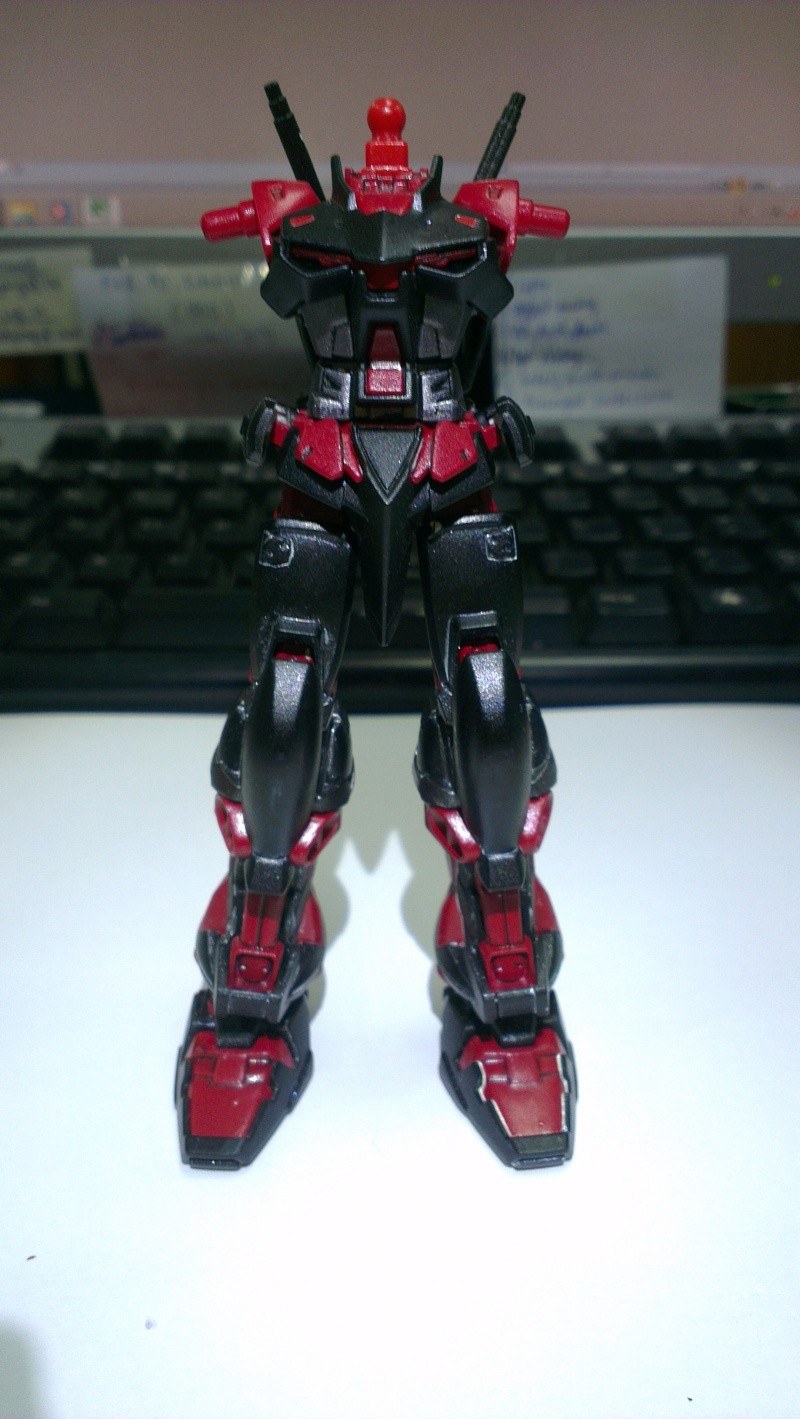
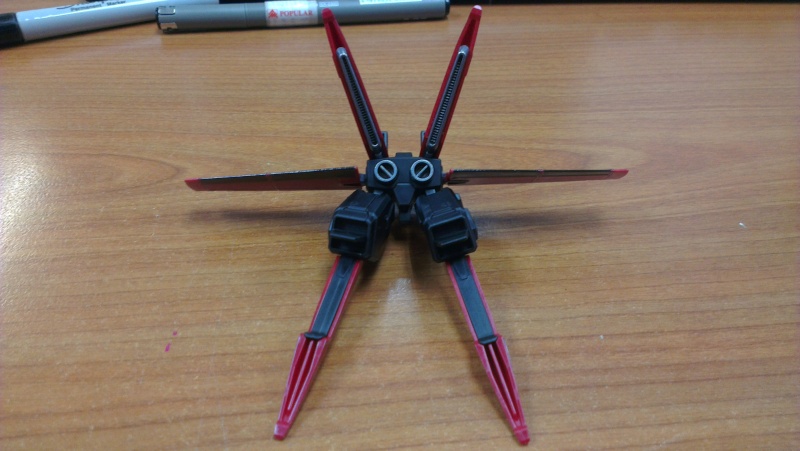
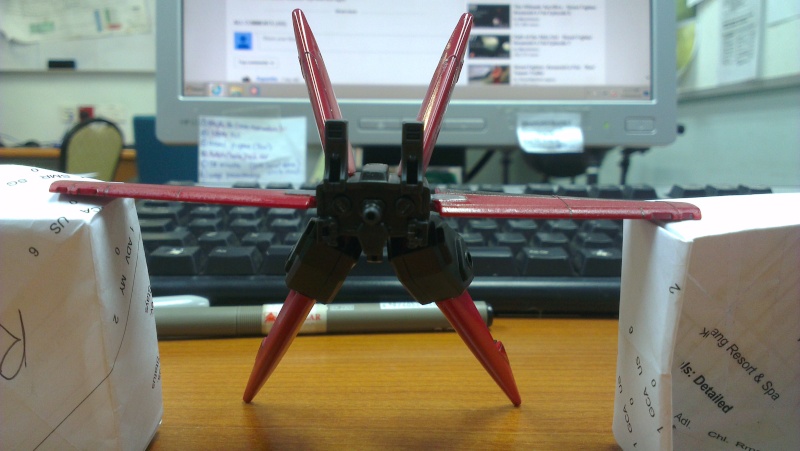
This is the final part for the Red Frame (Flight Unit). In this post, the entire arsenal of the RF will be shown and how he will carry it into battle. First off as mentioned in the previous post, I shall give the Red Frame a new name. Been thinking of a name for a long time and I feel this name is appropriate. I present to you the Shinobi Astray Red Frame Seven Swords (Flight Unit).

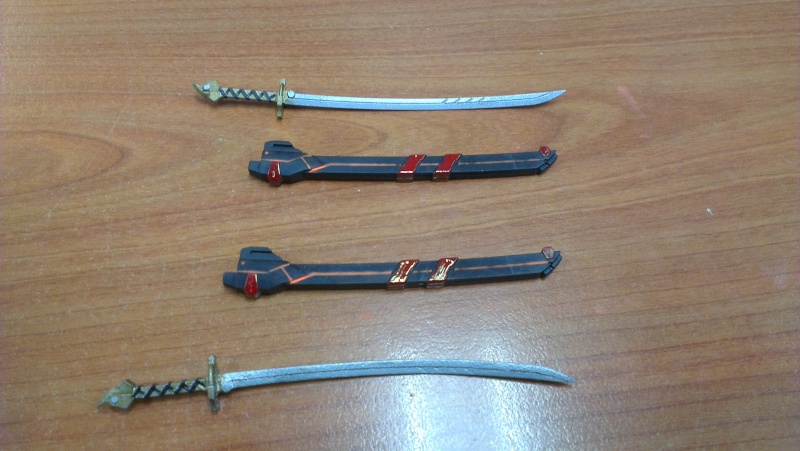
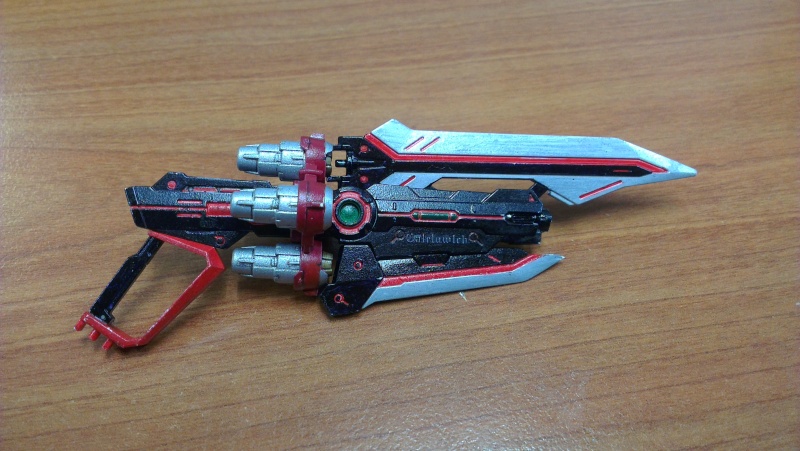
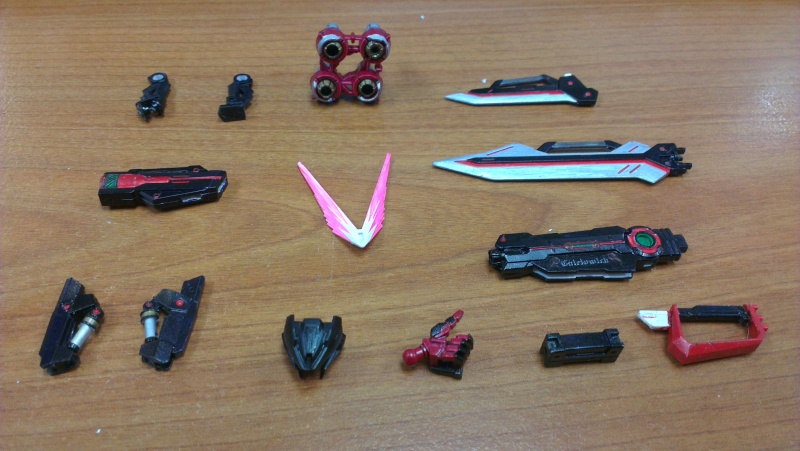
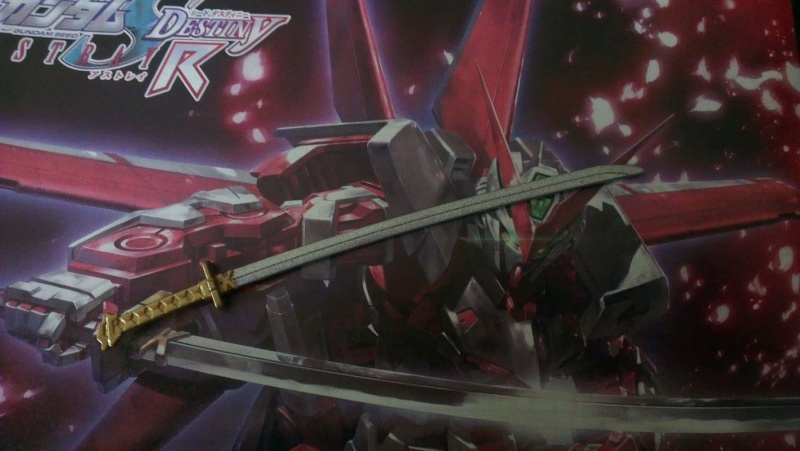
Why the name Seven Swords? If you remember correctly, there are a total of seven swords built in this entire process. First is the Gerbera Straight, next would be the 2 Caletvwichs and followed by 2 katanas from the Builders Part. If you are counting, the total comes up to 5. Where are the other 2 swords? They are the 2 beam sabers on the back of the kit. Hence the name Seven Swords.

Friday, June 27, 2014

HG Red Frame (Flight Unit) - WIP 14

In the previous post, we saw how the flight unit was attached to the RF with a few action poses and all the standard weapons were shown, I will show the RF with the Caletvwich as discussed in Part 10 and the additional 2 katanas which was reviewed in Part 11.
Before we go into that, let's change the RF's front section of the helmet first. All we need to do is to replace the existing V fin and front helmet with the ones supplied with the Caletvwich kit.
The parts to be replaced
The assembly is a simple process. Attach the front helmet on, attach the pink V fin and finally the red V fin on top of the pink. Once completed, the RF should look like this:

Tuesday, June 24, 2014

HG Red Frame (Flight Unit) - WIP 13

In Part 6, the flight unit was assembled and waiting for its time for Red Frame to summon it. To attach the flight unit, you must first move the backpack of the RF down.


There is a peg at the back of the backpack. Align the peg with the hole found in the flight pack and push them in.

Monday, June 23, 2014

HG Red Frame (Flight Unit) - WIP 12

Since all the work are done, it is now time to assemble the Red Frame. What I usually do when assembling any gundam is from the bottom up.
  
Left to Right: Red Frame before assembly. Assembled the legs
 
To assemble the legs, you just need to insert it into the peg and then attach it to the waist section.

Waist and chest section assembled.
 

Sunday, June 22, 2014

HG Red Frame (Flight Unit) - WIP 11

As mentioned in WIP 8, I got the Gunpla Builders Parts HD: MS Launcher 01. I will be only using the katanas. There was a slight problem with the silver paint when I used it. It came out too thick for one of the katana. The only thing I could do was sand the paint off and re-spray.
By the time I got all the silver out from the blade, the plastic was already thinned till breaking point. I had to make sure that the silver comes out properly this time round. Worse case scenario, get another set of builders part.

Katanas from the Gunpla Builders Parts HD: Launcher 01

HG Red Frame (Flight Unit) - WIP 10

A continuation of the functions of the Caletvwich from the previous post. This post will be about the different types of combination the Caletvwich. For me, the main form of the Caletvwich is the gun mode with the 2 blades on it.

The next mode would be the sword mode which can be seen in most Gundam Hobby magazines. To make this mode, just remove the big blade on the top, flip it 180° and attach it to the front. The handle will be changed from the bottom to the top.

Tuesday, June 17, 2014

HG Red Frame (Flight Unit) - WIP 9

From the last post, the decision was made to paint Caletvwich. The whites were painted black and red. There are 2 V fins included in the kit. The big V fin was painted pink and the other is painted red. Some white parts on the big V fin were left unpainted. Hopefully it will come along nicely when both the fins are attached together.

Parts of the Caletvwich before assembly.

Notice anything missing in the above photo? Yup, one V fin missing. Looking at the parts, the assembly of this kit should be a straight process, right? That's what I thought too. When I first assembled the Caletvwich, the thrusters were loose and both blades could not be assembled on without touching the thrusters. After looking for a solution on the net (the instructions were no help because they are in Japanese), I found out that there is a proper way to assemble the thrusters. There are holes in the thrusters for you to connect the big blade to it.

Friday, June 13, 2014

HG Red Frame (Flight Unit) - WIP 8

Started working on the caletvwich. The whole kit comes in white colour. The original colour of the product is white with red lining and some blacks for the thrusters and handle.

Image from GundamGuy

Caletvwich kit fresh from the box

Monday, June 2, 2014

HG Red Frame (Flight Unit) - WIP 7

Instead of starting shadowing on the RF, I got itchy and got these two add-on for the kit.


What is it? you may ask since all it states is Gundam Astray Custom Kit. For those who are not familiar, this is the add-on for HG Red Frame (Flight Unit). This kit comes together with the Hobby Japan (October 2013) magazine. It is the Caletvwich (I cannot and don't know how to pronounce it).

Sunday, June 1, 2014

HG Red Frame (Flight Unit) - WIP 6

Photos of the completed flight unit:


Back of the flight unit.
Front of the flight unit
Also panel lined and matt coated all the parts in preparation for shadowing. Hope it turns out well as this is my first time doing it. As mentioned in the part 5, this will be a short post on the completed flight unit.

HG Red Frame (Flight Unit) - WIP 5

The time has come to feature the weapons of the Red Frame (Flight Unit). Not sure if it can be seen in the photos but all the black parts have a little 'metallic' shine to it.

Left to right: BuCUE head, shield, gerbera straight and beam rifle

Saturday, May 24, 2014

HG Red Frame (Flight Unit) - WIP 4

This time I will be assembling the hands, applying the decal and finish it off with the head. Finished painted and panel lining only the red parts.

Parts of the hand before assembling:
 

HG Red Frame (Flight Unit) - WIP 3

WIP update for the RF.

Sprayed the chest and waist.


HG Red Frame (Flight Unit) - WIP 2

Decided to do something different for this build. Instead of starting on the main MS, I started on the weapons instead. For my case, when I finish the MS, the creative juice for the weapons won't be there anymore. Also removed the pieces from the runners and placed in their respective box.

HG Red Frame (Flight Unit) - WIP 1

I decided to participate in a Group Build held by SGGS. I will be building the Red Frame (Flight Unit). There won't be modifying of anything as I don't feel confident enough. May try to do some shadowing but that will be decided later on.

Related Posts Plugin for WordPress, Blogger...