Transform and fly out
Before starting out on the final review, just to inform that I will be doing something different for this post. There will be a list of pros and cons for this kit and a conclusion at the end. Just thought of trying new things to spice up the blog. Do leave comments on what you think about this.
Seen on the side box in WIP 1 an action base is included with this kit. Before transforming Epyon to its alternate form, I decided to take a look at the display first. The base consist of 7 parts. The base, 3 effect parts, 2 different holders and the stand.
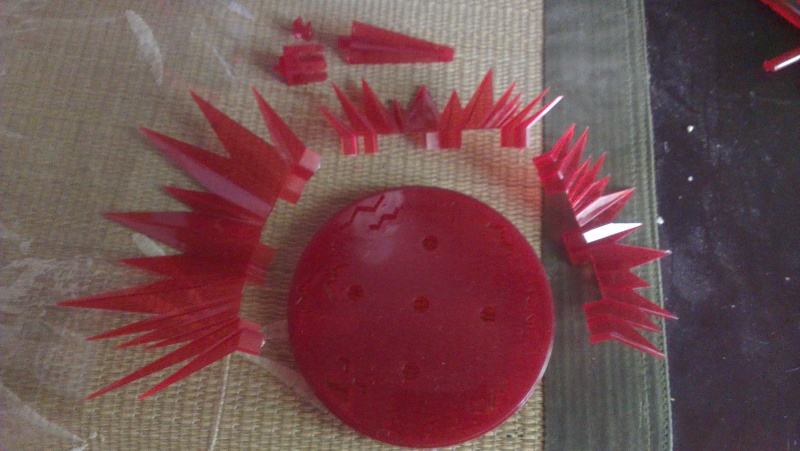
Different parts to assemble into the action base
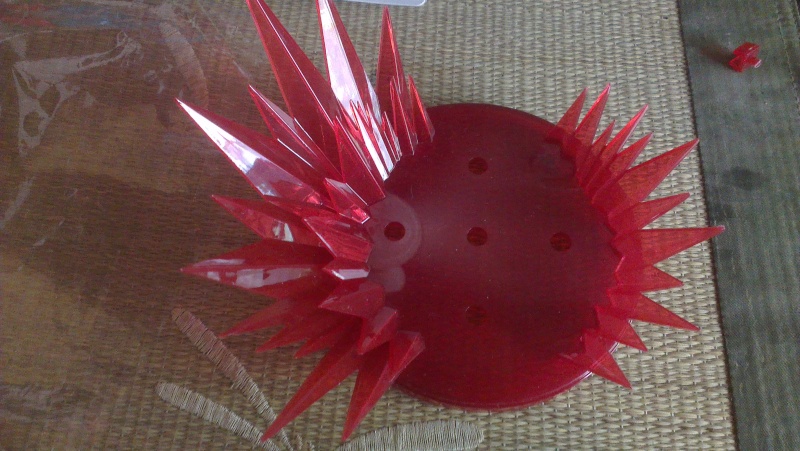
The effect parts are easy to assemble. Just follow the holes and pegs on the base and you can never go wrong. There are 5 different holes on the base to put the stand. I mainly use the middle hole to have a sense of balance when Epyon is mounted.

As mentioned above, there are 2 different types of holder for the stand. I'm guessing one is for the MS and the other is for the dragon mode. I guess we will find out when the time comes.

The process of transforming from MS to dragon mode is very simple. The instruction shows to do the transformation with the wings on but I find it easier to do it without the wings. Here are the steps of the transforming process:
1. Remove hands
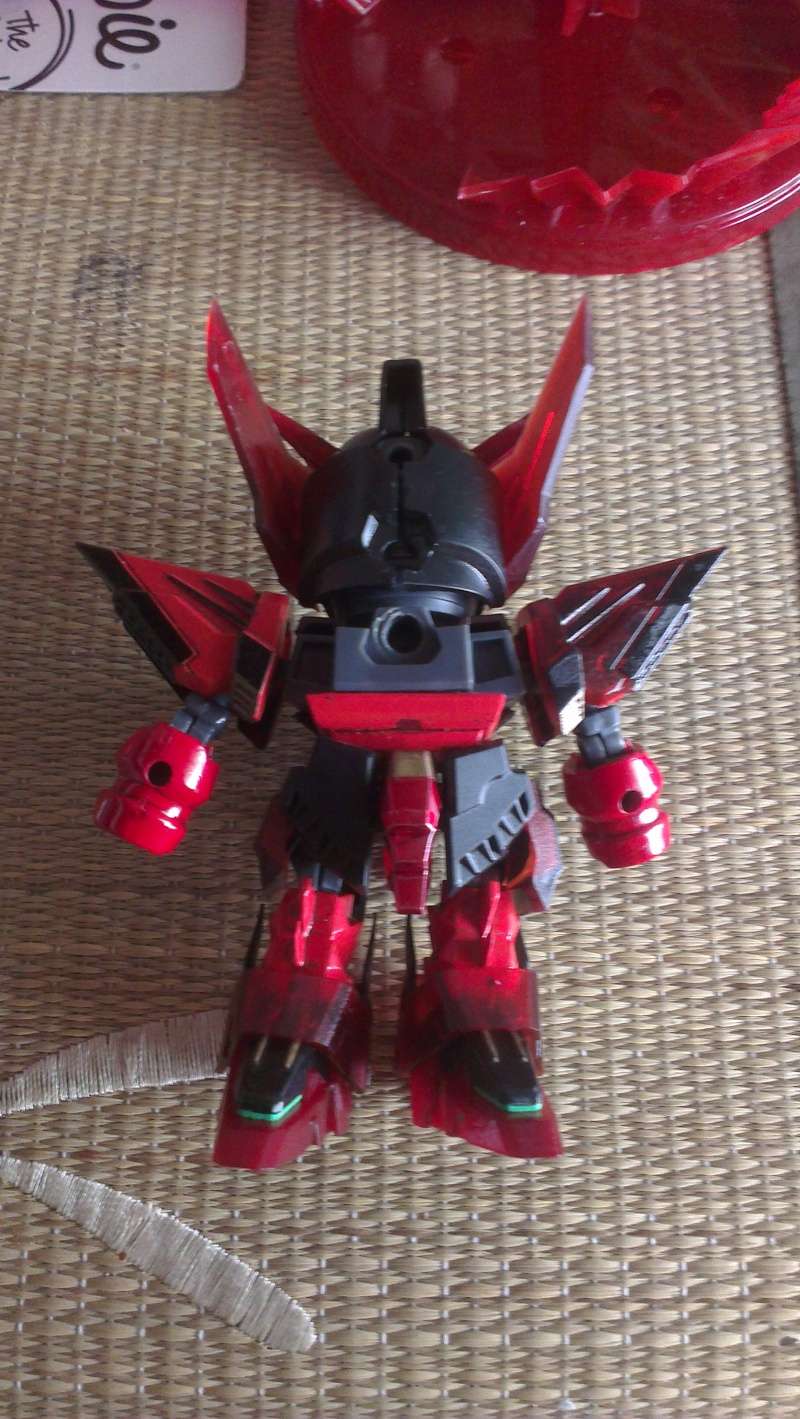
2. Rotate waist 180°

3. Tilt legs forward and rotate hands 180°
4. Install wings and bend hands down 90°
5. Attach shield into the peg at the back of the head.
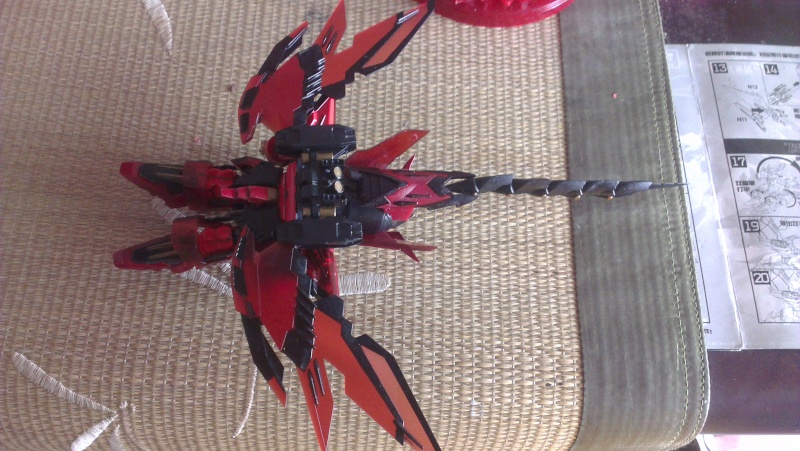
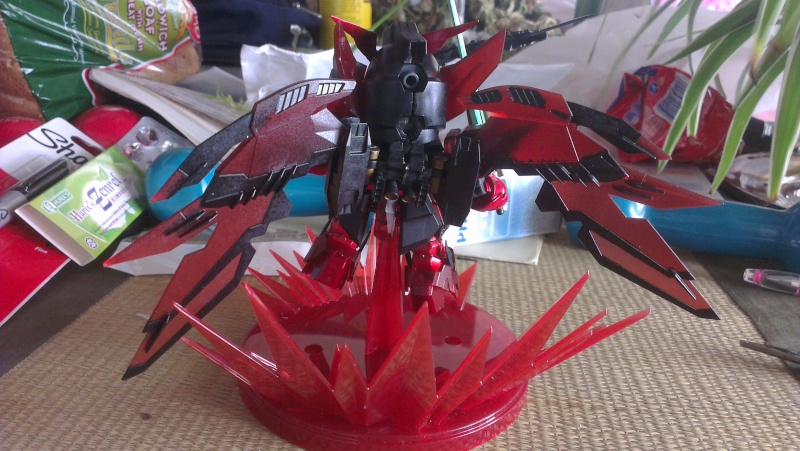
That's it. Just 5 very simple steps and you have a dragon. This mode is very posable from the twin head to the wings and tail.
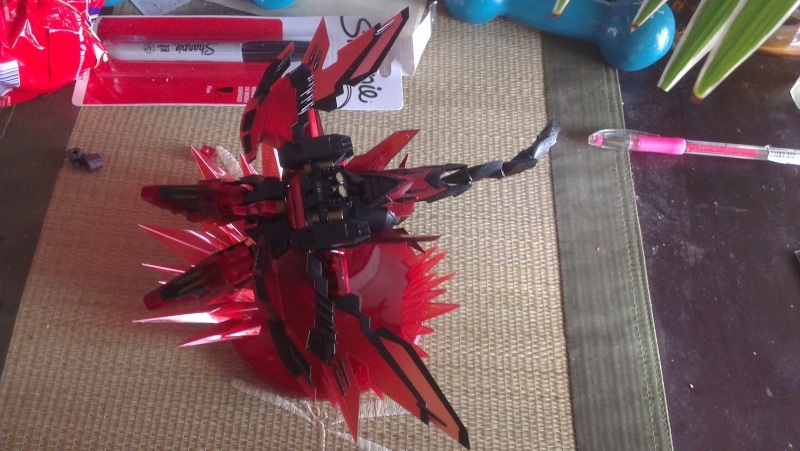
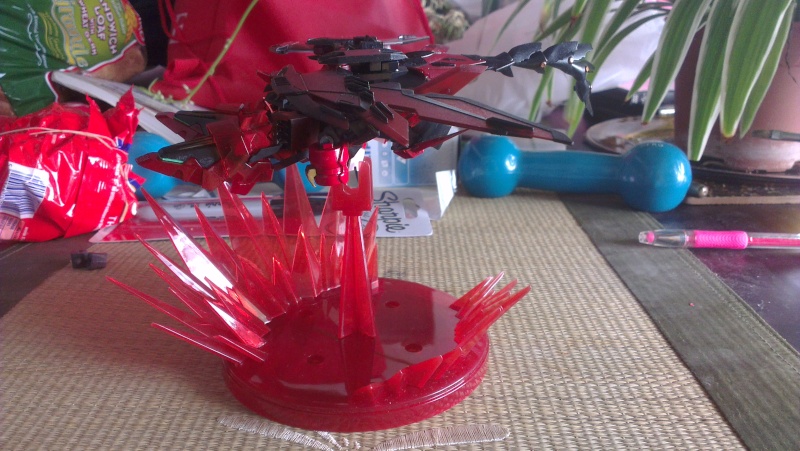

There are no holder for the dragon mode. The dragon will have to balance itself on the big holder. Put it too far in front and it will tip over. Cannot put it too far back because there is nothing for the holder to support. The small holder for the MS is more stable. You will have to slide the waist section into small holder and it holds the kit firmly.
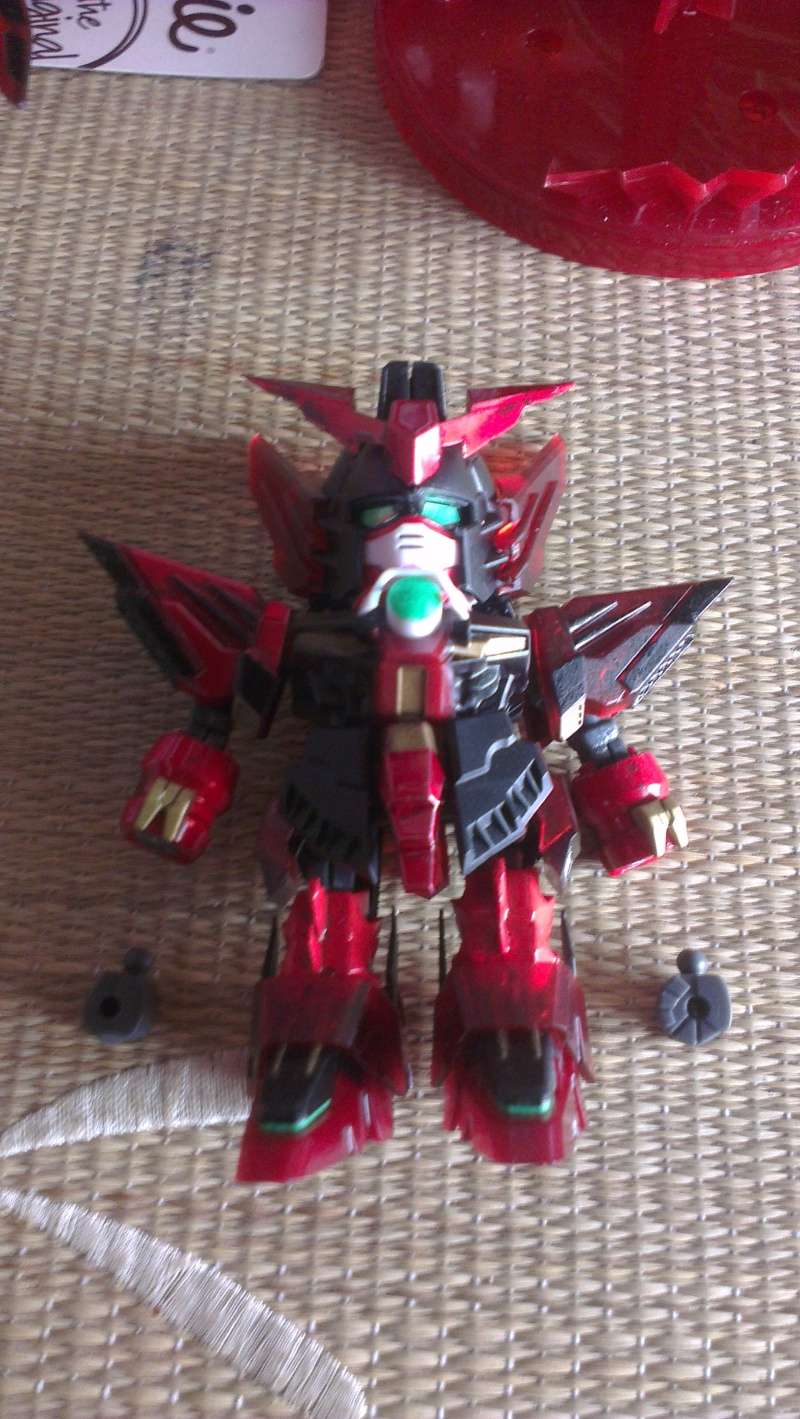
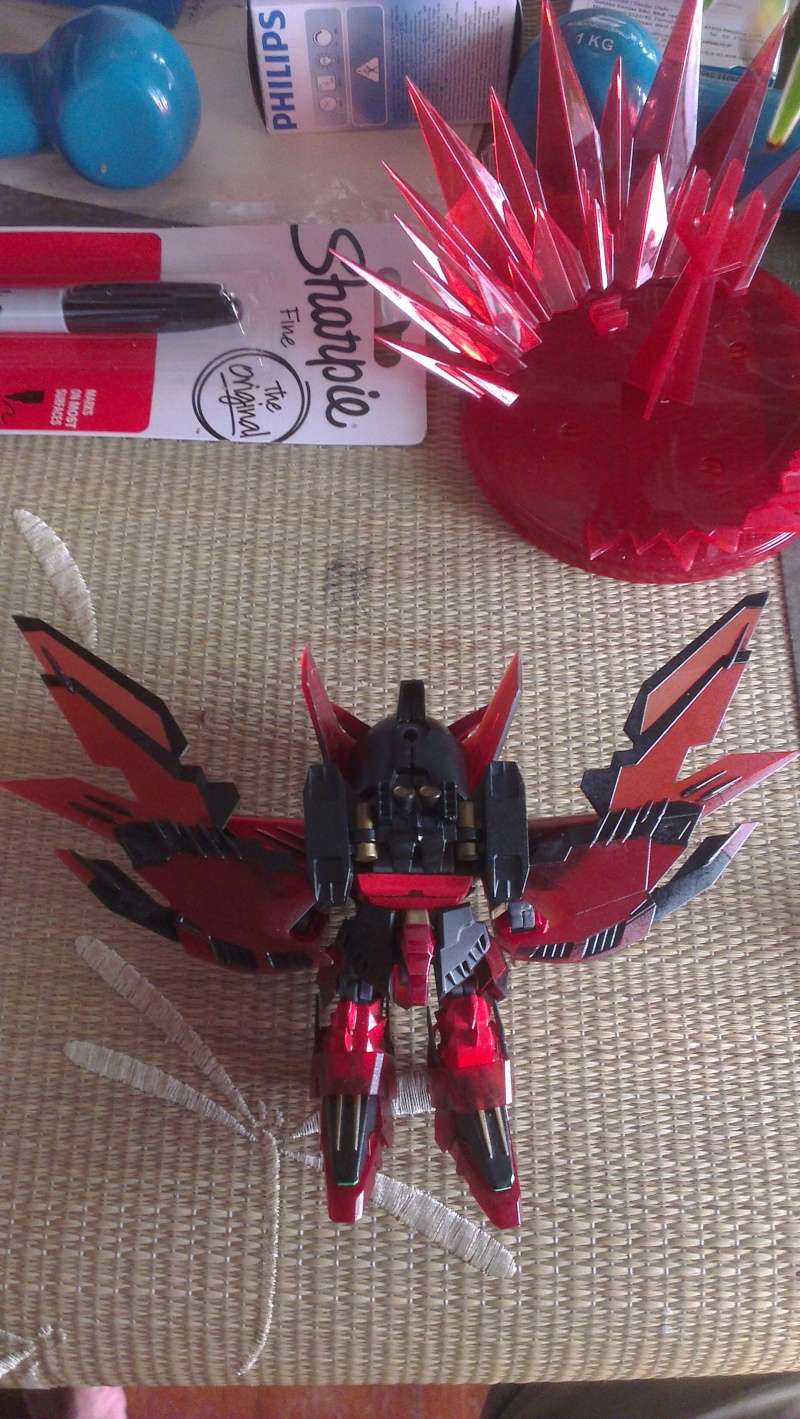
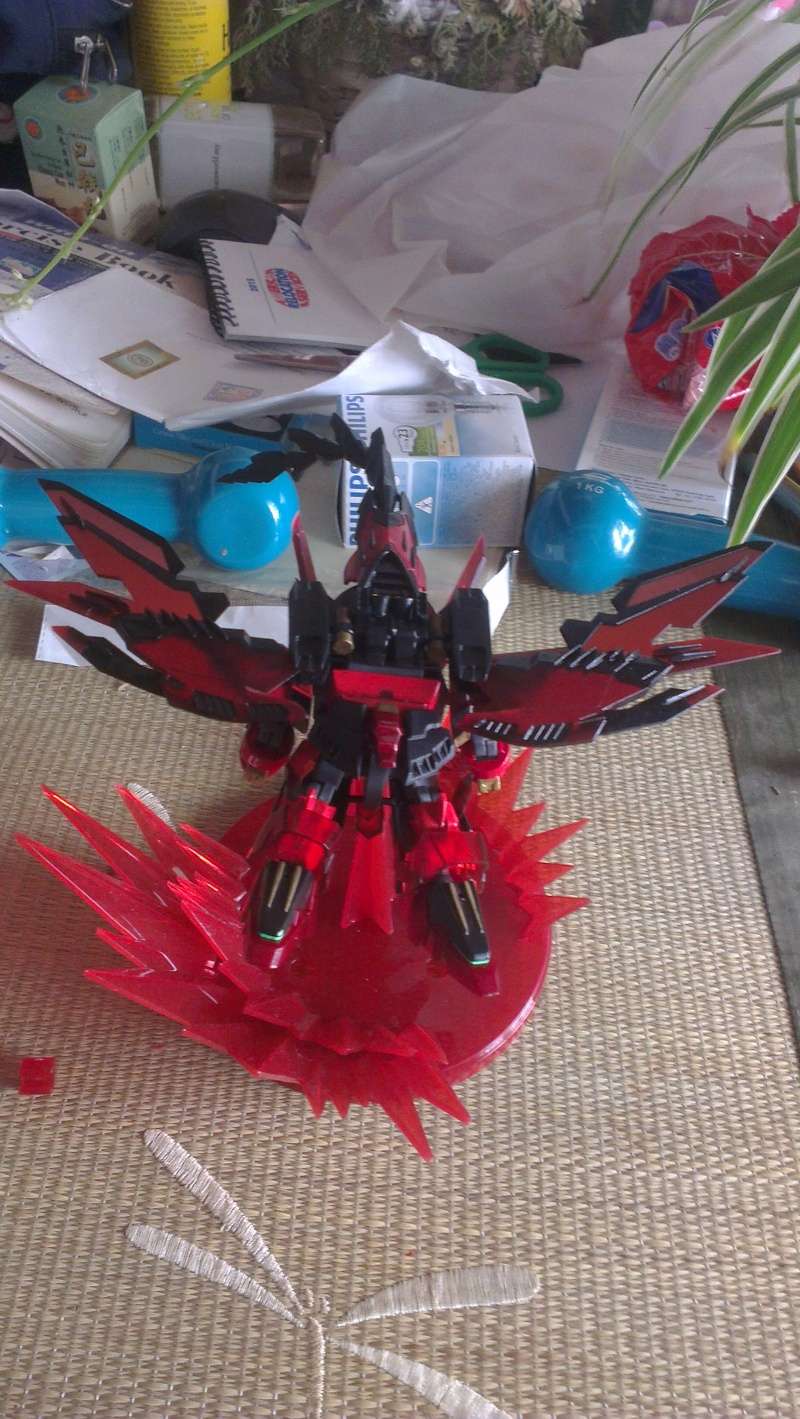
Here are a few more pictures of the completed kit in MS mode and how it will be displayed.
Here are a few more pictures of the completed kit in MS mode and how it will be displayed.
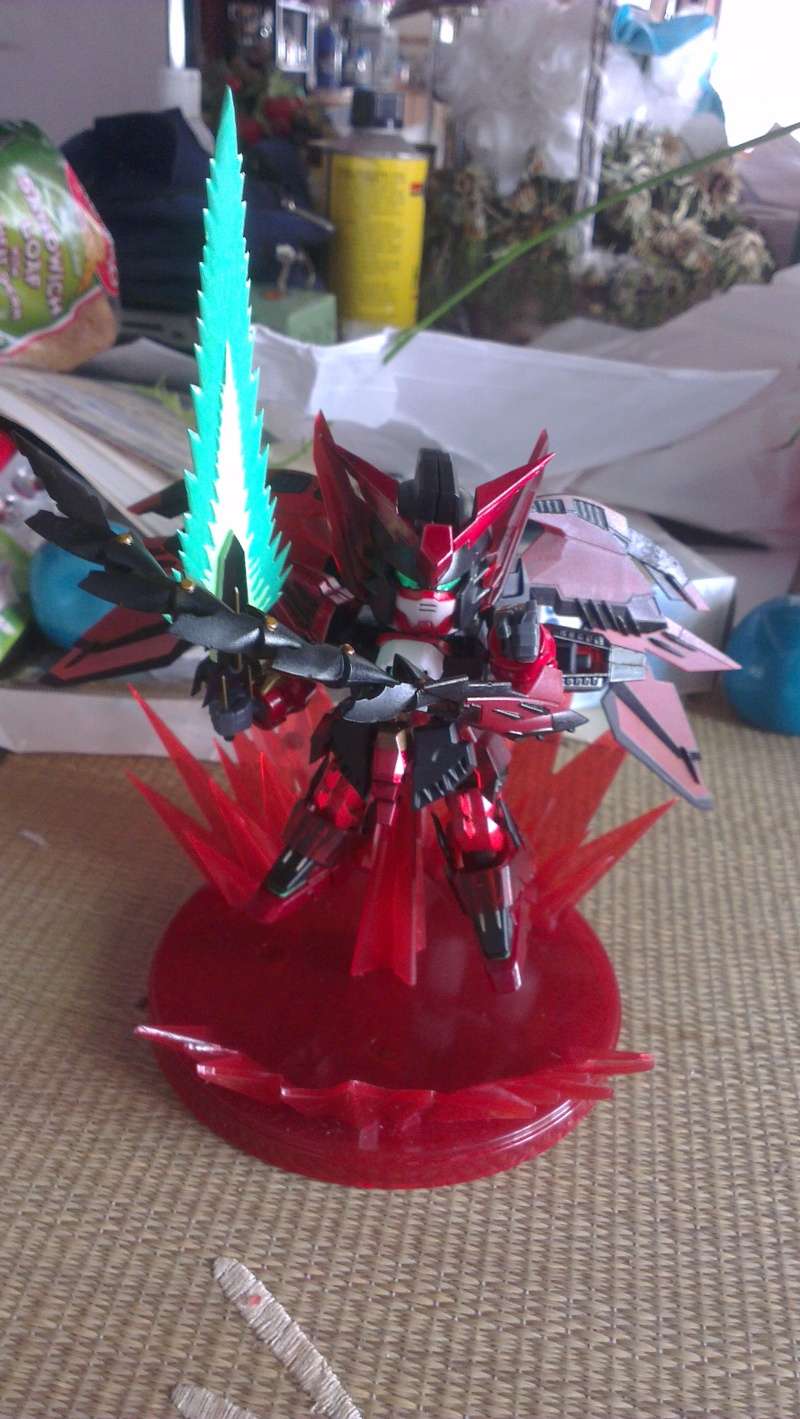
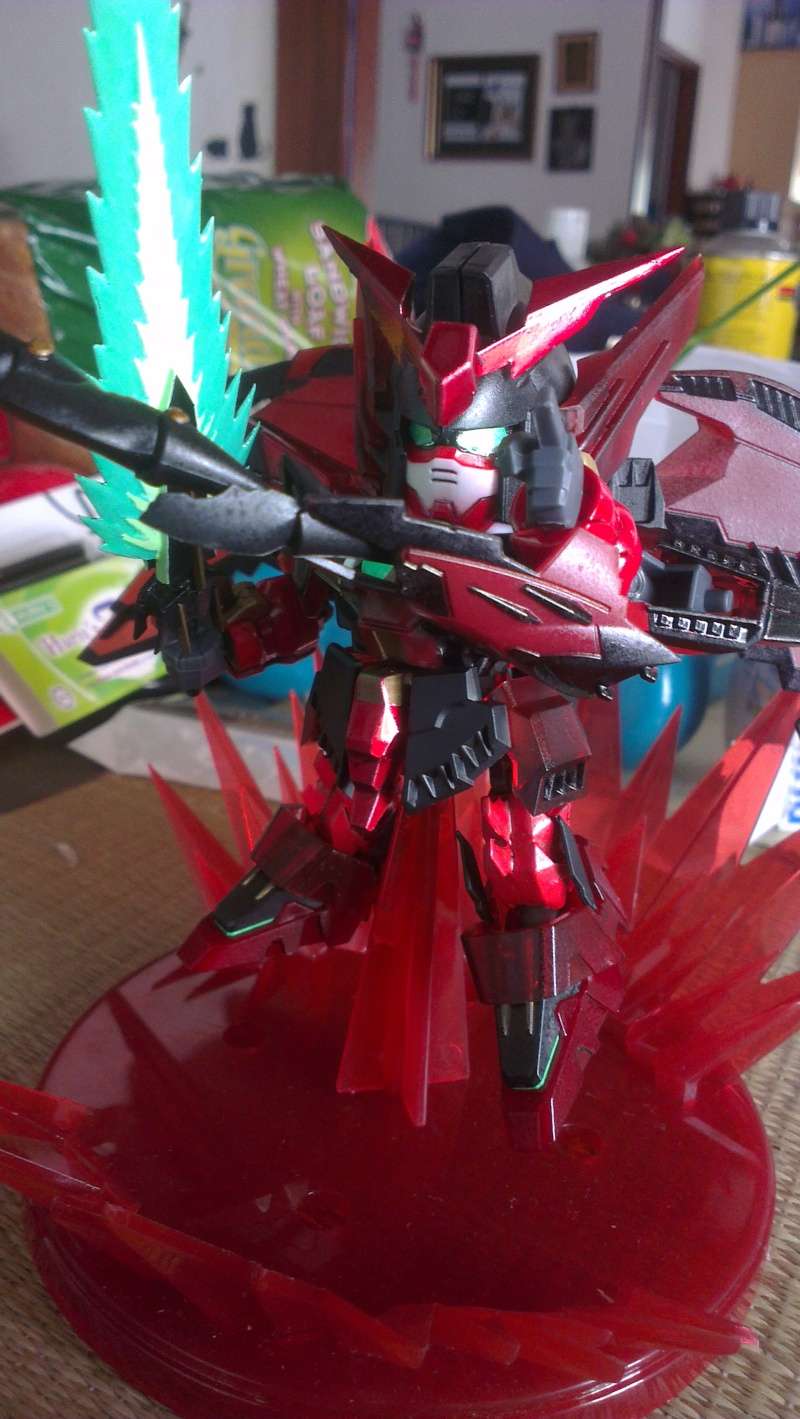
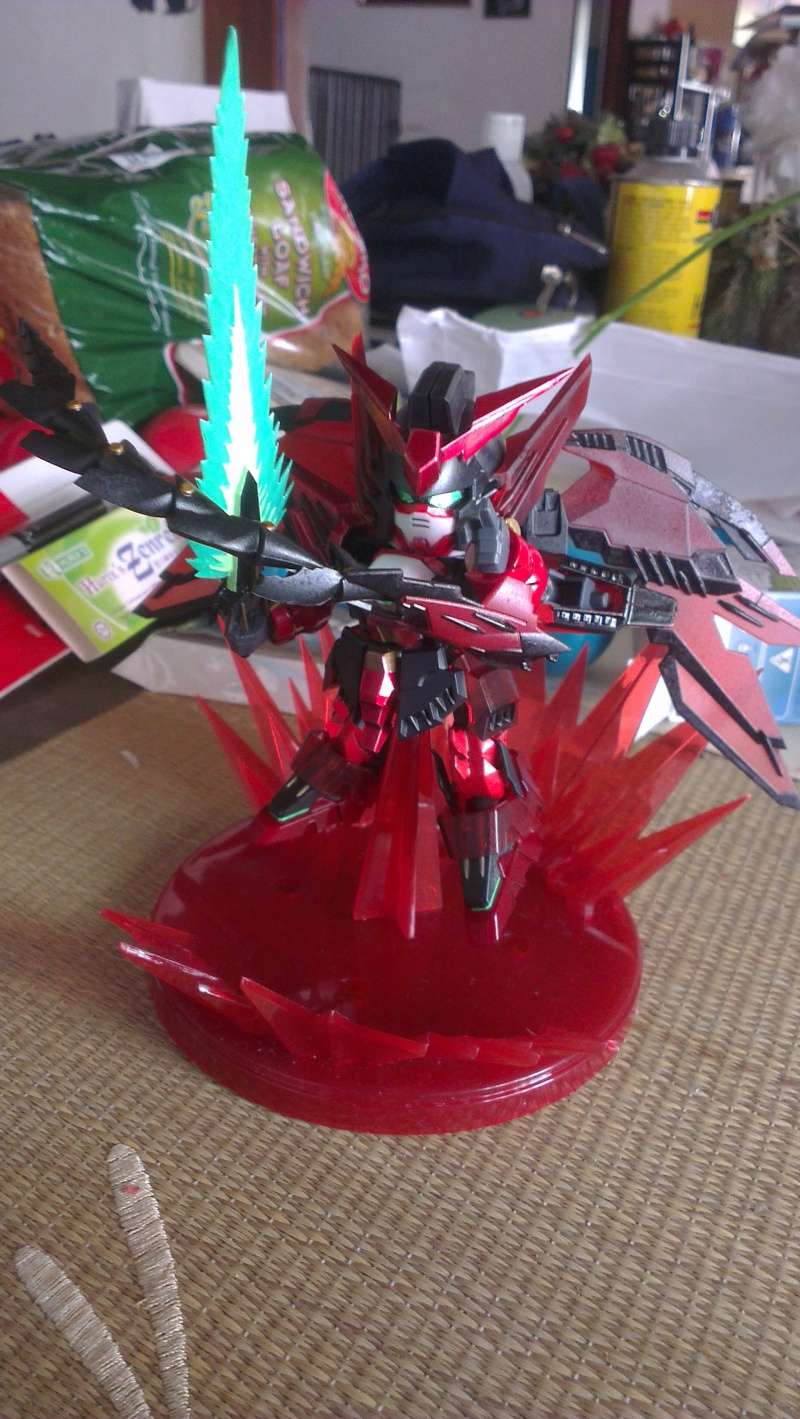
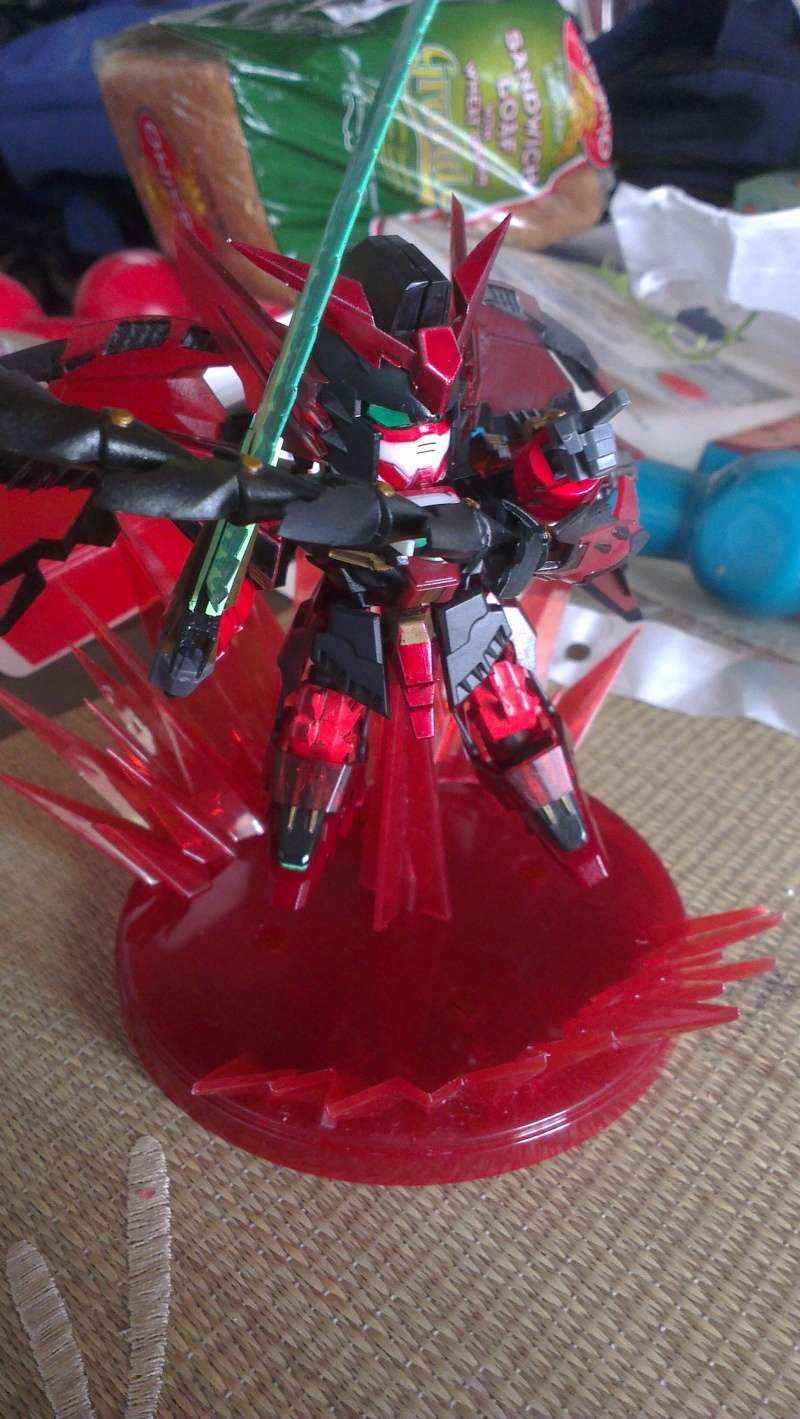
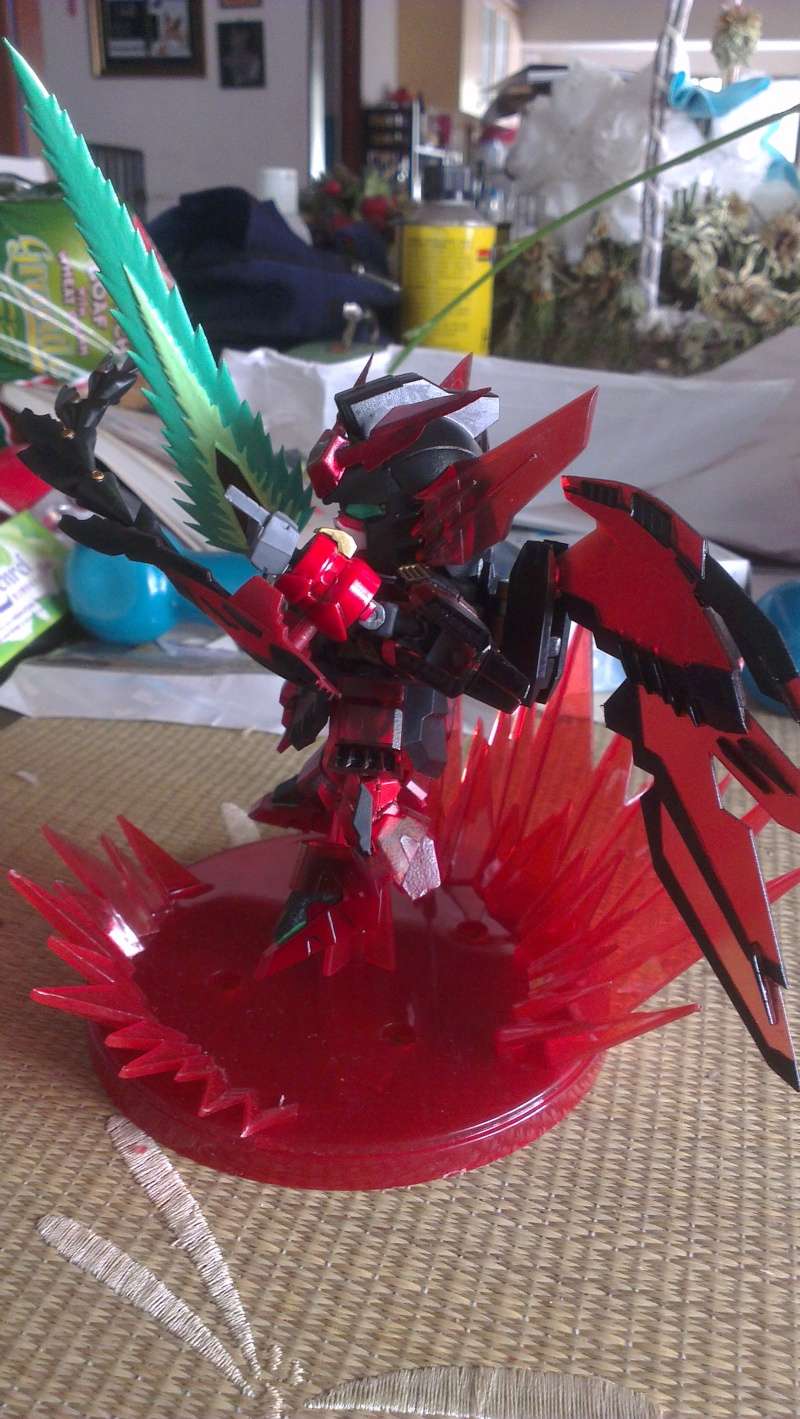
The effects of the action base is nice touch. I'm glad Silver Castle has decided to include it together with the kit. Not to forget a new friend I've made in the process of building this kit. This friend has helped me out a lot of sticky situation.

Here are a list of pros and cons for this kit:
- Has transparent and normal armor
- Easy to put and swap the armor
- Transformable
- Posable whip/tail and wings
- Comes with action base
- Lots of stickers
- Inner frame
- Cool looking dragon mode
Cons:-
- Matt finishing making paints hard to stick
- Does not have holder for dragon to be used on the stand
- Stress marks
- Instruction manual not clear
- Need to use glue
Conclusion:
This kit has lots of interesting parts and it comes with lots of stickers for those who are planning on doing an OOB build. Like any other SD kit, when time is taken to detail it up it will look good on the shelf especially with the beam sword and action base. Also this is the first time I've come across an SD kit with an inner frame. I would get another kit if I could and just display the dragon and MS together. If you are planning to paint this kit, I would advice you to gloss up the kit before starting. It has a simple transformation process but extra care needs to be taken care of if it is painted. Finally I would recommend this to anyone who wants an SD Epyon in their collection.
Previous WIPs for this SD:
WIP 1 - A twist in the kit
WIP 2 - This kit has a what?!?!
WIP 3 - Red everywhere with a bit of black and gold in between
WIP 4 - 50 shades of red
WIP 5 - Final leg of painting

No comments:
Post a Comment