Showing posts with label 1/144. Show all posts

Wednesday, November 27, 2024

HG Kamiki Burning Gundam - WIP 7 (Final)

All Well That Ends Well

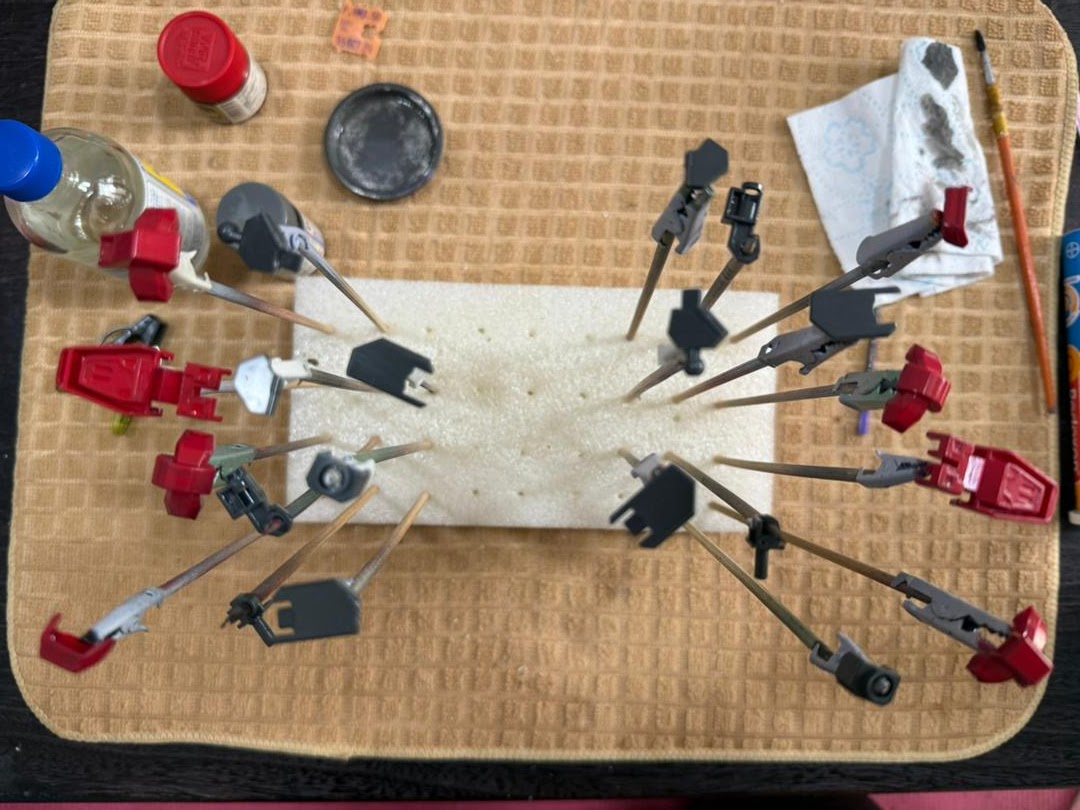
Finally got the right mindset to tackle the unfortunate broken v-fin after a brief break working on the D-Style Shield Liger. First thought that came to mind was to use Mr.Hobby Mr.Cement S.


The original plan was to cement the v-fin onto the red piece then attach it to the helmet. It was a messy process as the red piece was so small and when I managed to place the fin on the correct spot, the red piece would be stuck to my finger and mess up the position of the fin.

   
Came up with the idea to attach the red piece onto the helmet first before cementing the fins in place

Thursday, November 21, 2024

HG Kamiki Burning Gundam - WIP 6

My Worst Nightmare Came True

Had a short intermission with this kit to complete the RG GP01 Zephyranthes since all the painting works was done in WIP 5. The time has now come to assemble to the kit. The build will start from the leg up.

[Legs]

Parts of the leg before assembly

First thing to assemble is the feet

   
How the clear blue parts will look with silver under it

Tuesday, November 19, 2024

RG GP01 Zephyranthes - WIP 6 (Final)

All finally comes together

With all the painting works completed for the Kamiki Burning Gundam and the completion of the head and weapons in the previous post, we will now explore how the core fighter fits as the body for the Zephyranthes. The transformation of the core fighter was covered in WIP 2.

Parts of the gundam to be assembled

Some preparations are need to attach the core block. The front and the back are lifted up and hands are at a 90° angle for easier access

Friday, November 15, 2024

HG Kamiki Burning Gundam - WIP 5

 Final Touches

Since most of the major painting work completed in the previous post, this post will be the final touch up and panel lining.

   
Looked at the manual and noticed that there are some yellow parts which I missed at the legs

Painted the parts yellow and the black was done with the 0.03 Fineliner pen

   
Another thing I missed out was the black inside the hand guard

Sunday, November 10, 2024

HG Kamiki Burning Gundam - WIP 4

 The Paint Work Continues

Continuation of painting works from the previous post. The first painting work is the gold color for the sheath and the hand guard of the katana.

Mr.Hobby Mr.Metallic Color GX 209 Red Gold 

Tried the Replenishing Agent for the Red Gold although stated on the bottle that it is not to be used for Aqueous and Mr.Metallic paint.

Stated on the bottle to not use on Mr.Metallic Color but had to try as I did not want to get a new bottle of paint. Hopefully nothing bad happens to the paint in future

Wednesday, November 6, 2024

HG Kamiki Burning Gundam - WIP 3

 Here I come to save the day!

Started with painting works for the feet in the last post. With what happened, I made sure to check the paint before use and had the correct thinner at hand.

Red paint used is Mr. Hobby Mr. Color 158 Gloss Super Italian Red

Grey paint used for armor is Gaia Base Color 074 Gloss Neutral Grey IV

   
Parts of the red and inner frame of the feet. Luckily I have enough clips for all the parts for both sides of the feet. Parts are waiting to dry to see if they require a second coat but only one coat is sufficed 

I did not use any type of palette for painting. All I used is an old used metal cap from an industrial thinner which can be seen in the top picture next to the red paint. That is where I pour a bit of thinner onto it and use the paint from the cap after shaking it. When the paint on the cap starts to dry out, simply close the paint, give it another shake and you are good to go. This might not be the correct method but it works for me.

Monday, October 28, 2024

HG Kamiki Burning Gundam - WIP 2

 A Bad Start For The Build

After separating the parts in previous post, proceeded with nub marks removal which took longer than expected. After that has been done started with brush painting process with the white part. After looking through my paint collection from 8 years ago, this is the only white paint I got in my collection

Mr.Base White 1000

As the paint has been sitting there for years, the content dried up and was a bit rubbery. Figured it would still be usable and went to look for the thinner. It did not hit me that I have taken the wrong thinner. The paint did start to thin like it should have and noticed the mistake when I started painting with it.

'This is not the thinner you are looking for'

Friday, October 25, 2024

HG Kamiki Burning Gundam - WIP 1

 Gotta Love The Burn

With the work all done for the RG Zephyranthes, I have decided to take a break from RG and start a HG kit. The last HG kit was the HG Red Frame (Flight Unit) completed ten years ago. The reason I bought this kit was cause it comes with a katana and I am a sucker for anything with a katana.

Why did I decide to start with this kit? I needed an easy kit to start off and try my hands on brush painting. The most I have brush painted are small details (which I have forgotten how I did it 8 years ago) and this time round I want to try to brush paint an entire model kit. I have some SD in the backlog as well but had an itch to start this as well cause I am curious about the effect pieces.

Box art looks awesome

   
One of the side of the box shows the model front and back, details of the gundam and a brief summary of the storyline

Saturday, September 21, 2024

RG GP01 Zephyranthes - WIP 5

 Most relaxing build

After rebooting the build after 8 years with the completion of the waist and armsbody unit and the X-acto blade drew blood I can say this part of the build is the most relaxing as there are no very tiny parts for my big choky hands. This will be the building of the helmet and weapons which will mark the end of the build process.

[Head Unit]

Parts of the head

Completed head assembly

The most difficult part of the head unit is getting the red forehead tab into its assigned place. Had to do a bit of fiddling but finally managed to get it into place.

[Weapons]

Parts of the beam rifle

Beam rifle with the Jitte

Beam rifle

Parts of the shield

   
Completed shield with decals. The shield has a gimmick of extending and 

Waiting for the matte coat to dry

Gundam head on a spike.

Next post will be how the core fighter II bring together both the upper and lower body to form the Zephyranthes.

Tuesday, September 17, 2024

RG GP01 Zephyranthes - WIP 4

 Confusion at its finest

After waiting 8 years since the completion of the waist section and with the recent completion of the waist for Full Burnern, it is now time for Zephyranthes's build to resume.

[Body Unit]

The construction of the body unit is next in the manual. Found some assembled parts in one of the boxes and kept it aside as I did not know which part it belongs to until now. Apparently I have started the assembly of the body unit and stopped. I did the usual removal of necessary parts before assembly and when I wanted to assemble it, I got confused on which part is which number.

Was confused between part C19 and C20

Attached it correctly in the first place, doubted myself, removed and swapped parts, checked with GP01fb, confirmed had it right originally, removed and swapped again and found out the part was loose due to stress of the bigger bar dimension on part C19.

Thursday, September 12, 2024

RG GP01Fb Full Burnern - WIP 3

I forgot how tiny RG kits were

A lot was going on in my life and scale model took a backseat for quite some time. There was a few times where I wanted to continue with this build but after taking it out from the box and looking at the instructions, I did not have the spark or motivation to build it so back into the box it went. I kinda lost interest until recently where I visited a small-scale model shops and they were selling military kits instead of gunplas and somehow that ignited my passion again. Maybe it reminded me of my roots and how I got into this hobby in the first place.

Recently I went back to my hometown and packed some of the smaller scale kits and took it back with me back. The plan was to practice/improve my brush painting skills and techniques on the smaller kits since they were more inexpensive and also work to reduce the backlog. Obviously this and the GP01 was in the list of kits to take back as they are still in WIP.

On the way back I stopped at a new gaming/hobby shop called Impulse Gaming at Juru Autocity and went for a little look, a little see. Spotted something which I was eyeing and knew I had to get it as there were not a lot of shops which are selling this anymore. This will be the first kit added to my backlog after a long time

HMM Buster Tortoise

Wednesday, November 9, 2016

RG GP01 Zephyranthes - WIP 3

A little intermission before the actual program
 
Recently I went to a shopping mall near my area and they had a funko exhibition booth. The missus was attracted to 2 series, Nightmare Before Christmas and Alice through the Looking Glass, which both happens to be in blind boxes.

Alice through the Looking Glass list of characters

Nightmare Before Christmas list of characters

She wanted the bottom Mad Hatter from Alice through the Looking Glass and the pumpkin man from Nightmare Before Christmas. The booth had a weighing scale and we were there taking out boxes after boxes to weigh them and comparing them to the ones on display. In the end, this was what we got from the boxes:

Saturday, August 27, 2016

RG GP01(s) - WIP 2

Core Fighters, Transform and block-up!!
 
Mentioned in the previous post, we will make a quick size comparison between the two core fighters and have a look at their transformation process.
 

Comparison between the two core fighter-II.  As you can see, the CFII is way slimmer than the Fb. I understand that the CFII design is for it to be agile but the design makes it looks anorexic and out of proportion.
 

Monday, August 15, 2016

RG GP01Fb Full Burnern - WIP 1

 Same same but different

Originally I wanted to panel line all the whites using the pencil method like what I did for Zephyranthes. It was around this time that an idea hit me. Instead of using pencil, I will be using the Tamiya Accent (Gray) for panel lining and comparing it with the pencil.
 
The first thing I did was taking out all the runners which contain white and panel lined them.
 

All white pieces panel lined. Sorry for the unclear pictures. My phone recently died so I'm currently using a temporary phone for the pictures
  

Monday, July 4, 2016

RG GP01 Zephyranthes - WIP 1

Building two kits together (again?)

This is not the first time I'm building 2 kits simultaneously. Remember the PG Astrays? That is still in the WIP stage when I did not manage to complete it before my work schedule went bonkers. A few days ago I did mentioned that I took out an RG kit and was about to start building but didn't have all the necessary stuff with me at the time. The day after, I to take the kit out together with its brother.  I have decided to start restart the hobby with:

The GP01 brothers

Thursday, December 31, 2015

RG Exia - WIP 10 (Final)

 Make the last post of the year a good one
 
Usually I will end the review and WIP of the kit after going through the weapons. For this kit, I suddenly had an idea which is very obvious but did not occur to me. This post I will do some poses with the Exia. This will also give you a brief idea on how posable this kit is.
 
Usually I do not pose my kits much because 1) I do not know how to pose and 2) I'm scared of the paint chipping. Decided to tackle the first issue which is posing. What I did was follow the poses shown in the manual.
 
The first pose to cover will be the beam saber handle attached at the back skirt. Believe it or not, Exia is able to reach the back beam saber handle.

Front and back view of Exia reaching for the back beam saber
 

Wednesday, December 23, 2015

RG Exia - WIP 9

Getting ready for battle

Now that the Exia is completed, we will take a look at all the available weapons for this kit and attaching them on to the Exia. All I can say is that this kit has lots of it.

Weapons for the Exia

I did not notice that the Exia has a total of 4 beam saber handle attached. The picture above shows 6 but in reality only 2 has the peg for Exia to hold. A more in depth review of the weapons can be found in WIP 5.

Saturday, December 19, 2015

RG Exia - WIP 8

Too many of the same views 
 
Returning to work on the Exia after a short break with the Gustav. With the armouring of the Exia completed in the previous post, then only thing left to do is to assemble.
 
Exia still in pieces
 
My working process for any gunpla is the same: Work from the bottom up. Therefore the first thing to assemble are the legs.
 
Just attach the legs into the pegs are the hips. Make sure they are fully in. Do not be afraid to put a little pressure on the leg as they are sometimes tight.

Front and back
Related Posts Plugin for WordPress, Blogger...