Small but useful
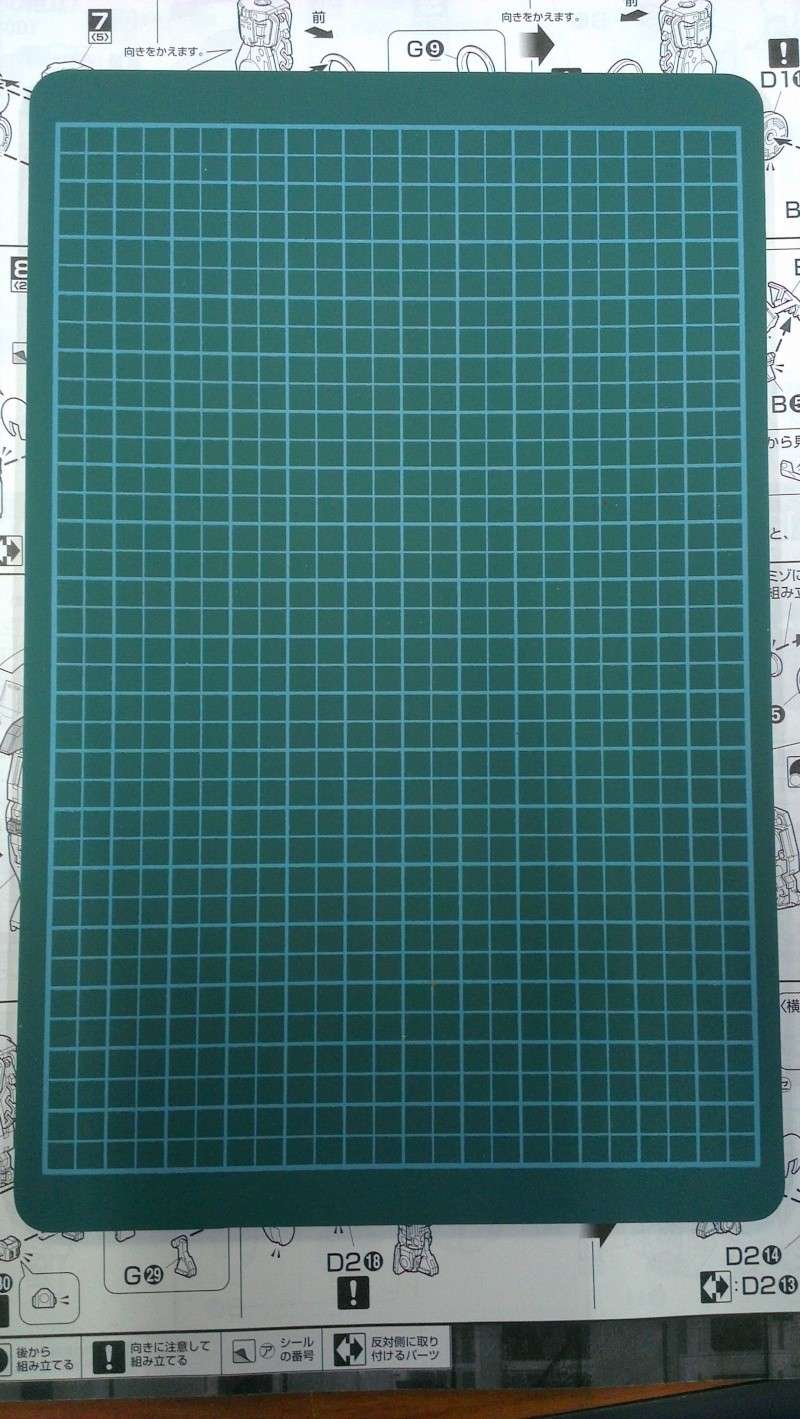
No I'm not talking about this kit. I'm talking about something else which I accidentally found out its existence. As you all might be aware, I have an on-the-go box for my kits. The thing I need and could not fit into the box is a cutting mat. Recently I went to a stationary shop and saw that they were selling a precision knife with a A5 size cutting mat. I instantly knew I had to get it to complete my box.
Now that that is out of the way, it is time to go back into the WIP for this SD kit. I have identified which are the parts which needs color correction and there are quite a number of parts. I shall start with the easiest part which would be skirts.
Both vents on the front and the back of the skirt are moulded in the same color as the rest of the skirt. They were given the red color treatment, panel lined and top coated. There are no before photos because I was too engrossed in painting the parts and forgot about taking photos.
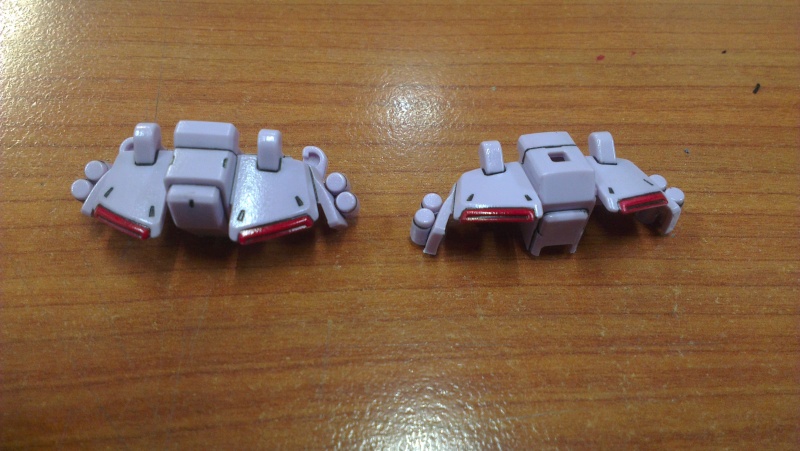
With the painting of the skirt vents done, I decided to assemble it and put it aside till it is time to combine all the parts together.

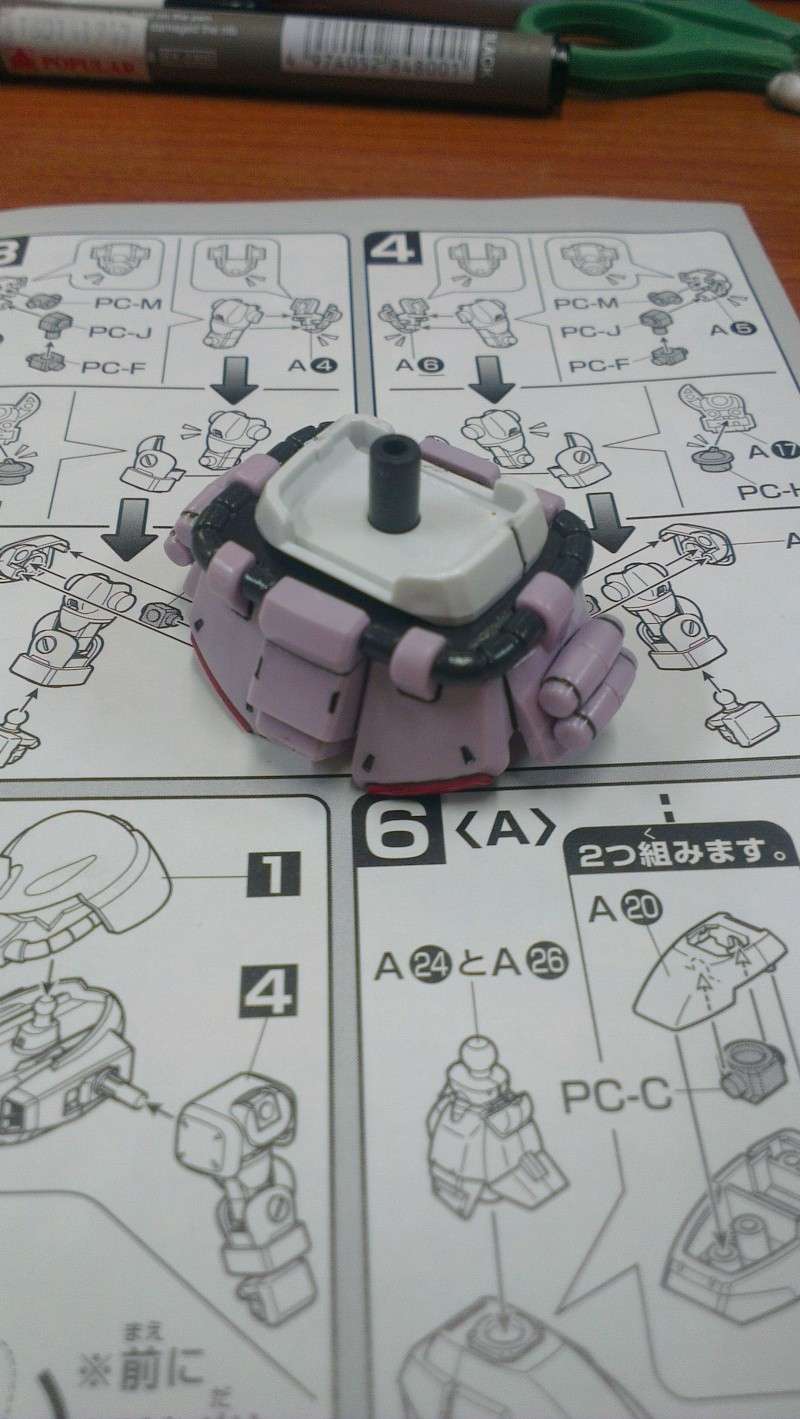
The other parts with the minimal number of paint work to be done are the chest. I only painted the red color for the vents like what I did for the waist and did some panel lining and top coating. According to the box art, the inside of the white vents are suppose to be red in color but since I do not have a brush so small, I decided to leave it white.
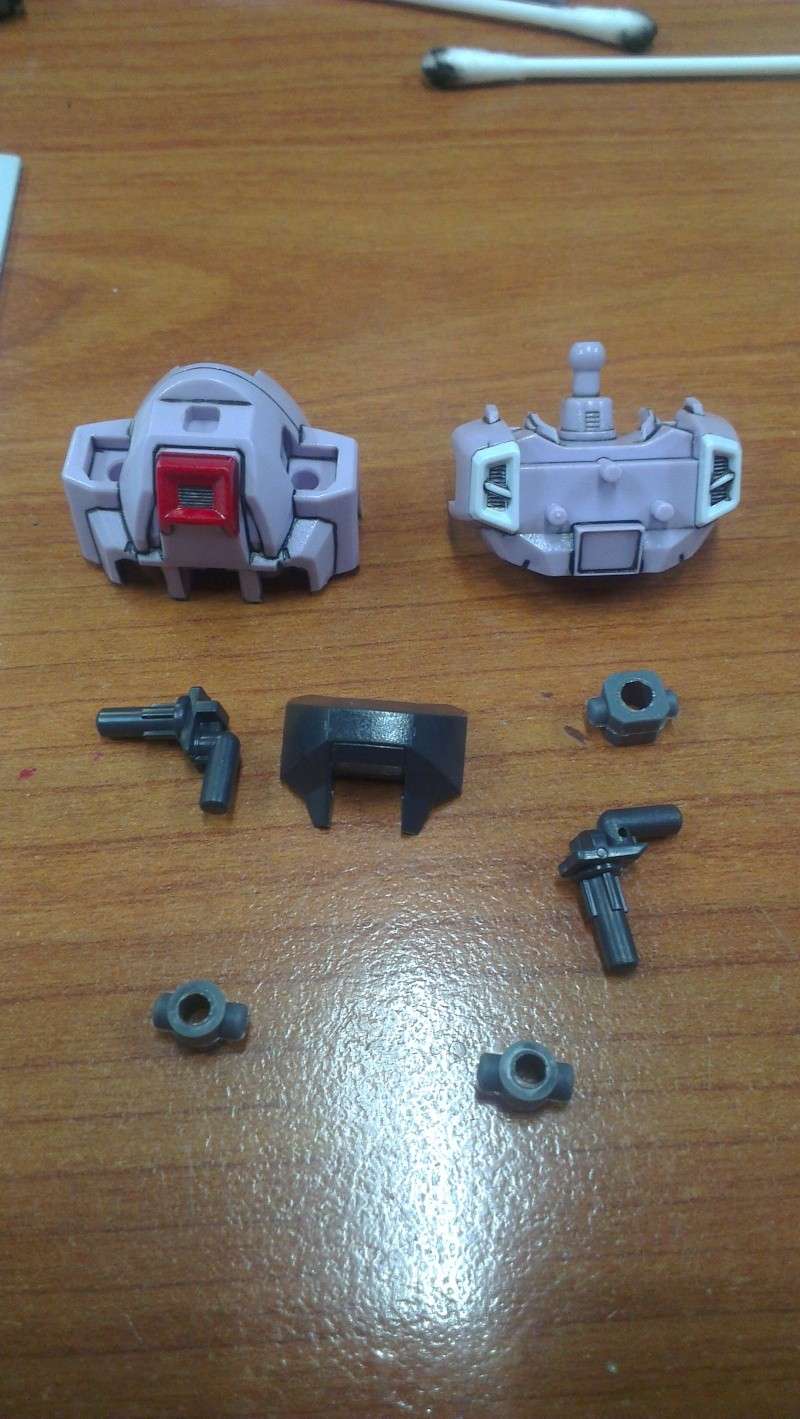
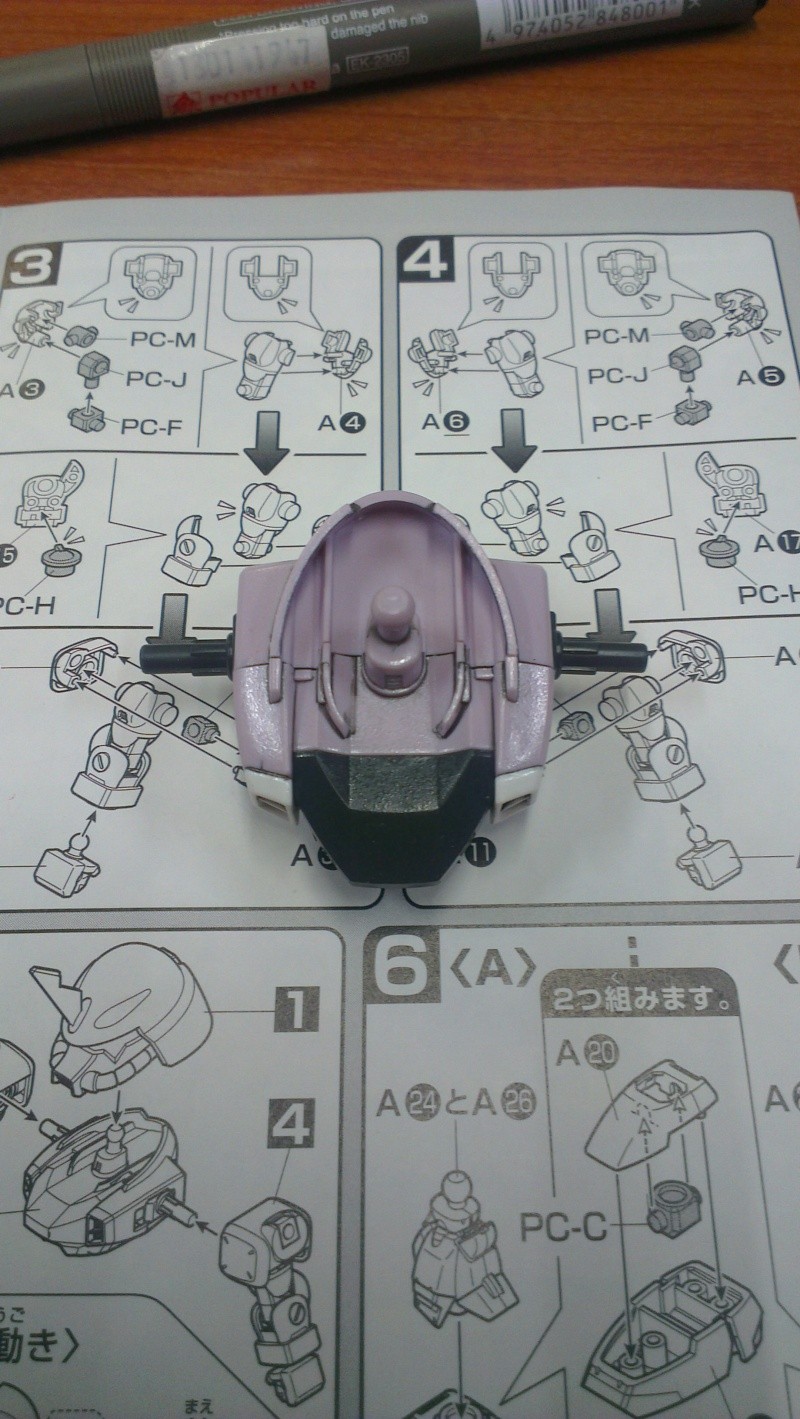
Left: Parts of the chest to be assembled.
Right: Top view of the chest piece.
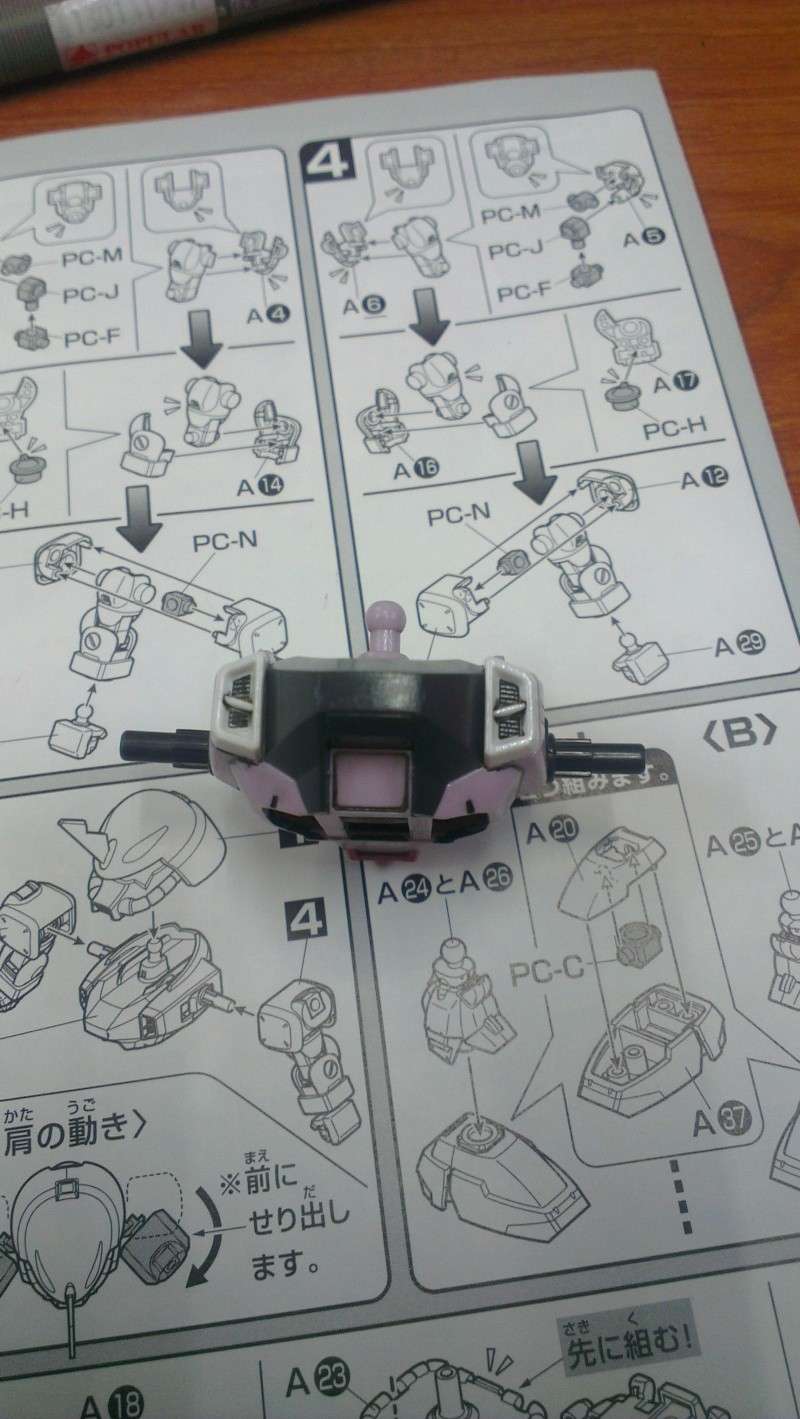
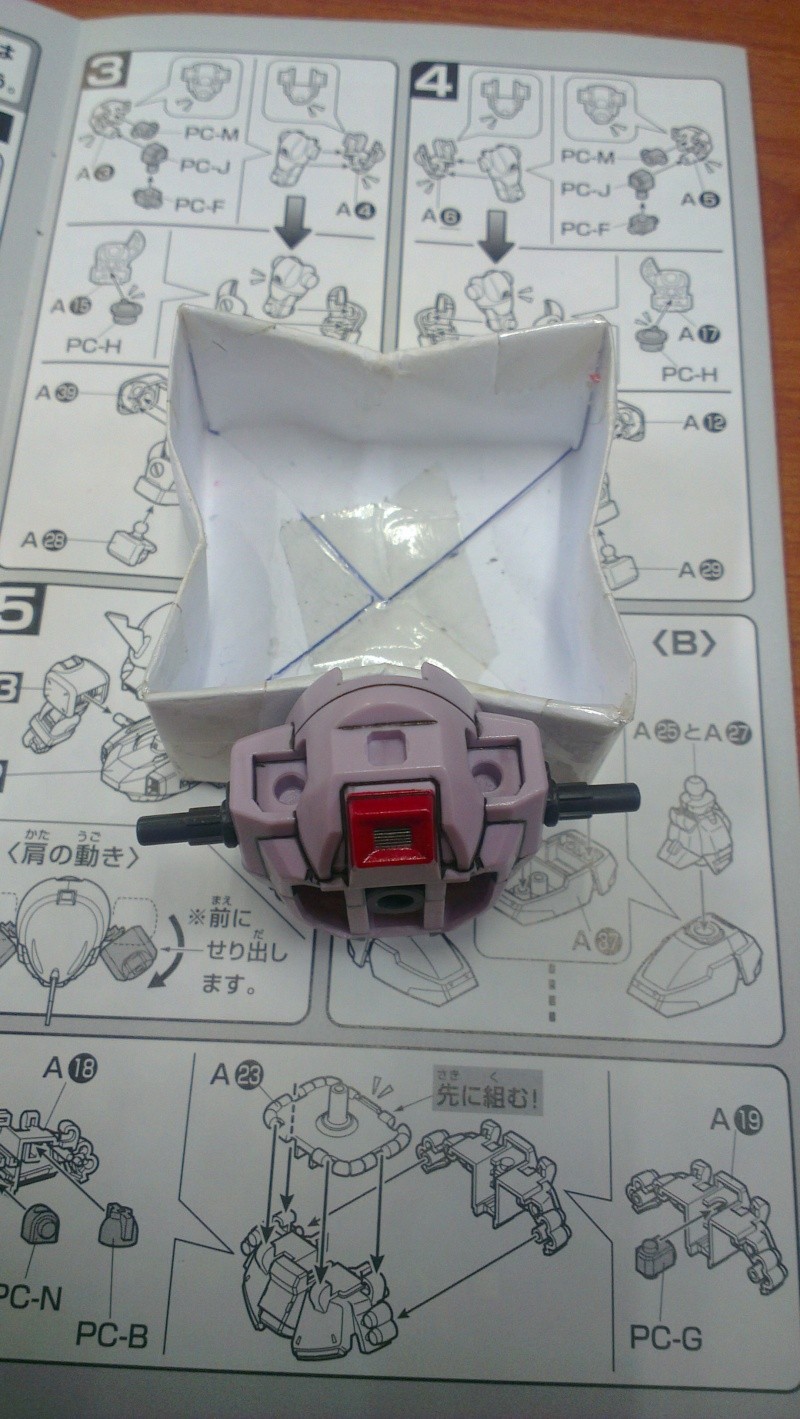
Front and back photos of the chest
The other parts I have started working on are the two shields on the Zaku. The top are moulded in white but Ban Dai does provide stickers for them. The reason why I don't use the stickers for the shields are because of the spikes. The spikes should be the same color as some parts of the shield but Ban Dai did not provide stickers for them. In order for me to get the same colors for the spikes, I might as well paint them together with the shields.
I got the wrong color for the shields. It was suppose to be pink but somehow when I went to the shop to get the paint, I ended up getting Orchid color instead. At this point, I figured might as well use the color and see how bad the damage would be. Worse case would be there will be 2 different colors for this kit and I don't think it will turn out to be very bad. Anyways, more of the progress of the shields in the next post.

No comments:
Post a Comment