Impossible task ahead
From this post on I decided to split the title to PG Astray Red Frame and PG Astray Blue Frame as opposed to PG Astrays. This might seem redundant because both kits are PG Astray Red Frame but in the long run it will make an easier reference.
Mentioned in the previous post, the other RF has arrived. I'm thinking of building both RFs together meaning I will be building double of everything. I might be crazy but I think this is the way to go for this project. Besides, I need to clear space before the Mechanicore Deepstriker arrives later this year. With that being said, I will need lots more paints and time to complete the kits.
Plus side to this craziness is I will have to stop this project sooner or later to replenish my paint stocks or to prevent burnt out from working on 2 pg kits simultaneously. When I stop, I can do other smaller kits to clear even more space. Another plus side is I can do a direct comparison between the BanDai and Daban RF. This is like killing 3 birds with one stone.
Plus side to this craziness is I will have to stop this project sooner or later to replenish my paint stocks or to prevent burnt out from working on 2 pg kits simultaneously. When I stop, I can do other smaller kits to clear even more space. Another plus side is I can do a direct comparison between the BanDai and Daban RF. This is like killing 3 birds with one stone.
On a side note, I have changed the boxes where I kept my pieces. Instead of using origami boxes, I am now using plastic boxes. Hope this is more effective than the previous method.
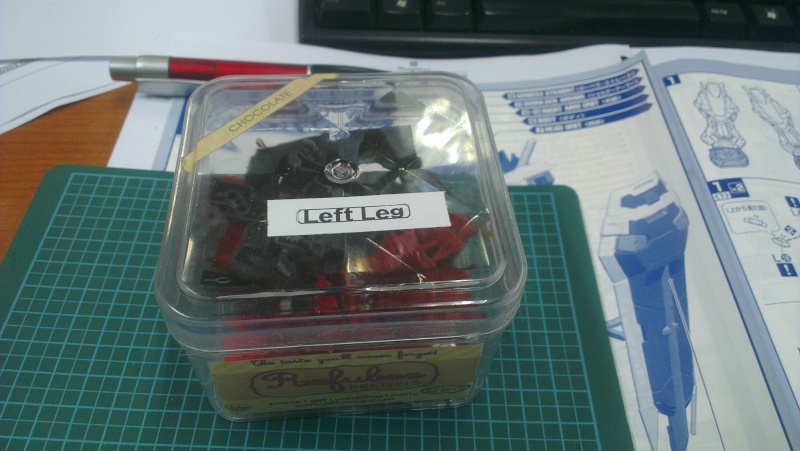
New on-the-go box
The label of the box is left leg but the parts inside it is only the left foot. The parts of the leg is still on the runner and waiting their turn. I think this PG size is bigger than the PG WZC. If I'm not mistaken I'm able to fit all the WZC leg parts into the origami box.
After removing nubs and sanding the parts, they are ready for the assembly line. I now try to make a habit of counting all the parts first before starting on the section since my incidents with the Granddaddy.
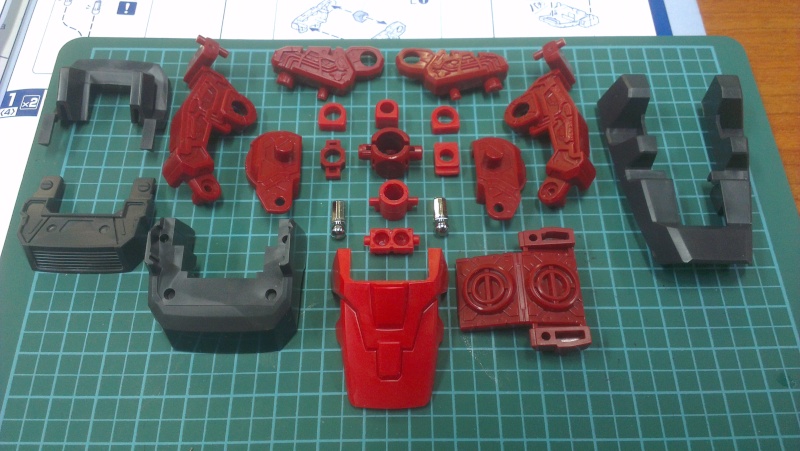
Parts of the foot
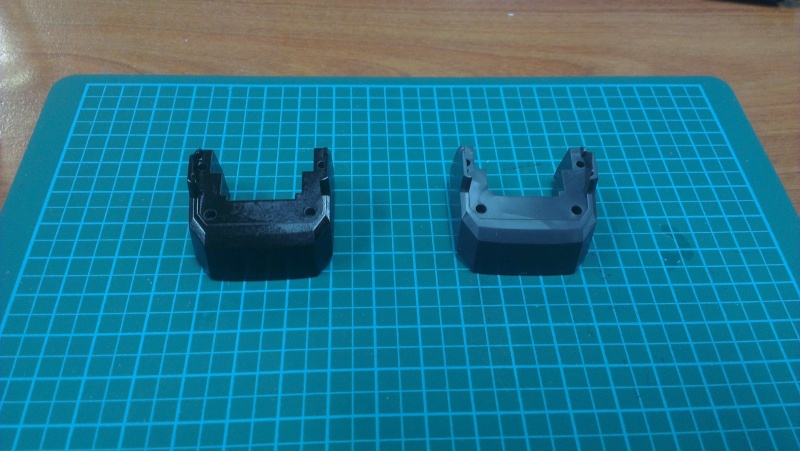
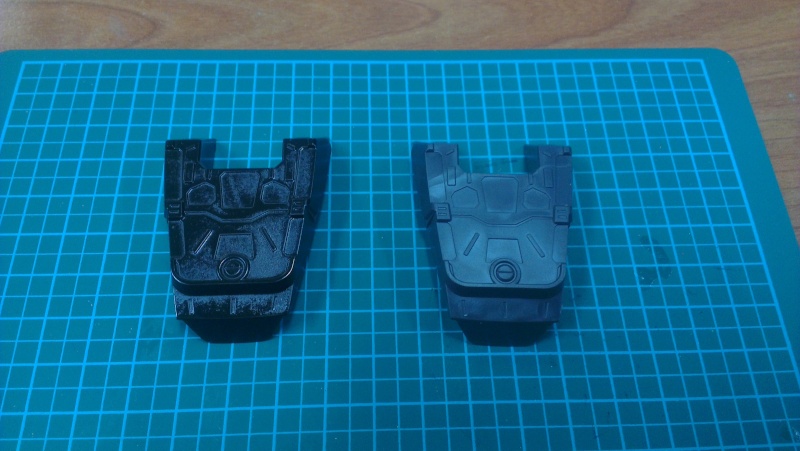
With all the parts accounted for, the building process can begin. I plan to paint the inner frame 2 different colors of Gunmetal. There will be some parts with light gunmetal and others will be gunmetal. Instead of spraying parts by parts, I will assemble the pieces which forms a section and spray the entire section. Confused? Best to explain using pictures.

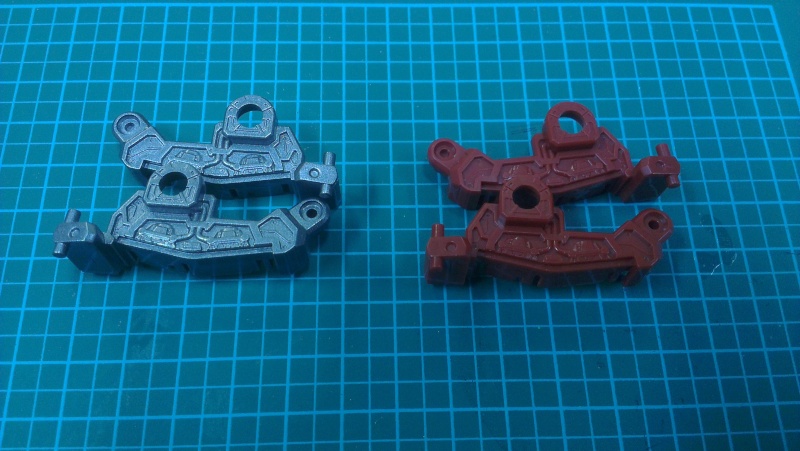
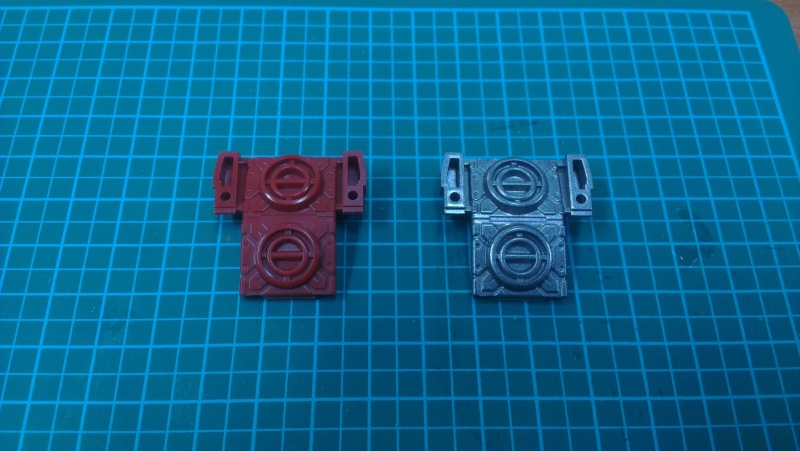
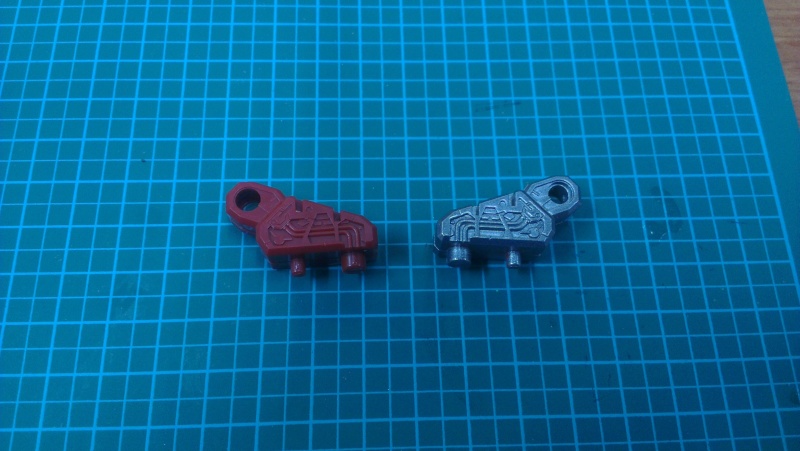
Different sections of the foot
2 different parts of the foot have been assembled. The one on the left will be in gunmetal and the one other will be in light gunmetal. This is what I meant when I mentioned assemble the pieces into different parts before spraying. I hope this is more spray efficient than spraying them individually.

Parts waiting to be primed
Parts with the crocodile and clothes clip ready to be primed. This will be the first time I'm priming and I hope it turns out okay. From what I just experienced when priming, one pass is enough to cover the base color and the details are still visible. Now to wait for the primed parts to be dried before going over with their respective colors. To save time while waiting, I'll start the de-nubing process for the parts of the other leg.

Parts waiting to dry
Once the primer has dried, the parts were sprayed with their respective color. From what I can tell after using primer, the paint does stick better to the parts. One coat is more than enough to cover the pieces and it dries smoother and has a more even finish. I'm also liking Tamiya spray cans. The colors come out nice and seems to have self-leveling properties. I accidentally sprayed too much light gunmetal because the color and the grey primer looks about the same when spraying. After it has dried, there were no pooling at the bottom of the pieces. Down side: very expensive.
Below are some comparison photos of parts before and after painting:
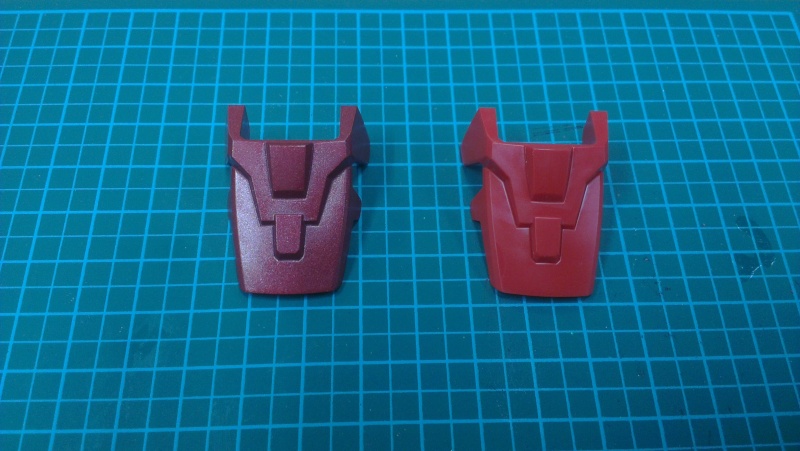
I expected the metallic red have a shinier finish. Maybe I should put a layer of undercoat silver first instead of spraying the metallic color on top of the primer. At least it looks way better than the original red which I feel is too light. Another thing to note is the Anchor Black spray needs at least a minimum of two coats to have the glossy finish.
Once the parts are dry, I started assembling the foot. I did not do any top coating and was contemplating if I should detail up the inner frame but I got lazy. Most of the details will be cover by the armor piece. From what I notice, there will only be a small detail in the inner frame which is exposed. Some minor detailing will be done on that particular part.

Parts of the inner frame foot before assembly

Assembled inner frame feet of the Red Frame

Bottom of the foot
Rubbers are supplied for the bottom of the feet. This to ensure that the MS has a good grip on the surface while doing some crazy poses with the katana.

Completed feet without armor
The feet are assembled without any other armors other than the ones at the bottom (for balancing purposes). No panel lines were done for the parts which will be covered. There will be some panel lining and detailing done at the bottom of the feet at the thrusters and where some inner frames are exposed.

Painted and glossed
The markings are dry transfer and stickers. This will be the second kit where I will be using dry transfer and I'm quite nervous about ruining this kit. Think overall the dry transfer came out acceptable. I had to sacrifice a few circles at the bottom of the feet while learning the correct method to use the dry transfer.

Glossed, decaled and panel lined
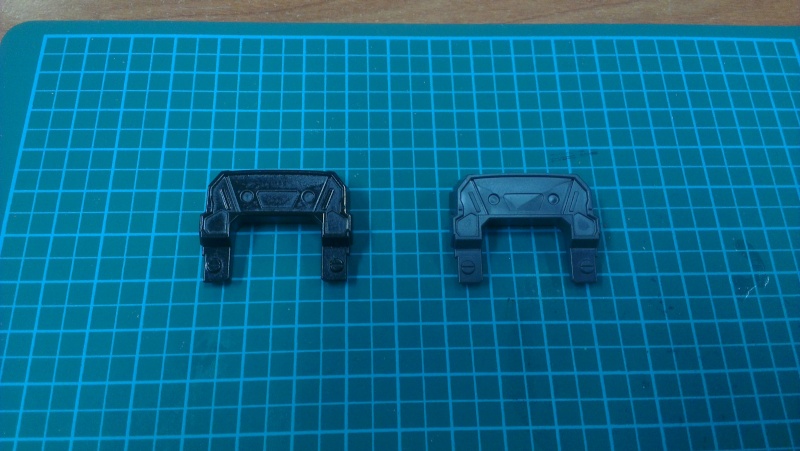
I notice that the front part of black armor of the feet scratches the inner frame when it moves. Not sure if the spray was too thick of the fitting without paint was just nice so 3 layers of paint might be too thick. Will try to sand off a bit of the front armor when I'm doing the feet for Daban to see if that solves the issue.
Original plan for this kit is to have some minor post-shading on the parts but after I glossed the kit, I found that the post-shading cannot be seen on the parts. I have decided to forgo the post shading for now and just leave it as gloss finish after the decaling stage. Might try post-shading again when I'm doing the white parts.
Overall result: Better than expected. 2 feet down, 2 more to go. Also need to think of what color to paint the other RF. Any suggestions?

No comments:
Post a Comment