Change for a better future
Continuing this kit after taking a break from all the bad luck this kit has currently presented me. Been working on the SD Epyon by Silver Castle. It has its own flaws but not as bad as tiny missing / hiding pieces. Before continuing with the kit, I bought some files from Daiso for MYR 5. It comes in a set of 3 and will be trying filing as opposed to using hobby knife to remove the nubs.

3 files for MYR 5
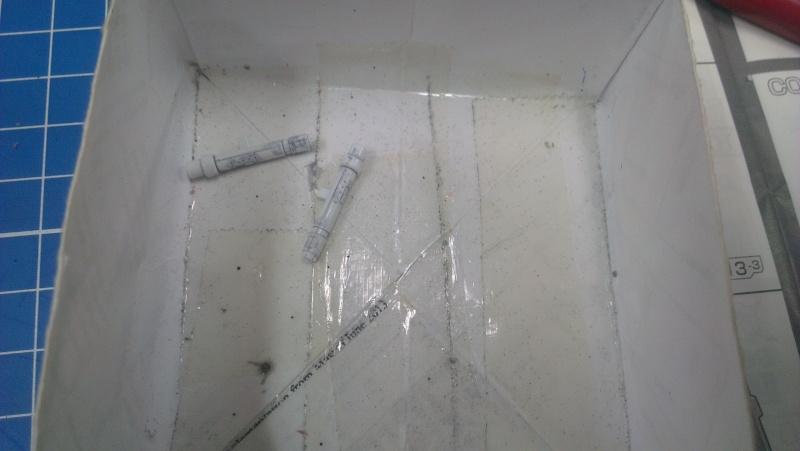
Another change made is this:

I will be using this to store the pieces for the head instead of the origami boxes. I'm planning to change all the origami boxes to this type of container but that will take a while to accomplish. With this, I hope to eliminate future missing / hidden pieces issue.
Now back to the WIP for this kit. With the completion of the head in the last post, this post will be concentrating on the weapons and core fighter. Started the with the beam rifle as the first weapon to be assembled. Panel lined and de-nubed the parts.
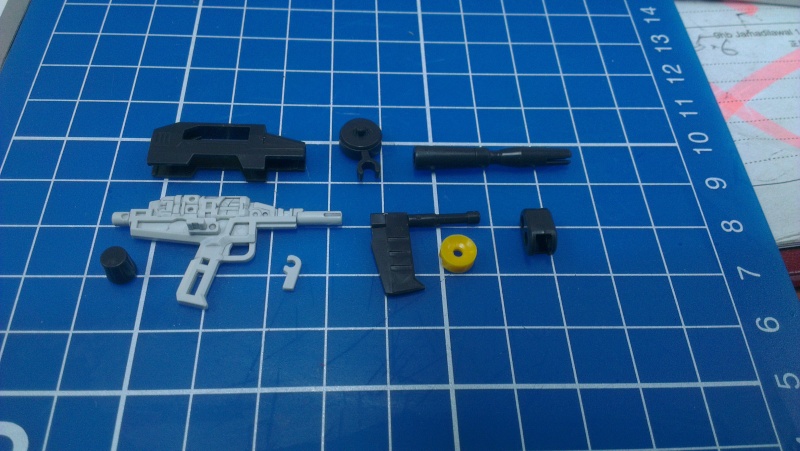
Parts of the beam rifle waiting to be assembled
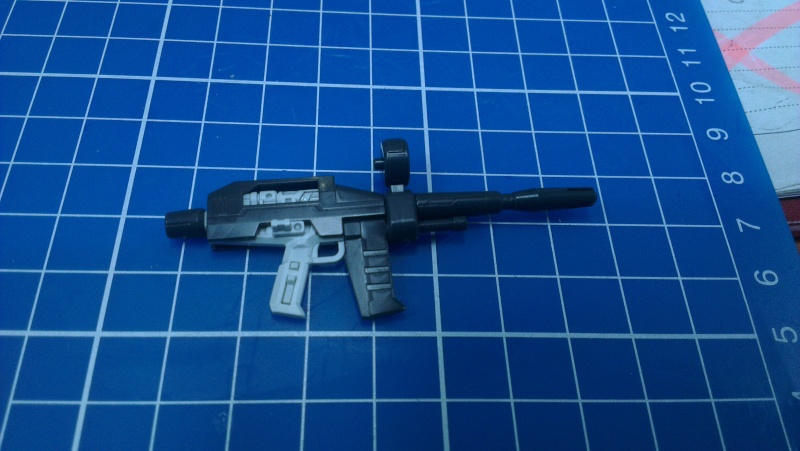
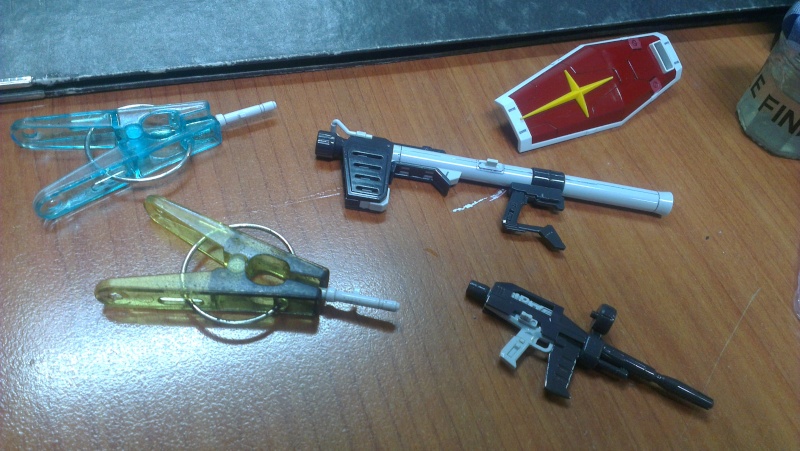
Assembled beam rifle
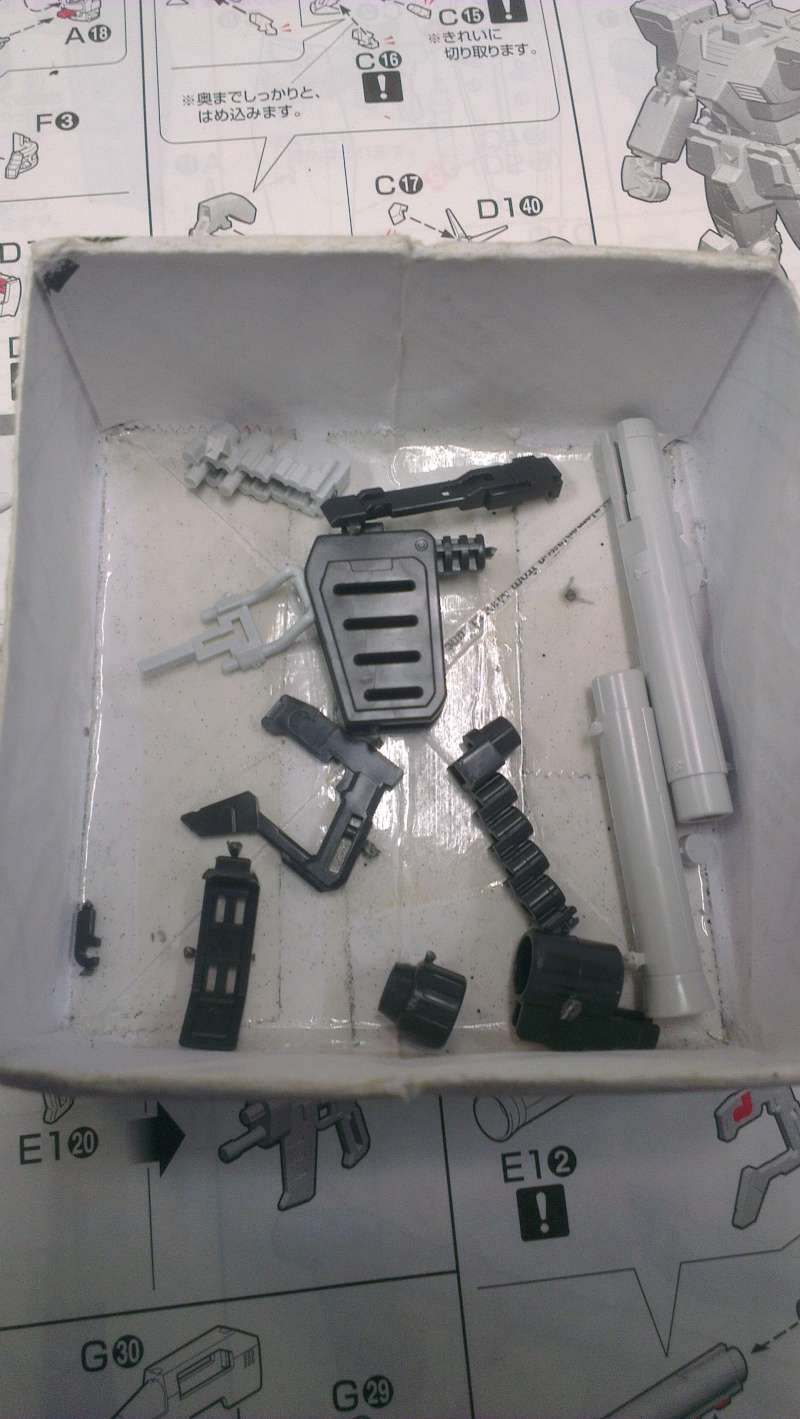
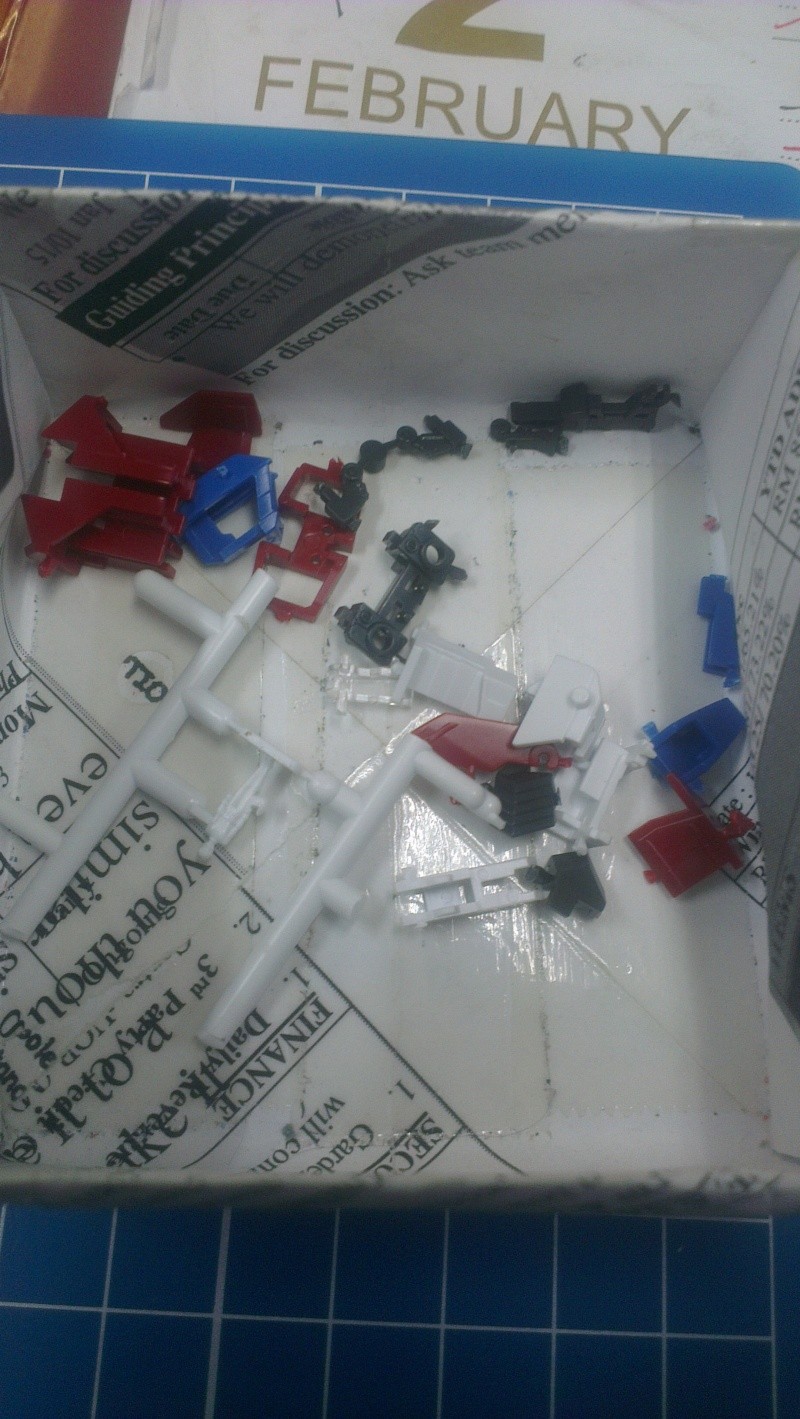
Parts for the bazooka and shield
The assembly of the beam rifle, shield and bazooka are straight forward. Nothing too complicated and so far no missing parts. This kit has a total of 4 beam saber handle. 2 attached to the backpack of the MS and the other 2 for the MS to hold. There is a difference between the 2 pairs. The 2 extra beam saber handle has pegs on which makes the MS able to hold.
2 extra beam saber handle
Once the weapons and shields are fully assembled, they are given a layer of Future in preparation for the decals.
Weapons and shields waiting for the Future to dry
There is one thing I notices when I was using Future this time. When I brushed it on and waiting for it to dry, there will be a some sections where it looks like there are some discoloration. Got a shock the first time I saw this. The solution? Leave it be and let it dry by itself. Once the Future is dry, the discoloration will disappear.

Discoloration part on the top of the shield
I forgot to take some photos of the beam rifle, bazooka and beam saber handles after decaling. Think I got too engrossed in decaling until I forgot about the photos. The parts are now decaled, panel lined and waiting for the layer of Future to finish. With that done, time to go to the next section of the kit: the core fighter.
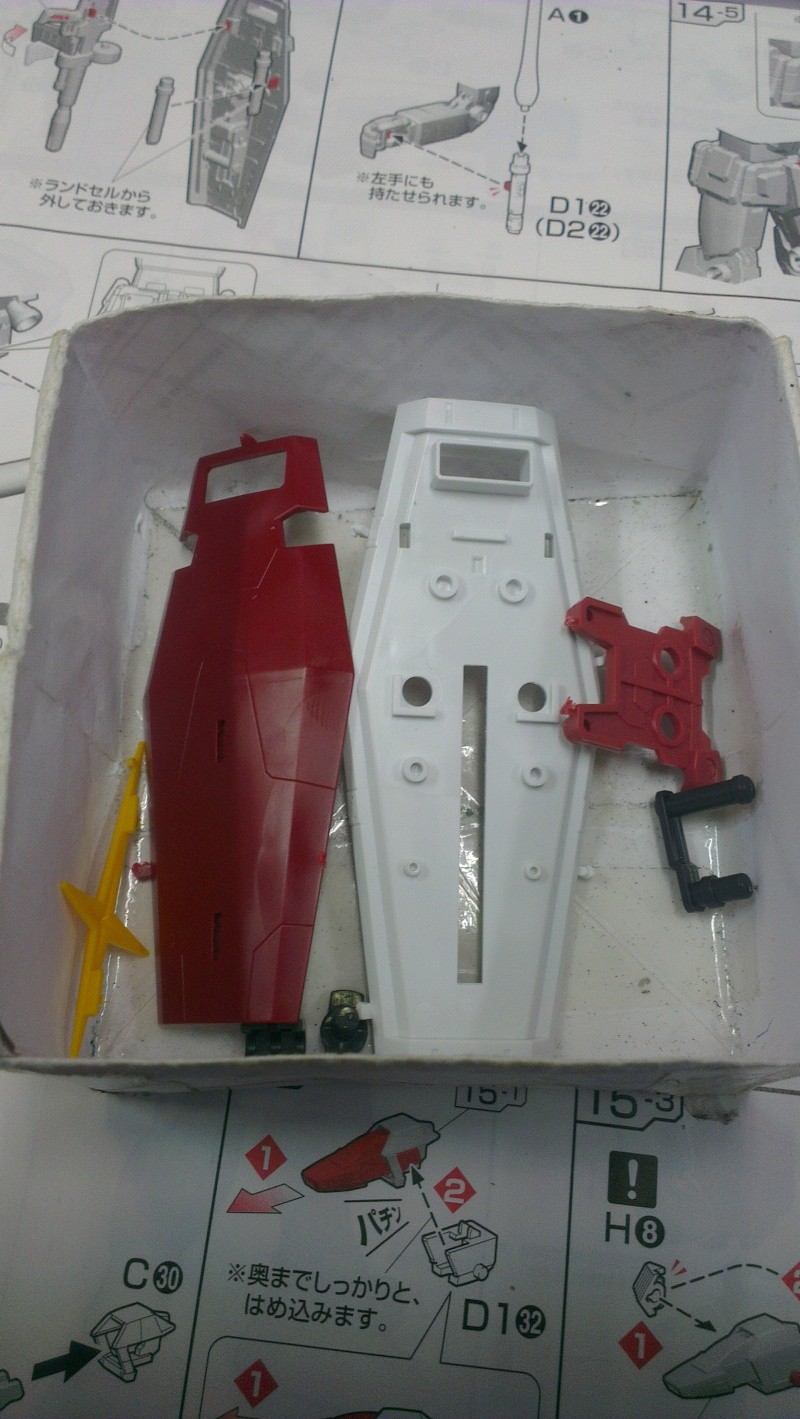
Parts of the core fighter
The pilot figure is still attached to the runner. I am contemplating whether to leave the pilot as it is or to try my hands at painting a 1/144 figure. I know it won't come out great because I can barely see the details on a 1/100 scale figure let alone a 1/144 scale.
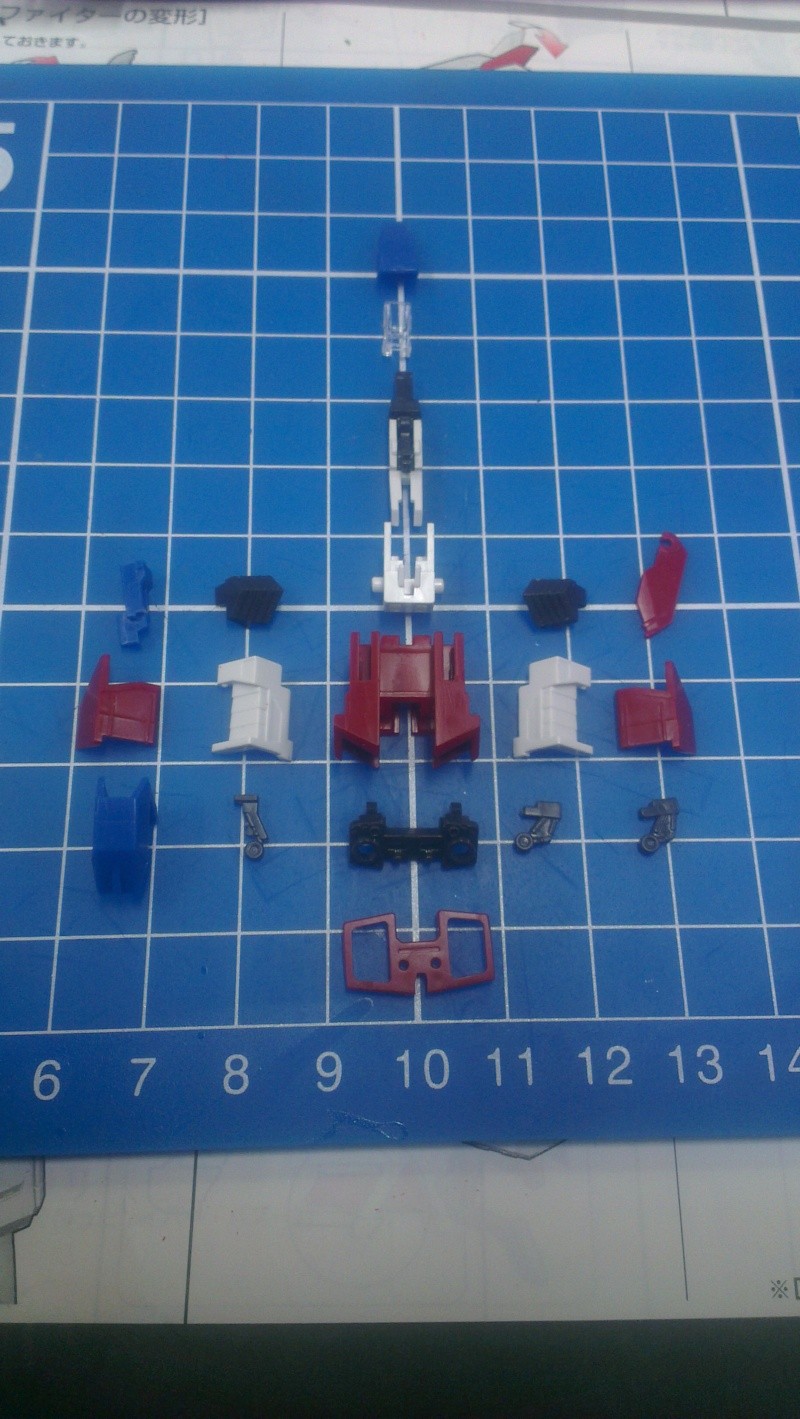
Parts of the core fighter all laid out and denubbed
With the pieces of the core fighter all laid out and confirmed that no missing parts, it is time for the exciting part: building. Built is not difficult and can be done in a few minutes. Here are some photos of the completed core fighter without the decals.
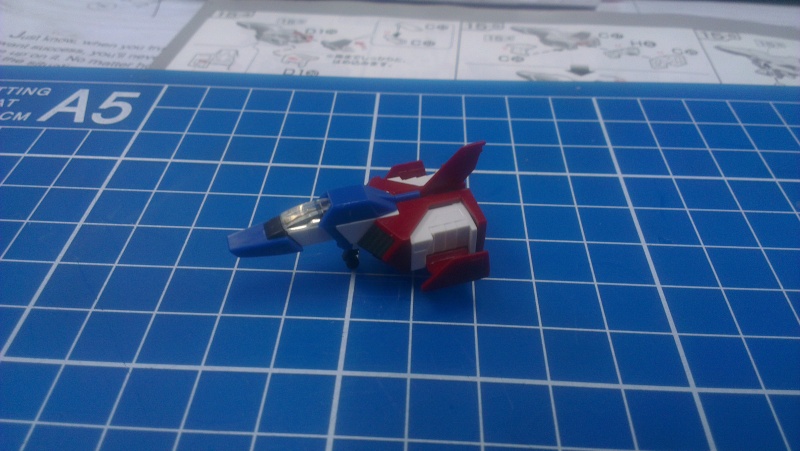

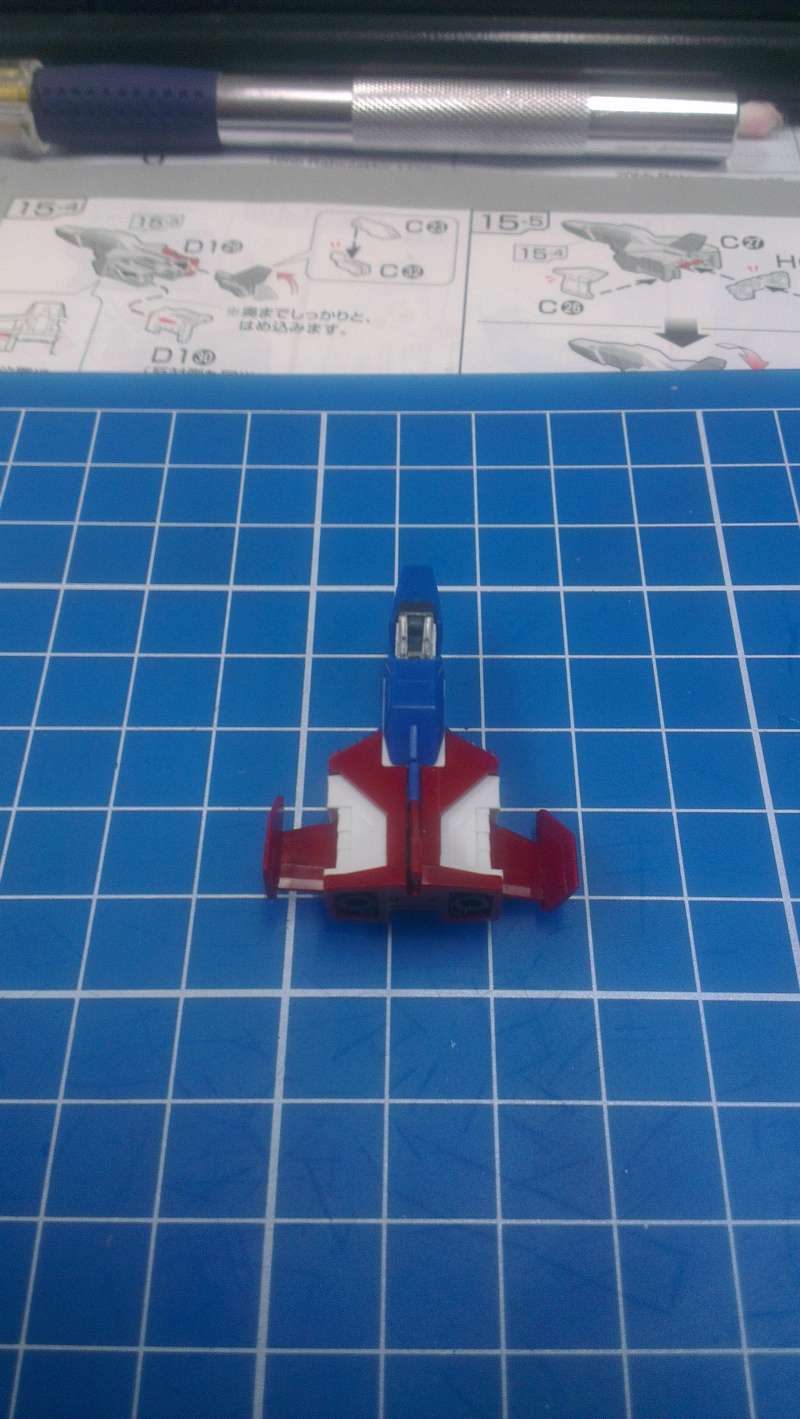
Decaled the core fighter after it was completed. I have a small problem with the left wing. The wing cannot stay up on its own. It will slowly fall down if left unsupported. To fix this problem, I added a layer Future and hopefully it will help tighten the connection when it is dry. The core fighter will have to be placed on it's back while waiting for the Future to dry.
Decaled and waiting for Future to dry
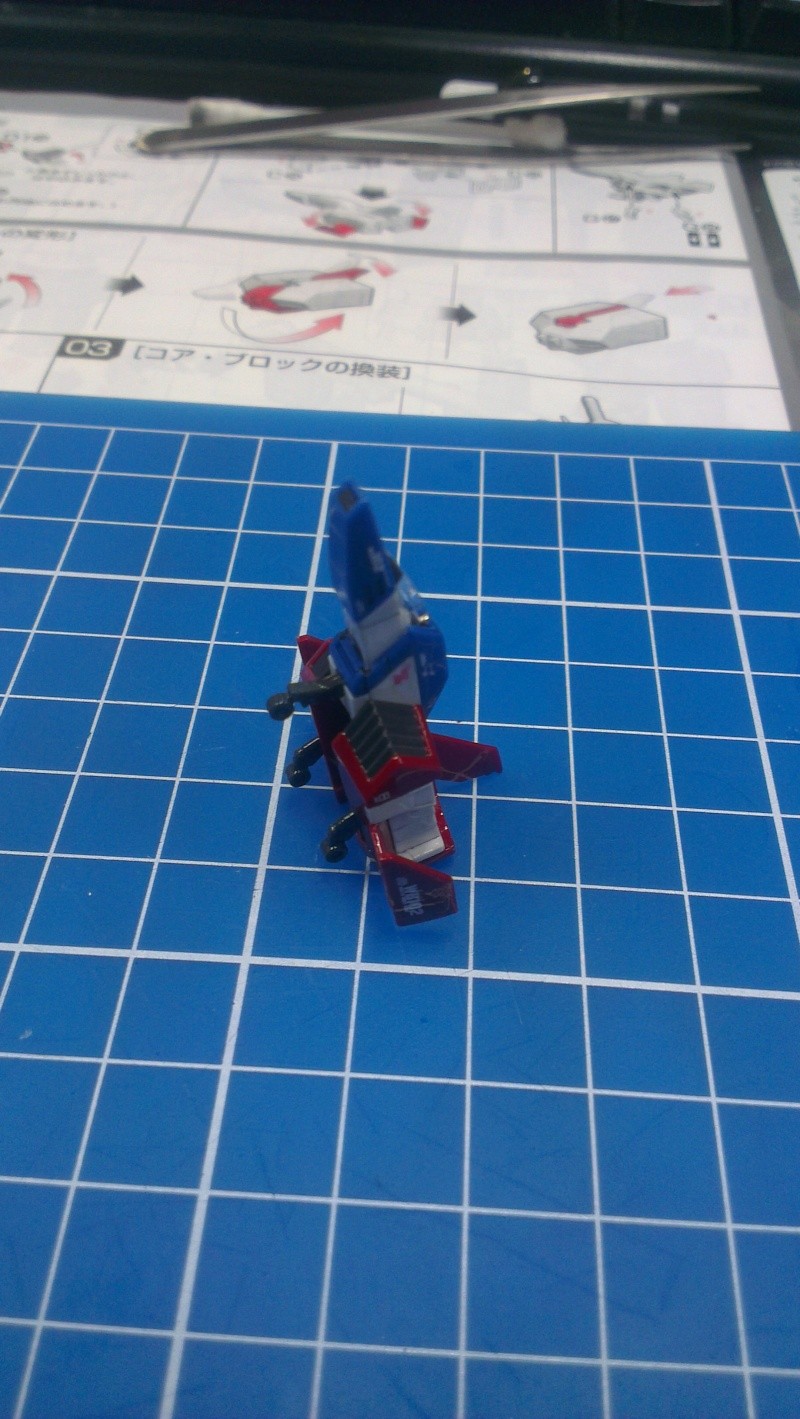
With the core fighter done, the only thing left is to try out the transformation process and complete the MS.

No comments:
Post a Comment