From the last post, the decision was made to paint Caletvwich. The whites were painted black and red. There are 2 V fins included in the kit. The big V fin was painted pink and the other is painted red. Some white parts on the big V fin were left unpainted. Hopefully it will come along nicely when both the fins are attached together.
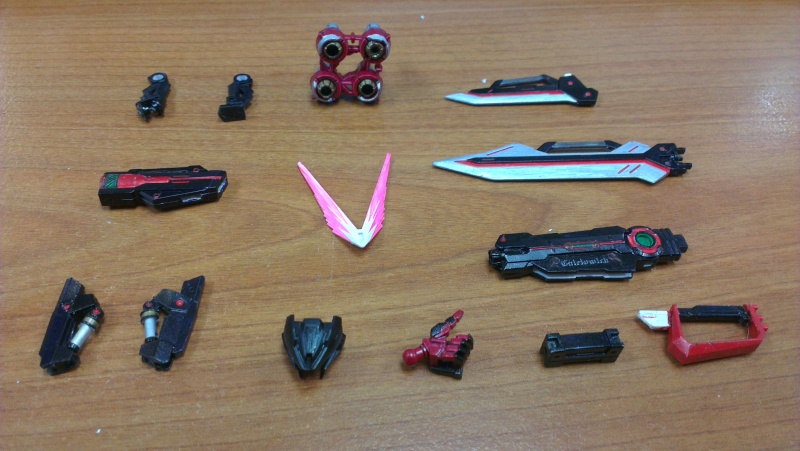
Parts of the Caletvwich before assembly.
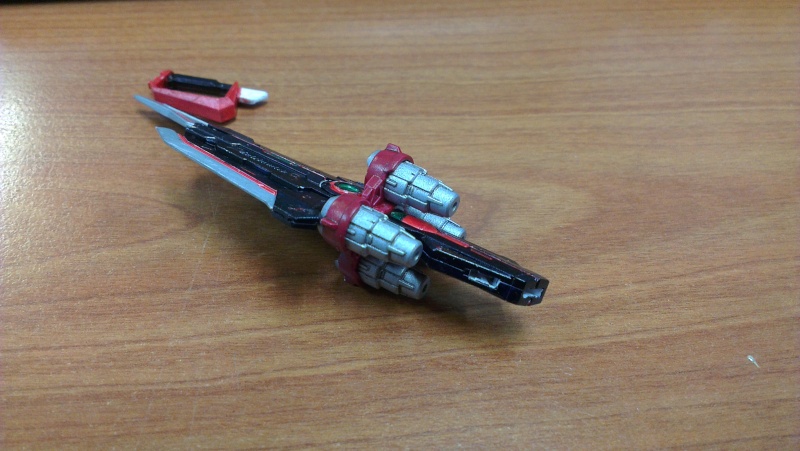
Notice anything missing in the above photo? Yup, one V fin missing. Looking at the parts, the assembly of this kit should be a straight process, right? That's what I thought too. When I first assembled the Caletvwich, the thrusters were loose and both blades could not be assembled on without touching the thrusters. After looking for a solution on the net (the instructions were no help because they are in Japanese), I found out that there is a proper way to assemble the thrusters. There are holes in the thrusters for you to connect the big blade to it.
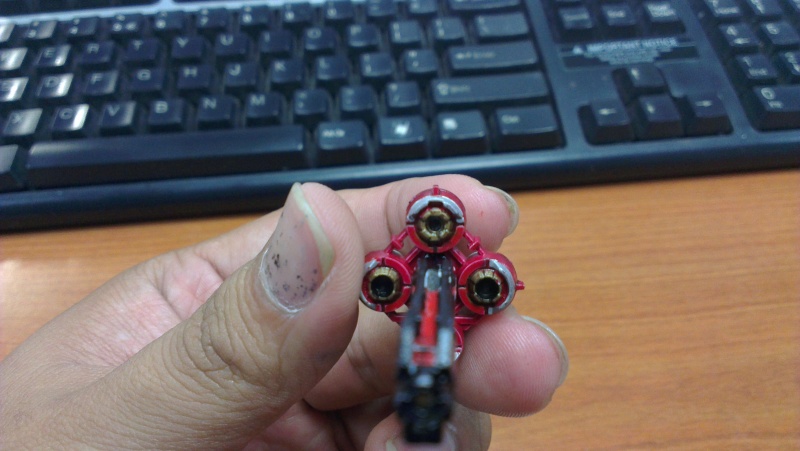
Holes on the thrusters to insert the big blade.
Once the alignments are correct, the thrusters will fit very tightly to the body of the Caletvwich.
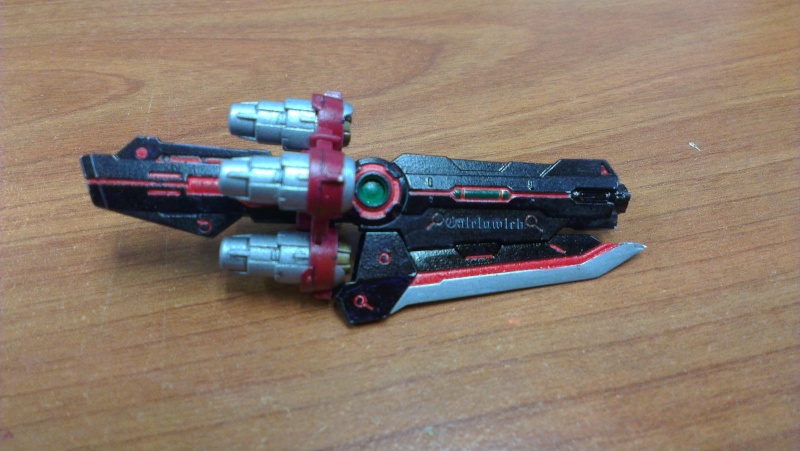
The blades are actually very easy to assemble. The small one goes to the bottom of the body and the big blade goes to the top. To assemble the big blade, you just have to put the pegs into the holes and push the blade down. Is as simple as that.
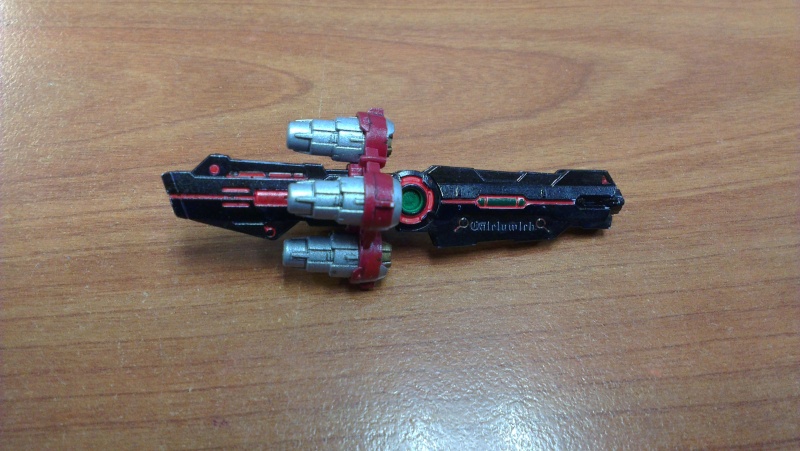
Small blade attached to the body
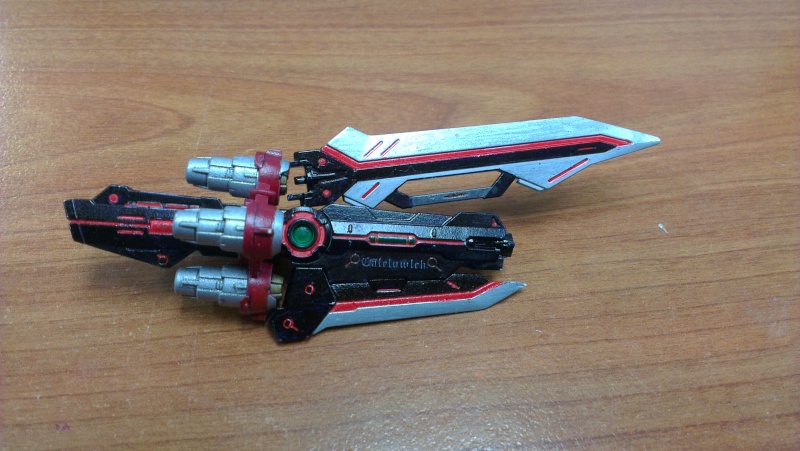
The pegs at the end of the blade is inserted into the holes first
Then the front part is pushed down
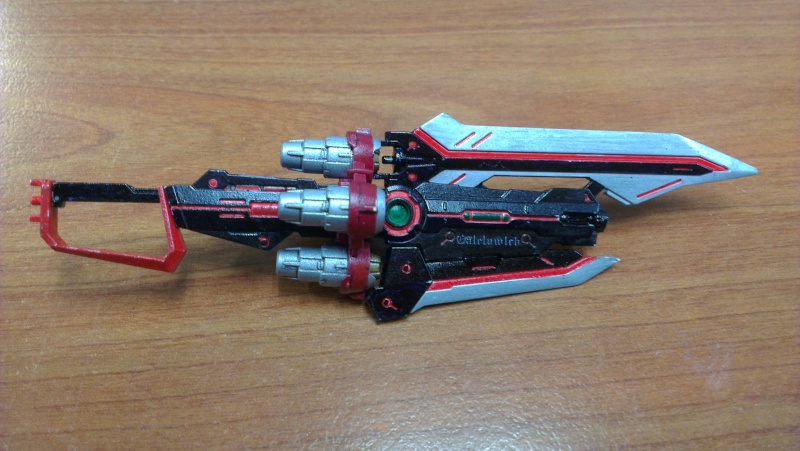
There are 2 places where the handle can be attached to. It depends on whether you want the rf to be holding the Caletvwich in either gun or sword mode. All you have to do is remove the handle from the body and fix it back in the other position.
The 2 different holes for the handle
Next will be about the different types of combination of the Caletvwich.

No comments:
Post a Comment