Gundam Age 1 Normal early production?
After completing the legs and waist, it is only logical to do the chest next.

Panel lined parts of the inner frame of the waist
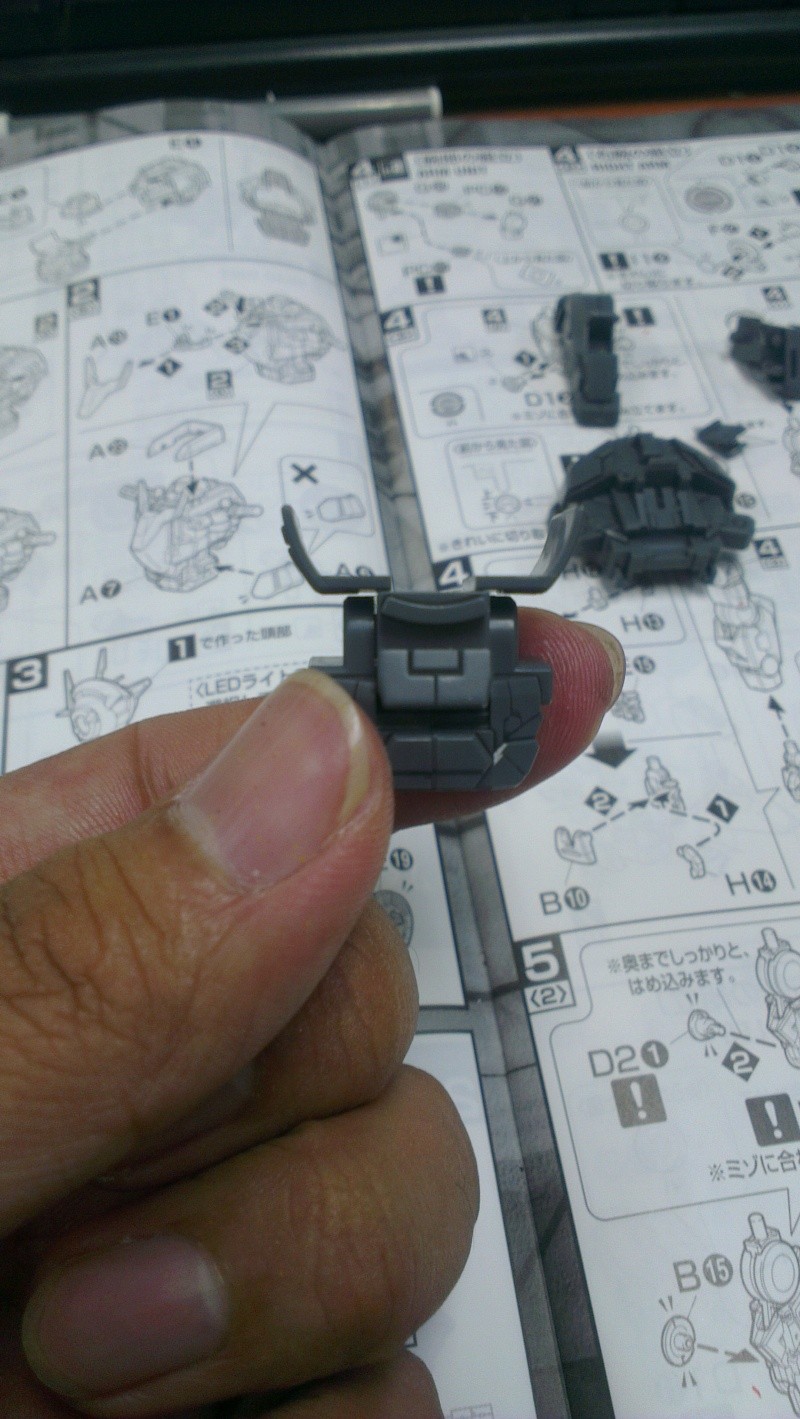
The first part the manual instruction is to fix is the lower section of the cockpit. After assembling it, the particular part reminds me of the 'spoiler' on the back of Gundam Age-1 Normal.
.JPG)
Doesn't it look similar?
After adding a few more parts to the 'spoiler', the cockpit is built. The time has come for the pilot Setsuna to wake up from hibernation and take his place in the cockpit.

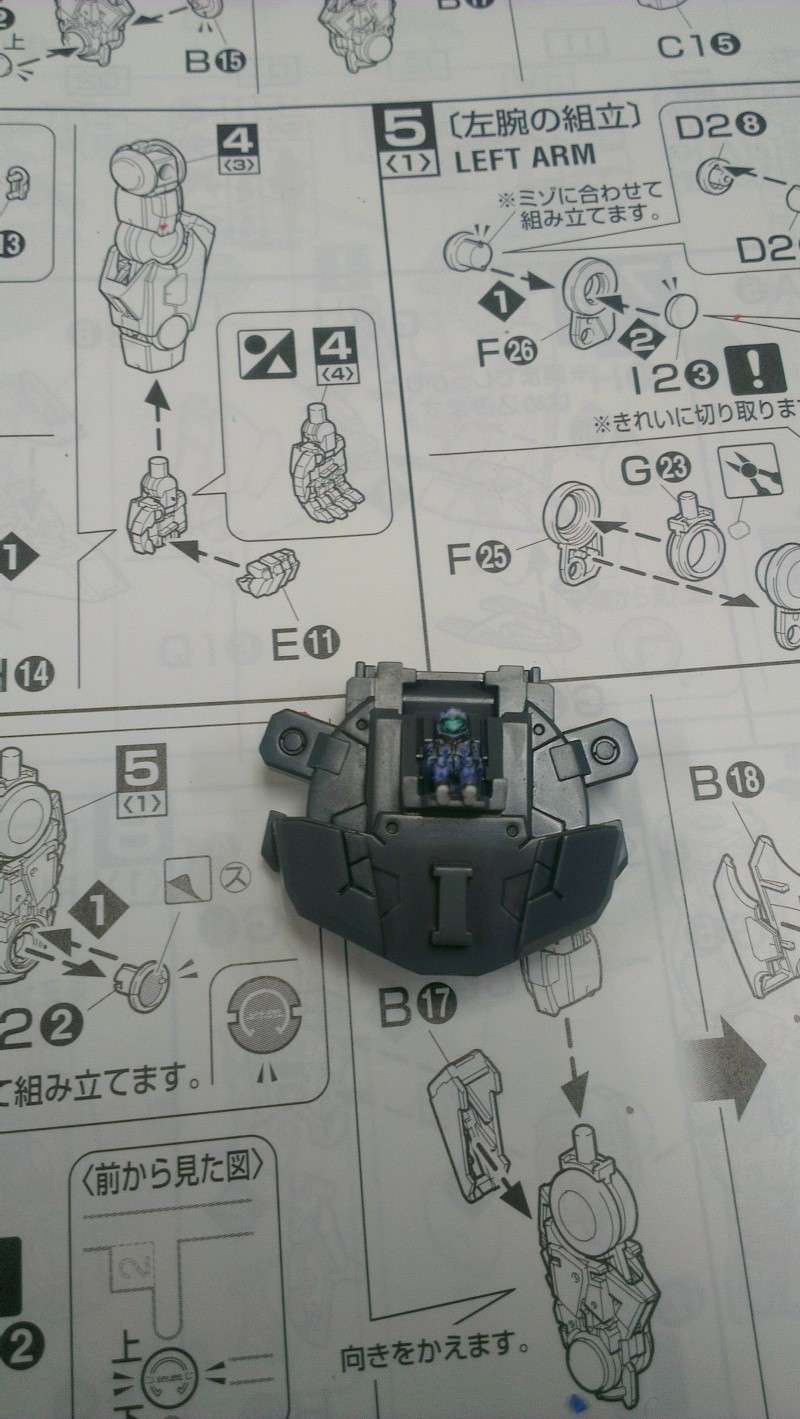
Pilot figure painted in Part 2
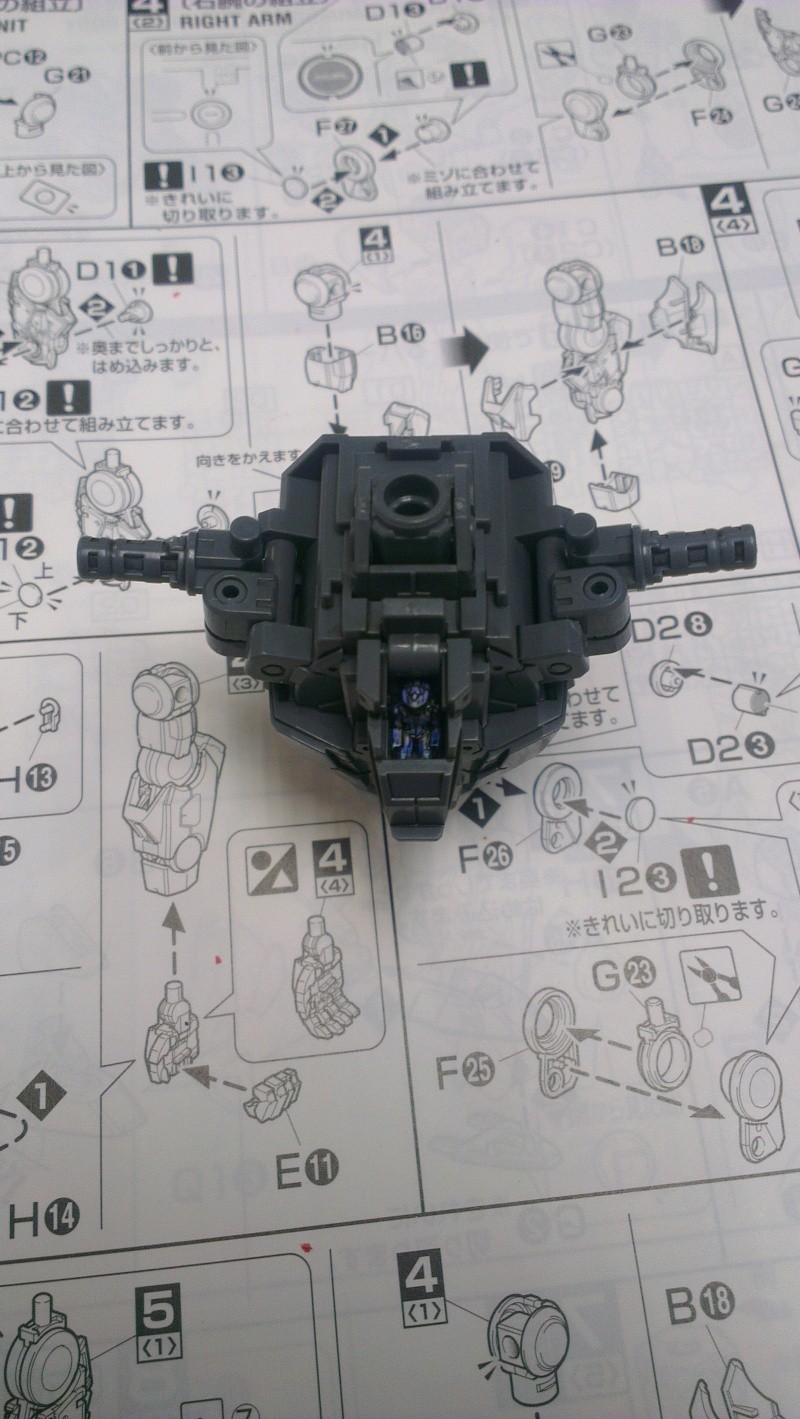
Once Setsuna is sitting comfortably in his seat, it is time to build the cockpit hatch, joints for the arms and the back of the torso to house the LED. The back of the torso is hollow and I'm not sure if can be seen in the photo but the joint for the neck is hollow too. This is to allow the light from the LED to shine through to light up the eyes of the Seven Sword.

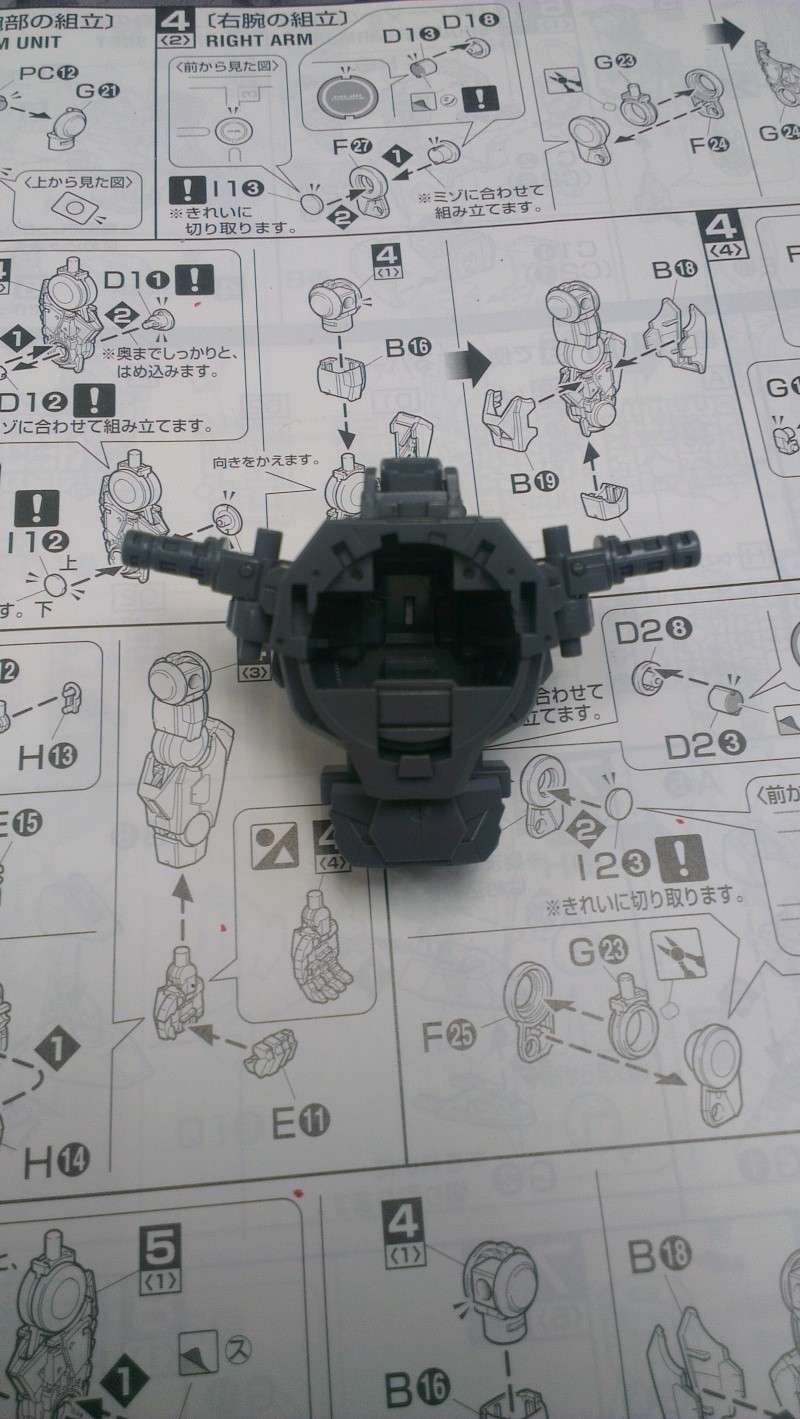
Front, top and back view of the torso.
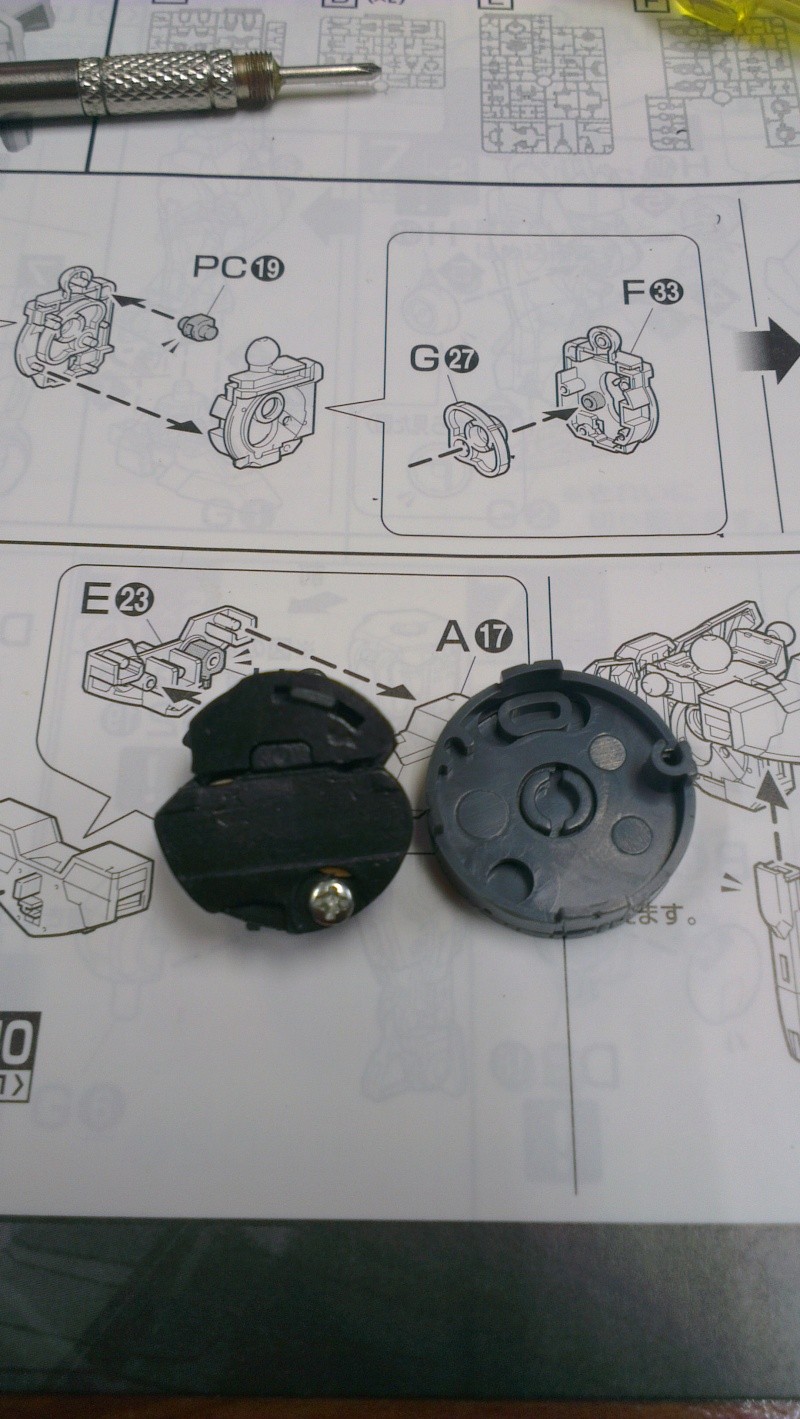
Jumping to the GN drives after the completion of the torso.
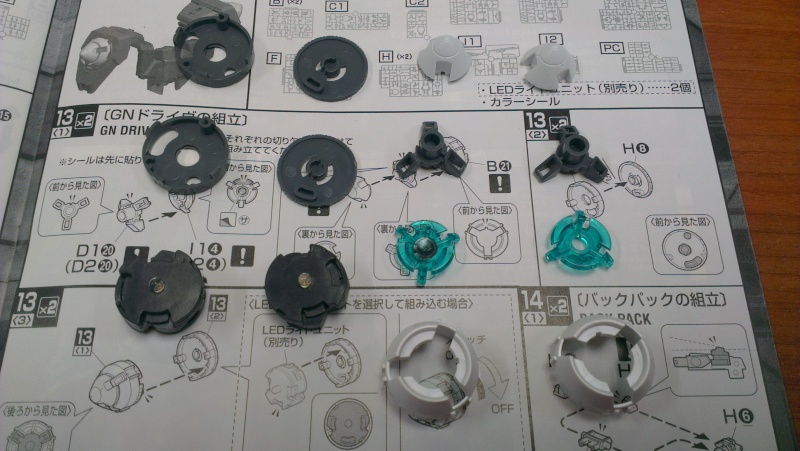
Parts of the GN drives before assembly

The LED unit (left) and the base of the GN drive. The base of the drive can be used to turn on and off the LED by simply turning it to either the right or left. How this work is simple. From the above picture, you can see that there is a switch on the LED unit. The switch goes into the hole on the top of the base. Once it is in, you just have to rotate the base to turn the light on or off.
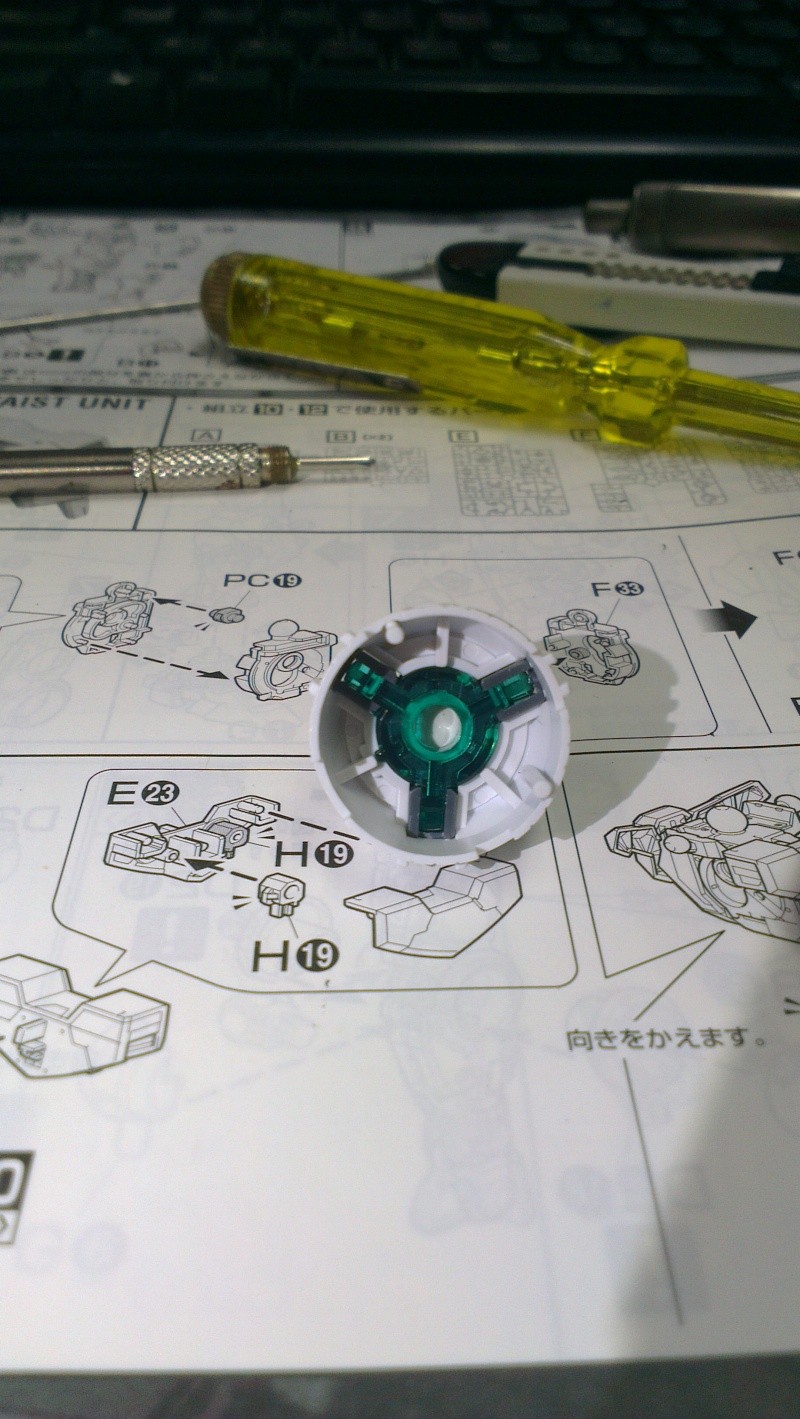
The top of the GN drive has a transparent green plastic to allow the light from the LED to shine through:
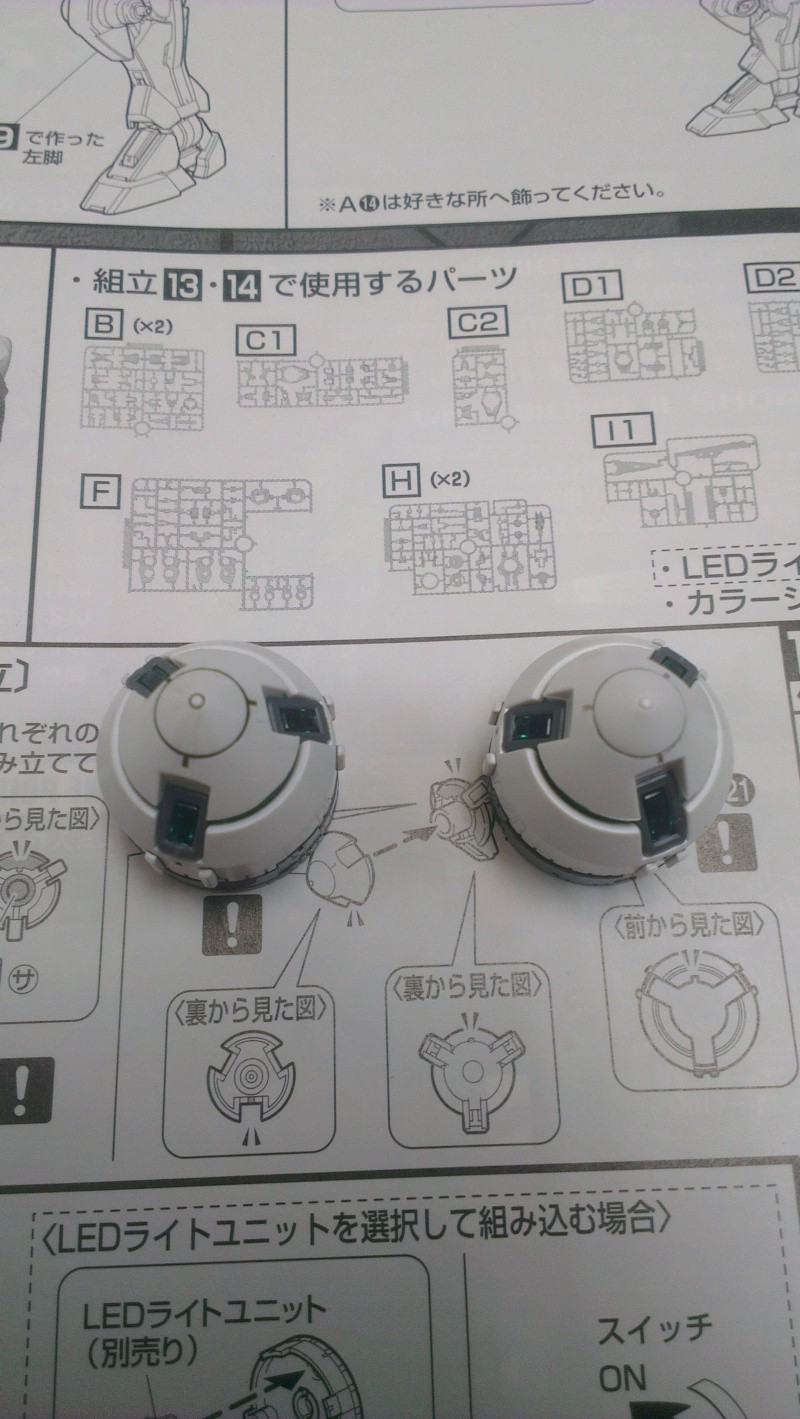
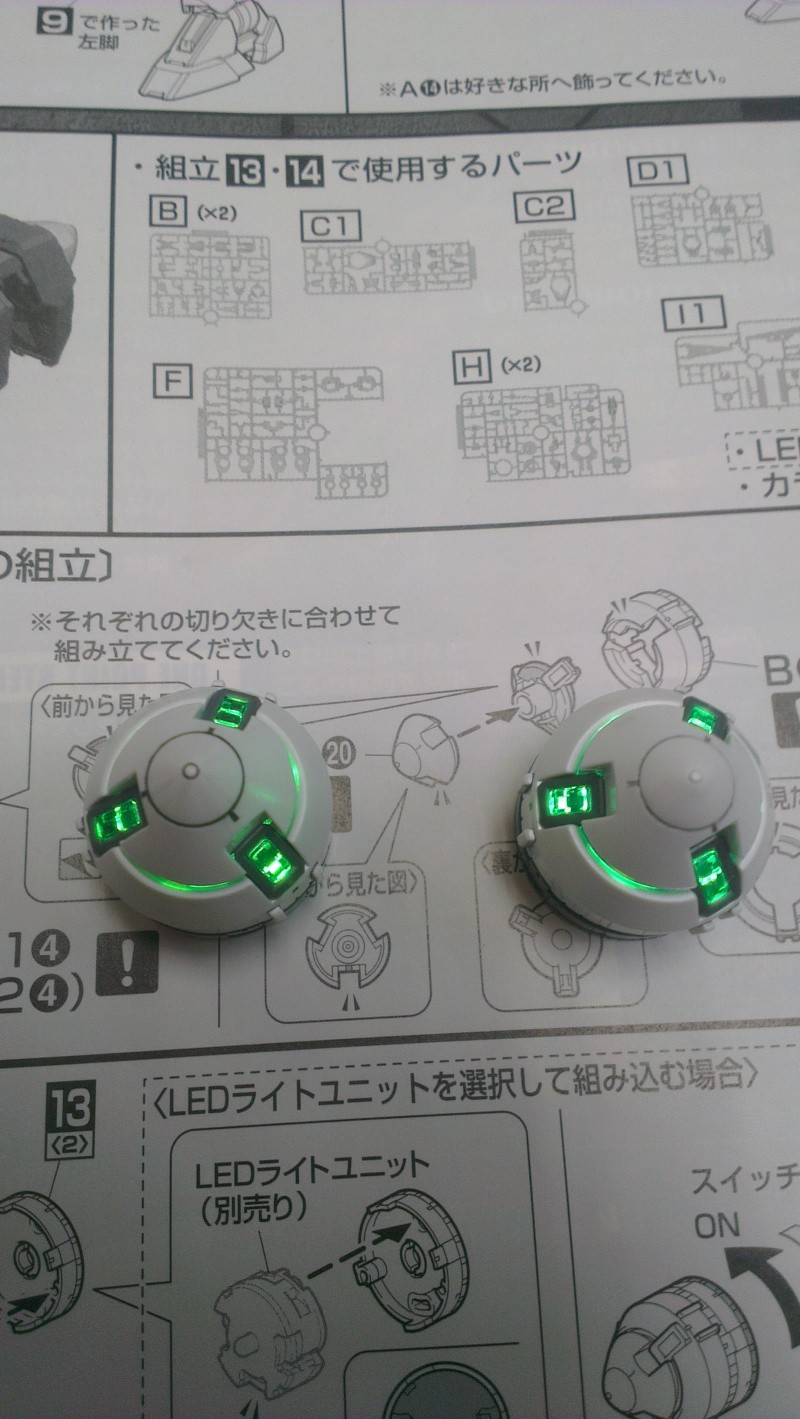
Left: Completed GN drives without LED on.
Right: Completed GN drives with LED on.
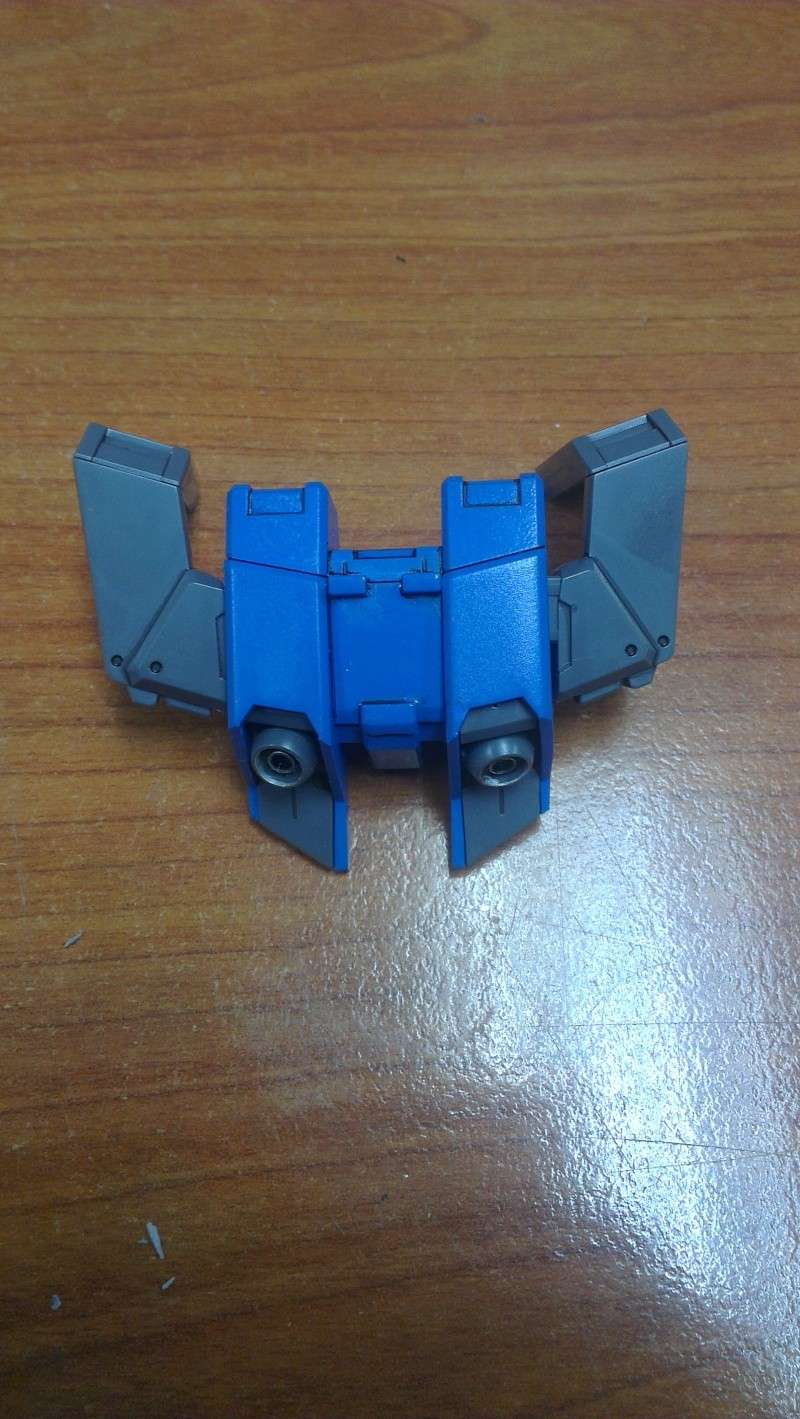
Since the GN drives are done, the next logical step is to assemble the backpack.
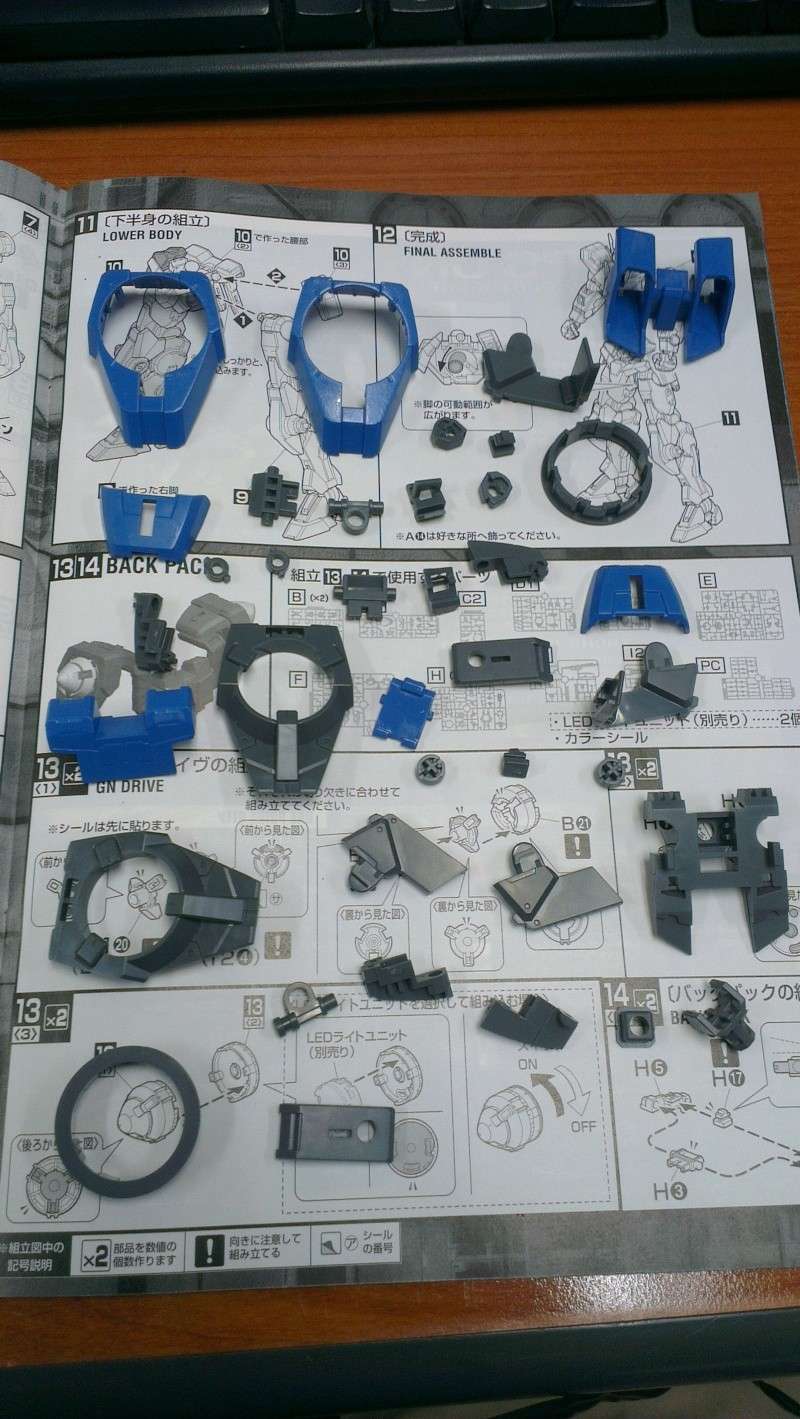
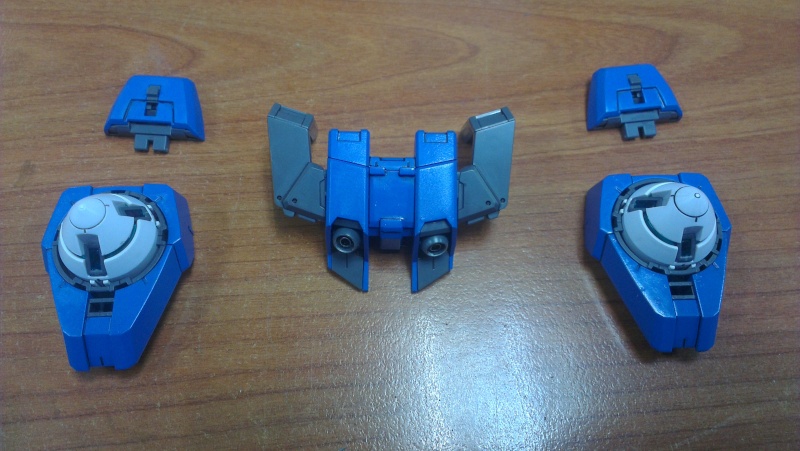
Parts of the backpack before assembly
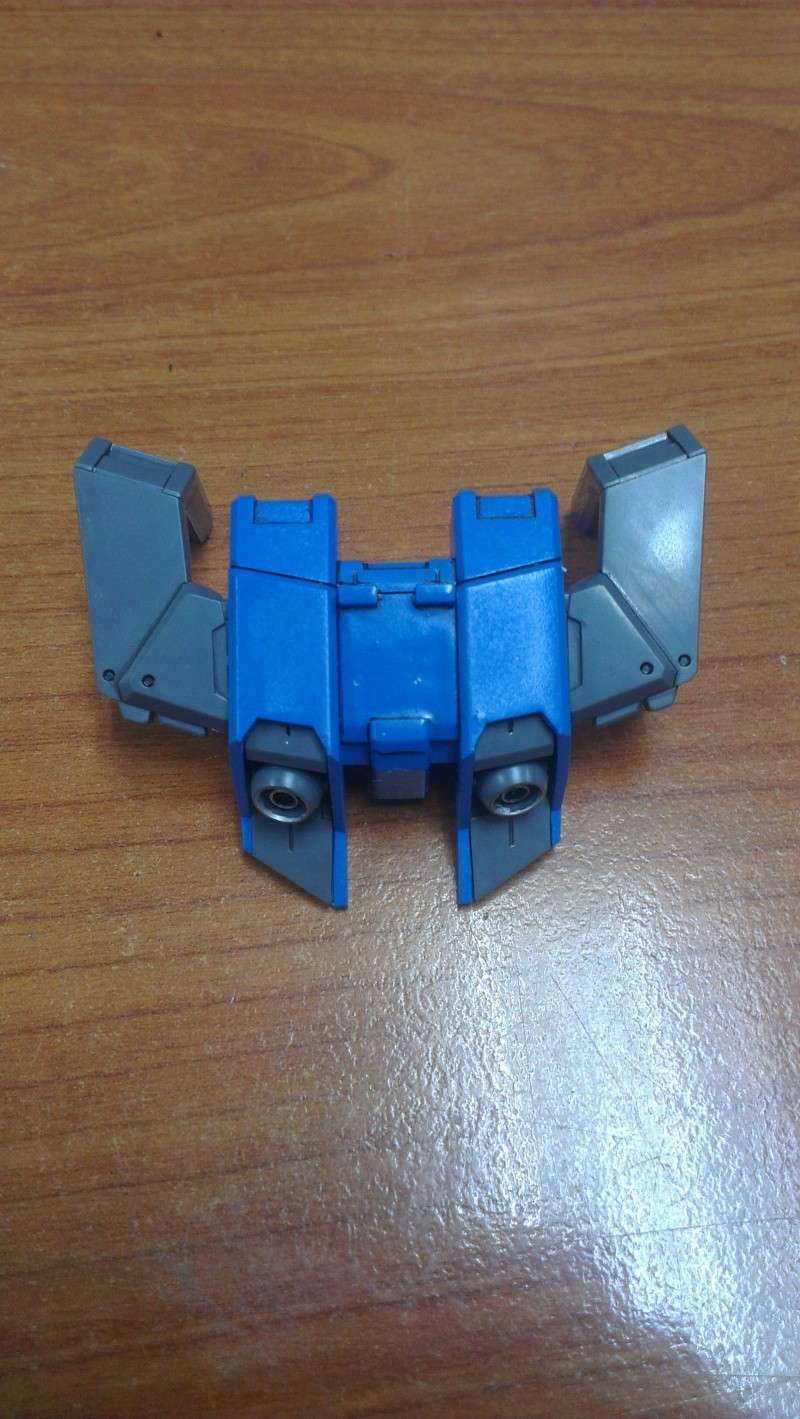
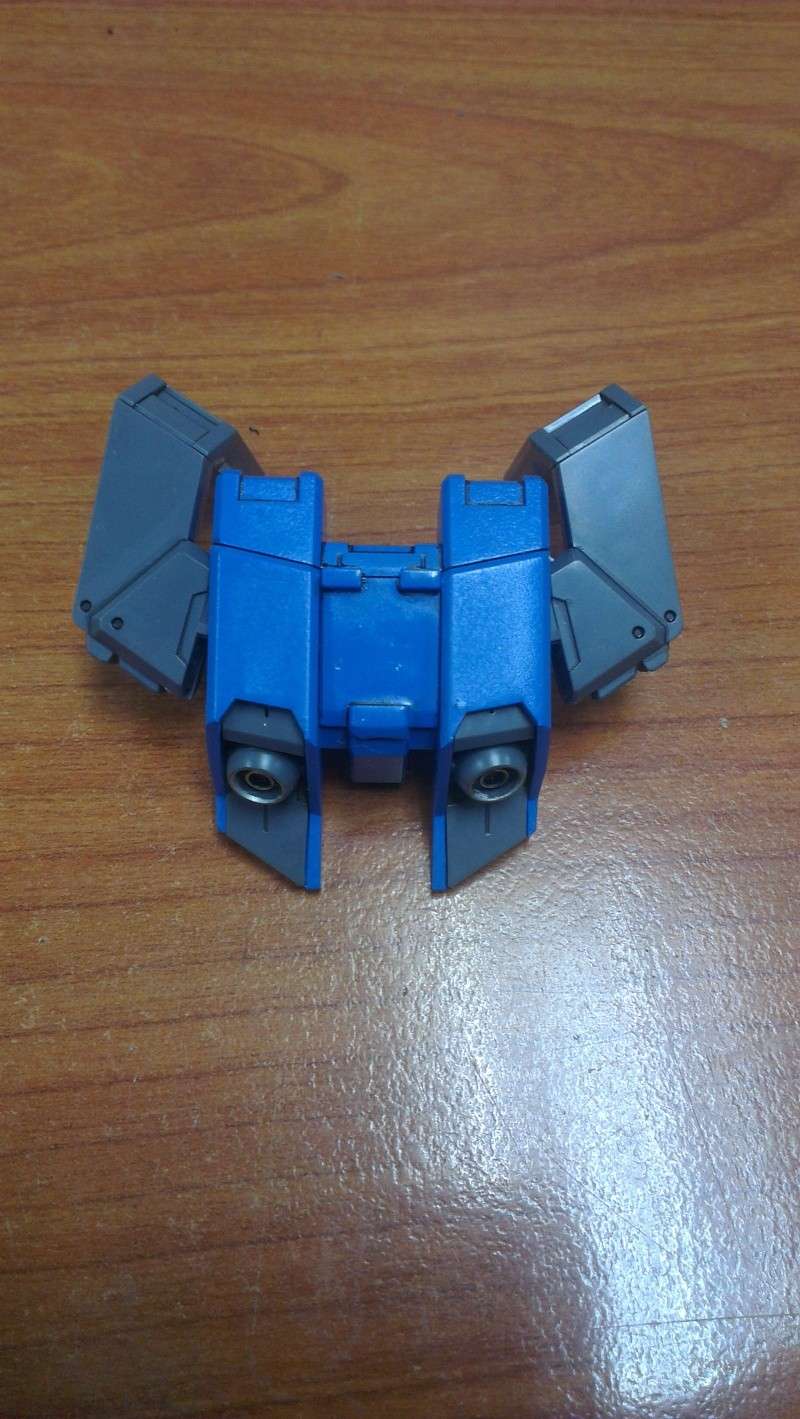
The backpack is a straightforward built. The arms of the backpack has some movements to it. As can be seen in the photos below, the arms can be moved up independently of each other.
There is nothing interesting about the GN drive holder. It is also a straightforward built with no gimmicks to it. To turn on the LEDs of the GN drives, you will have to turn the LED on before putting it into the holder. Something to beware of when putting the drives into the holder. There is a certain criteria which have to be met before the drive can inserted.

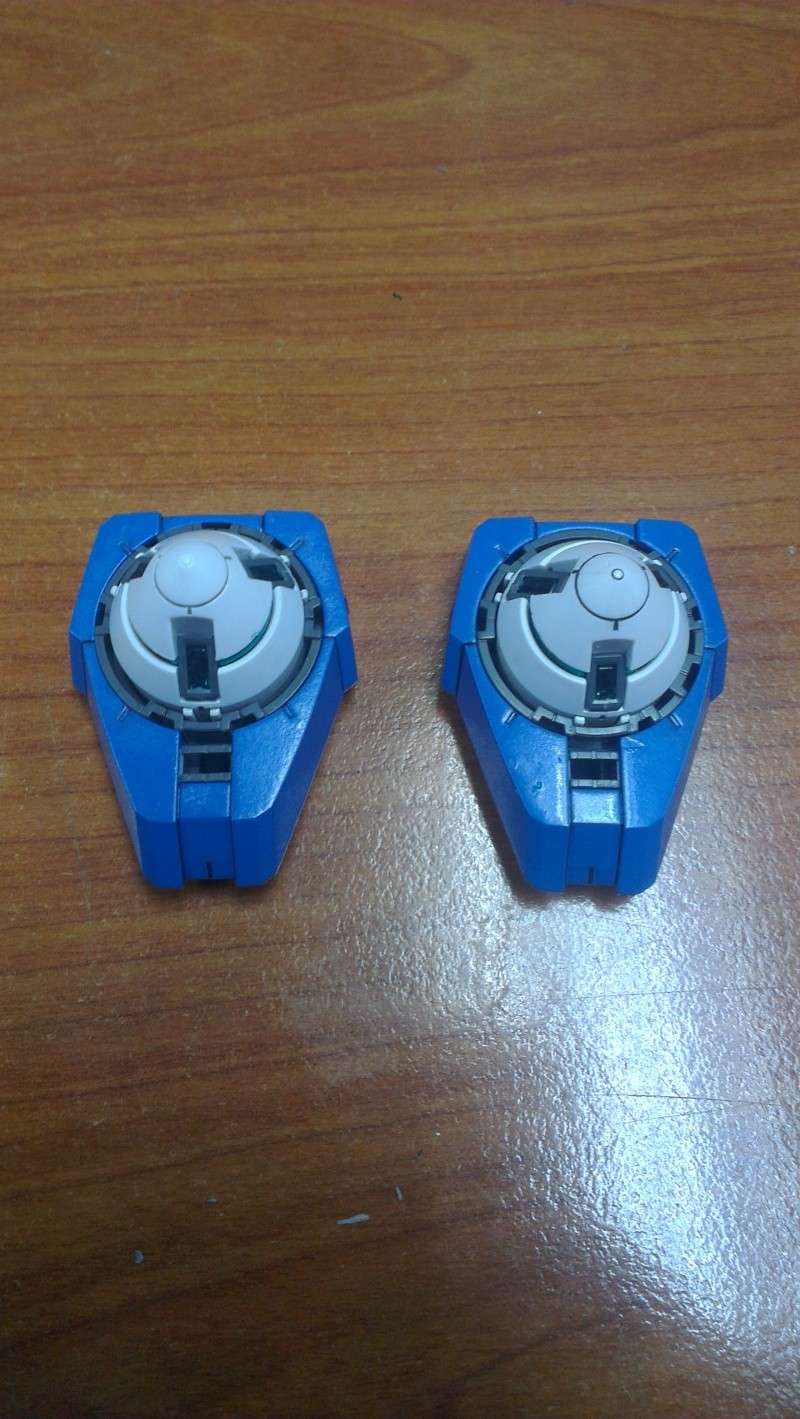
From the above photos, you will be able to notice that there are 3 different grooves on the holder. 1 narrow and 2 broad. You will have to align the grooves properly with the line on the GN drives before pushing it in.
Completing the holder marks the end of the different parts of the backpack. Now is just to put them all together:
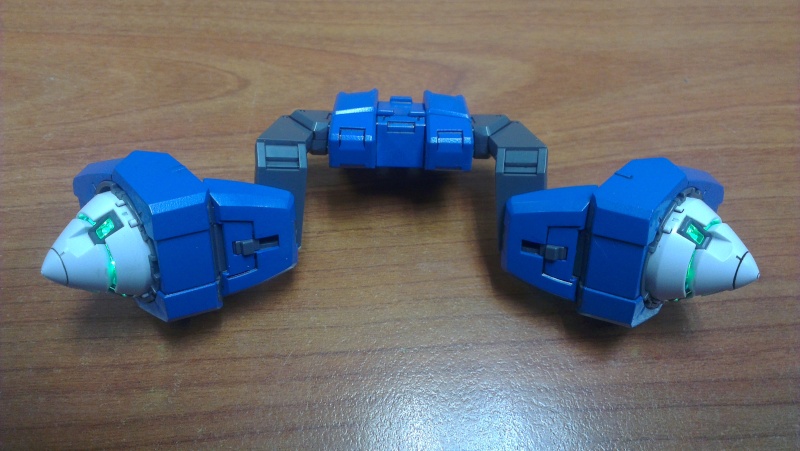
Completed backpack with and without the LEDs.
Next will be the arms, swords and finally the assembly of the head.

No comments:
Post a Comment