More mistakes to come...
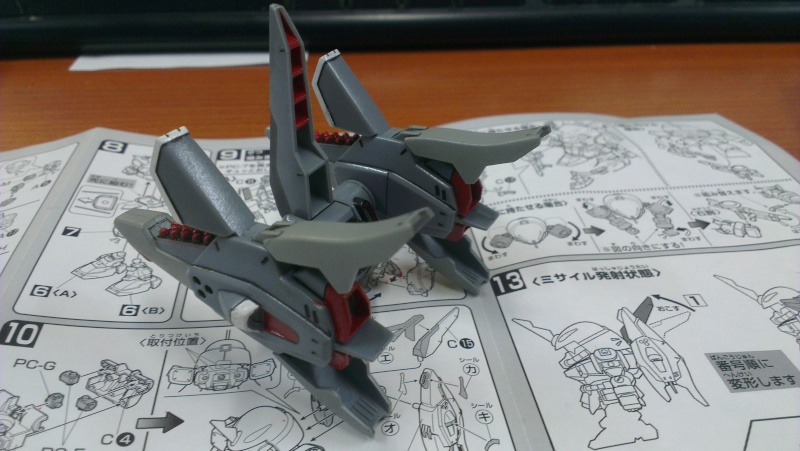
Since the mistakes made during the process of paint the backpack was rectified, it is now time to assemble it for the second time. I started assembling the side of the backpack first. I shall call them 'wings' for easier reference. It has the most parts and also I want to see the gimmicks of this piece. From what I can gather from the manual, the 'wings' are able to expand and collapse to hide the missiles.
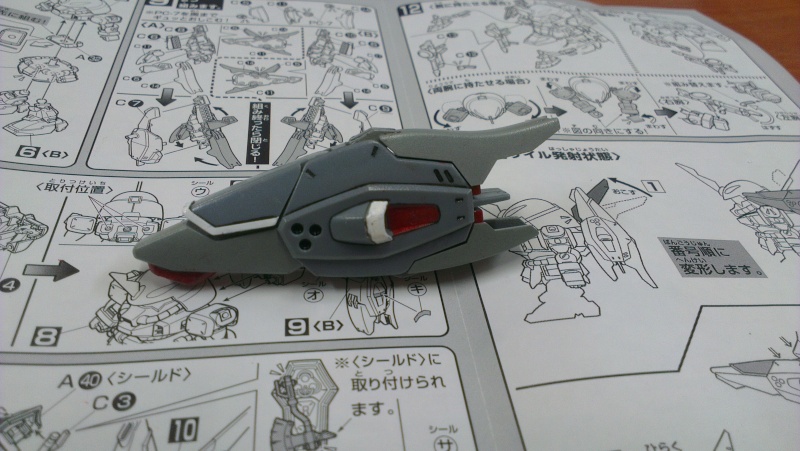
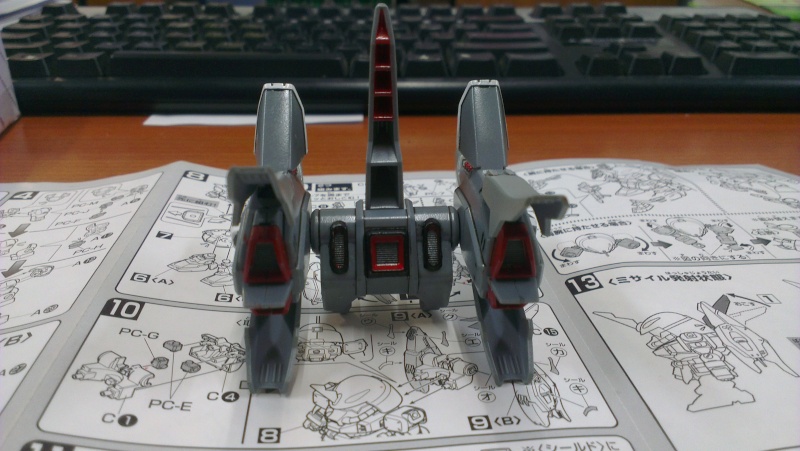
Closed form of the 'wings'
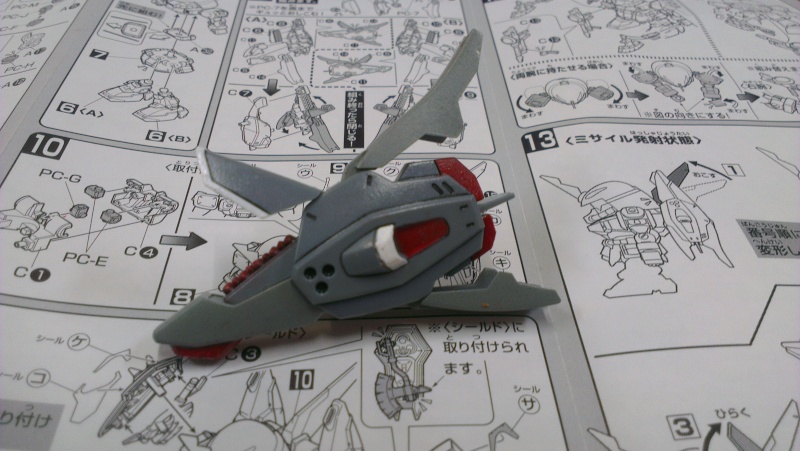
When the 'wings' are expanded. In this form, you are able to see the various colors on the 'wings'. This makes the 'wings' look more interesting.
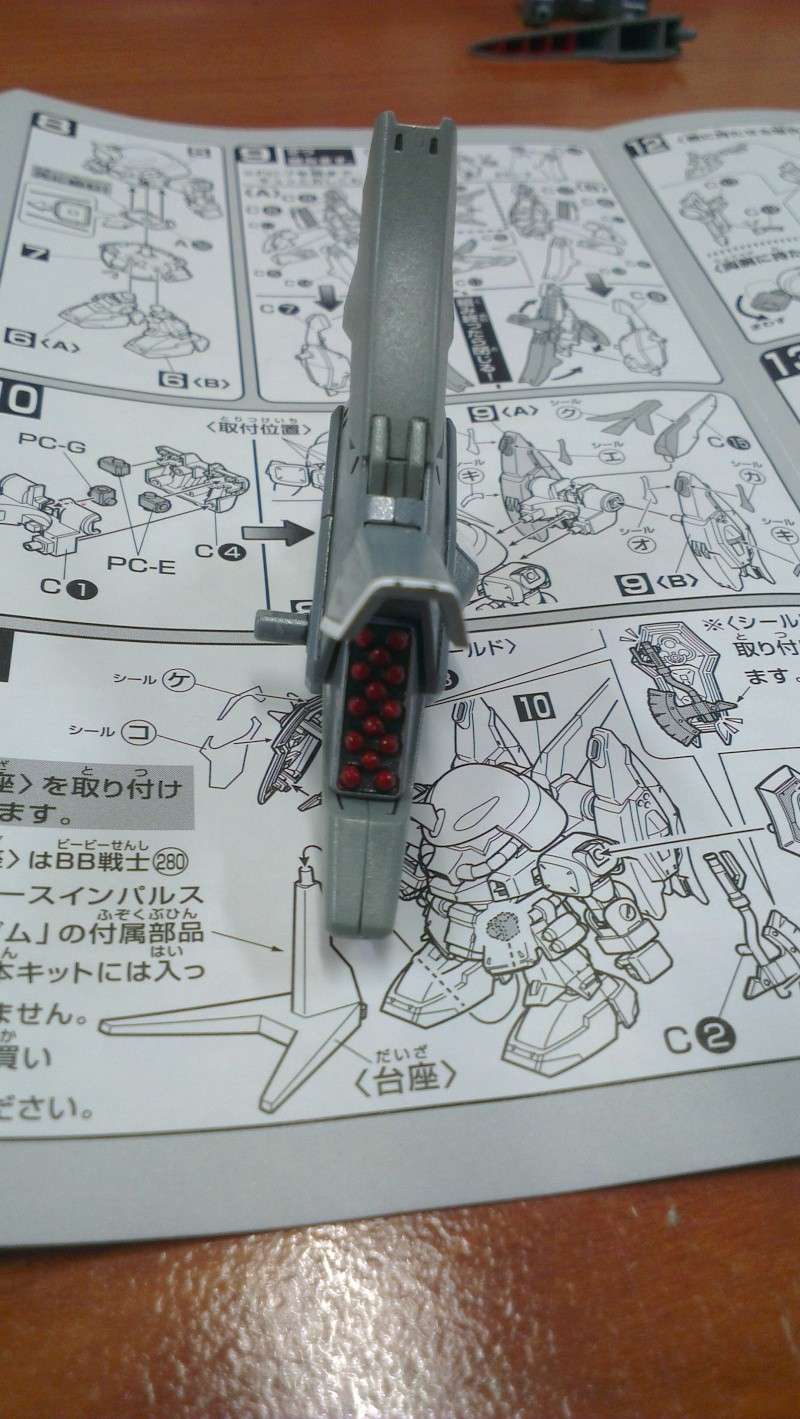
The painted missile pods mentioned in WIP 4
I figured that all the mistakes I could ever make was over but once again I was proven wrong. Somehow the red for the missiles were not fully dry and I didn't notice that it got onto my fingers. From then on, it is like cancer. The red spread all over the kit because I was too busy admiring how it looks like open and close.
I had to stop playing with the kit, took out my trusty Zippo and clean the entire kit again taking into consideration all the painted parts. The worse thing which could happen at this stage is to remove the paint together with the red color, having to disassemble the entire 'wing' and send it for another round of re-paint. That is the worse case scenario but luckily it did not come to that.
The only way to rectify this issue is to touch up the red, wait for it to dry and top coat it. After that it was left aside to dry on its own. When both 'wings' are completed, they are taken out for the final assembly.
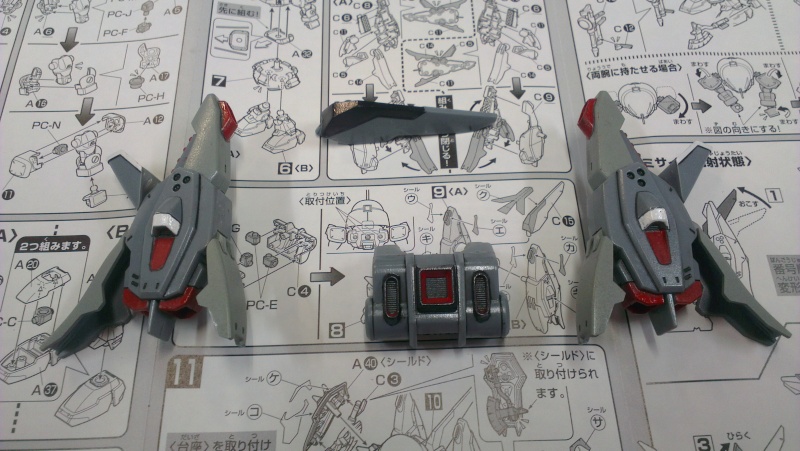
Parts of the backpack before assembly

Once the backpack are completed, I can say I'm impressed with how it turns out. I really like the colors on this kit when the backpack are fully deployed. I'm guessing this will be the most eye catching part of this kit. The best thing about this kit is that they are be swivelled up and down when attached to the Zaku.
Since there was a leak of the head in WIP 4, I might as well take it out and assemble. Since the head is always the last to be assembled to mark the end of the build, I feel it is appropriate to write about it here. One thing I would like to point out is that the head is the only place with a sticker.
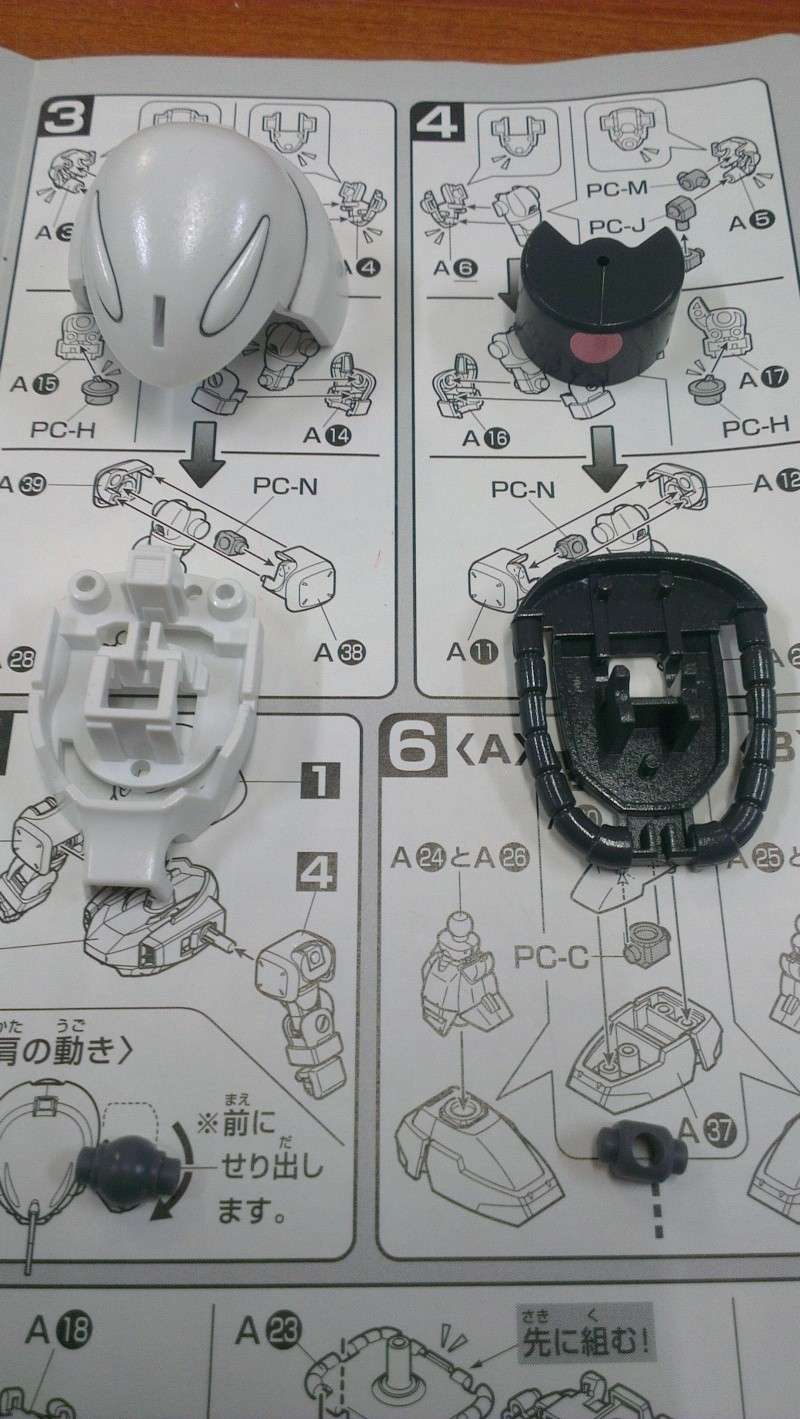
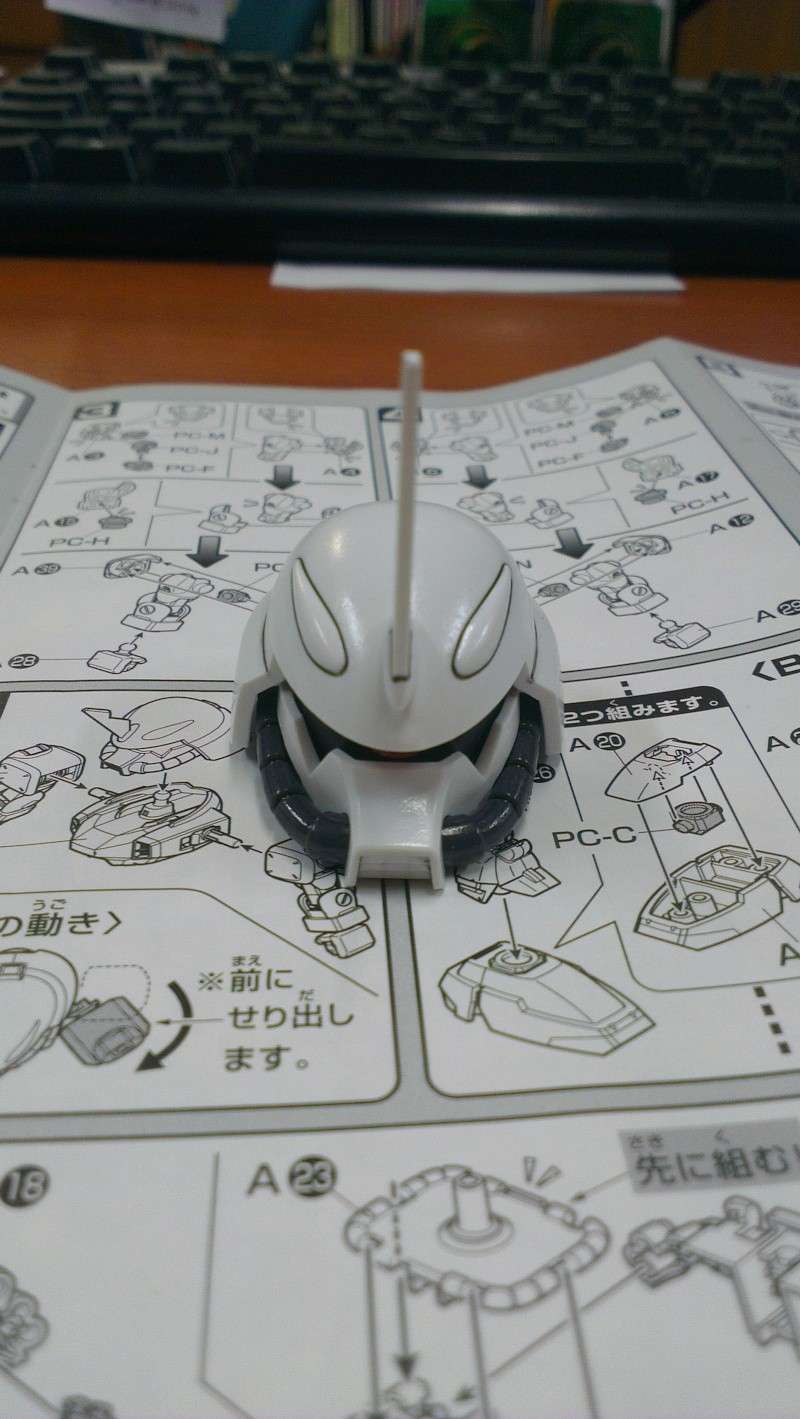
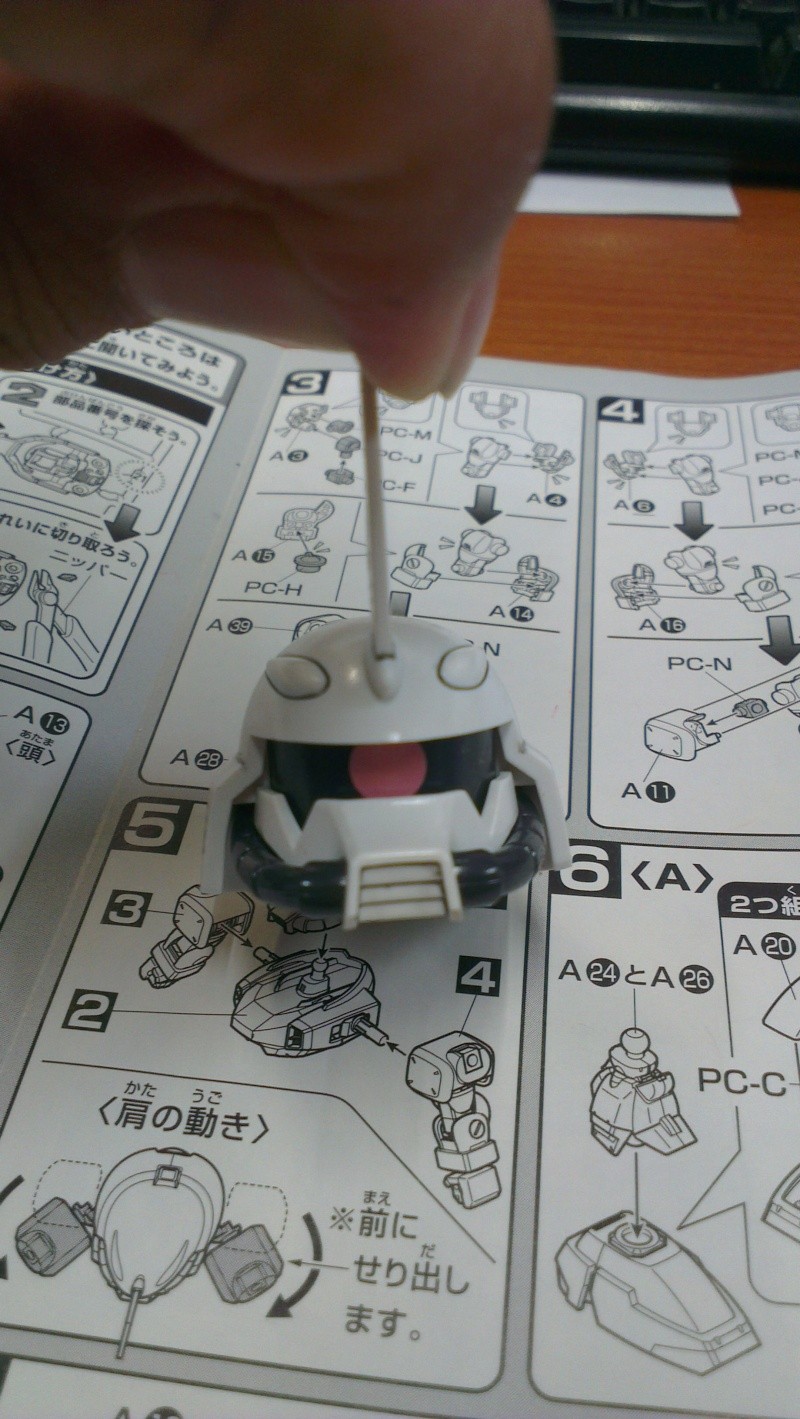
The eyes can be moved from left to right but in order to do it, you will have to remove the helmet, move the eyes in the desired position and reattach the helmet. Now that all the work are done, the next step is to put this little fella together, find a shelve space for it and start on the next project.

No comments:
Post a Comment