Not so straight forward build
Mentioned in the previous post, this post will be about the legs and body. There are some things in this build which was unexpected. This makes the kit more interesting (for me) and I wish Ban Dai has done more of this for more kits. In order to reveal the twist in this build, let's start building from the legs.
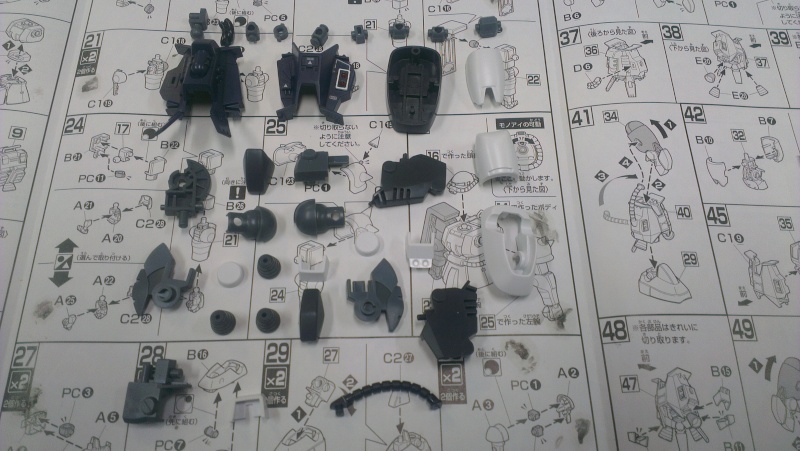
Parts of the legs before assembly

Section of the legs after assembly
The legs are assembled the same way as other builds. Foot connects to the calves which is then connected to the thighs. No problem there. Now this is where is gets interesting. As you can see from the above photo, there is a tube on the right. This tube is flexible and is connects from the thigh section to the calves section. The tube connected to calves are easy. You just need to slot it into the hole. The problem comes when you want to connect it to the thigh section.
In order to attach it to the thigh, you will have to put the tube into the hole at the thigh. For the record, it looks simple enough but in reality it is not. You will have to bend the edge of the tube and use a bit of force to push it in. While doing this, I was thinking that I might break the piece but fortunately it was flexible enough to not break. After attaching the tube to the legs, do the same for the next leg.
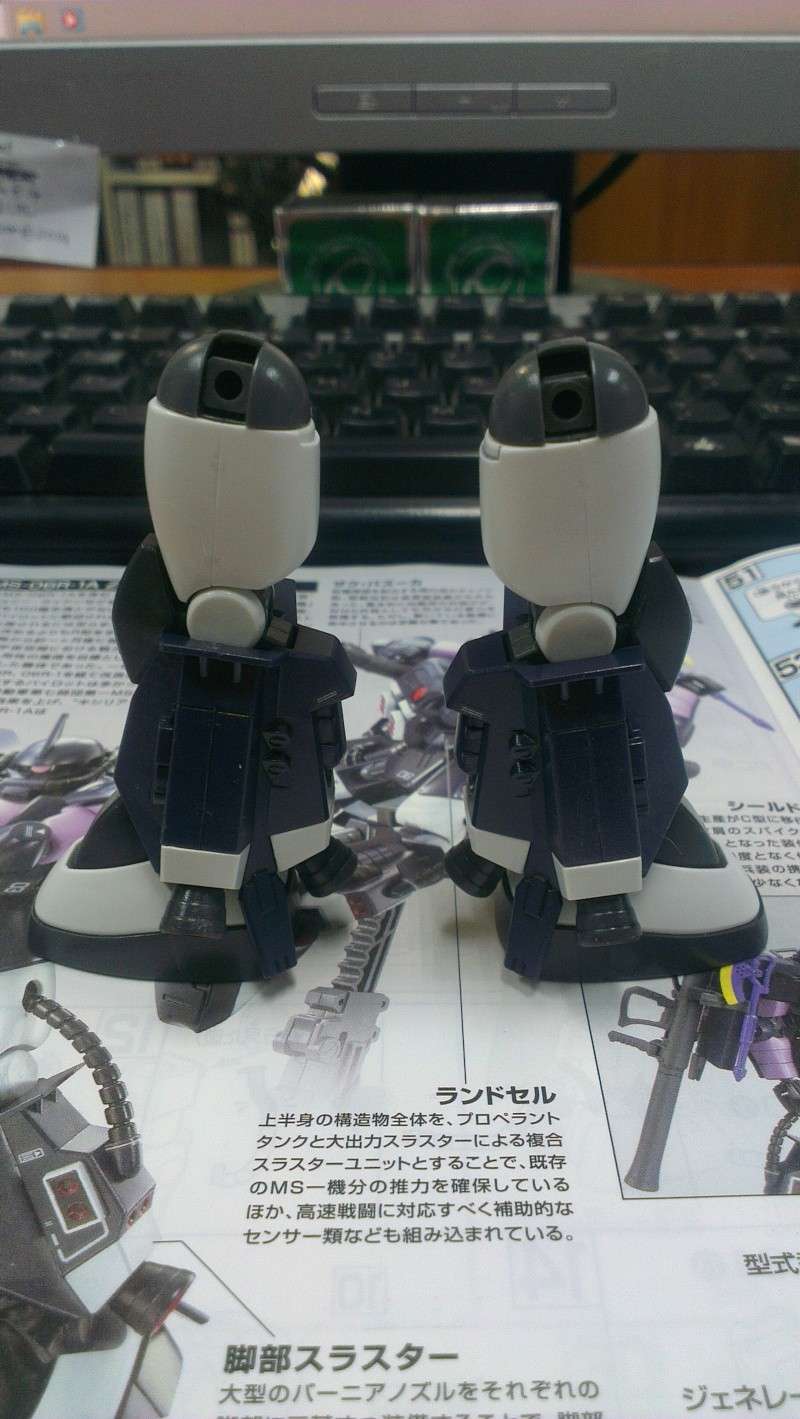
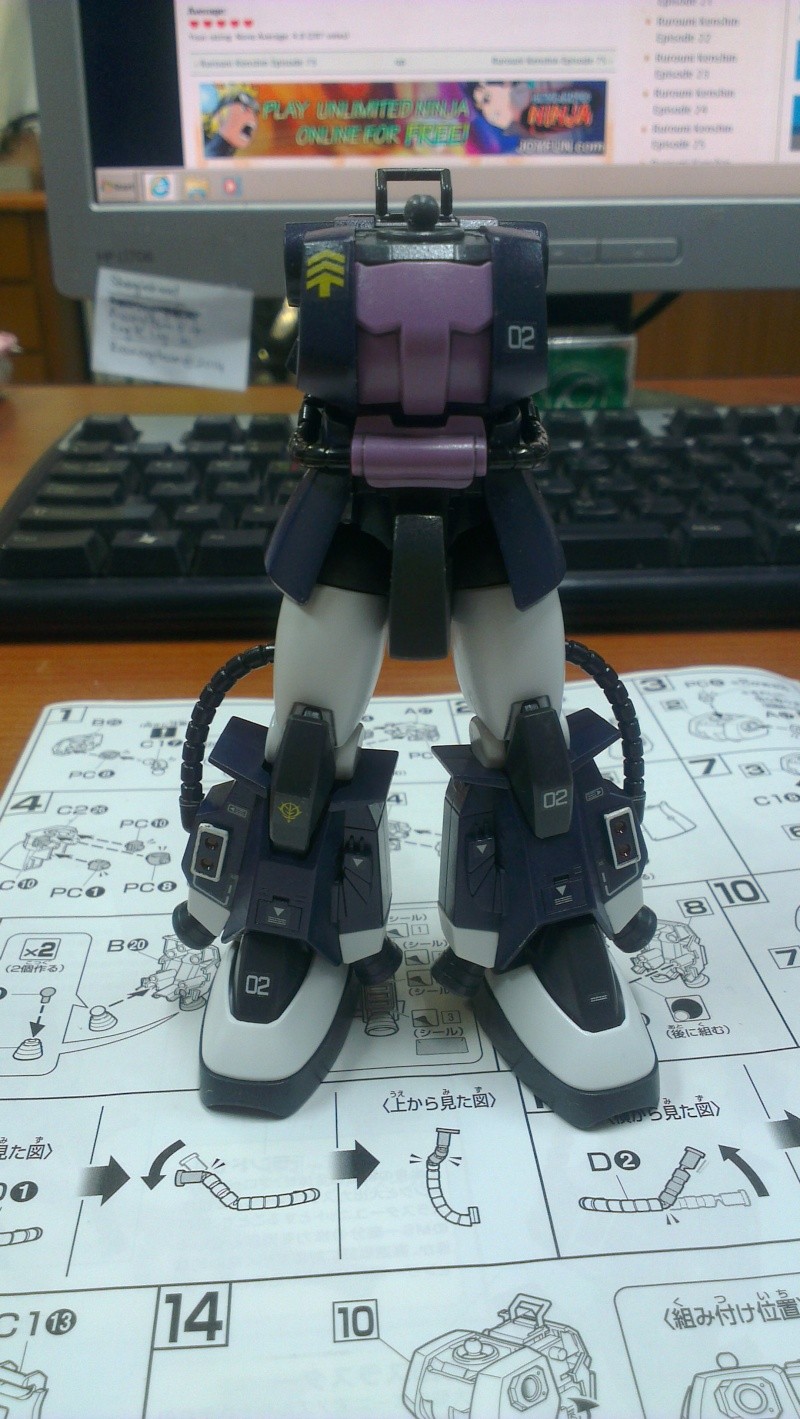
360° view of both legs
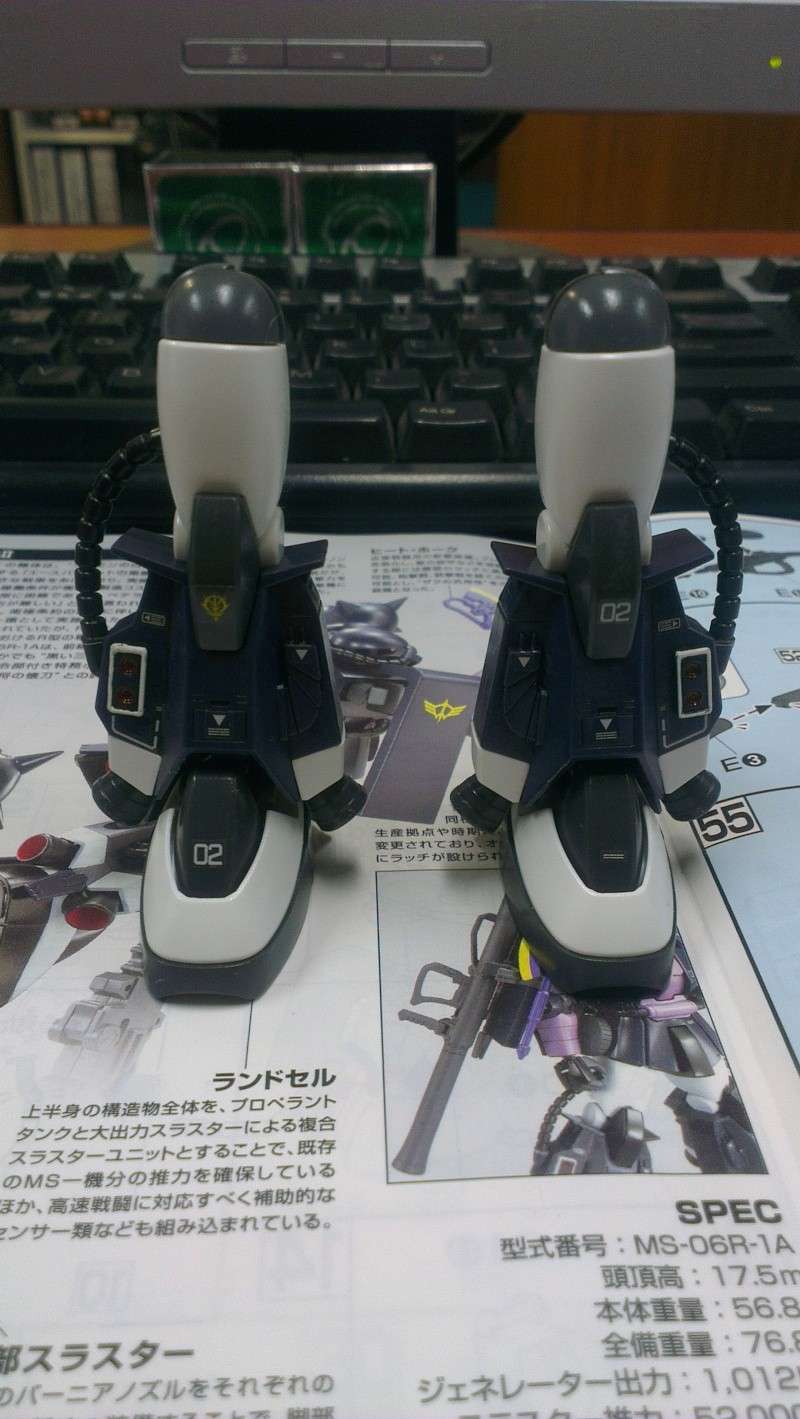
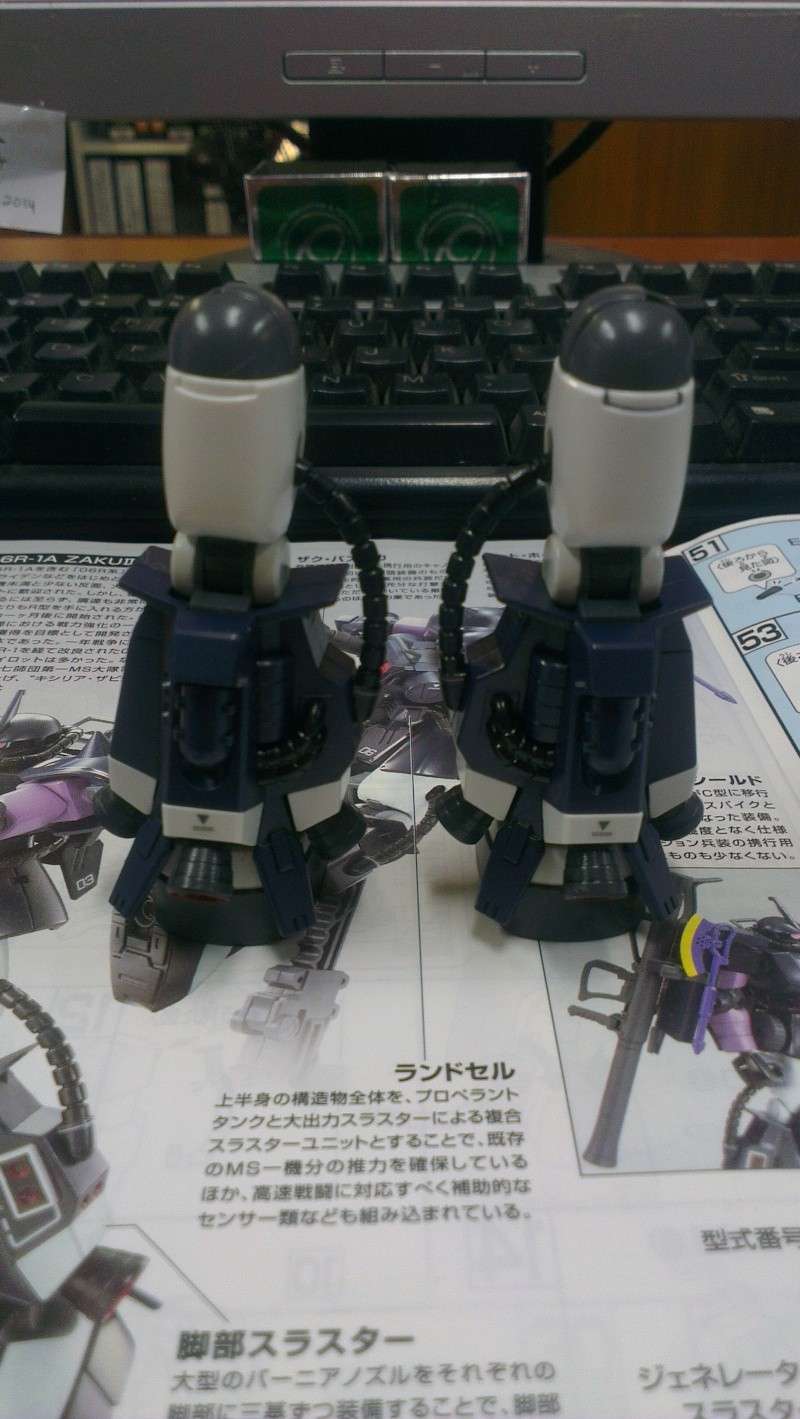
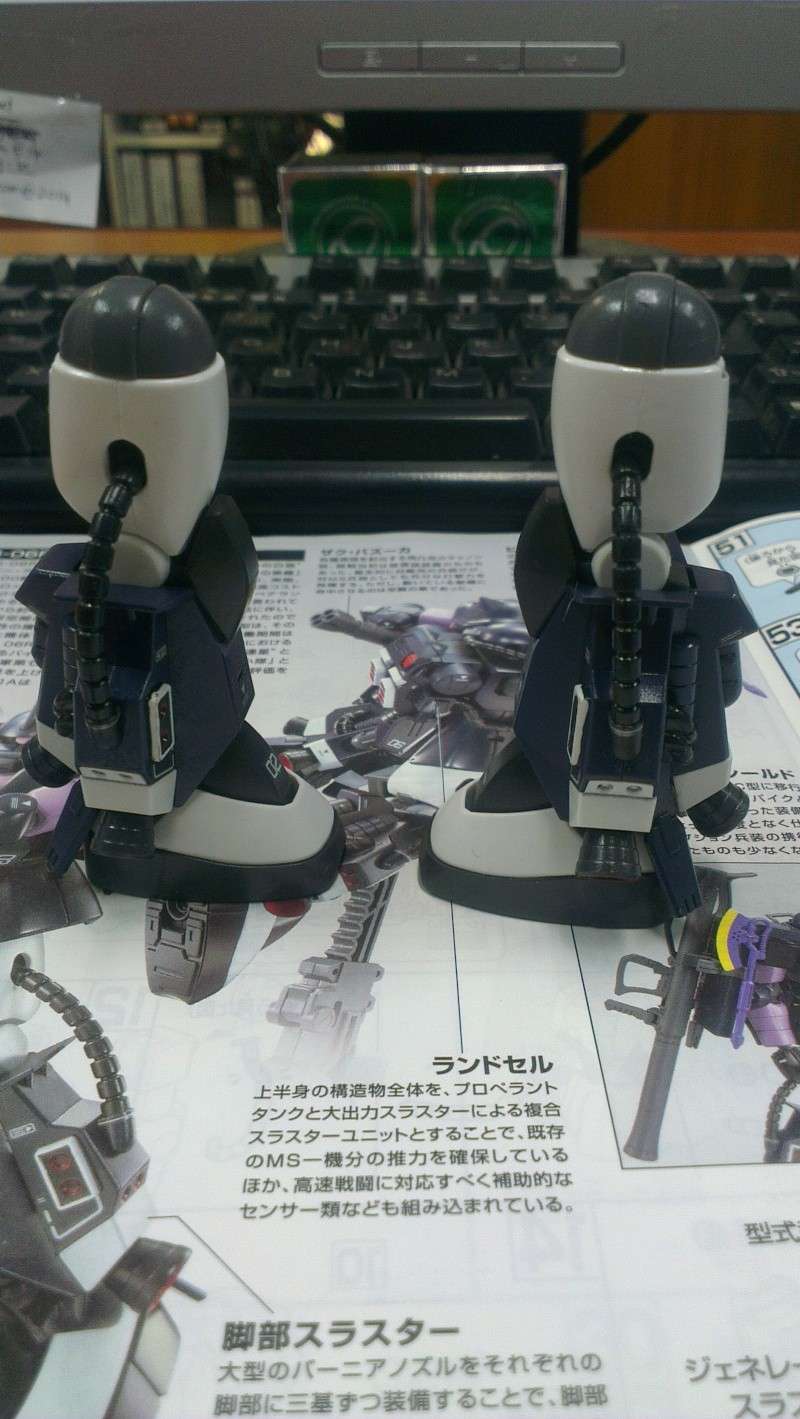
I feel that the legs of this MSV Zaku II has a nicer look to it. Looks tougher and bulkier. Maybe because I love bulky looking MS like the GP01. From the photo below you can see how the tube works. When the legs are straight, the tube is straight but when the legs are bent, the bottom part of the tube also bends. Not sure if they have this design for other Zaku models because this is only my 2nd Zaku and 1st HG Zaku kit.
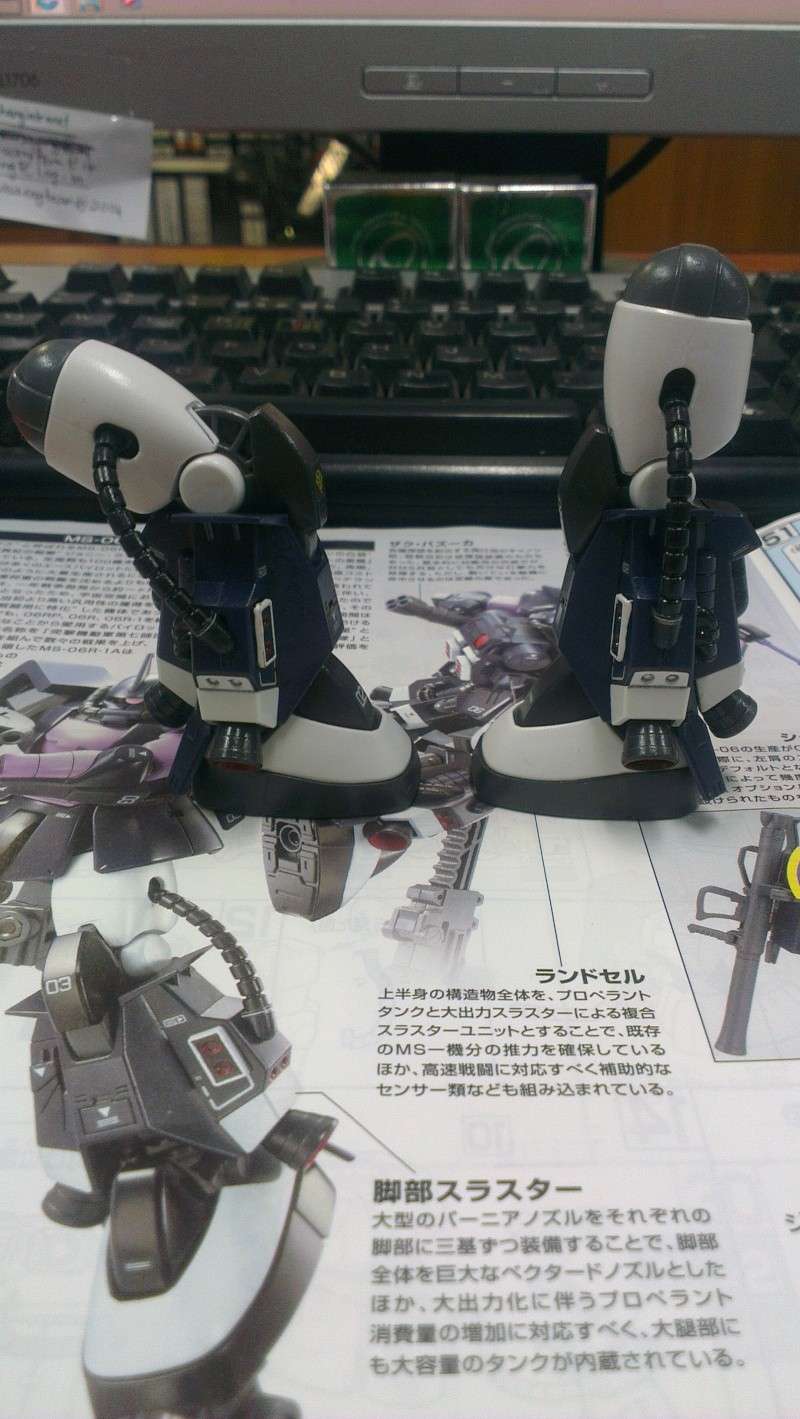
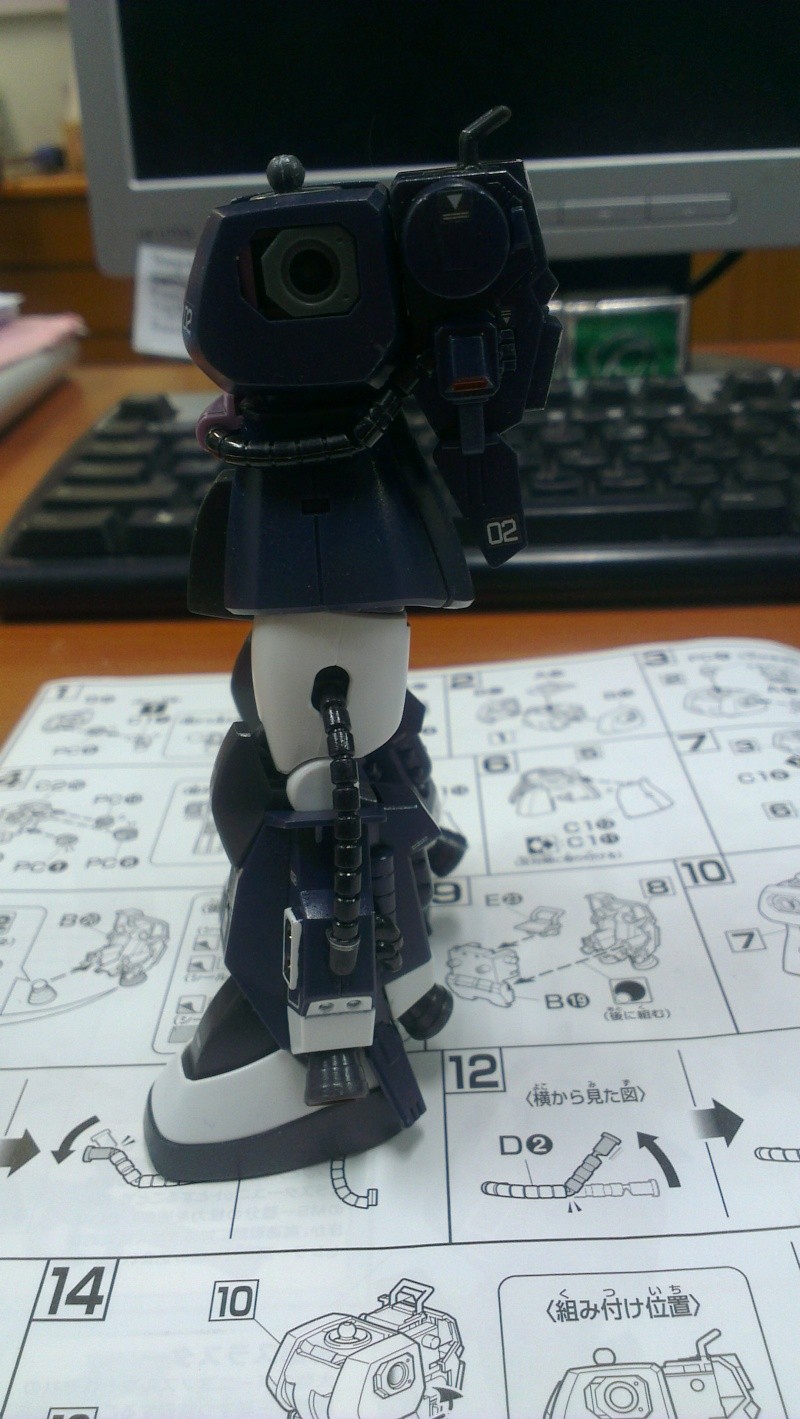
Difference in position of the tube at the legs when they are straight and bent
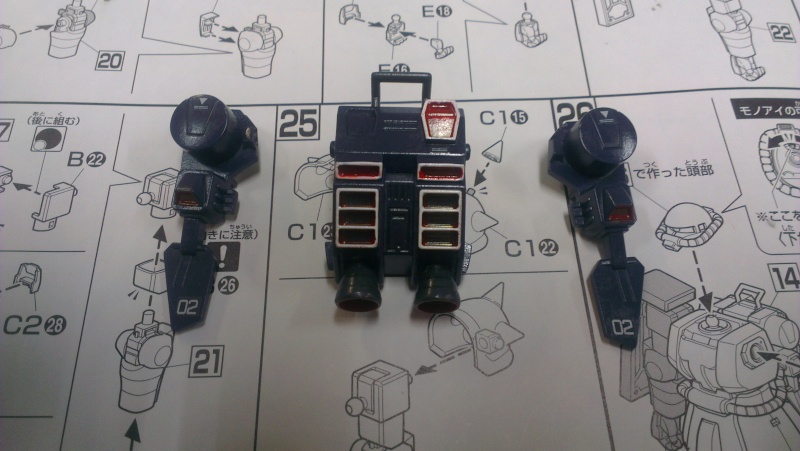
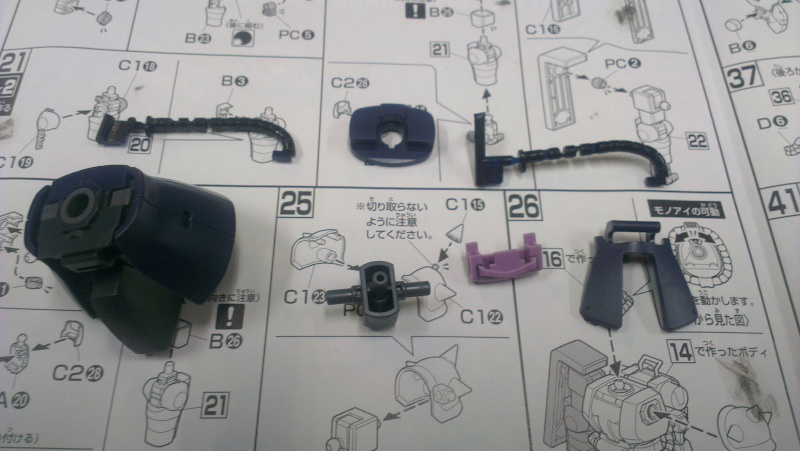
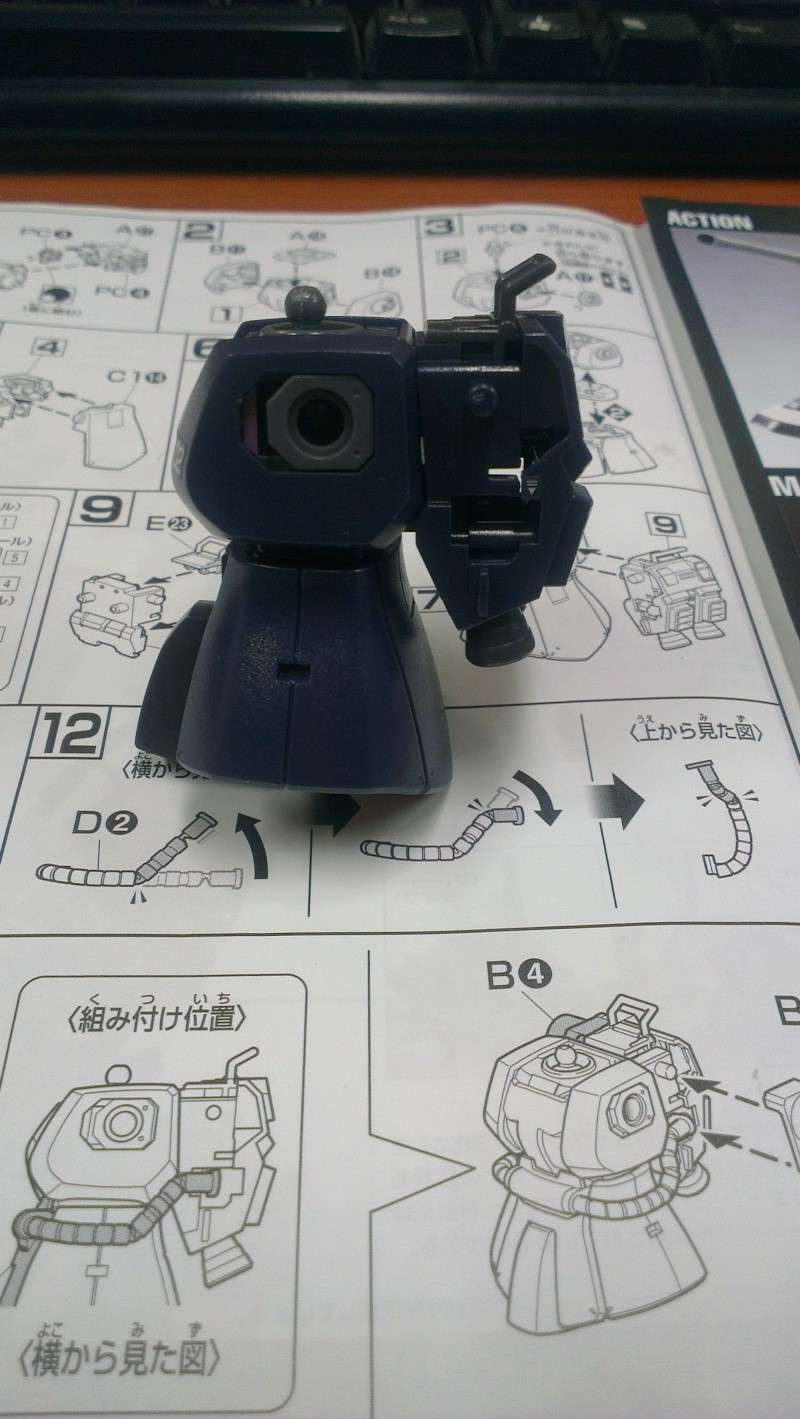
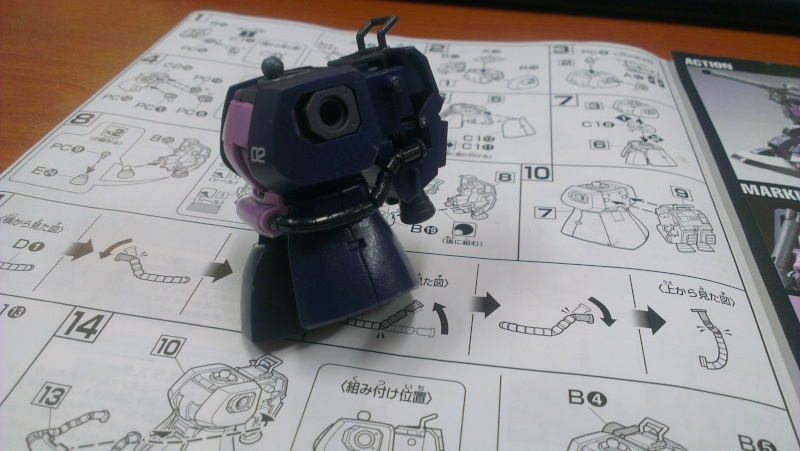
The other part of the build which I find interesting is the body section. The waist, chest and backpack are all interconnected. For this build, I started with the backpack.
Parts of the backpack before assembly (left) and after assembly.
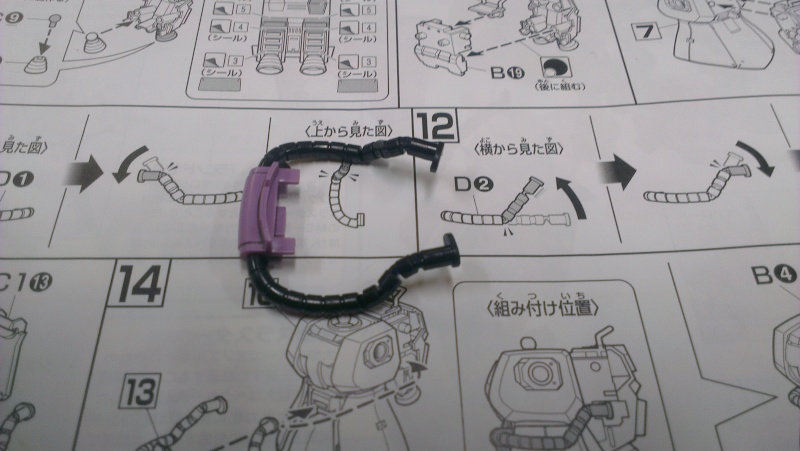
The 2 parts of the backpack cannot be assembled. You will need to install the tube into the backpack before closing the hole.
Hole for the tube to be inserted
Once that has been completed, we will put it aside for now. The next section to assemble is the waist.
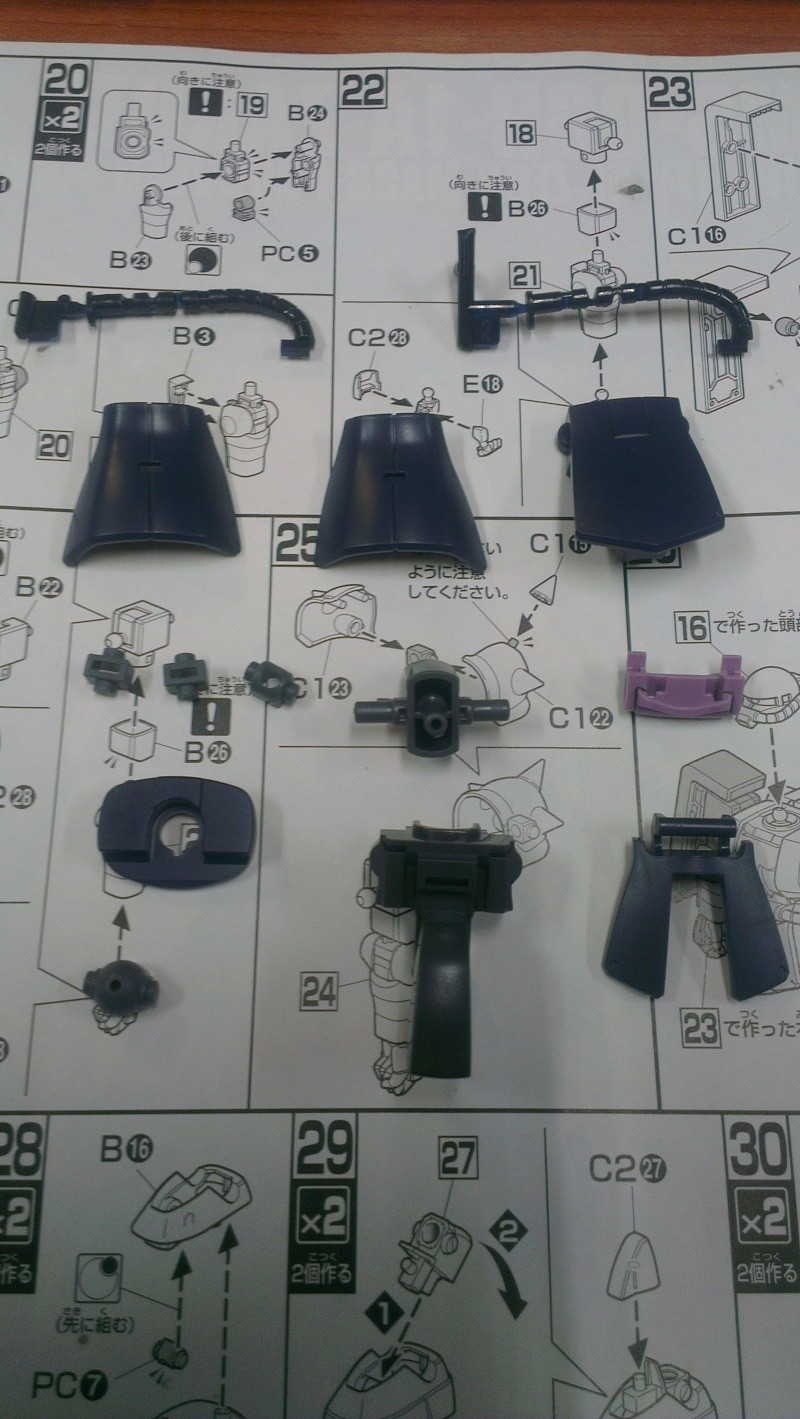
Parts required for the waist (left) and partly assembled waist
Once again we will have to put this section aside like the backpack and build the next section which is the chest.
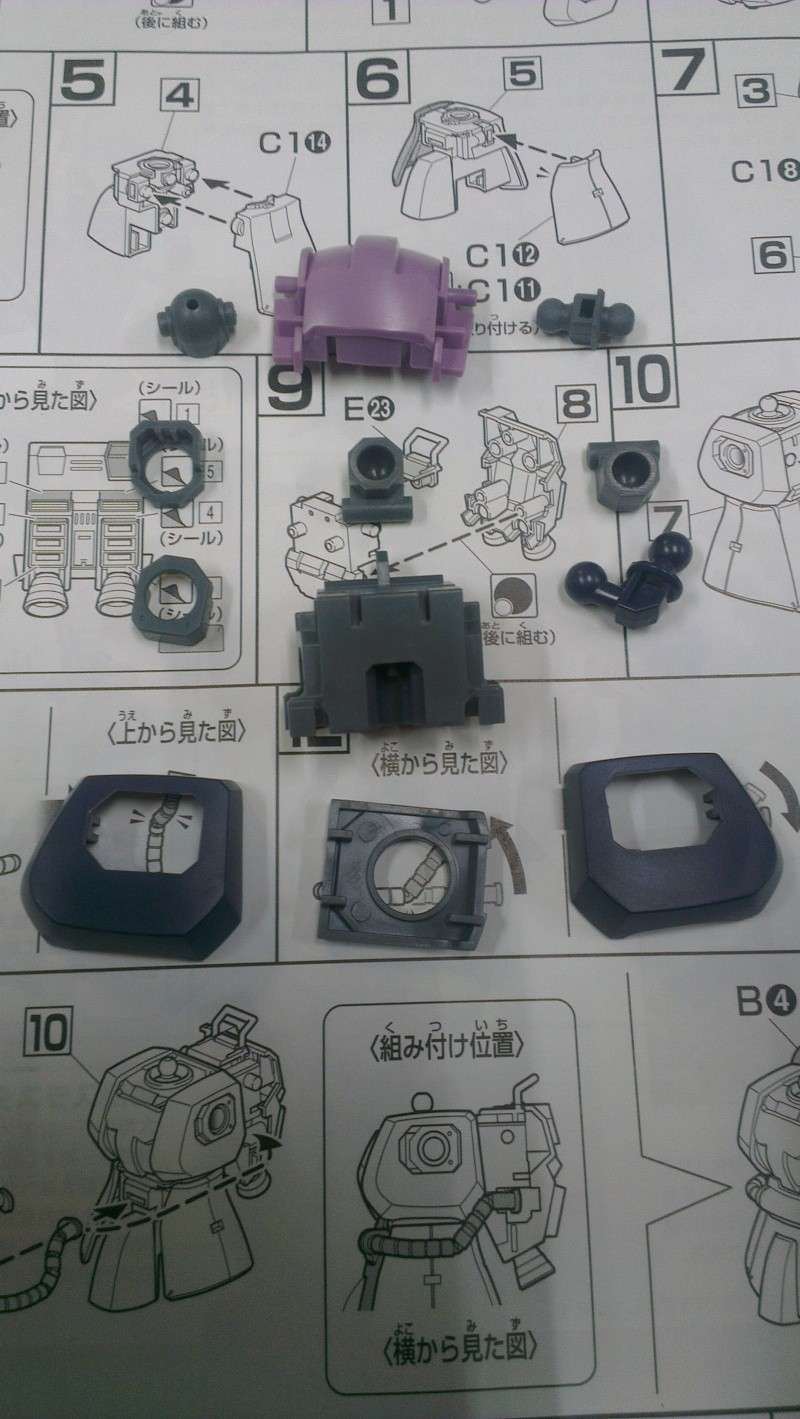
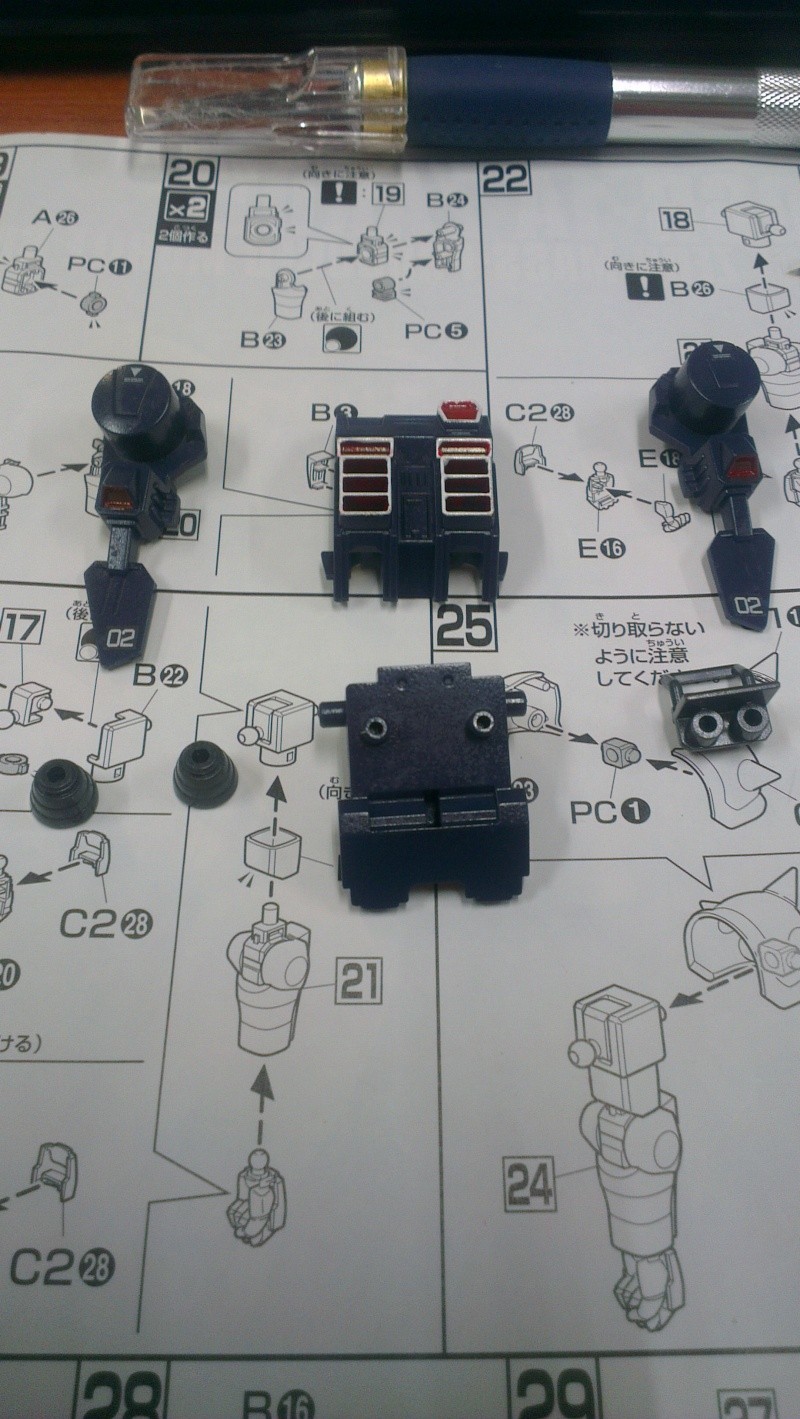
Parts required for the chest (left) and assembled chest
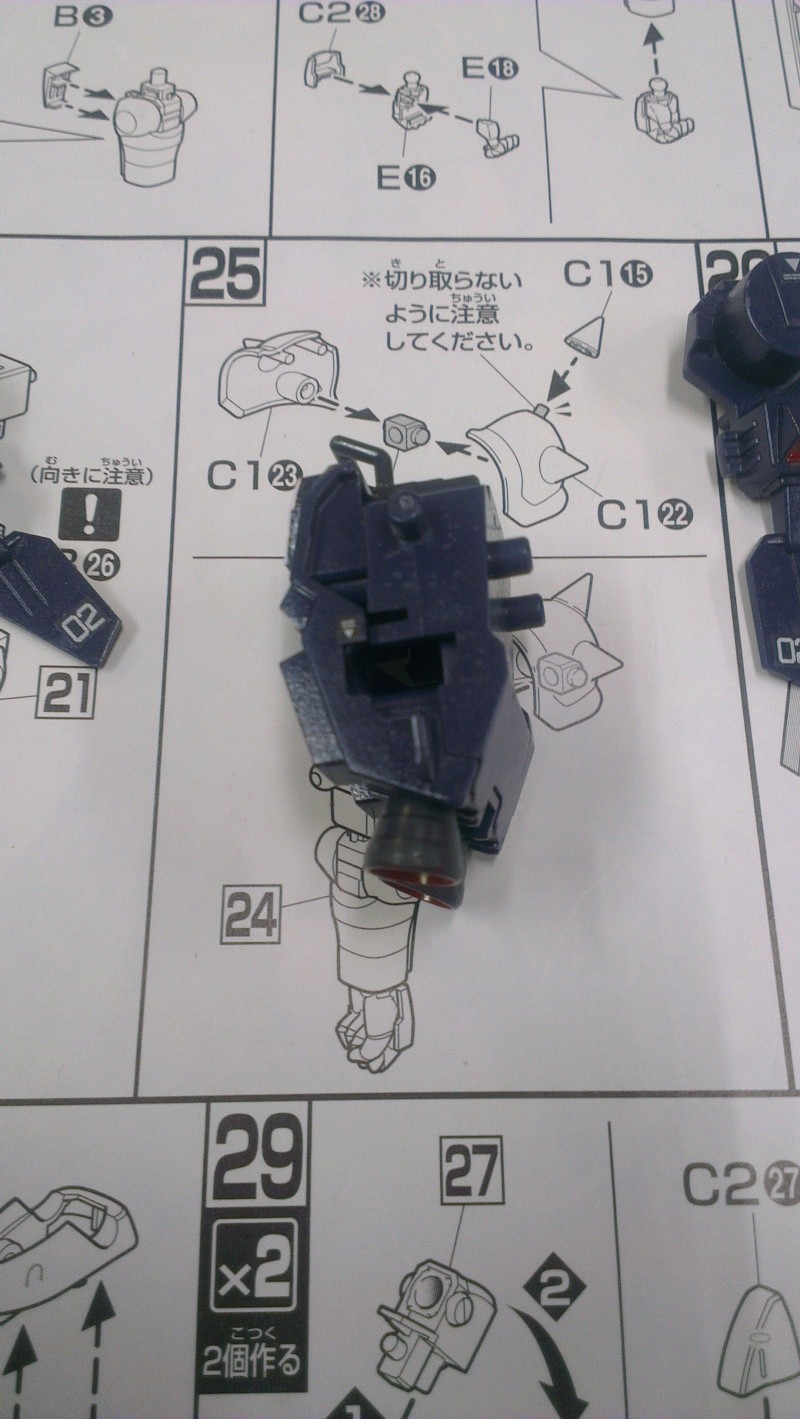
This is the only section which uses all the parts for assembly. Once this is complete, you will have to bring out the waist and backpack section to complete the body.
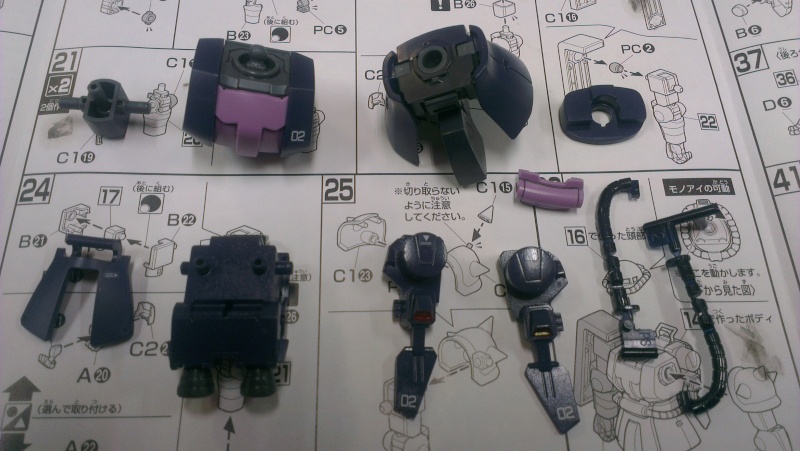
Different incomplete sections for the body assembled together
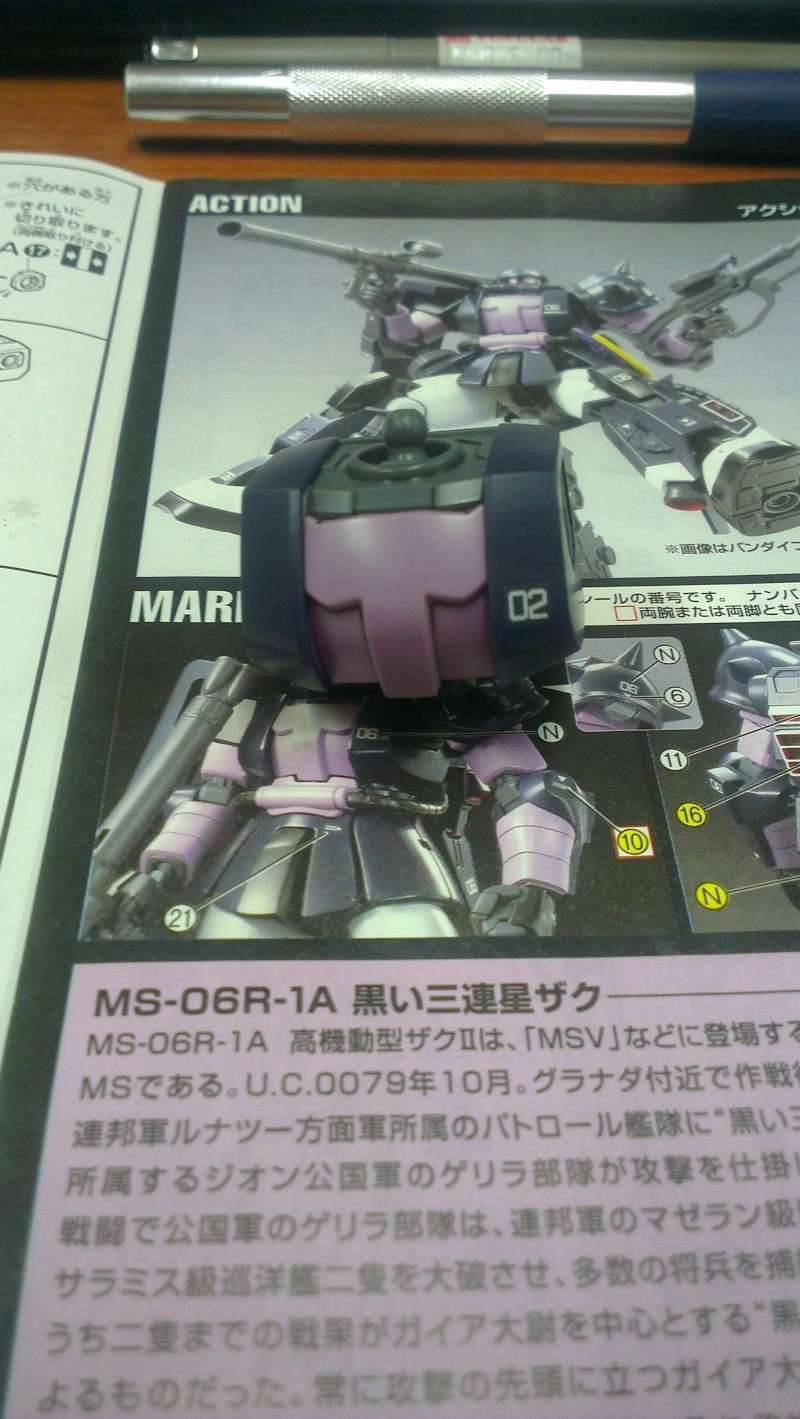
First thing to do is to assemble the completed chest, semi-completed backpack and waist together. This will be the outcome.
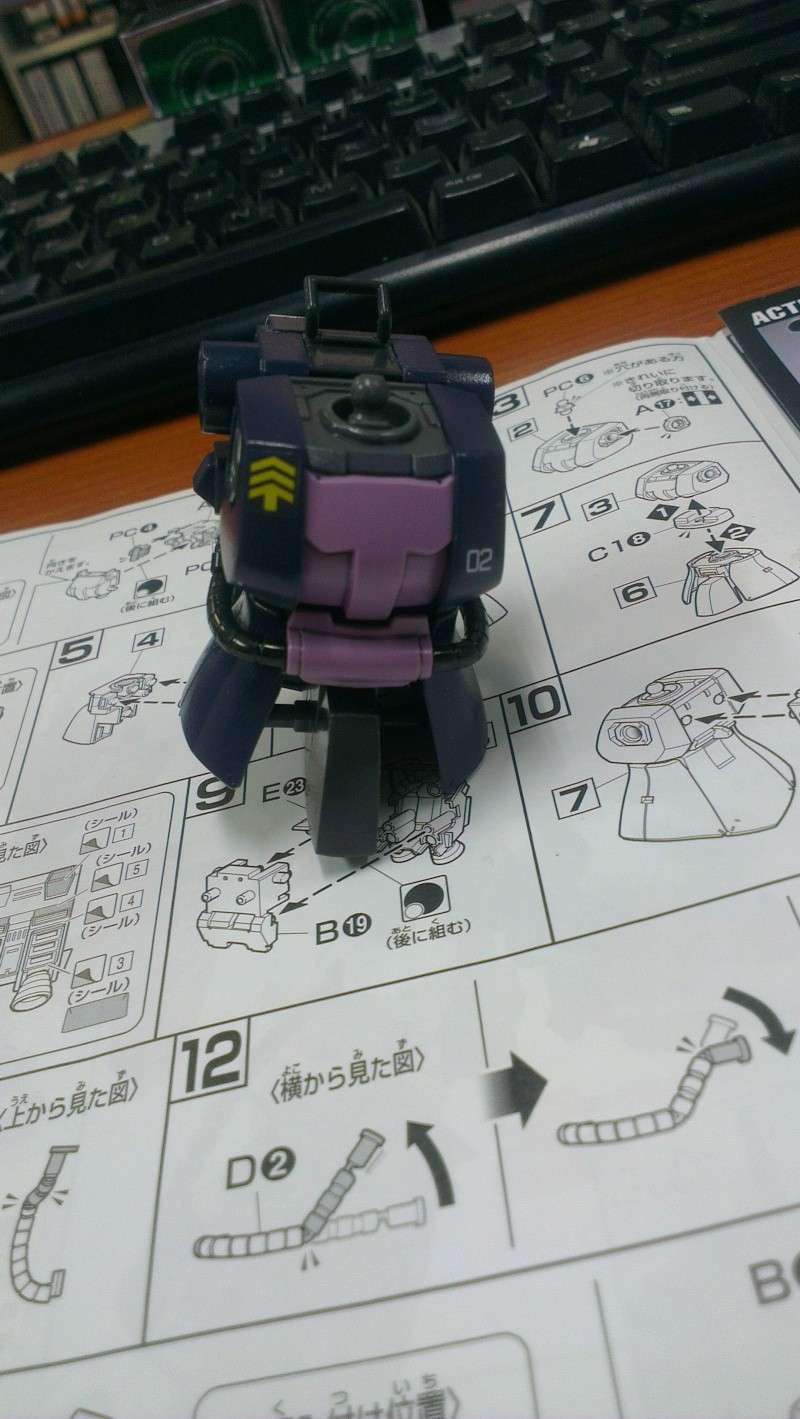
Almost completed body
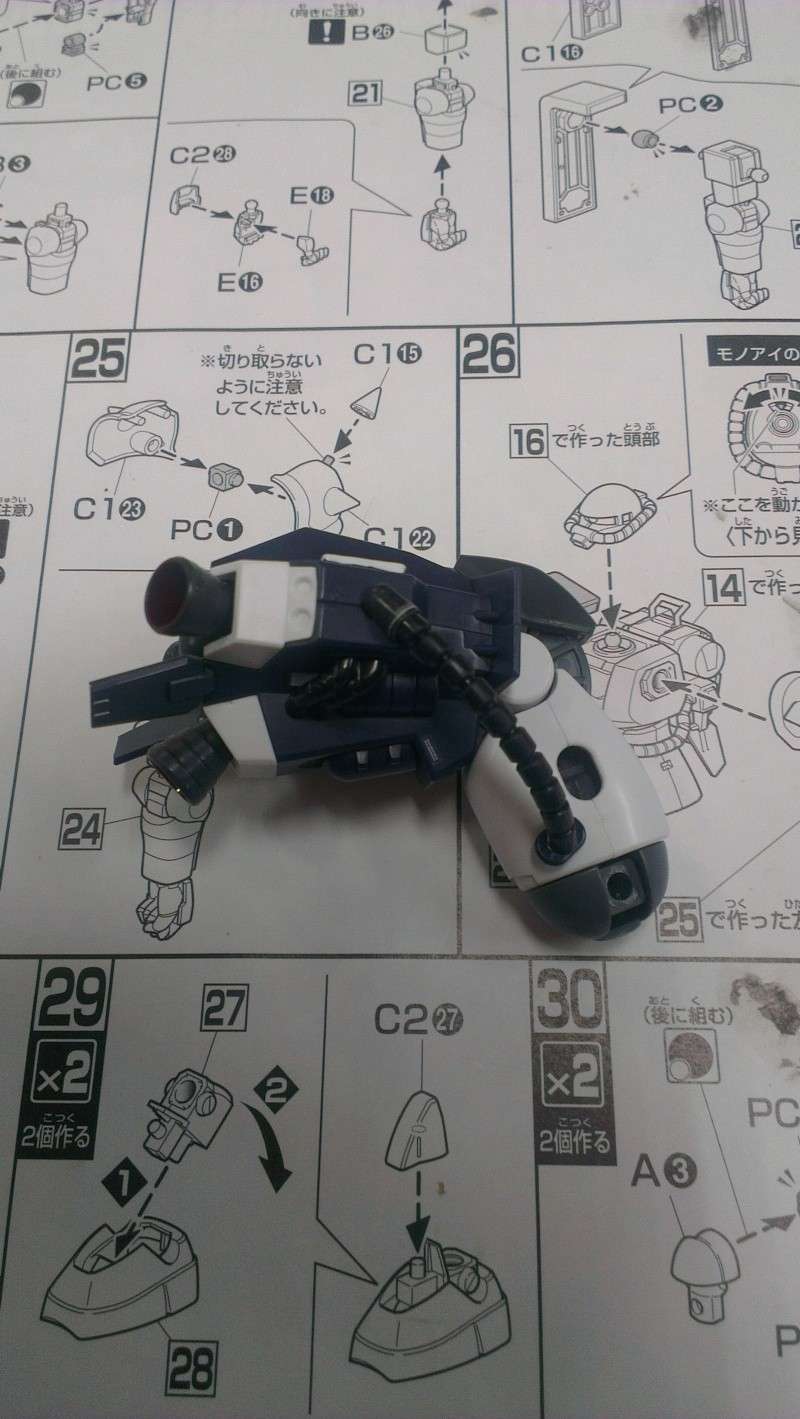
Now that the main parts of the body are connected, you will need this piece to link them all together. It is not a big piece but plays a major role.
The missing link
How does this thing link all together? This piece is inserted into the waist section and the other end will be inserted into the backpack. What does this have to do with the chest area? The chest is necessary because you will need a place to attach the backpack to. I guess you can make do without the chest but the backpack will be hanging. Once completed, the body will look like this:

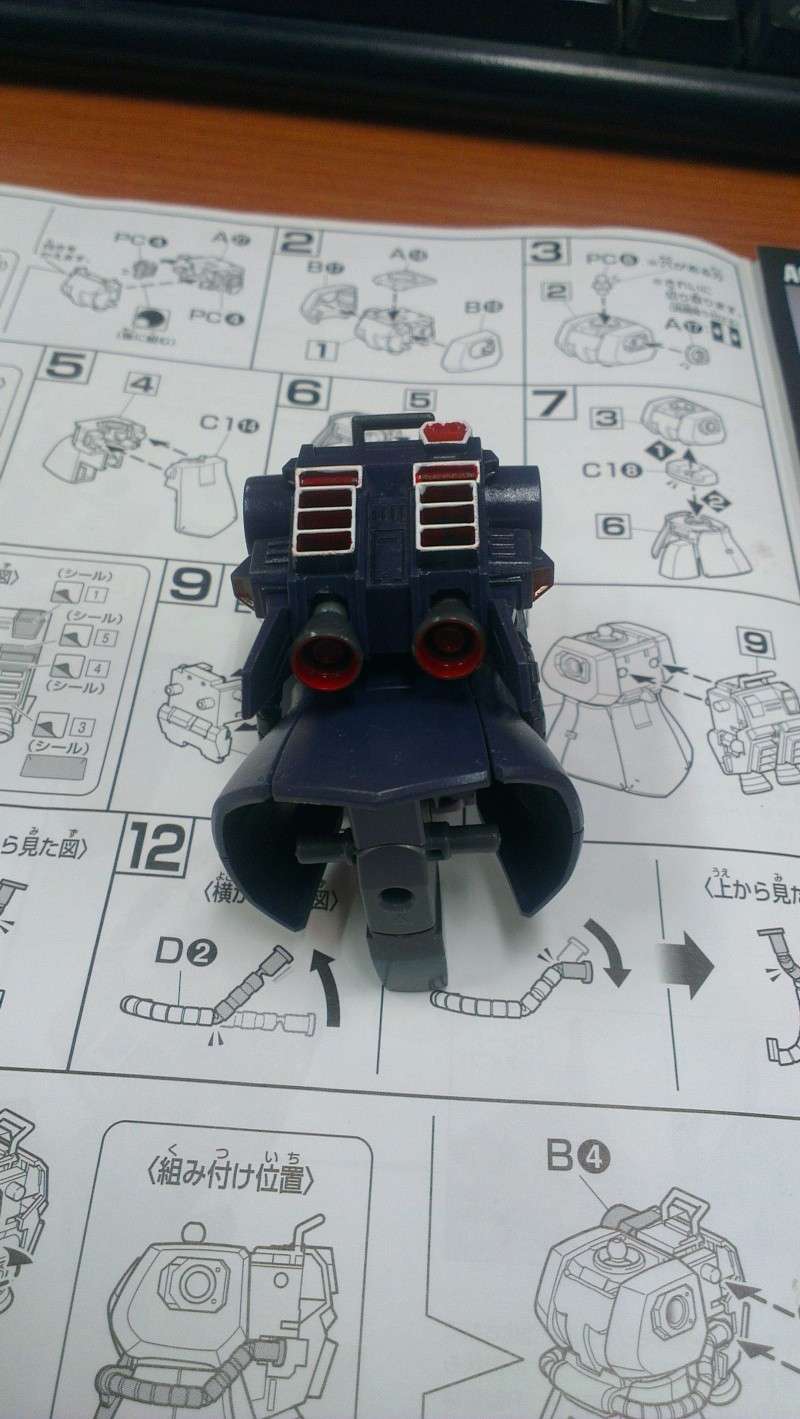
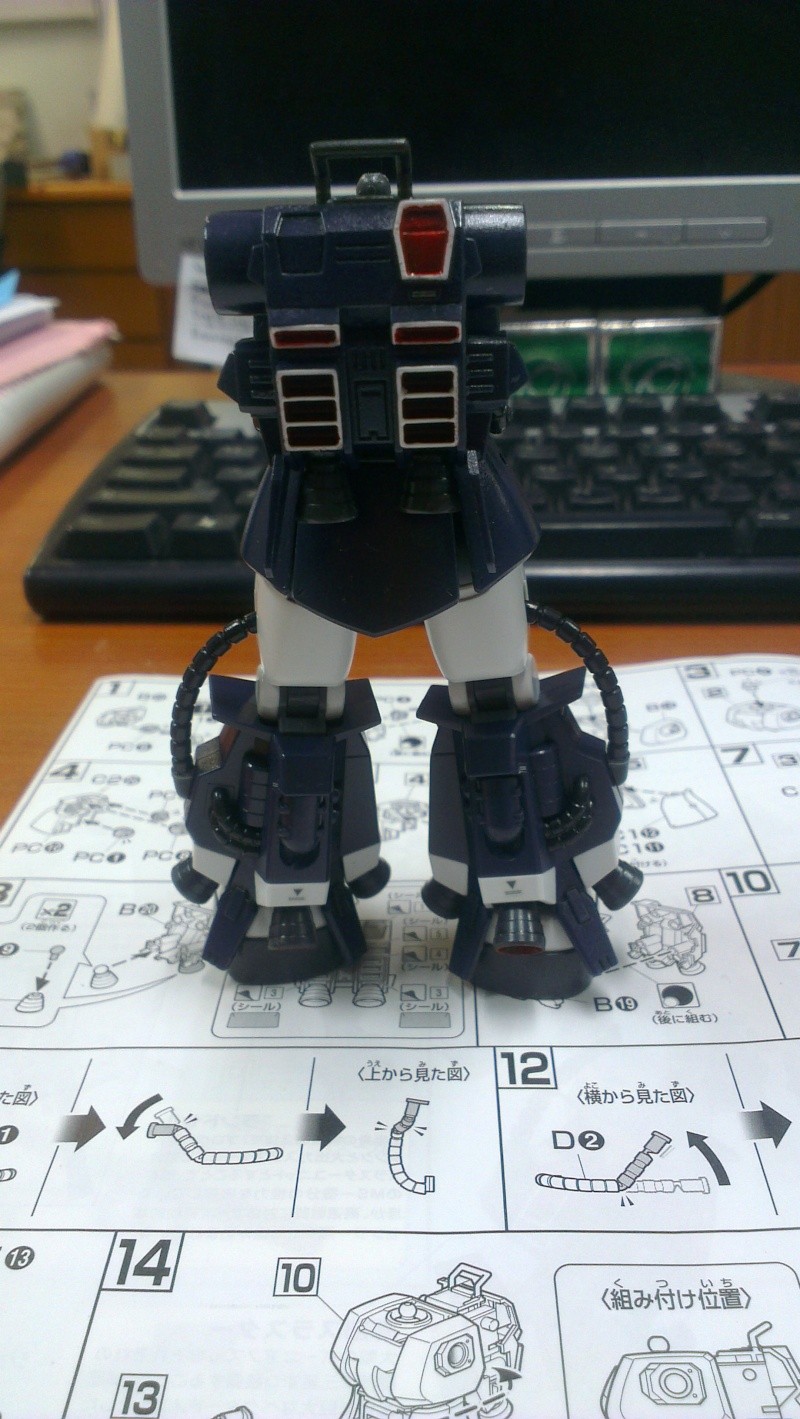
The completed body of the Zaku II
I added an extra sticker on the right side of the chest. Since I'll be using the commander antenna for this build, I guess he will need a 'badge' to show his superiority. I used the number 2 for this kit to represent the second Zaku I've built. Once that is done, attach the legs to the body.
Next post will be the hands and finally assembling the head.

No comments:
Post a Comment