Paint job
After taking a look at the manual and separating the parts into their respective boxes in the last post, this post will be about parts which requires painting. I did not take photos of how the pieces are before they were painted. All I can say is that they all come in one color. The amount of parts required for a paint job is not a lot. This is also true for the number of paints required. One thing I did differently are putting on the decals/stickers right after the paint job has been completed.
Parts that required a paint job
My usual method of building a Gunpla is to start with the MS first then start working on the weapons. For this kit, I started on the weapons first instead. There is a reason for this. The weapons are the other part which I have decided to paint . This is an optional step but I decided to paint the weapons because I was itchy to try the Bosny Steel Grey color. The color did not come out as I expected. I was expecting a metallic grey like Tamiya Light Gun Metal but it came out normal grey instead.
Another issue I had with the spray can was the paint that came out was rough after it dies. This could be my fault due to many reasons. One of the being I could have forgotten to shake it rigorously before using. Another reason could be because of the weather. I'm putting this as user fault and will give it another go when I need the color.
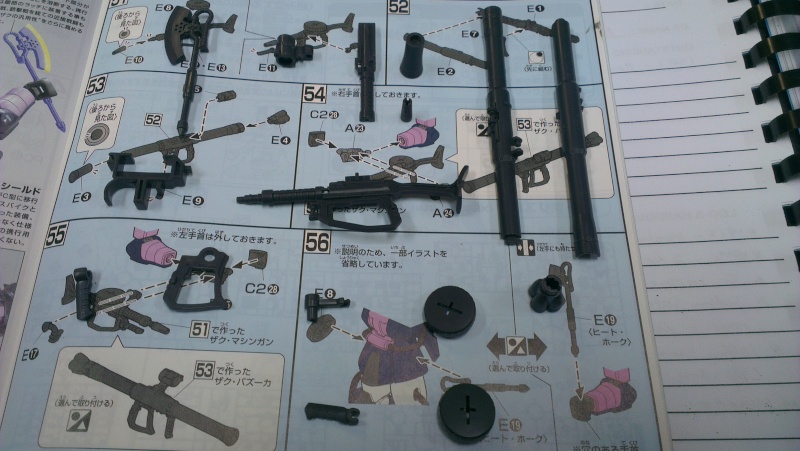

Weapons before and after assembly
I tried to mask the heat axe when I was spraying but it didn't come out as I expected. As you can see, there are some yellow which has leaked. I guess I will required more practice at masking to make it look clean.
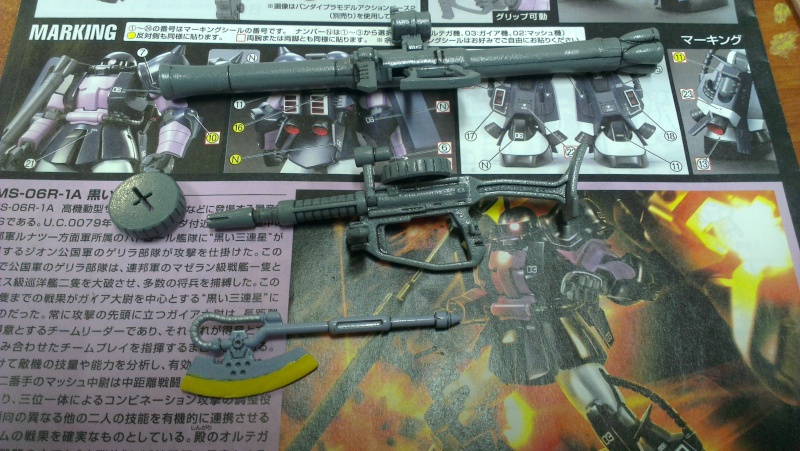
The weapons are panel lined after the paint has dried. I also painted the tube and some other small parts of the heat axe silver but I don't think it is visible in the photos.
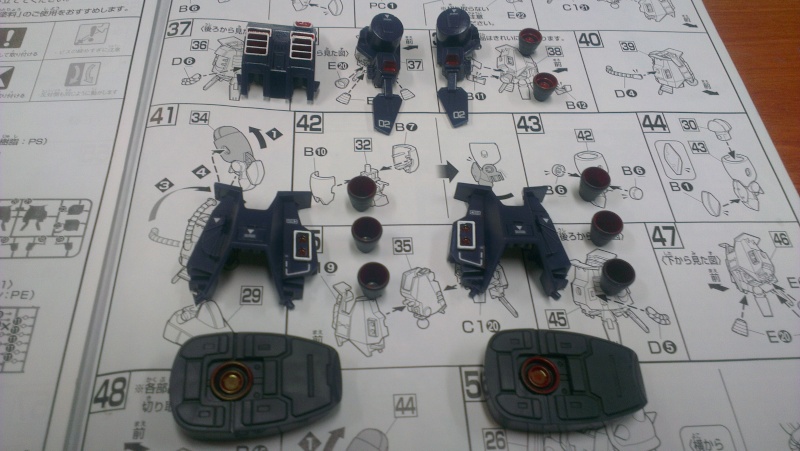
After the weapons, I started working on the legs which will be covered in the next post.

No comments:
Post a Comment