Something new for the new year
The foot of the kit was decaled and ready for installation in the previous post. In this post, we will be starting with the legs and as usual move our way up to the head.
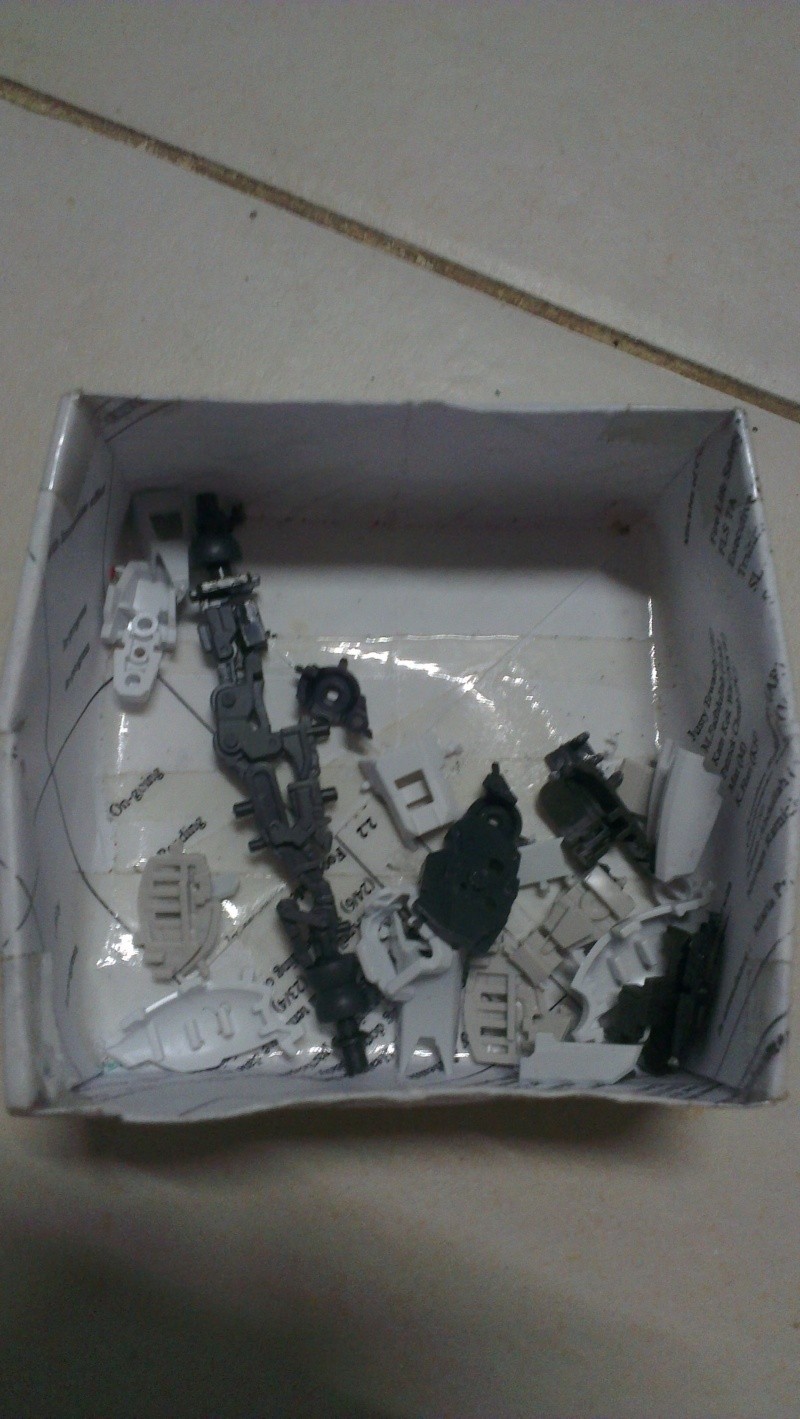
A look at the rest of the armor and inner frame of the leg. It doesn't look like there are a lot of parts but do keep in mind that they are all small parts. I had the experience of loosing one of the small pieces during the build. I will get to that later.
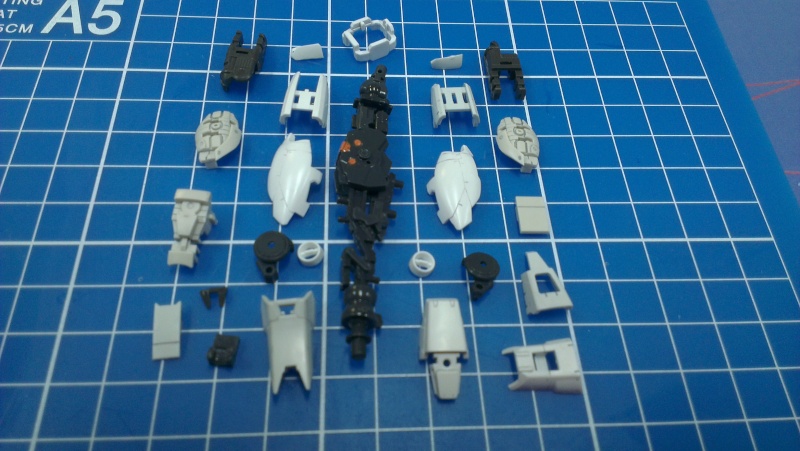
Parts of the leg before assembling
The interesting thing about RG kits are how the armor goes on top of each other to slowly build the bulk of the kit. This is unlike the MG kits where after assembling the internal frame, you will be able to see the bulk of the kit. The RG internal frame is more like our human skeleton. You will need to slowly add-on more parts of the internal frame which is like our muscles and finally the armor which is equivalent to our skin.
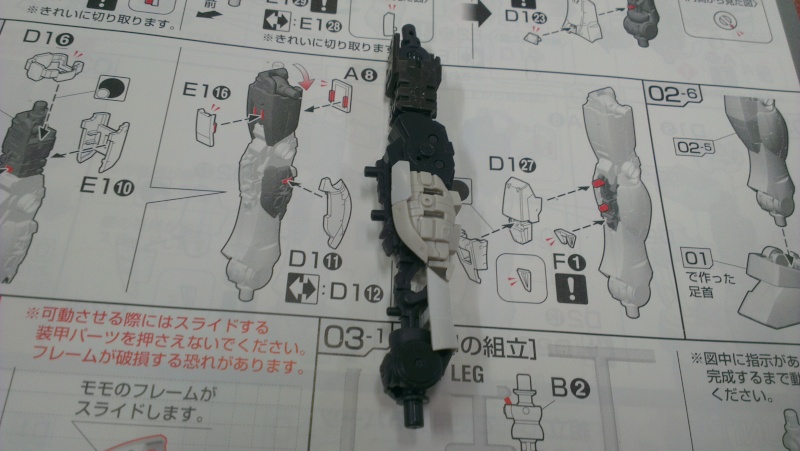
When building an RG kit you will need to be always on alert. The pieces are small and can be easily lost. Trust me on this as I'm now speaking through experience. Let's take some time off from the WIP and let me tell you a story. I accidentally dropped the leg box on the floor and I quickly picked up all the pieces. I thought I manage to get them all since I didn't see anymore pieces on the floor which looks like Gundam armor. I continued building the kit until I got to this part which requires me to assemble the small white armor piece to the big white armor piece.

To my horror, I could not find the piece in the box and I scouted the floor for a good one hour but luck was not on my side. I did manage to find lots of other lost stuff like pens, rubber bands and paper clips and also that section in the room is now very clean. I also searched the table but could not find the piece. I was about to give up and was thinking of how to replace or cover up the hole on the leg. Did a final check on the table and to my surprise I found the piece under foot of the kit. You have no idea how relived I was when I found the piece.
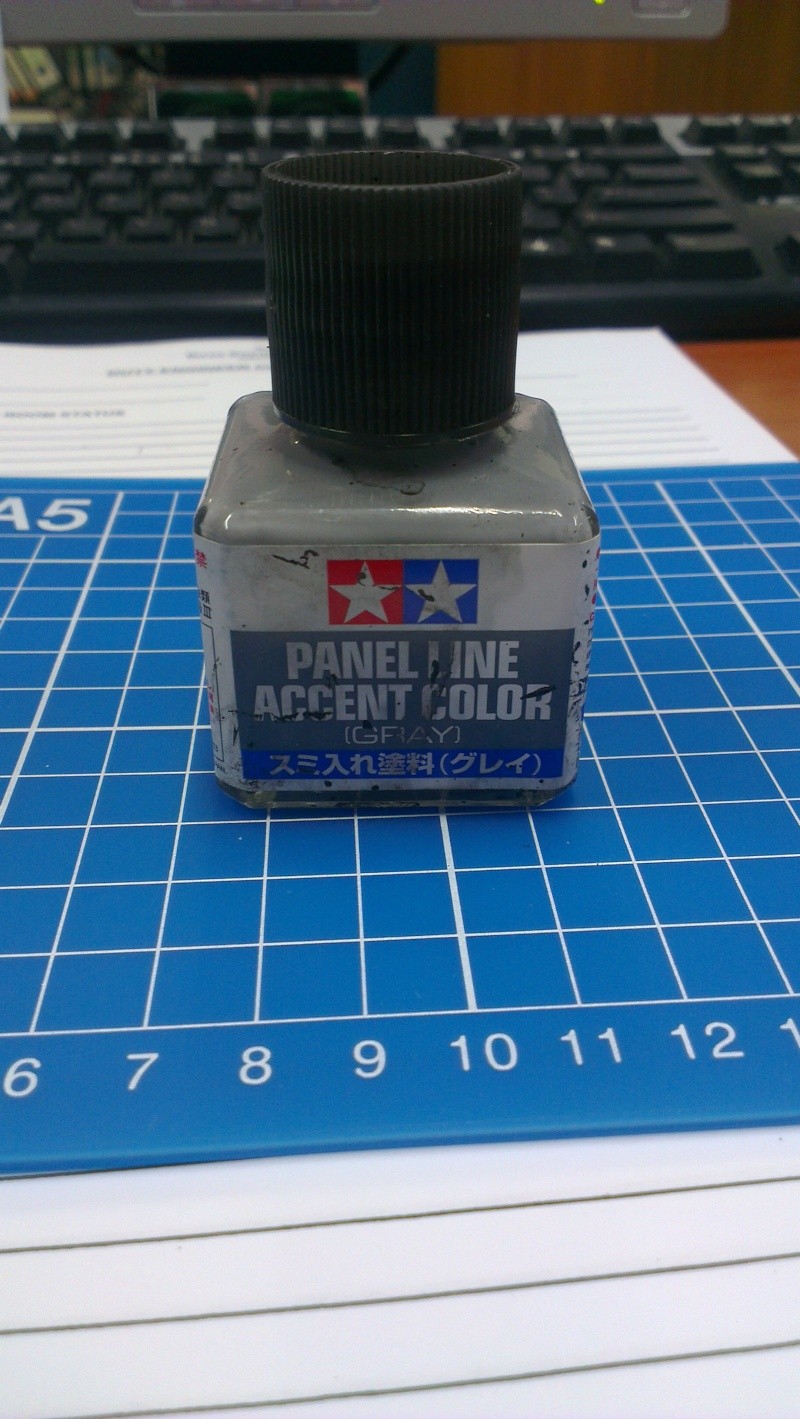
Now back to the WIP. Instead of using the gray panel line marker for the white armor parts, I will try to panel line the kit with a new product. It is called the Panel Line Accent Color (Gray). It is not actually a new product since I already have the black color but it is new to my list of arsenal.
I ran into some problems the first time I tried using this. The gray was very light and even with a few layers, it was still the same. I was not sure if I bought a faulty product or it was meant to be this way. I did a quick search on the net and found out that I was required to shake it vigorously before use. The color did come out thicker but it was still looking very light. Thinking back, I had the exact same problem when I first used the black. Could be I'm not use to seeing a thin panel line after using the panel line marker.
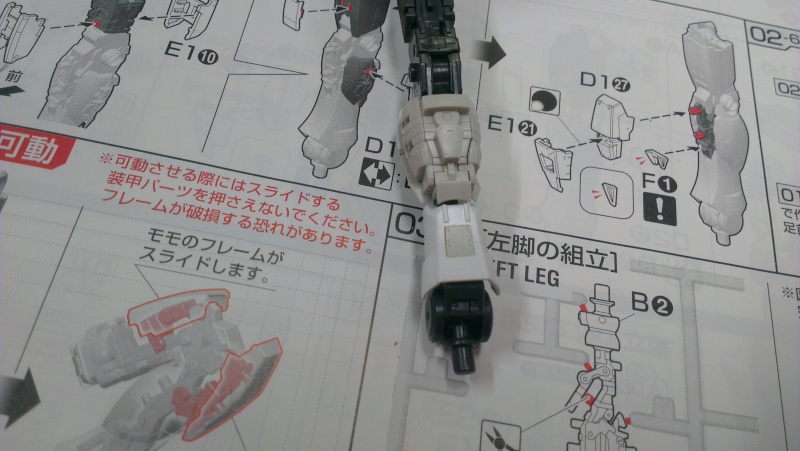
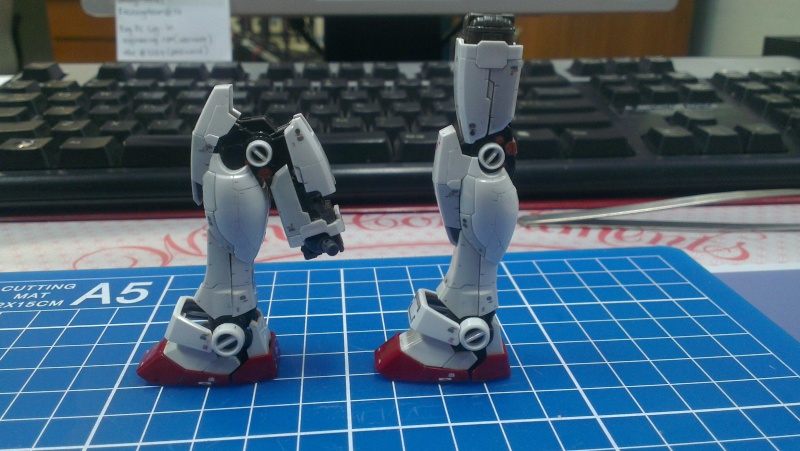
Here are two pictures which shows the leg armor with and without the panel line. From what I noticed, the color is very light and not very noticeable unless you look for it but it does make a difference with or without the panel line. Guess that is the main purpose of panel lining. To represent the dirt stuck in between the lines but not to be too obvious.


Before (left) and after panel lining with Tamiya Panel Line Accent Color (Gray)
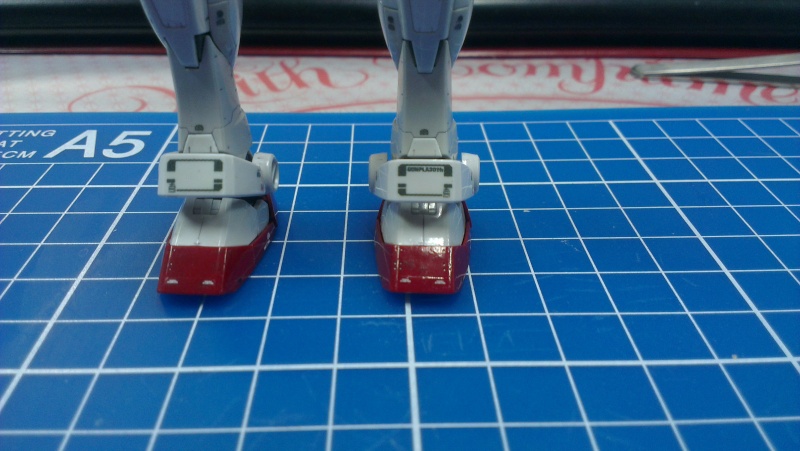
After completing both legs with the panel lining, Pledge and decals, here are a few pictures on how they look like with the foot attached.
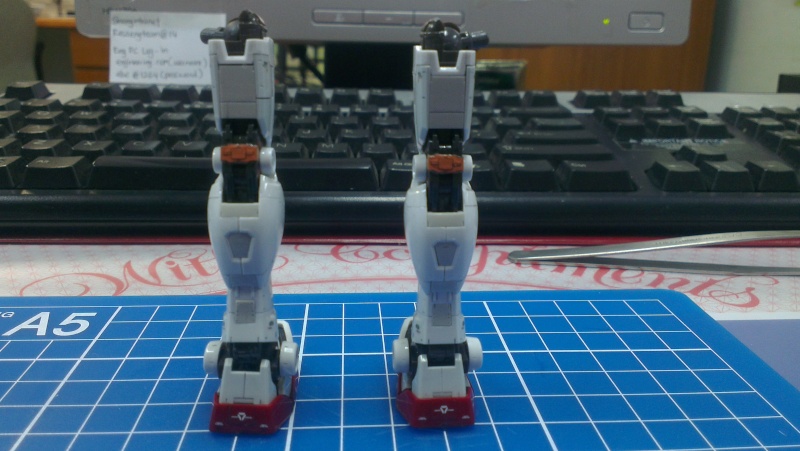
Difference between the straight and bended knees
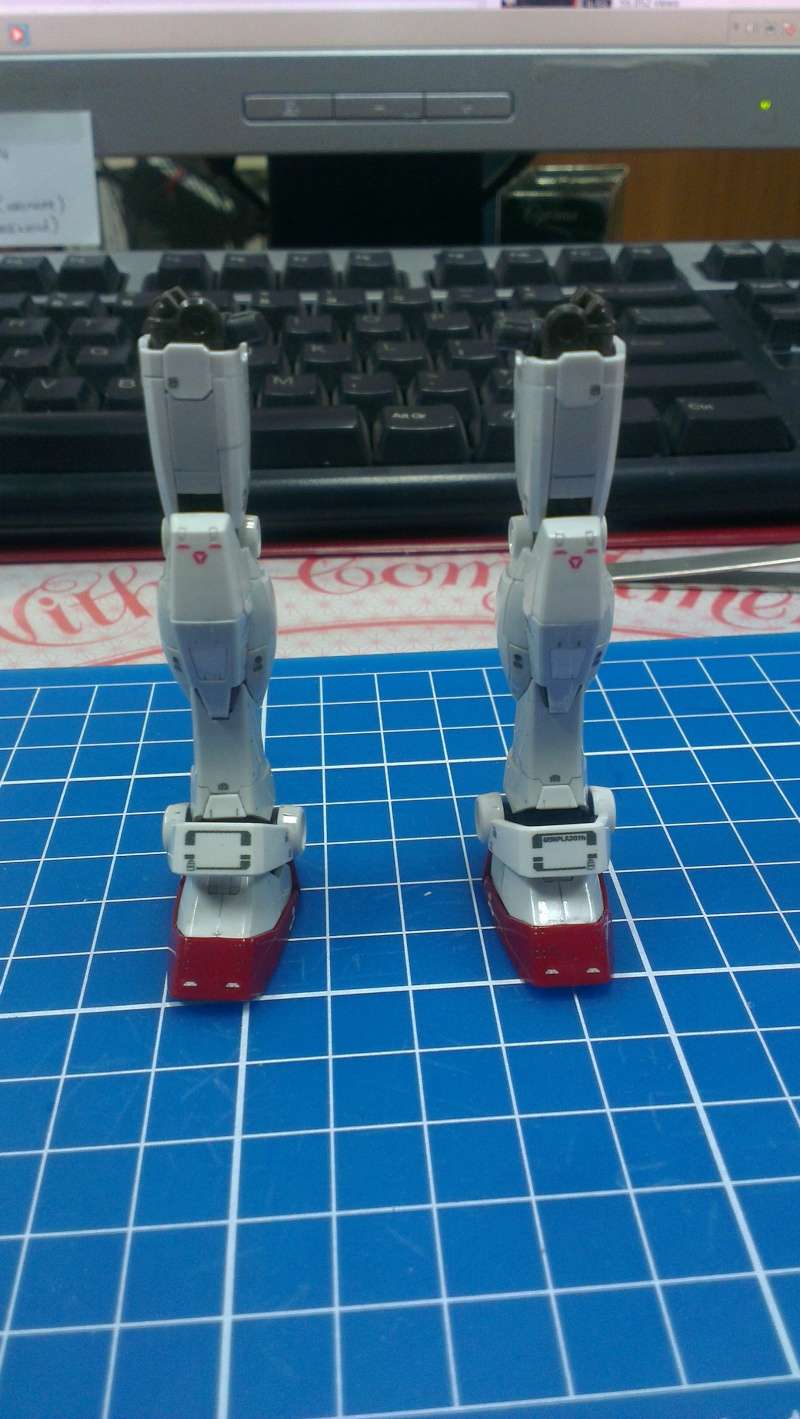
The major issue I have experienced until this stage with the waterslide are the copper parts behind the knees. You will have to be careful and be very patient as the waterslide bends at both side. I guess you can use the Mr. Mark Setter and Mr. Mark Softer to help the waterslide bend. Since I don't have those with me, I slowly center the decals and when I'm satisfied with the result, I'll bend the parts and slowly and patiently remove the water from under the waterslides. Finally coat it with a layer of Pledge.
Since the RG line was created in conjunction with the Gunpla 30th Anniversary, BanDai was kind enough to give you an option for the knee armor decal. I could not decide which decal to use so I decided to use both.
Can you spot the difference?
Here is what the waterslide looks like after being used for both legs.
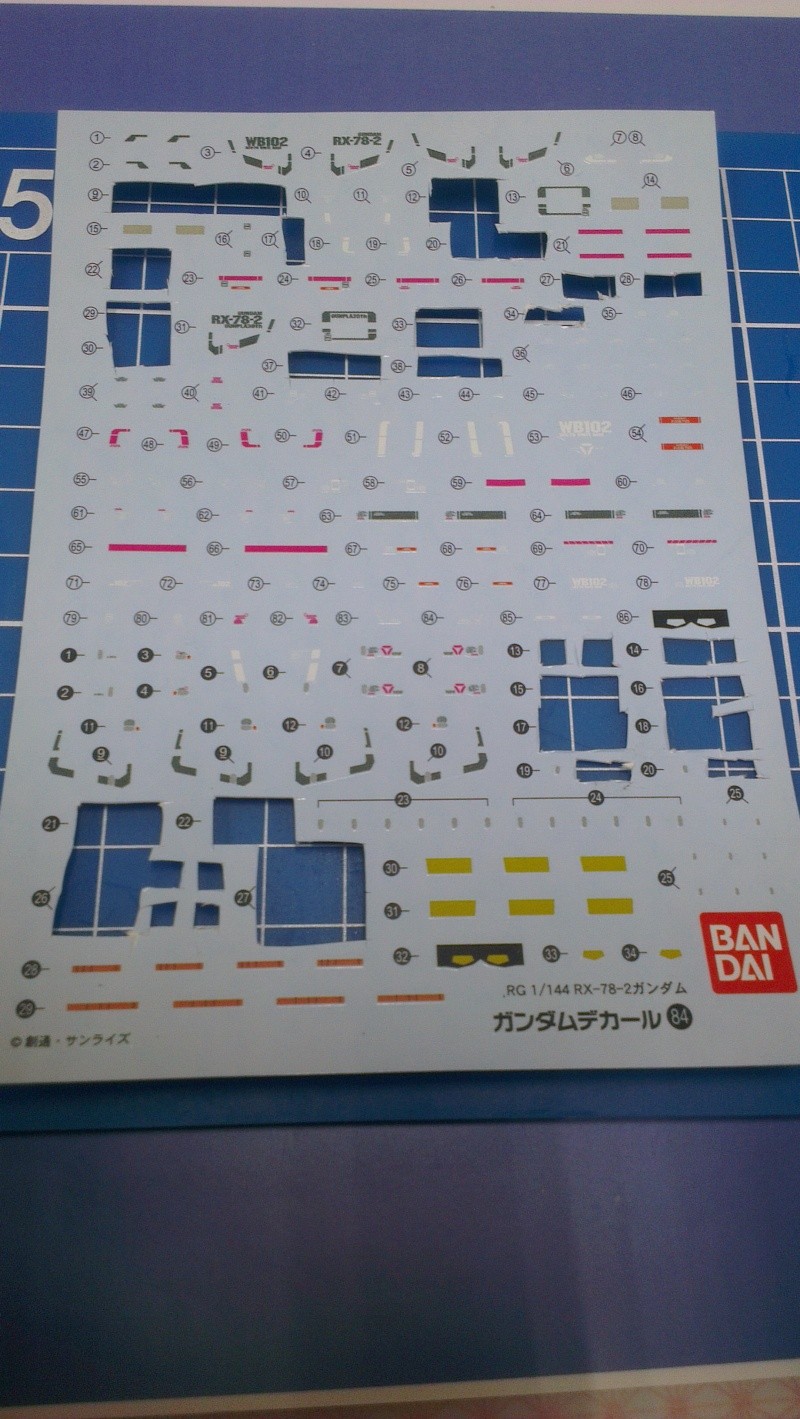
Partially used waterslide decals

No comments:
Post a Comment