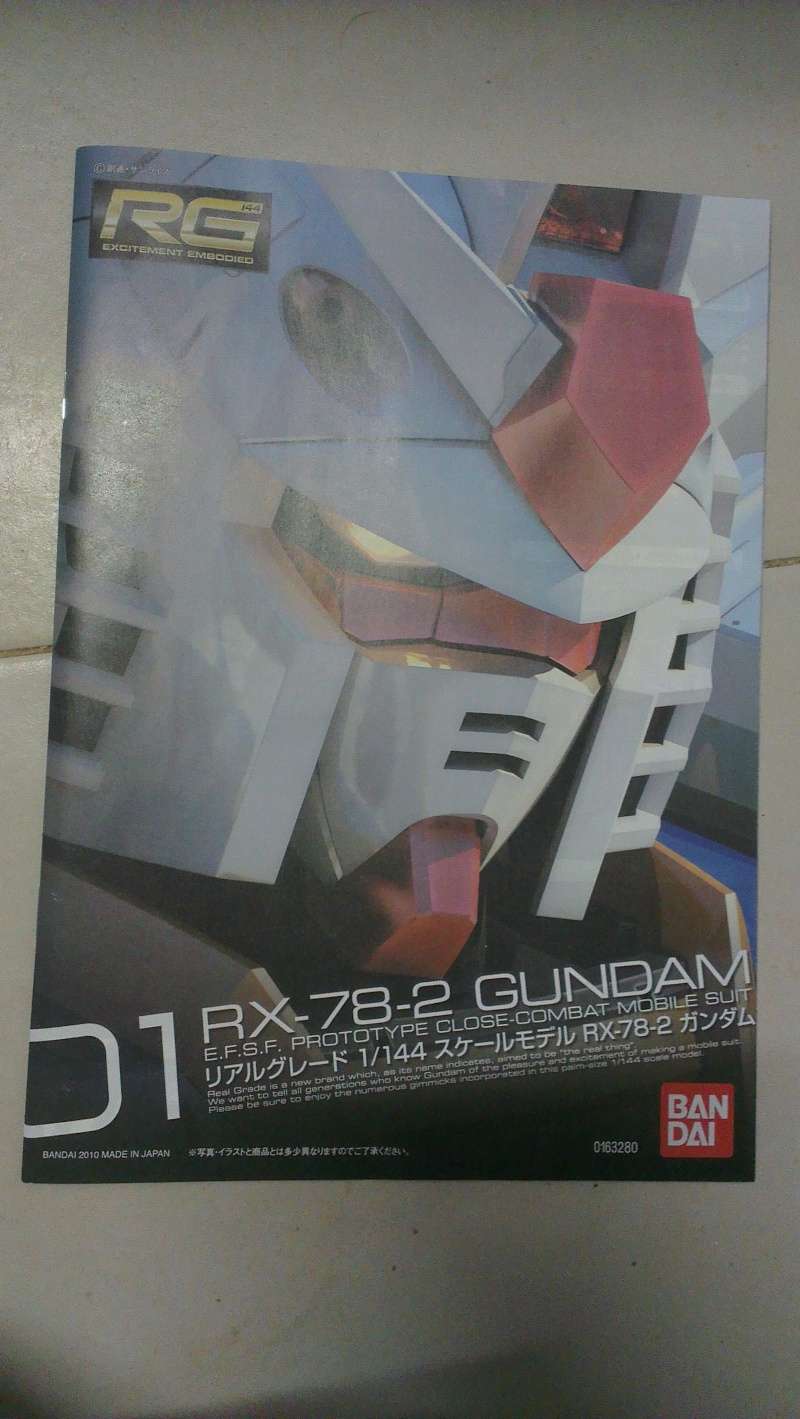
The Granddaddy of Gundams
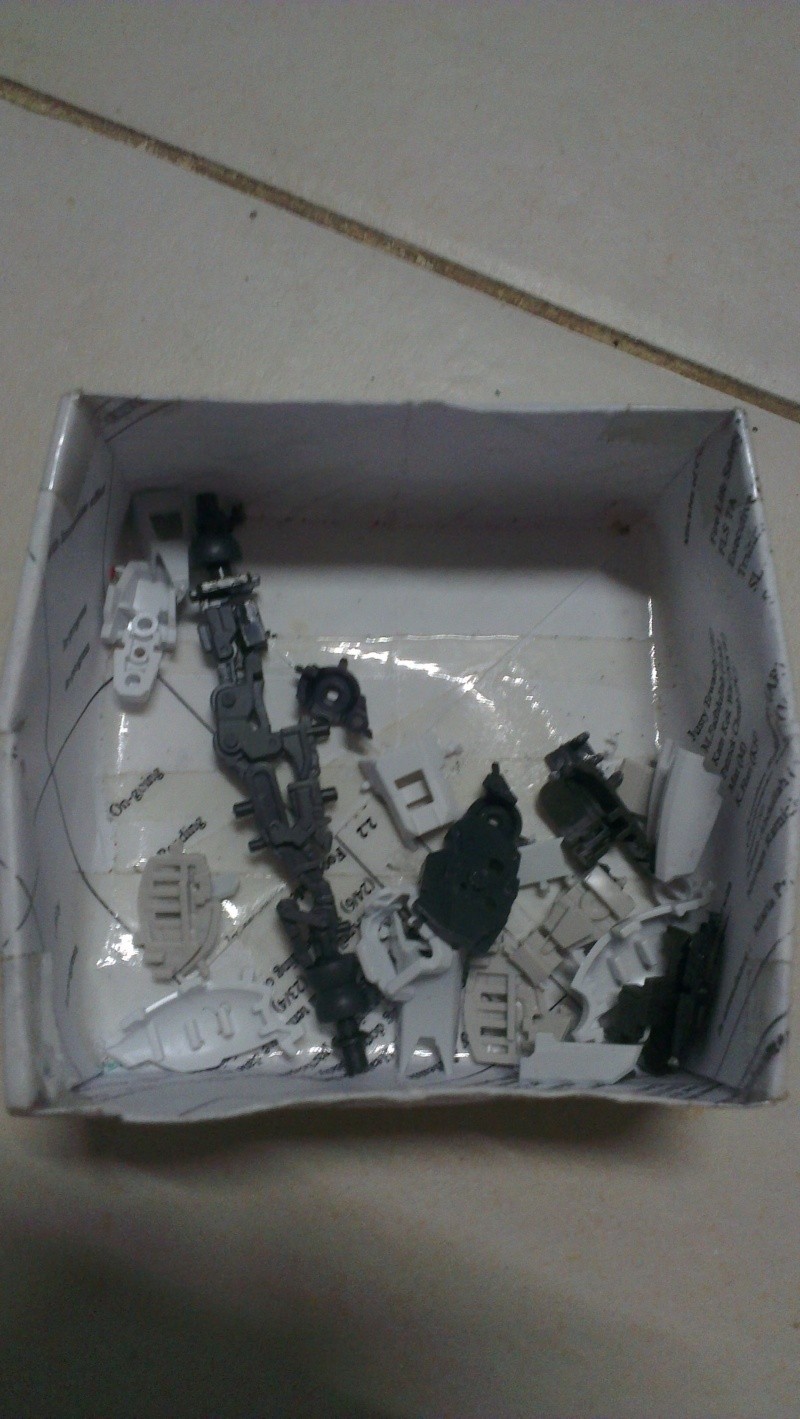
I would like to say Happy New Year to all out there. Starting a new kit after the long break of Gundam due to work and life commitments. This round, I will be building the Granddaddy of all Gundams. The Real Grade RX 78-2. I will also be trying new things with this kit and post and hope it turns out well. As usual, the parts were removed from the runners and stored into their respective boxes.
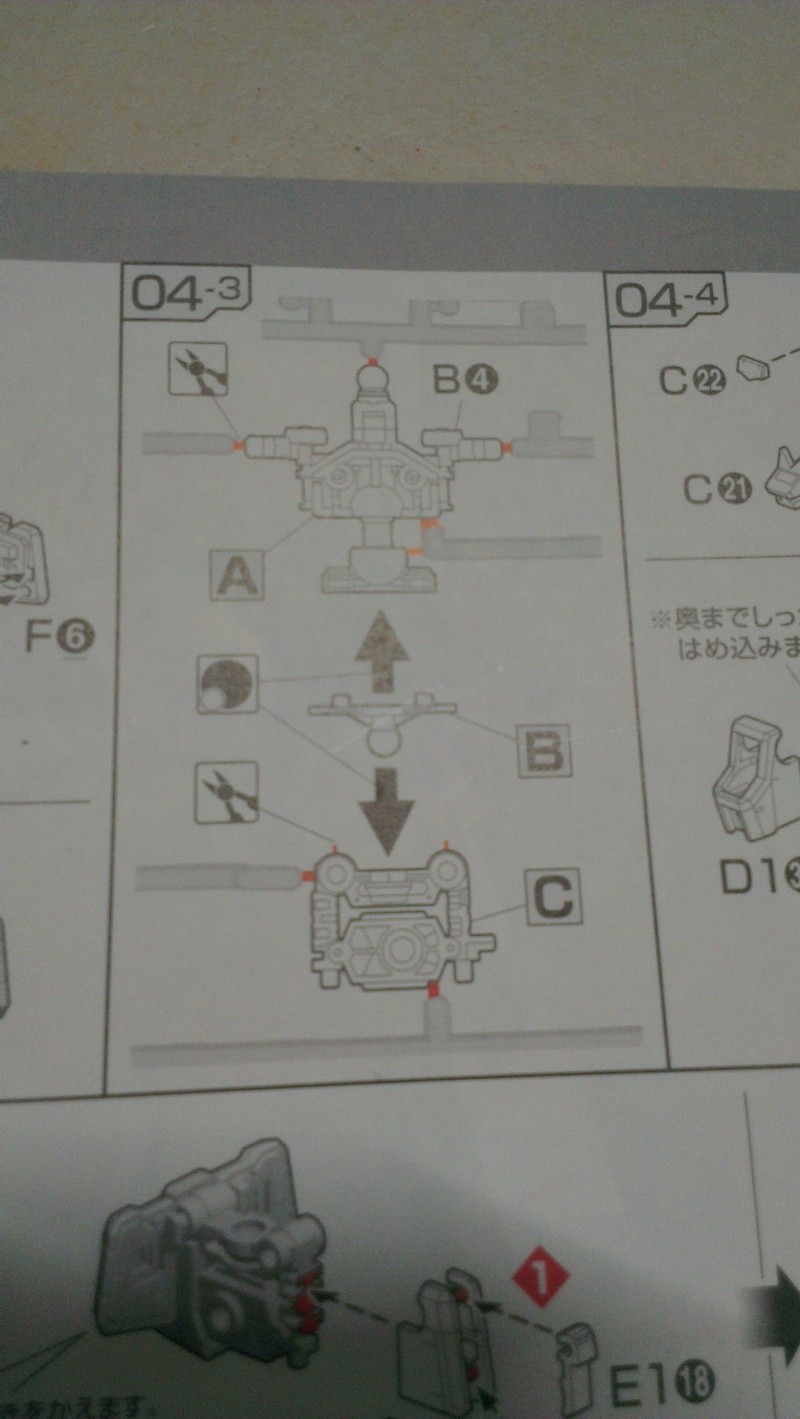
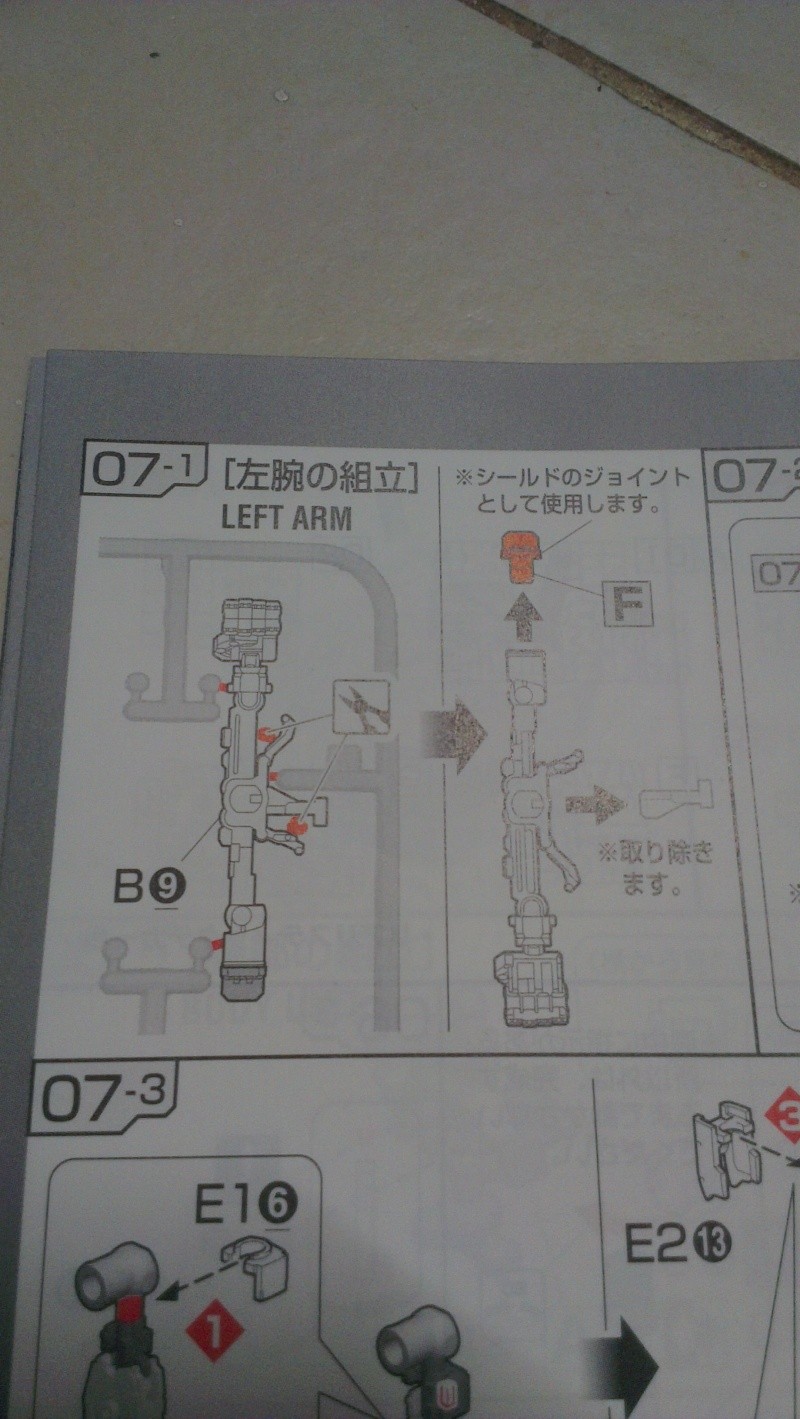
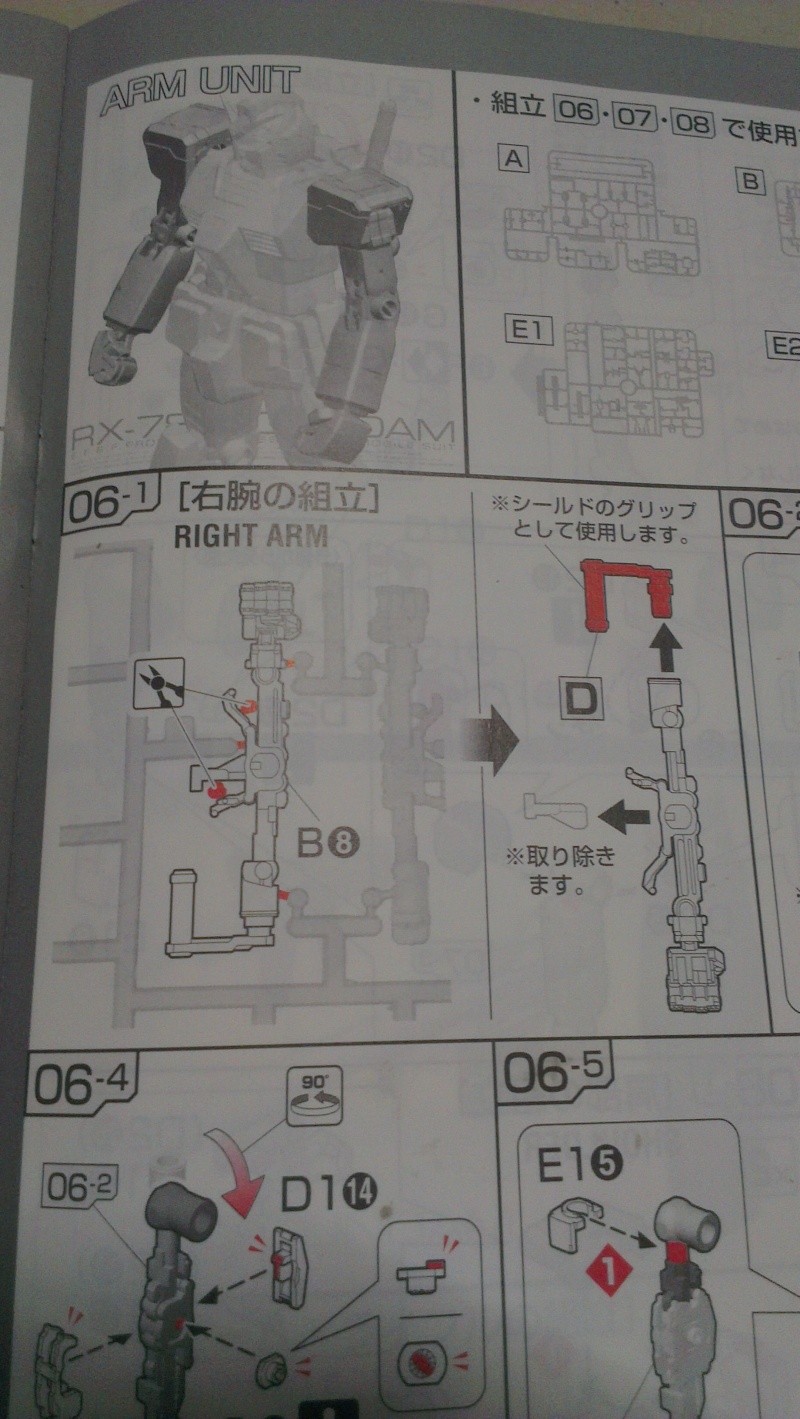
Manual of the RX 78-2

Parts and tools waiting to be used
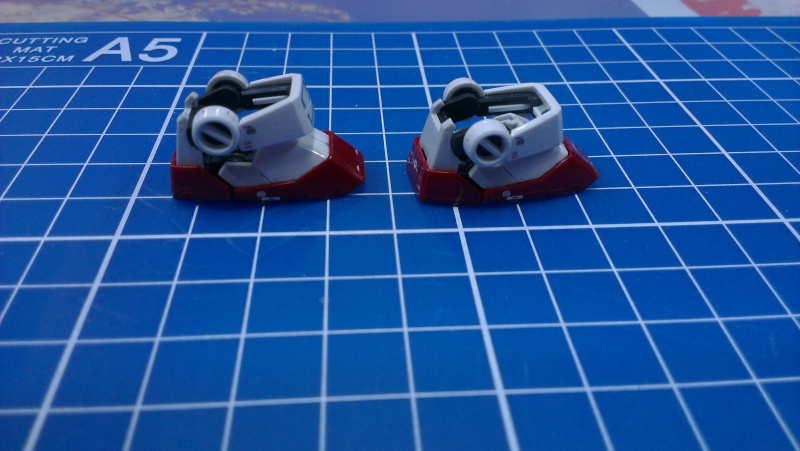
For those who are going to build or planning to get this kit, I would advice you to be extra careful on the inner frame. There are some parts of the inner frame where you will be required to remove/take out. For starters the inner frames are already small and these parts which you are required to remove are even smaller and tight. If you are not careful with removing the parts, there can be stress marks on the parts and will affect the joints. Here are photos of the parts where you would be required to remove.
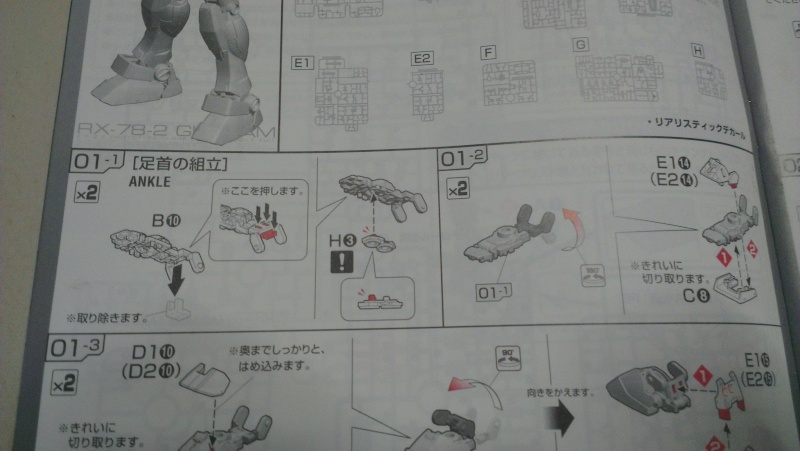
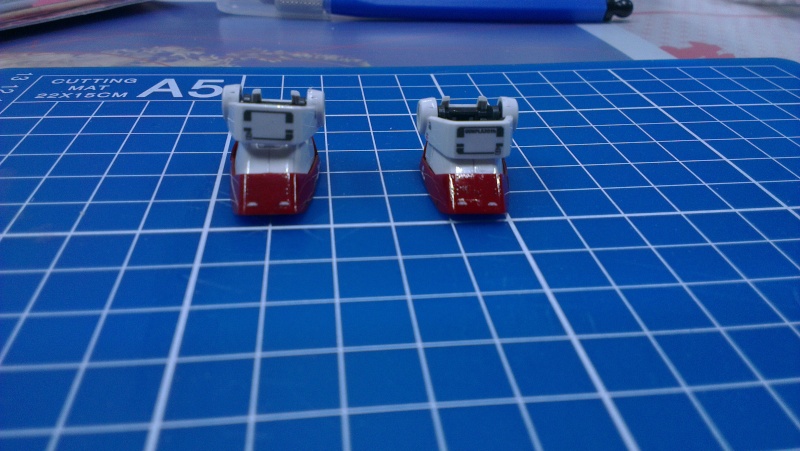
As usual the first part to build will be the legs. Instead of building the inner frames first then adding on the armor, I decided to build the kit with the armor, panel lining and decals. I guess I will only show the inner frame of the kit if it is interesting like Unicorn, Sazabi, Nu Gundam, etc.
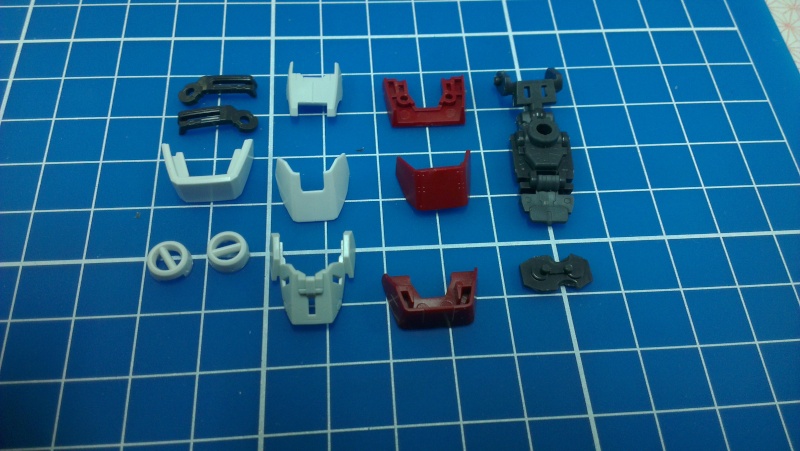
Here are parts of the leg before assembly. If you look properly, there are still nubs on the parts. They will be removed when they are required for assembly. That way I don't have to be bored doing all the nub removing and sanding in one go. The only time I would be doing that is if I am to repaint the kit.
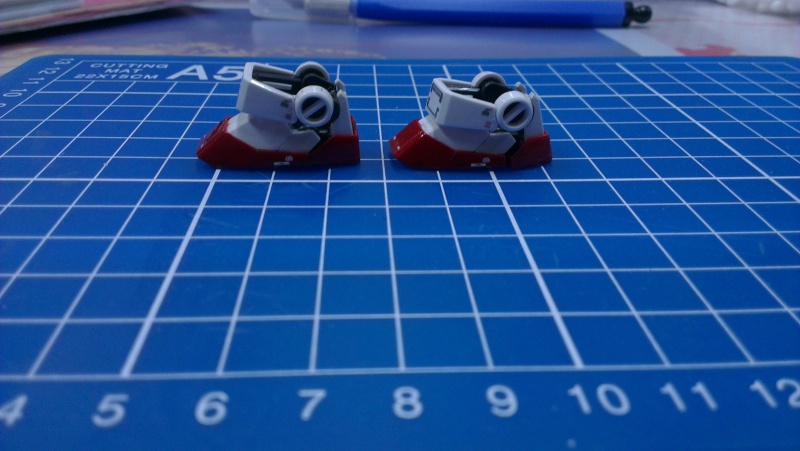
Here are
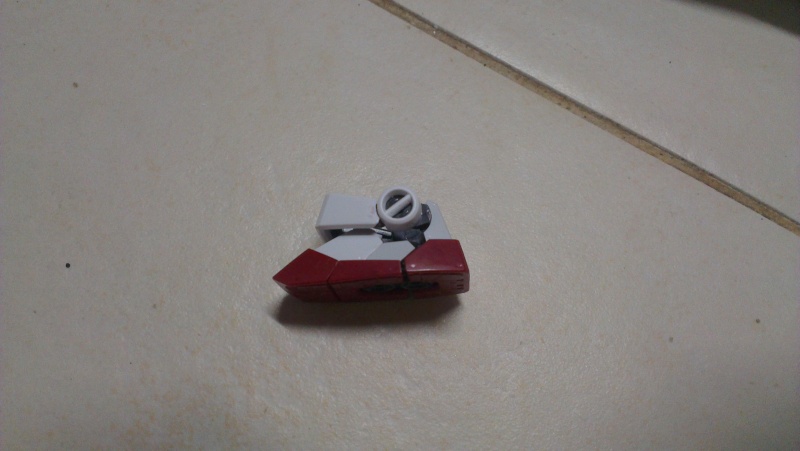
some photos of the completed foot. The ankle armor can be bent upwards
and the feet has 3 parts which will split when it is bent upwards.

For this kit, I will be working on the waterslide decals instead of the stickers provided. I'm thinking of using the decals for the HG version. This is not the first time I'm using waterslide. I've used them before when I was working on a tank. The method used when I was working with the waterslide is slightly different than what I did with this kit. The tank decals did come out okay but I've decided to try a new method this time round.
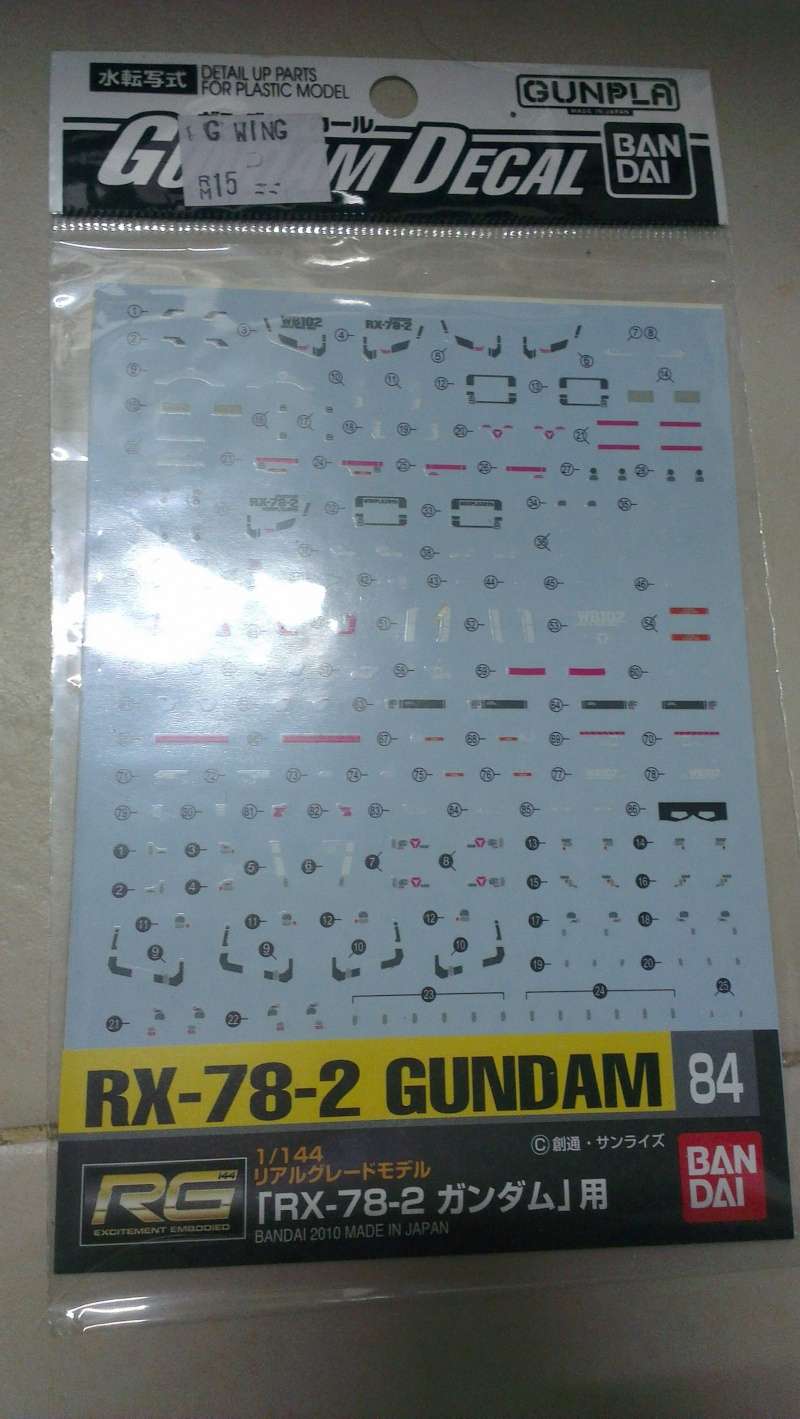
RG RX 78-2 Gundam Waterslide decals
This time, I've managed to get my hands on the elusive Pledge Future Finish Floor Polish. I'm going to coat this kit with a layer of Pledge then put on the waterslide and protect it again with another layer of Pledge. I managed to find this in the Ace Hardware in Queensbay Mall but there are only 2 left. Bought one and recently went over the Ace Hardeware again and the other Pledge is gone. I guess if I have to get a new one, I will have to hunt for it again. Anyways, I poured the Pledge into a small bottle which is able to fit into on-the-go box.
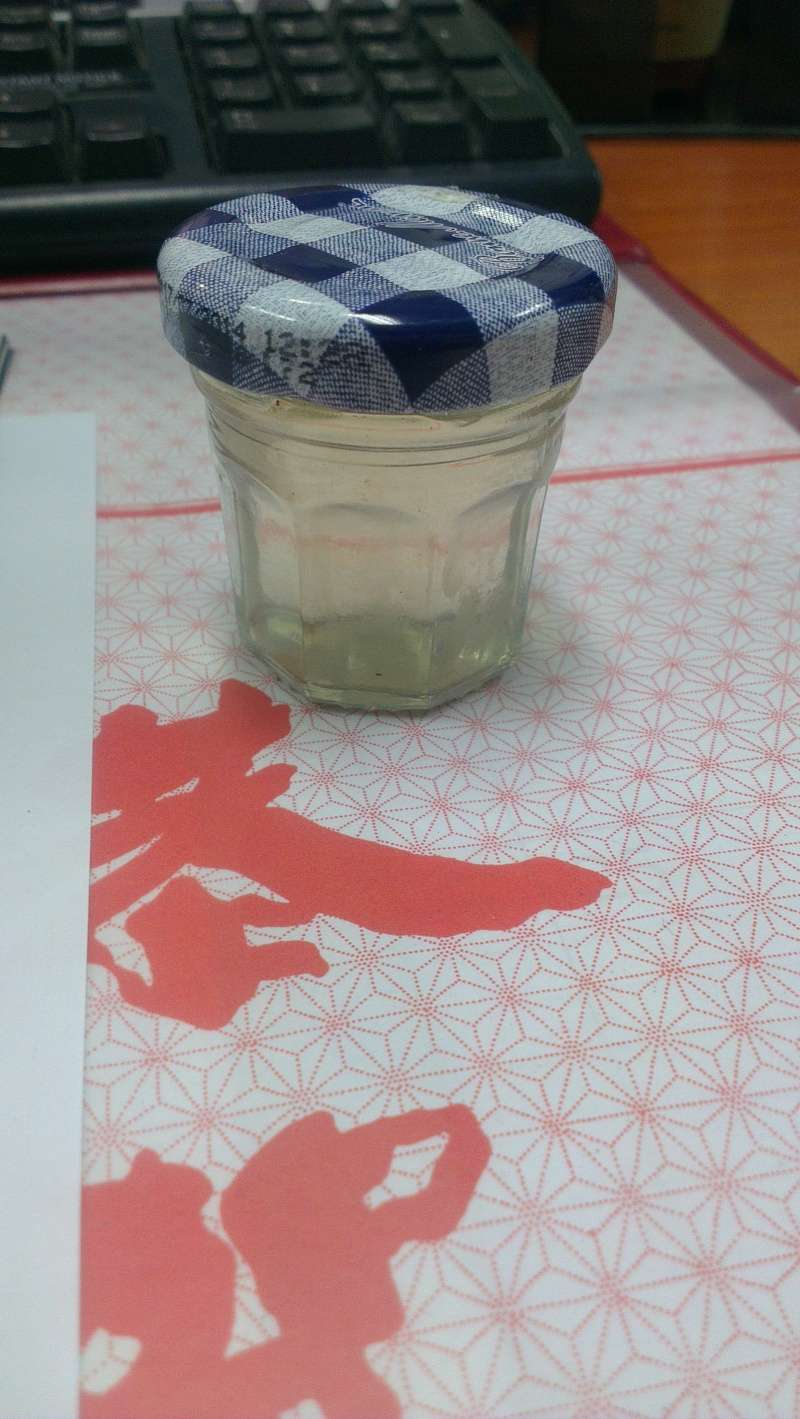
Pledge poured into a smaller bottle
How I go about using this product is simple. All you need is a medium size paint brush and the Pledge. Just dip the brush into the Pledge, remove the access and brush over the kit. It will make the kit glossy. Wait for a couple of hours for it to dry then apply the waterslides on the kit. After waterslides, apply another small amount over them to seal them in and to get rid of the silvering. Here are a few photos of using Pledge and waterslides on the foot.
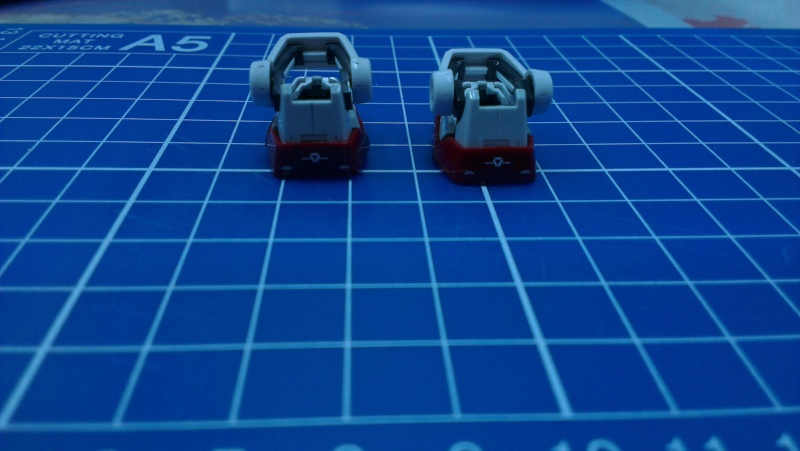
In the last photo, you can see the light reflecting off the gloss on the foot. I enjoyed the waterslide experience again and there are advantages of using waterslides compared to the traditional stickers or Realistic Decals in this case. When using the waterslide, you don't have to worry about wrong placement of the stickers. Just move them around until you are happy with the placement and then dry the water up.
If you accidentally put the decals in the wrong place and it has already dried up, don't worry. Just wet one of your fingers and touch the waterslide again. Once they are wet, they will come off and you are once again free to move the decals. Easy and hassle free.

No comments:
Post a Comment