Final leg of painting
Now that the main MS was completed in the previous post, it is time to work on the wings and weapons. As with the other parts of the kit, the wings was also given 2 choices. I decided to go with the transparent wings.
Different option for the wings
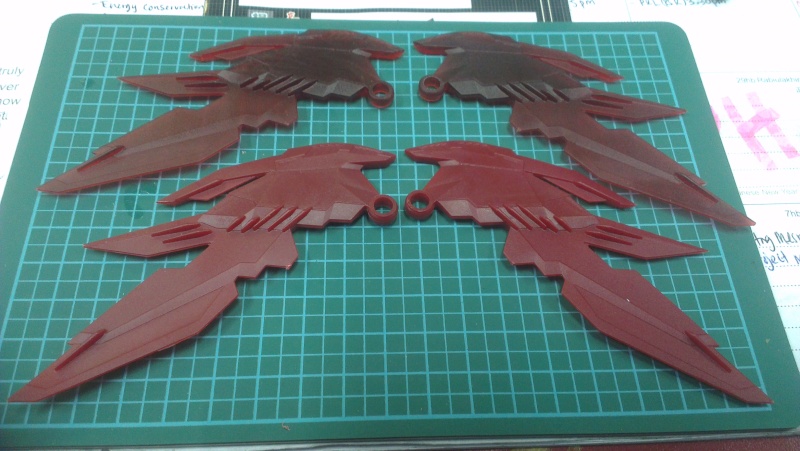
As can be seen, the wings are all moulded in red color. Some black is required to make it stand out more so out comes the black Sharpie. If you notice by now, I'm only using Sharpies and other normal markers to detail up the plamo. I'm currently on a tight budget and using whatever I can find at home first while learning the painting process.
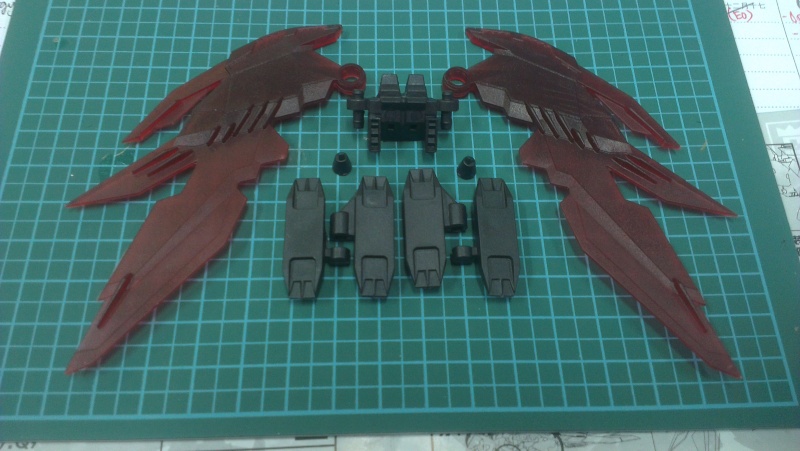
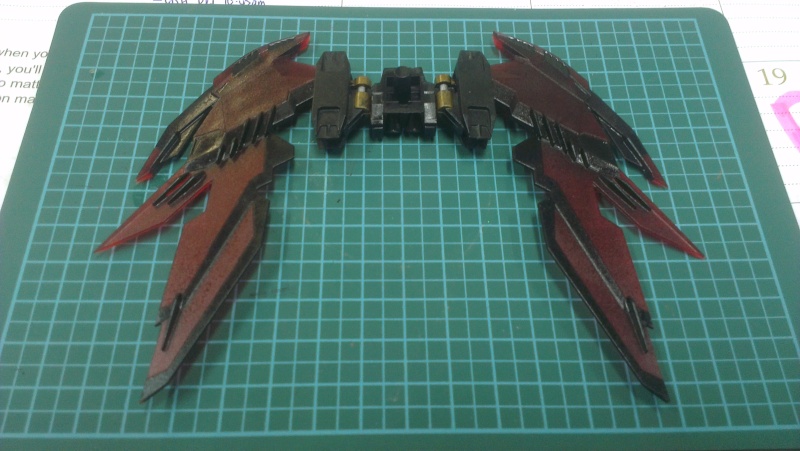
Here are the parts of the wings lined up before assembly and before the black paint was added to the wings.
Since I'm going to do the wings and weapons together, I figured I might as well paint all the pieces together since some parts of the shield also requires some black color. The tail/whip joints of the Epyon was painted gold. Original plan was to paint it red but seeing that they main color of the kit is mostly red, the decision to use another color came to mind.

Beam sword and whip/tail moulded in black
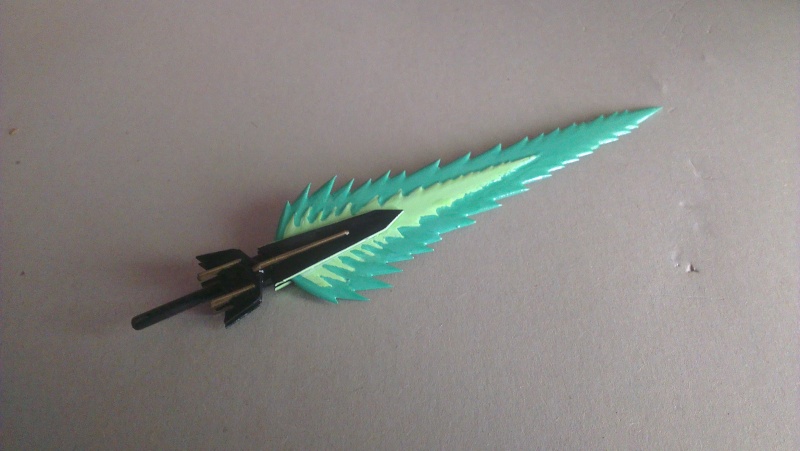
The part with the most paint job would be the beam sword. I plan to have the beams in 2 different shades of green. A lighter green in the inside and a darker shade of green on the outside. The raised part of the handle will be painted with gold to not make the handle look so dull.
After painting all the required parts black and gold for the shield and wings, the parts were sent for top coating and waiting to dry before starting the assembling process.
Wings, shield and whip/tail waiting for top coat to dry
While waiting for the top coat to dry, I started work on the beam sword. I did not follow moulded beam effects between the two greens. This is first coat of the 2 green colors. There will be some touching up once the first layer is dry. The gold does make the beam sword look more interesting.
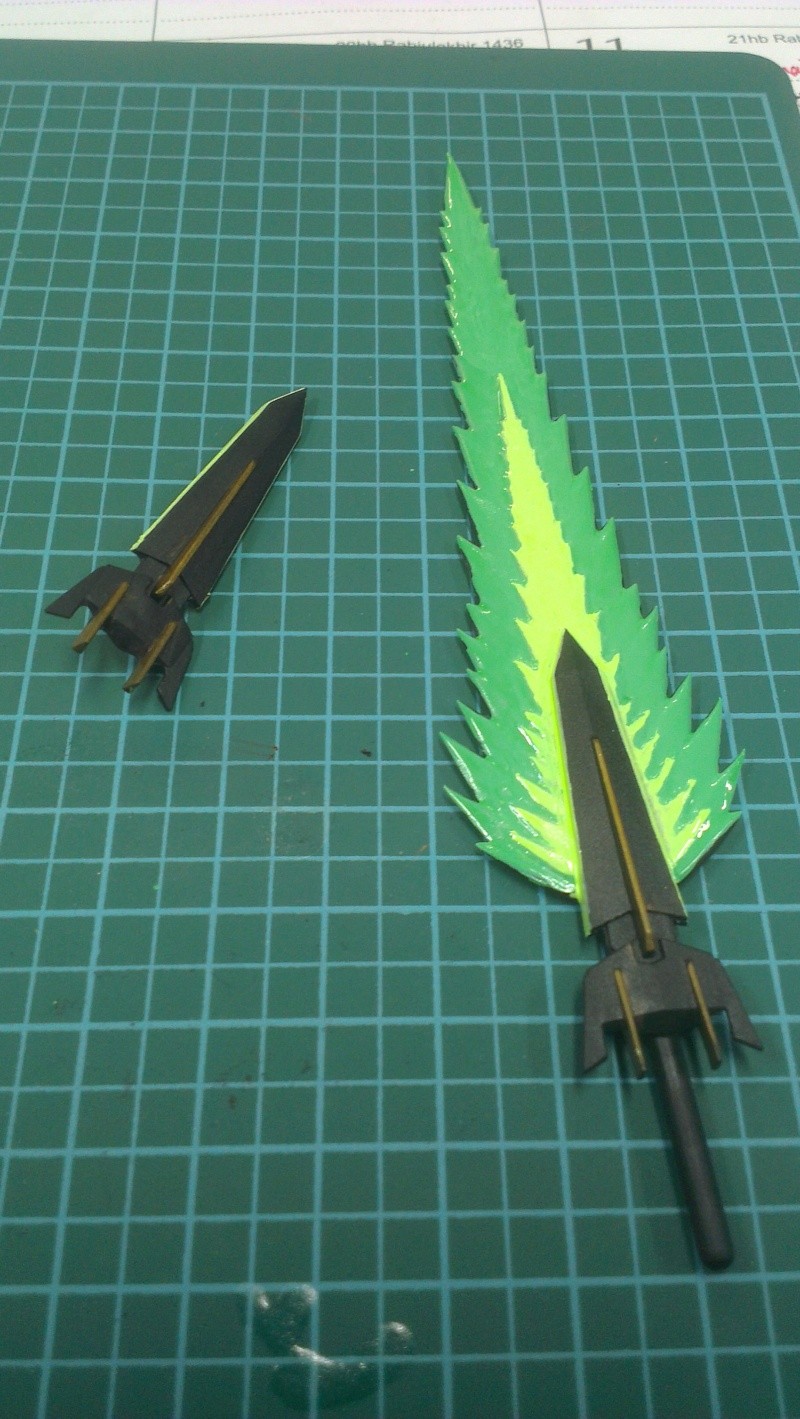
First layer of greens on the beam swords
Since I have to wait for the greens to dry, I went back to work on the wings.
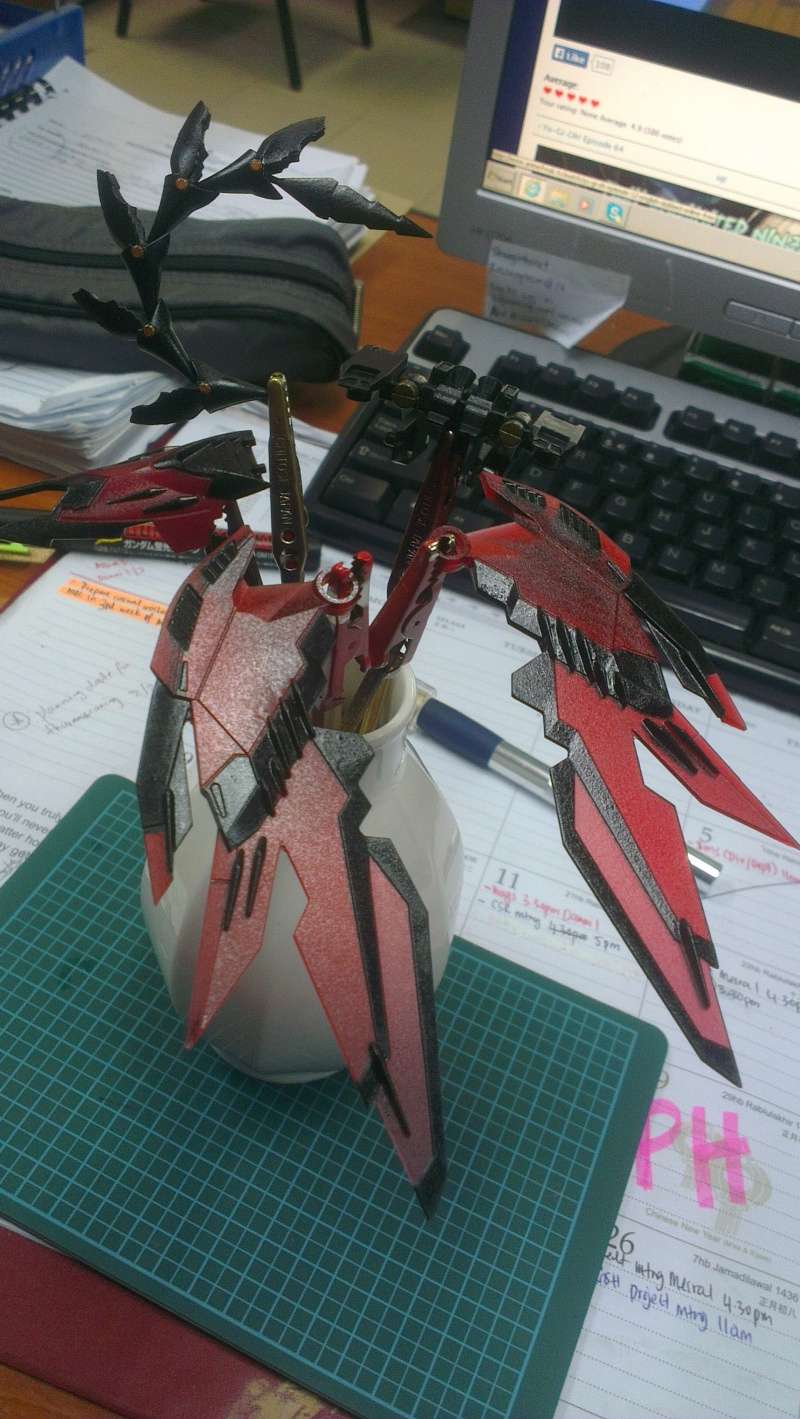
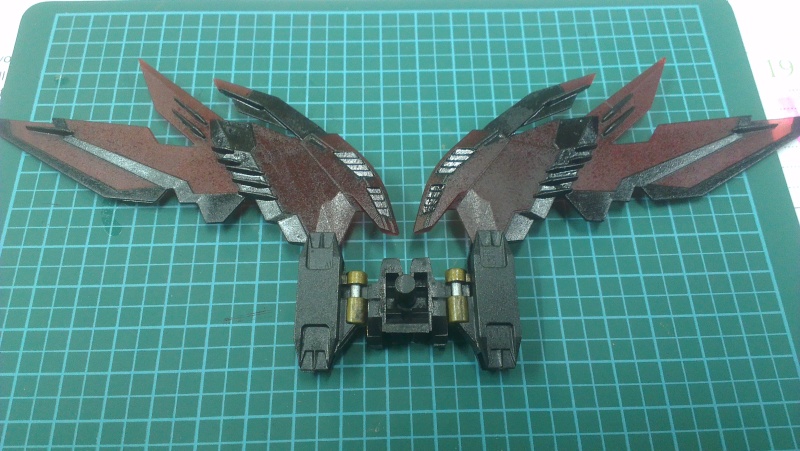
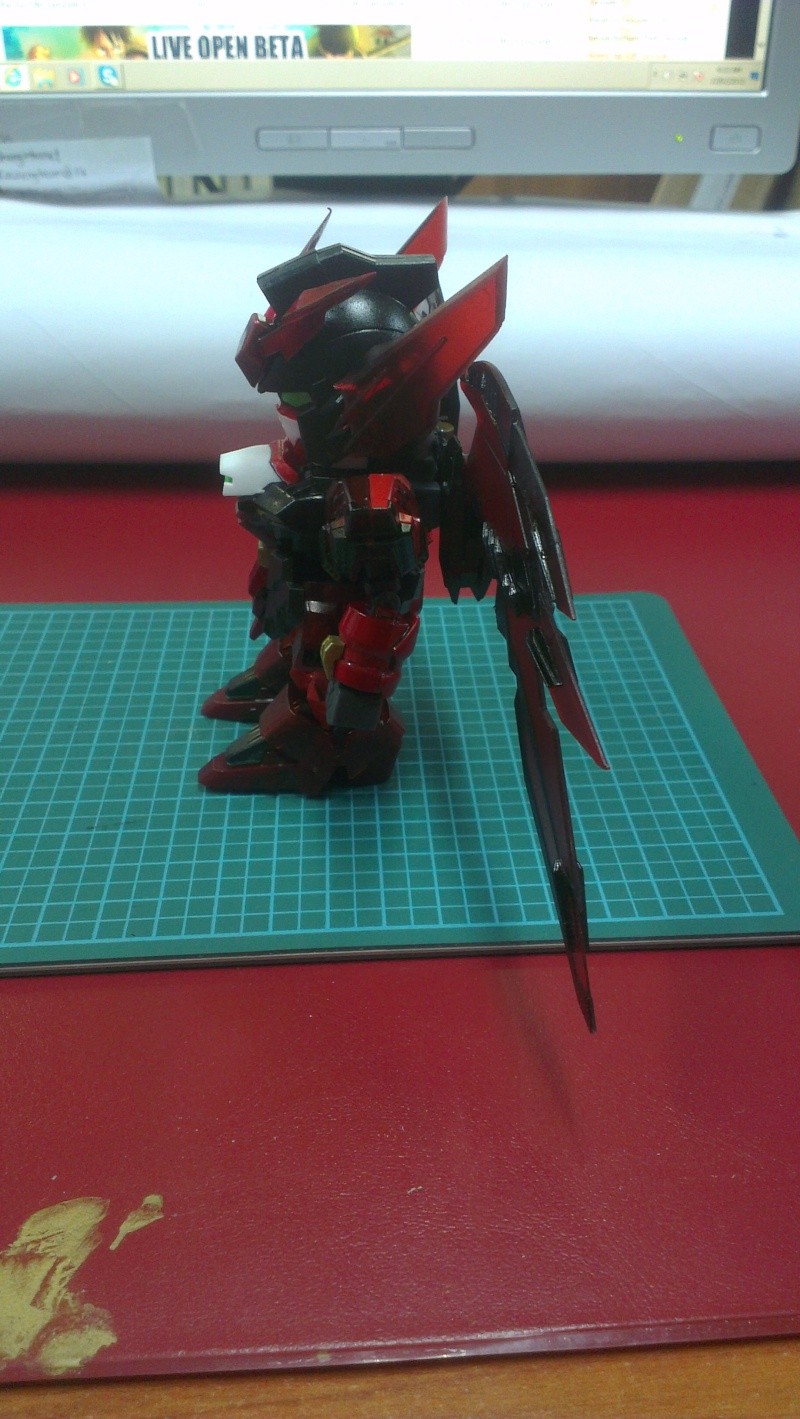
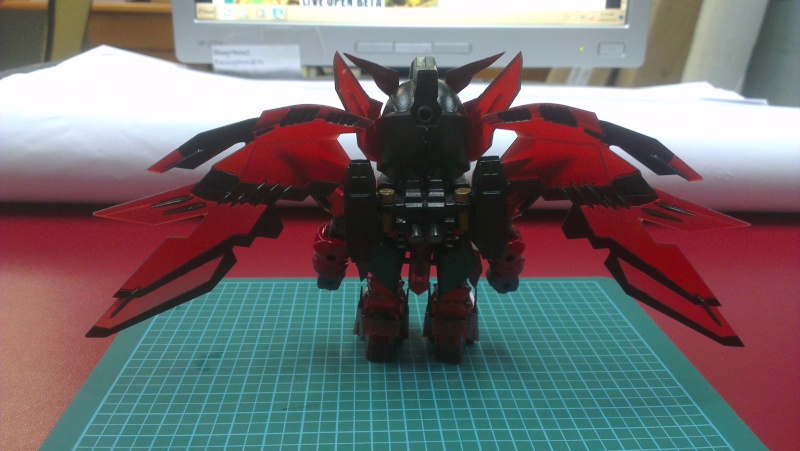
Completed wings
I have added some gold and silver to the backpack of the wings. The silver won't be able to show once the wings are connected to the MS. The wings can be individually moved. Just have to be extra careful to not break them in the process. One side of my wing is very tight and I will have to move it with extra care. A bit of super glue was used to hold the thrusters in place.
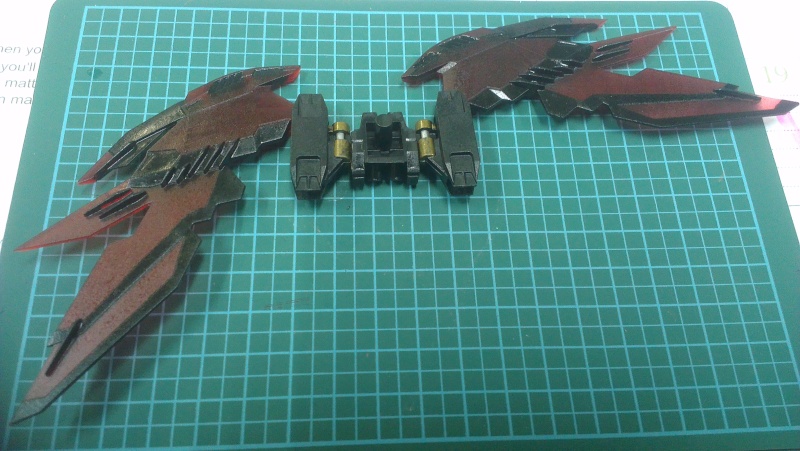
Individual movements of the wings
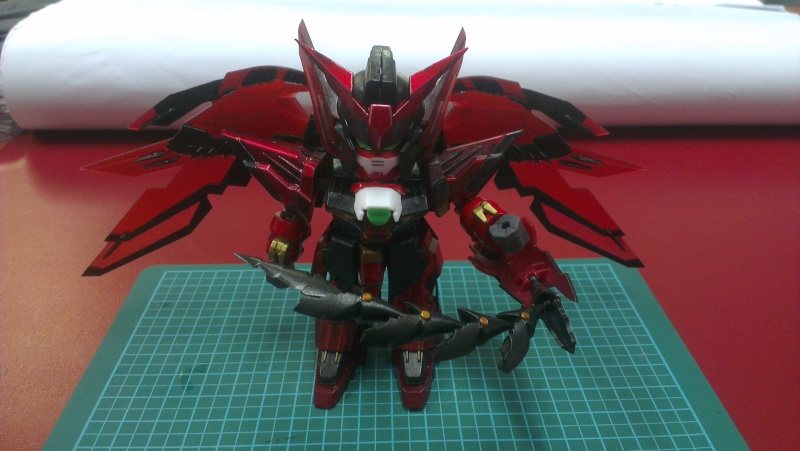
Here is a comparison of the wings with the MS itself.
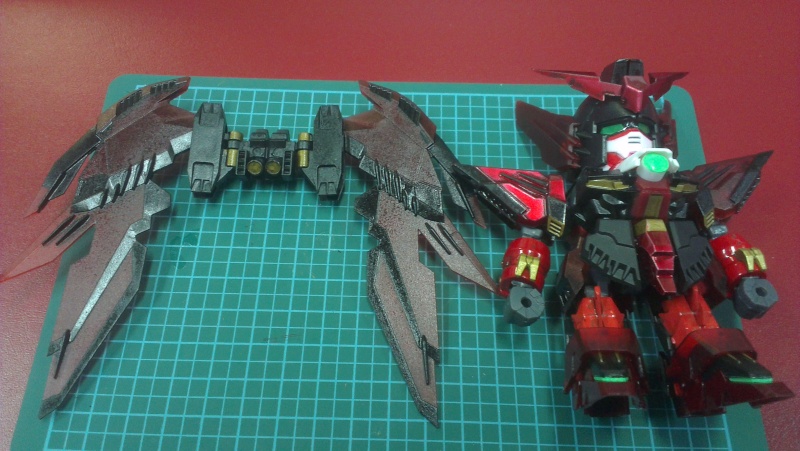
With the wings in the fully down position, it is as tall as the MS. I hope that the wings does not make this kit back heavy. Now is the time everyone is waiting for: the completed form of Epyon.
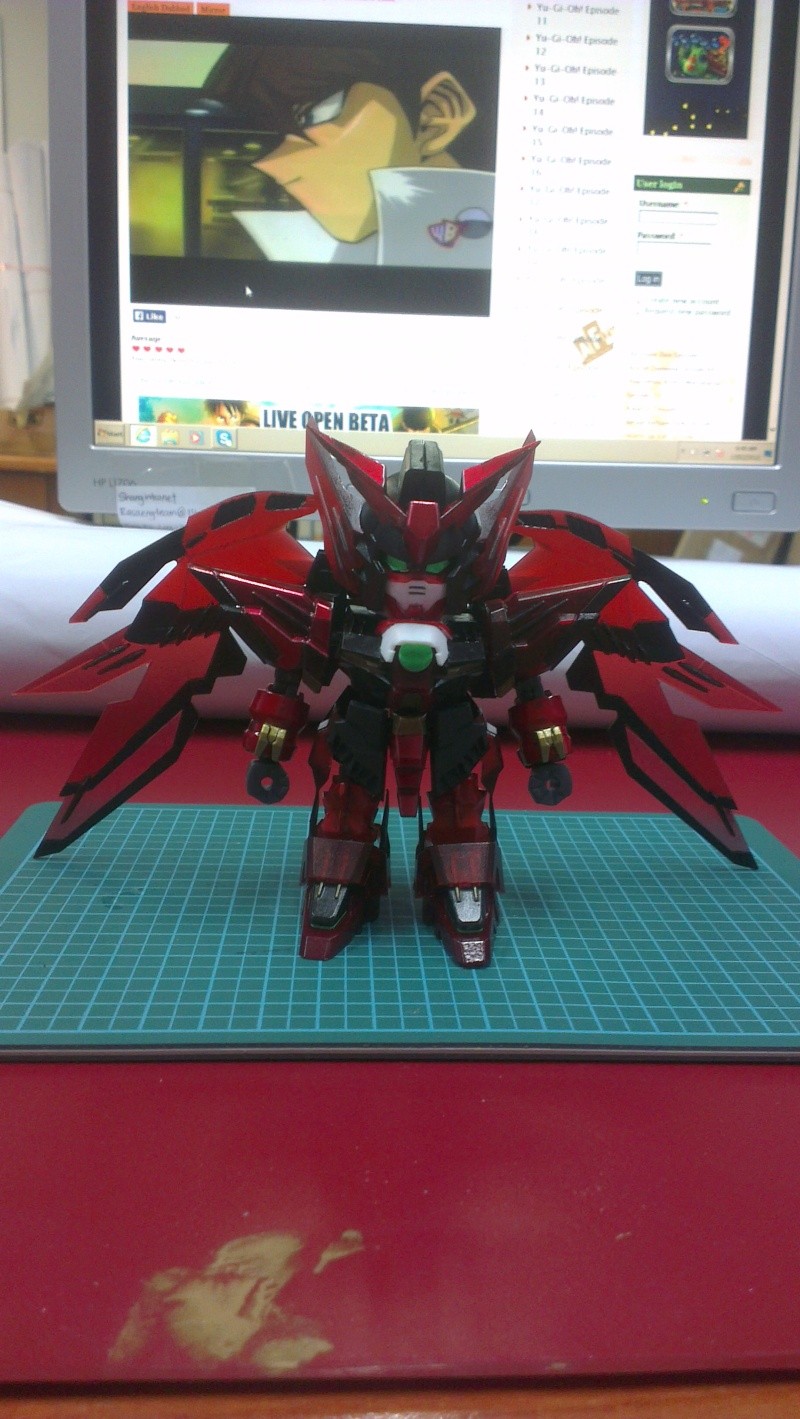
I am please to inform that the MS does balance well with the wings attached. This kit is coming together nicely. The only thing left to do is finish the beam sword.

With the beam sword completed, we will look into the other weapons which came with this kit. The shield and whip.
Beam sword waiting for a layer of Future to dry
With the beam sword completed, we will look into the other weapons which came with this kit. The shield and whip.
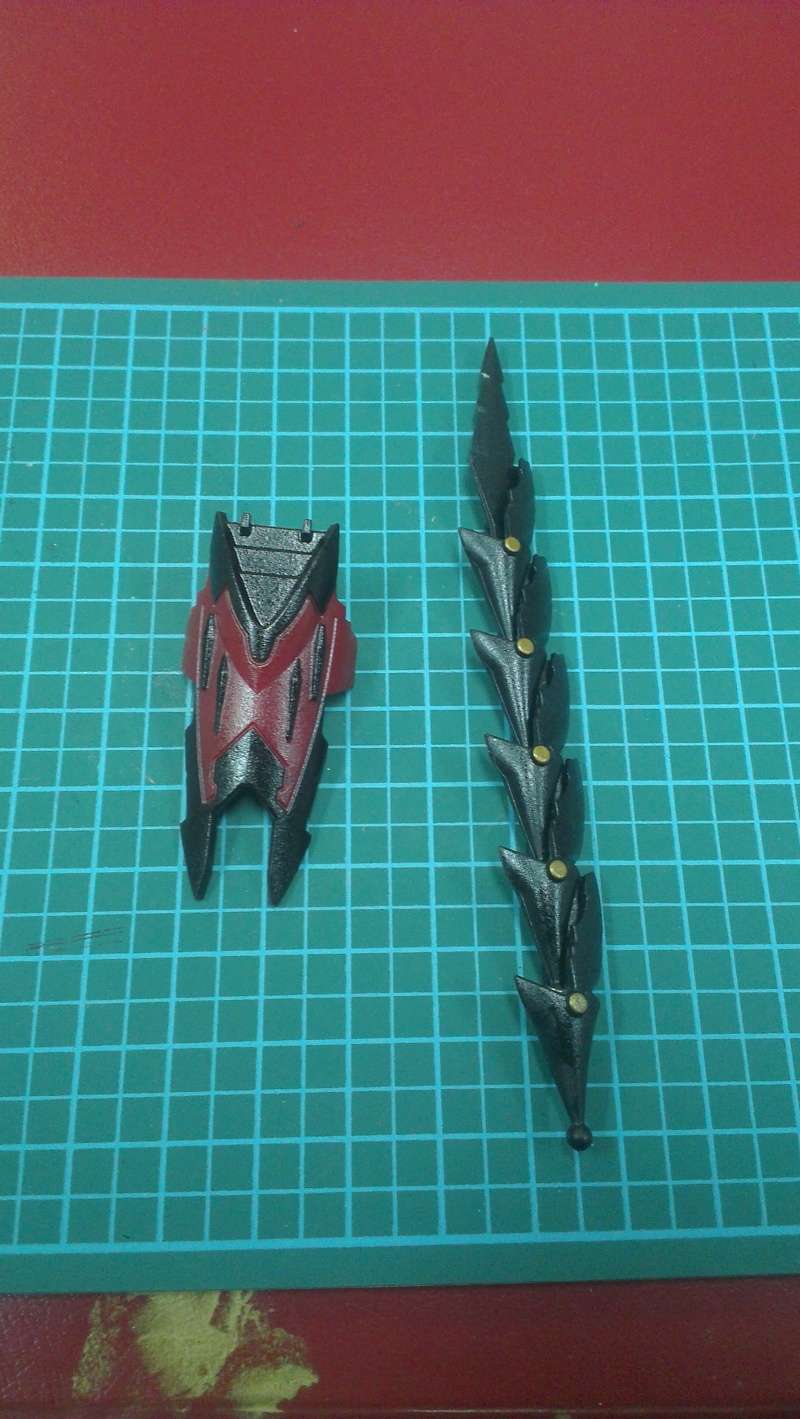
The whip is interesting. Each part is connected to the other with a ball joint. This makes the whip very flexible and very posable.
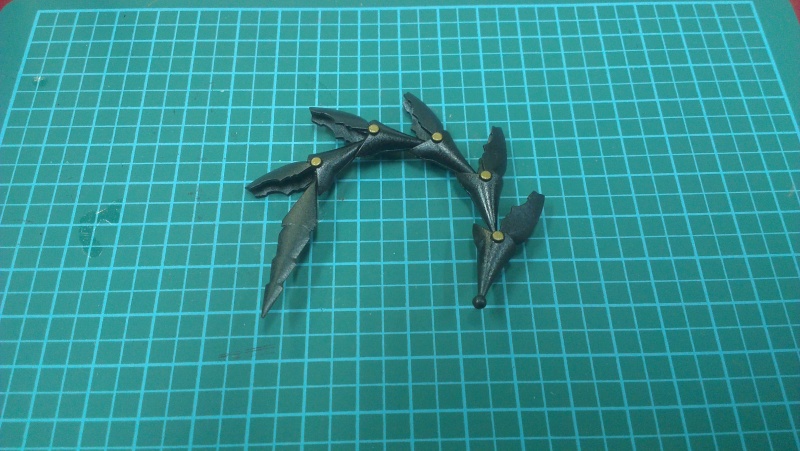
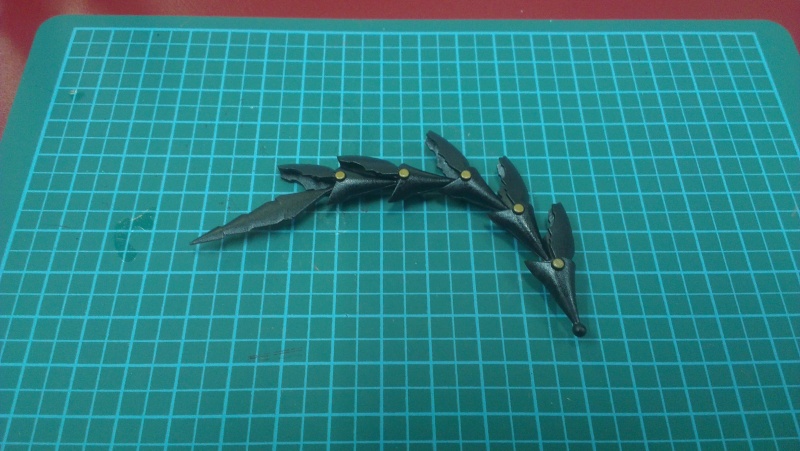
The whip is connected to the shield with a ball joint. A lot of very dramatic posing of the whip can be done. It all depends on you imagination and how you like the shape of the whip.
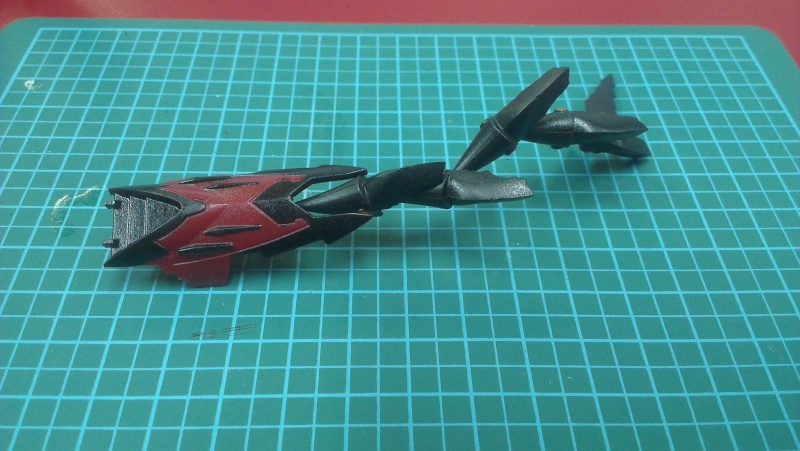
Whip connected to the shield
Epyon with the whip

No comments:
Post a Comment