Another set feet?
As the feet for the Red Frame was completed in previous post, it is now time to work on the feet for the Blue Frame. The inner frame will
be the same color except for the pipes and thrusters. By doing it this way, I will be able to differentiate between the two models without keeping them in separate boxes. The color of the armor will also be different. I have decided to go with the Blue Frame because I
already have the TA ready. Suggestions are still welcome until I start
painting the armor.
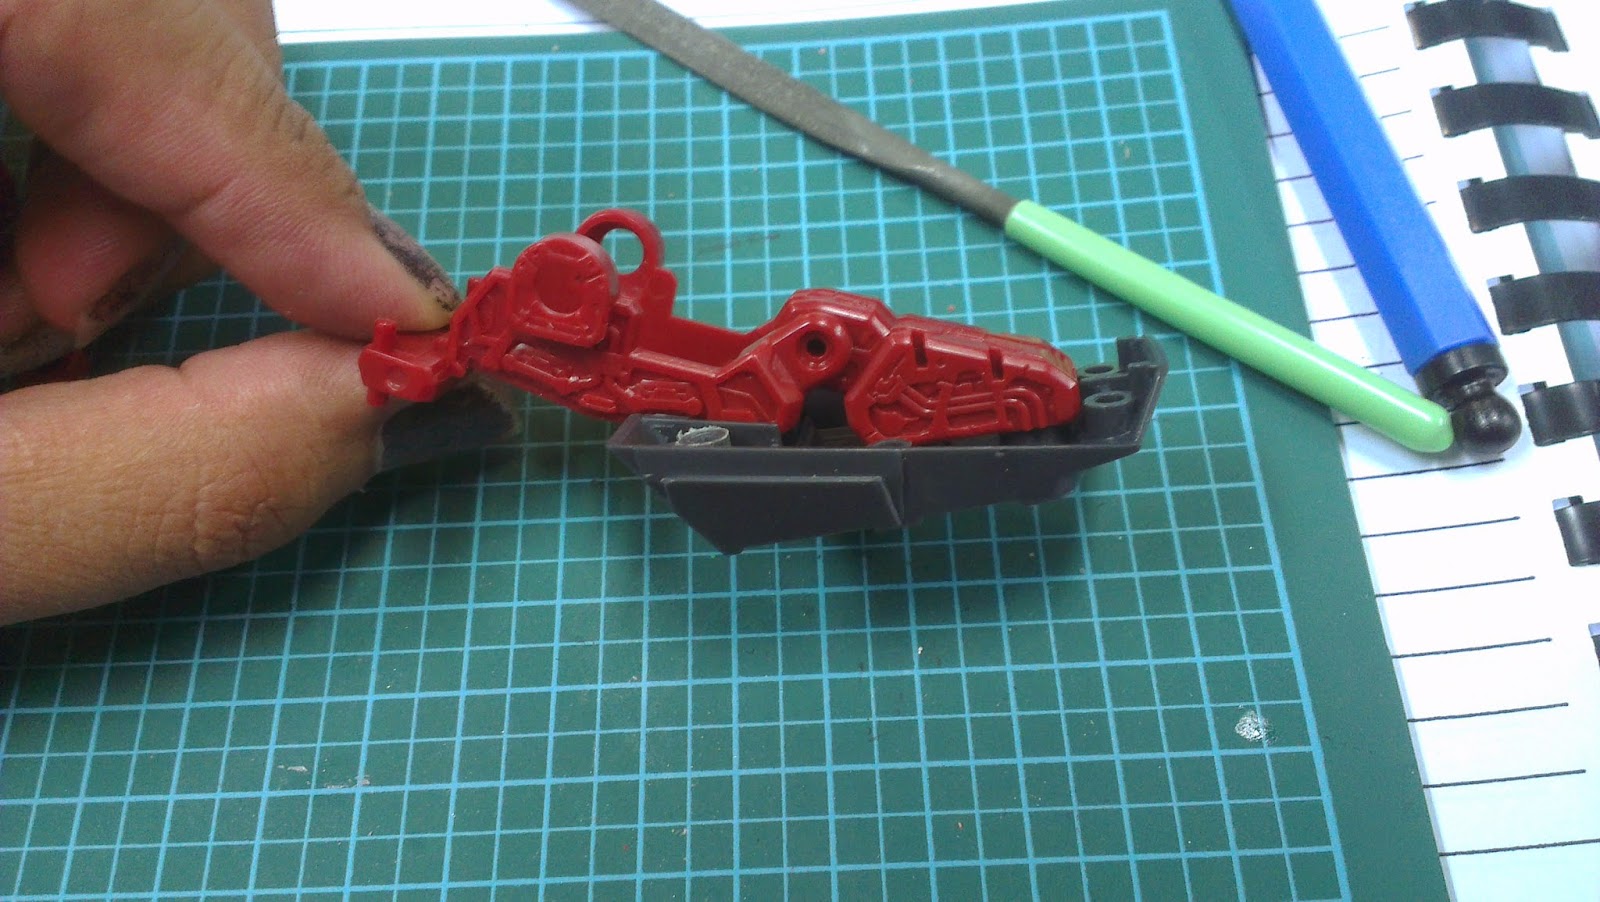
Ran into some minor fitting issues while assembling the feet. The pieces are hard to snap together. They do go well together once they are in place. Just need to use a bit of force to close them properly. Also make sure that the parts assembled are correct else you will have a fun time trying to disassemble them.
 Mentioned in the previous post, I need to sand the front of the foot armor to avoid it from scraping off the paint. The same issue will occur for the Daban model since it is a copy of BanDai but what I didn't anticipate was how extensively I had to sand. The inner frame of the foot prevents the front piece of the armor to move back to original position after bending.
Ran into some minor fitting issues while assembling the feet. The pieces are hard to snap together. They do go well together once they are in place. Just need to use a bit of force to close them properly. Also make sure that the parts assembled are correct else you will have a fun time trying to disassemble them.
Inner frame and foot armor touching
To solve this issue, I had to sand off a lot of the plastic. While I was happily sanding and testing out the result, I did not notice that I sanded off too much. The plastic was too thin and created a crack. Luckily for me this is the part of the foot where no one will pay attention to or see.

Thin plastic due to over sanding
After sanding and cleaning up all the dust from the piece, they are put on alligator clips and sent to be painted. Process is the same method in WIP 3. Prime>spray>top coat.

Parts of the feet inner frame after spraying
The 'piston' was tricky to put in. Lots of force is required and since the part is moveable, when you push it too much, the part will move and the 'piston' will pop out and go flying.

Piston to be inserted into the ball joint

Pistons after assembly
Once the pistons are in place the rest of the assembly is straight forward and hassle free. The inner frame is assembled first before the black armor pieces. Details are also added in such as the color of the thrusters, pipes and panel lining.

Thrusters painted blue to differentiate from BanDai

Pipings painted blue instead of red
I won't be using the decals provided by Daban. Since I'll most likely be doing a Blue Frame, I'm considering getting the PG Blue Frame waterslides from SamuelDecal.

Armor parts for the feet
The armor parts of the feet are painted except for one. That part will be painted clear blue. Because I did not think I would be doing 2 PGs at once, I did not manage to pick up the clear blue paint earlier. I guess I will have to come back to that piece later.
After completing the Daban feet, a little comparison can be made between BanDai and Daban. BanDai kit is on the right and Daban is on the left.


Top and bottom view

Side view
As can be seen from the pictures above, there are not much difference between the details of the 2 kits. The details for both kits are the same. So far the only difference for me is during the assembly of the feet. Assembly for Daban requires more strength for the parts to lock together whereas BanDai is a breeze.
Next up are the legs but I think I will split it into 2 different sections. They will be split into the upper and lower legs. All that is up in the next post so stay tuned.

No comments:
Post a Comment