Sexy legs with tons of armor parts
Since the upper leg was completed in the previous WIP, this post will be concentrating on the lower leg and finally putting both together to see how it will turn out. All the parts of the lower leg inner frame is lined up to confirm that there are no missing parts.

Parts of the lower leg inner frame
The inner frame are in their original color. This time there will be a 3 different colors used on the inner frame: Gold, Light Gunmetal and Gunmetal.

Inner frame before and after painting
To me, the inner frame after painting looks much better. It looks like real metal parts if Gundams exist. Maybe is just my imagination but I feel this is how inner frames are suppose to look and feel like.
When the paint are dry, it is time to assemble the pieces together. Once done, this is what the lower leg will look like:
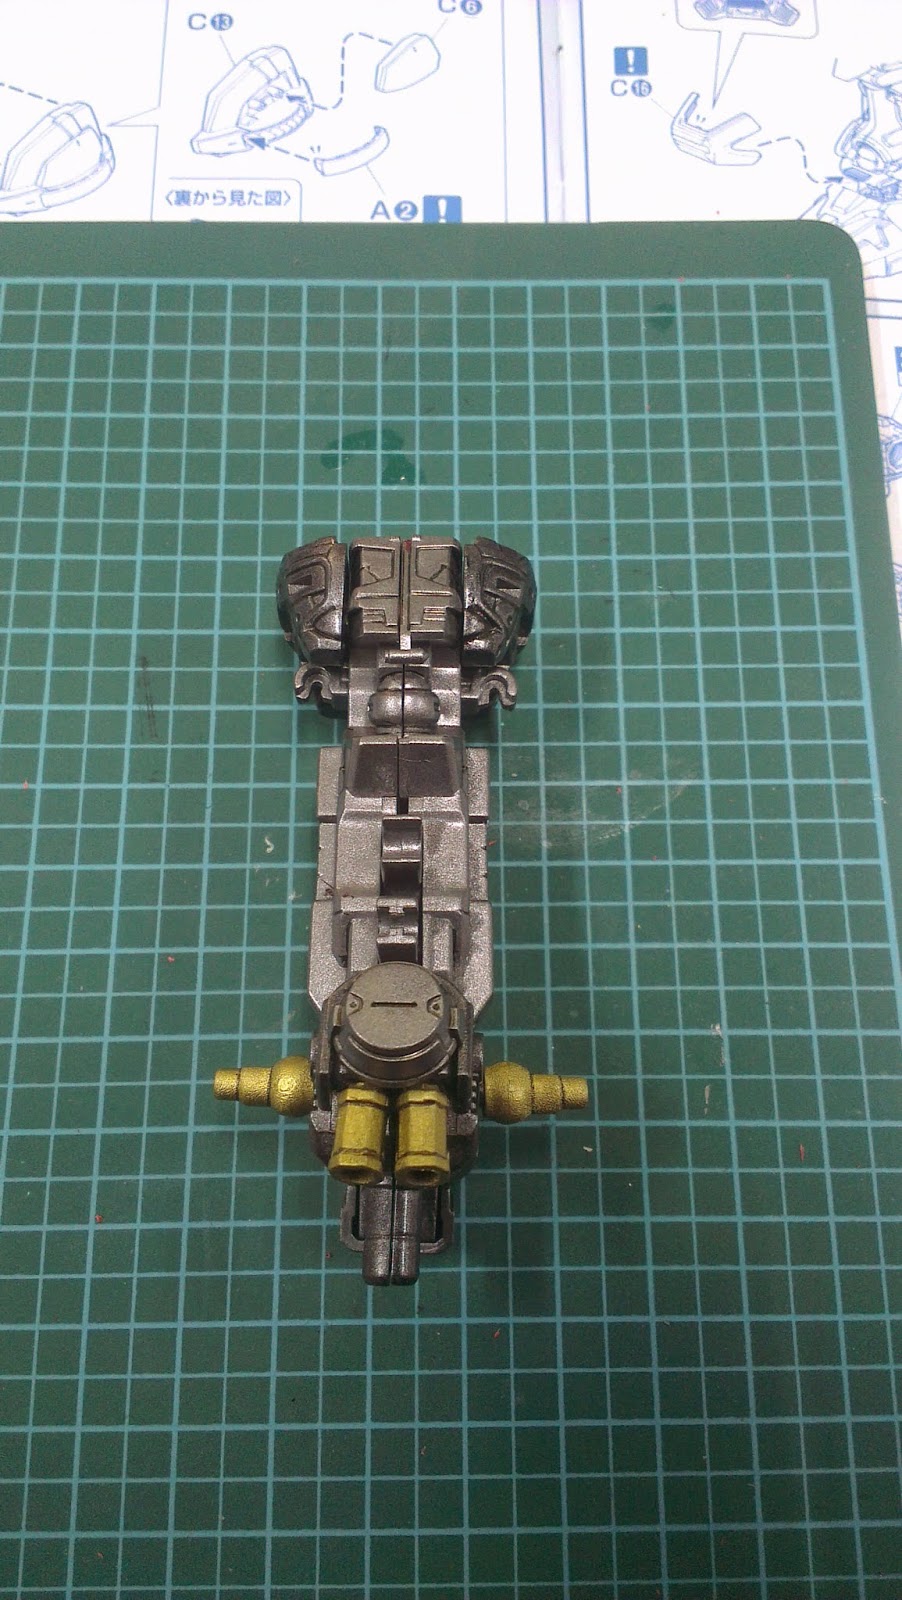


360° view of the lower leg inner frame
The chrome piston, gold, Light Gunmetal and Gunmetal colors do complement each other. Before bringing back the upper leg into the picture I forgot to paint this small but important part of the upper leg.


A 360° view of the hip connector
Following the same process in the other WIPs (4 & 5), the pipes on this hip connector are painted blue as well. Now that all the key components are present, we can get to the fun part of assembling them to see how the completed leg inner frame look like.

Key components of the inner frame leg assembled
Assemble the legs according to the manual and this is what you will end up with.


Another 360° view
Once assembled, you can't help but be amazed with how long the leg is and the amount of details on them. The color combination is also nice with a bit of gold here and there to break-up the Light Gunmetal and Gunmetal colors for the inner frame.
Mentioned before that the best part of PG is the working mechanism of the inner frame. This is the first look of part of how the mechanism works when the inner frame leg is assembled. The leg has 2 mechanism at work when it is bent. The first is the gold pieces will split open. Second mechanism is the knee. When it is bent, the gold piece in the middle will pull the knee down. When it is straighten, the knee will be pushed up.


Bending mechanism of the leg inner frame
With the inner frame of the legs done, work has started on the leg armor. Since this is a Blue Frame, all the armor which were once red is now blue.

Candy Blue armor parts
Shading, panel lining and decals has been done to the white armor parts. The white will be sprayed with Pearl White from Anchor. The 'turbine' on the armor has been painted with silver and black as the base to bring out the color. This will then be covered with a clear green piece when it is done.

White armor parts of the Blue Frame
Now what is left to do for the armor pieces are decaling and panel lining the blue armors and giving the white a coat of Pearl White. Once those are done the armor will be assembled onto the leg. Hopefully this will give an overview on the difference between armor and unarmoured parts. All this will be covered in the next part.

No comments:
Post a Comment