Some mistakes are never learned
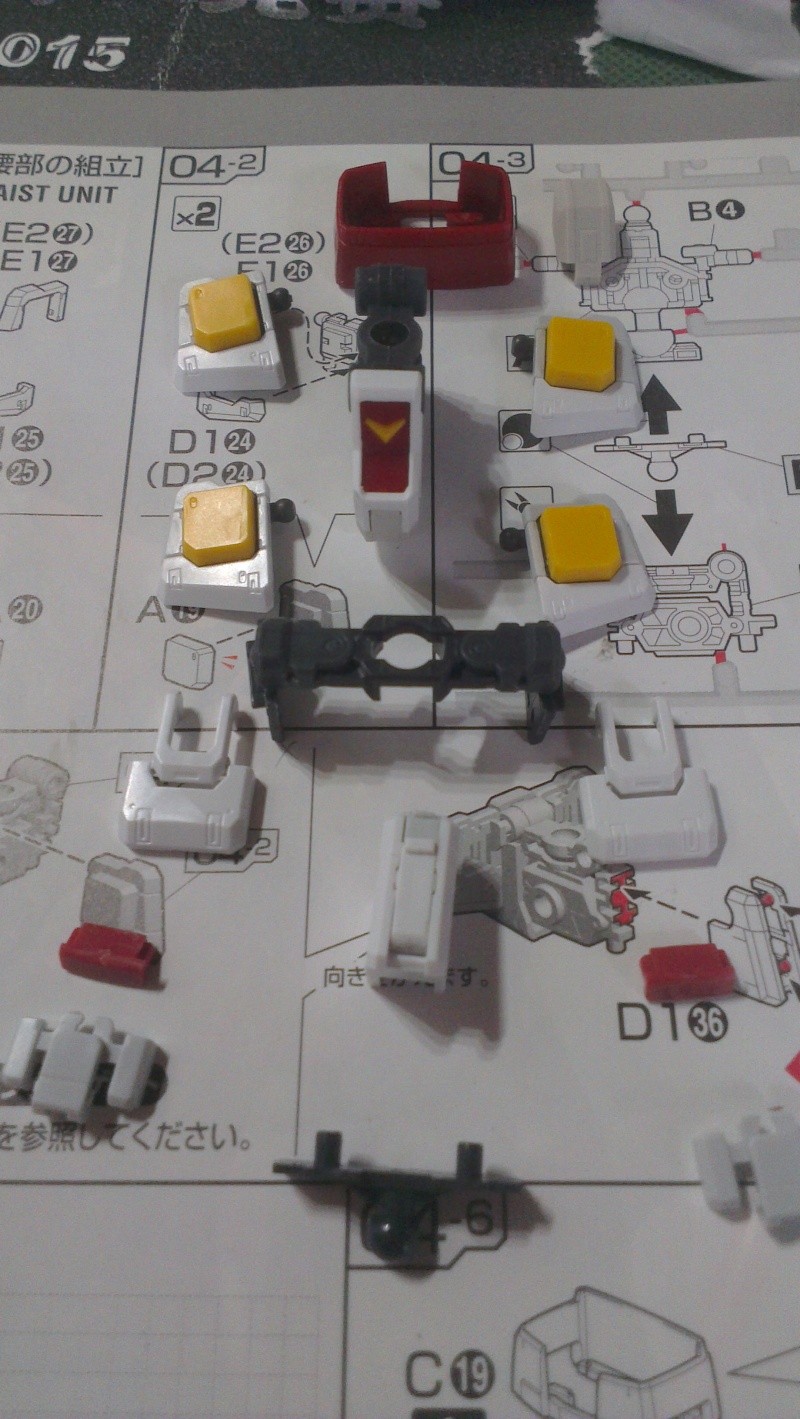
To date, this kit is the longest RG kit I'm working on. I remember finishing the RG Justice Gundam in a week including decaling and top coating. I'm not sure why this kit takes such a long time but the main thing is enjoying the hobby. As with all the other builds, after completing the legs the waist section is next. As you can see there are still nub marks on the parts which have yet to be removed.
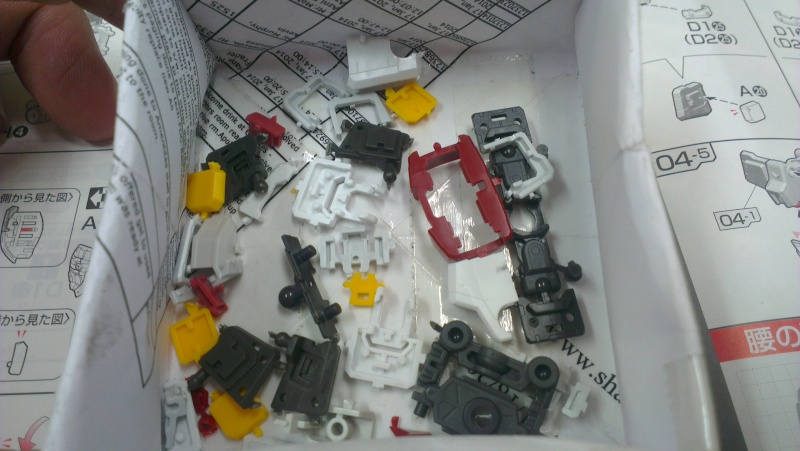
Parts of the waist section in their designated box
The first part I tackled are the skirts. They are the biggest piece for the waist and also the least amount of parts required.
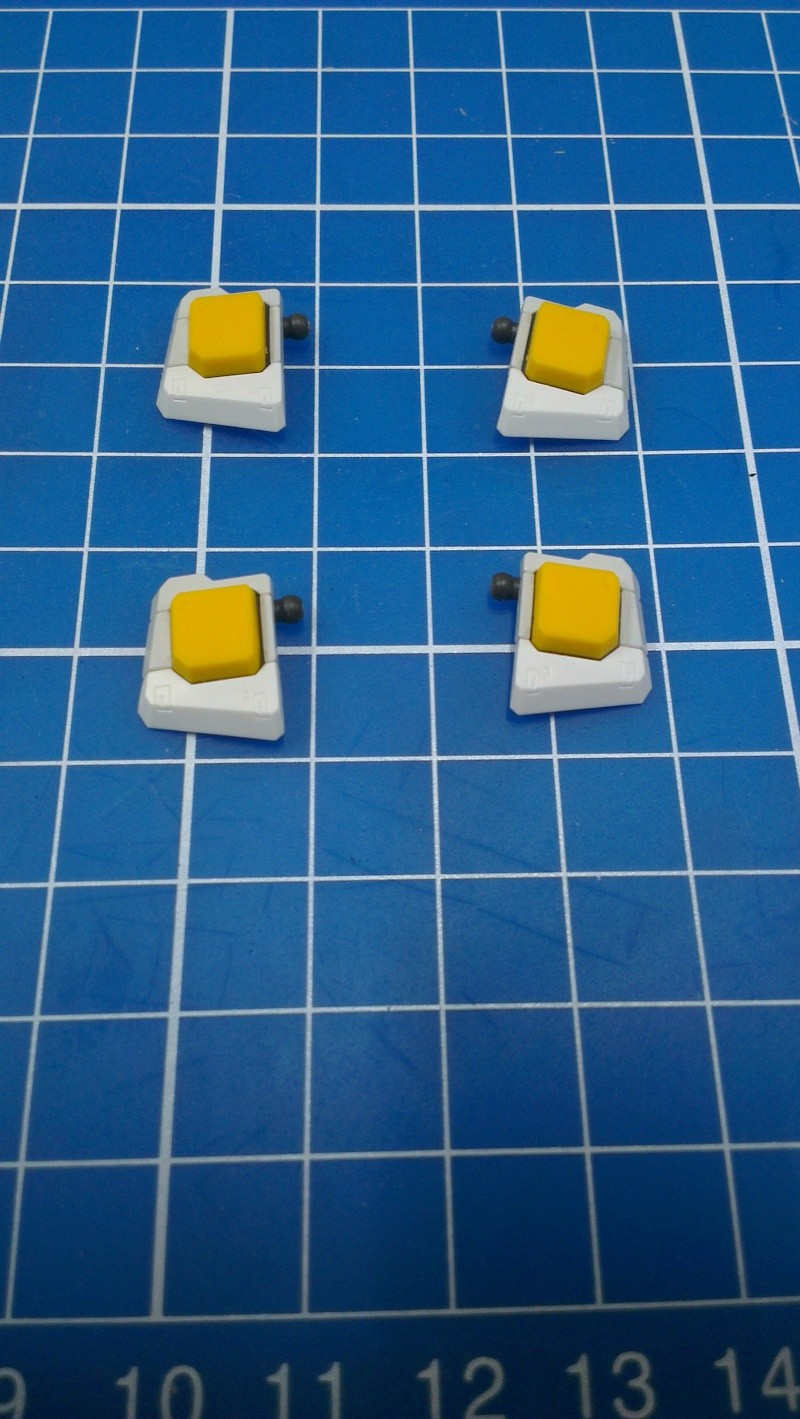
The completed skirt armor without panel line and decals
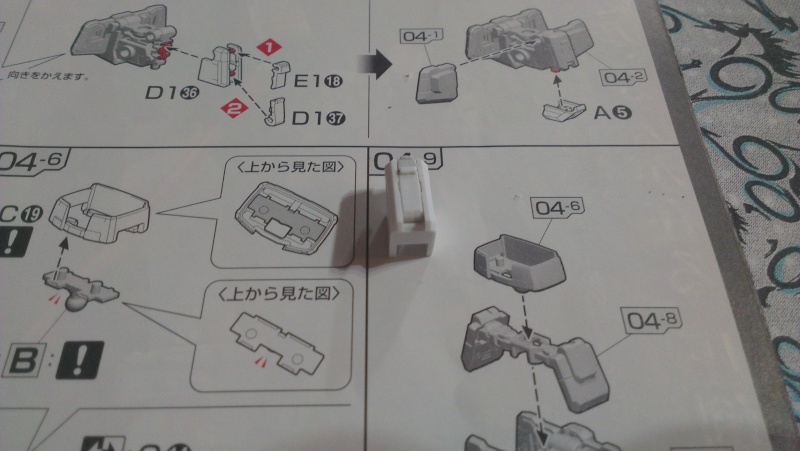
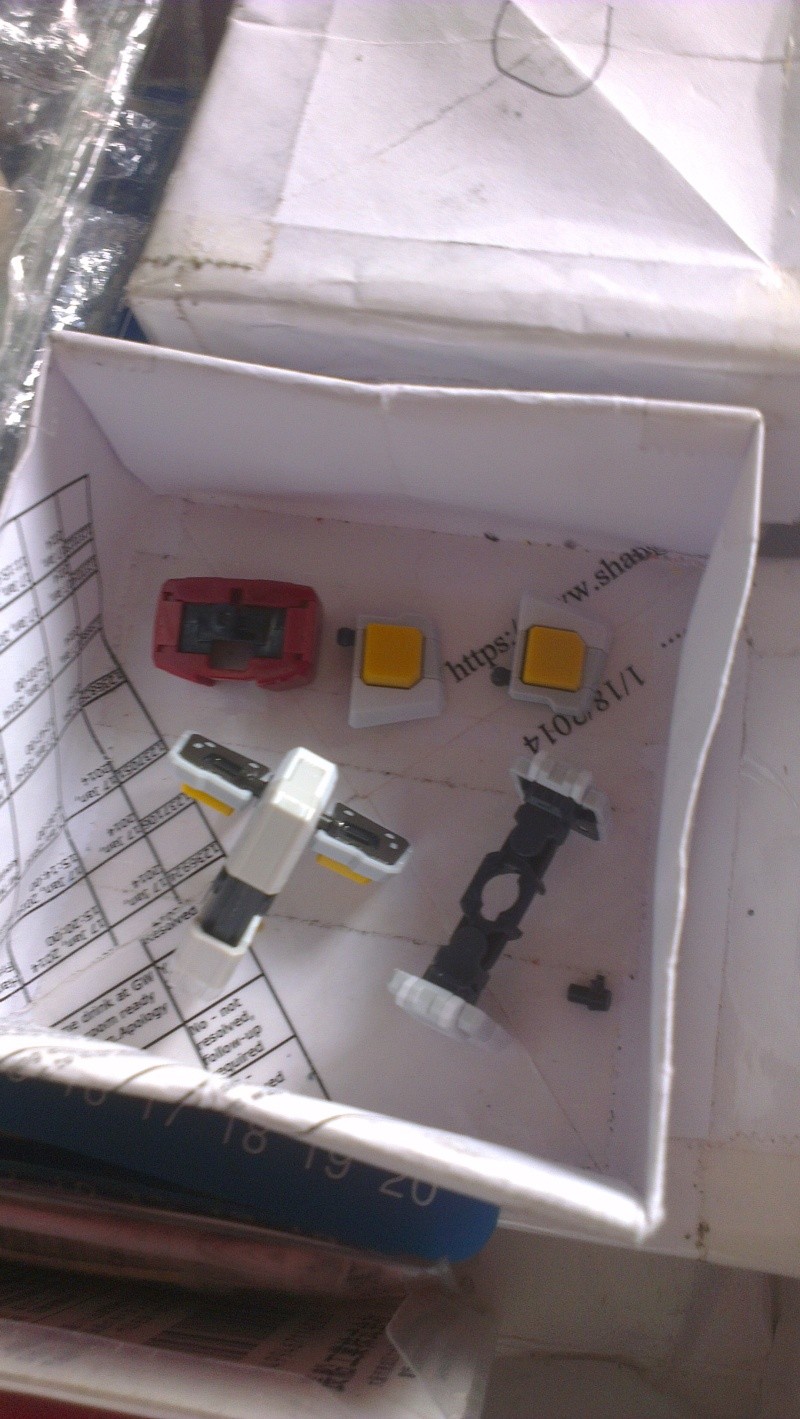
After completing the skirts, I started work on the 'V' of the crotch.
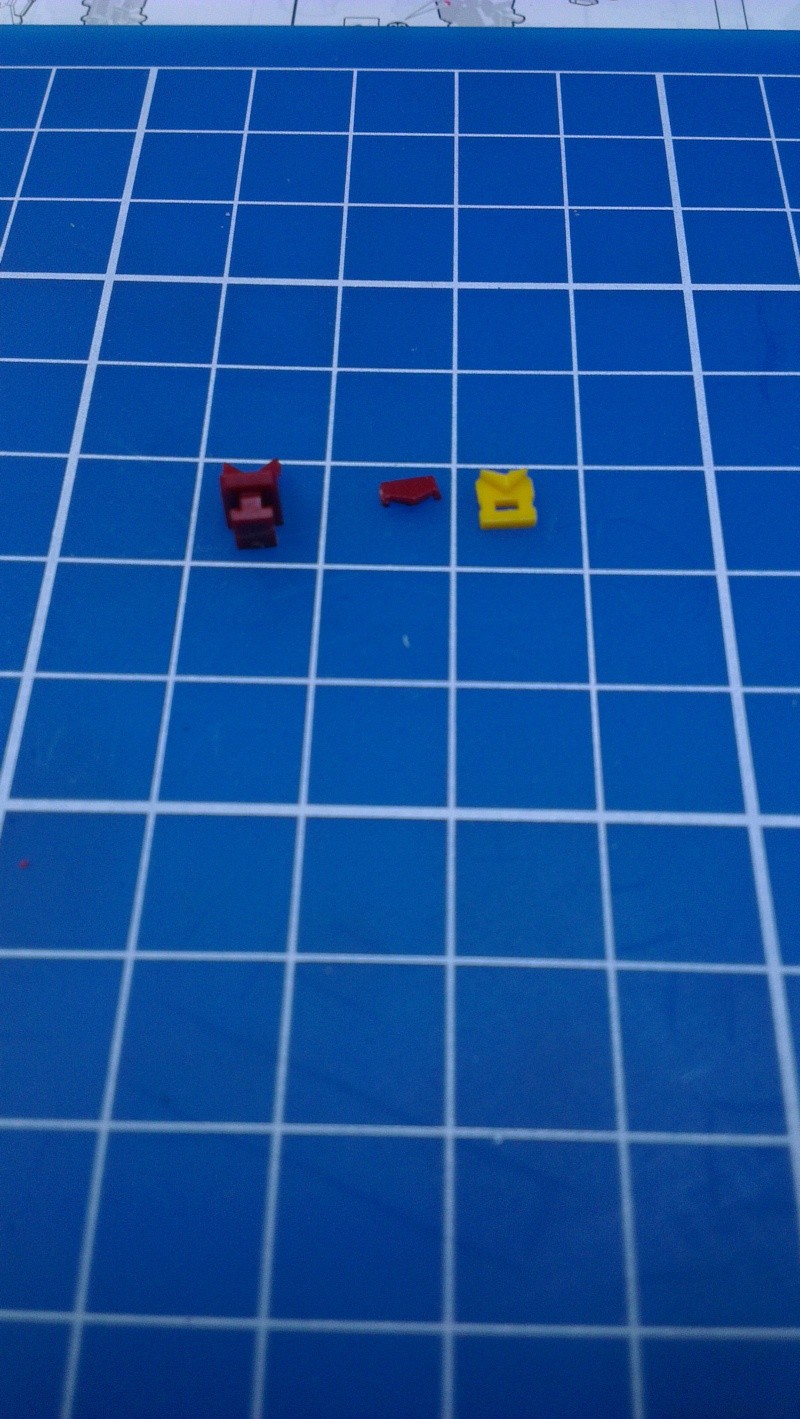
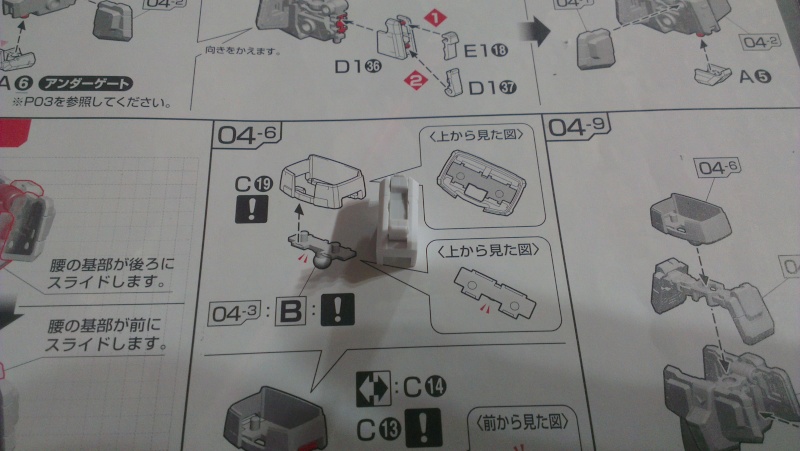
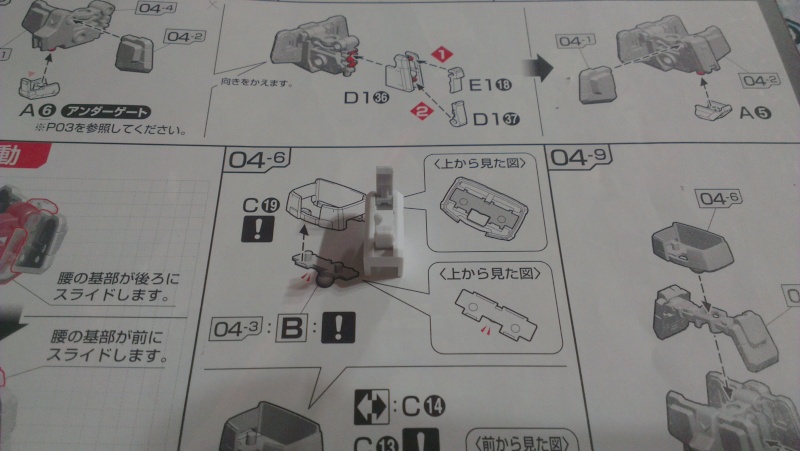
Although there are only 3 pieces for this part, I think this part is the longest and most frustrating part I had to assemble. The process is simple. Yellow piece goes behind the big red piece and the small red piece goes on to the top of the yellow. Simple, right? The problem is when you want to assemble the small red piece to the yellow.
The piece is so small that you will have difficulty holding it in your hand. Yet it is not suitable to use tweezes cause you will need to push the parts together. Maybe this problem only occurs to me because I have big fingers. I have lost count of how many times I have to look for the small red piece when it comes off the yellow. You will need to have lots of patience.
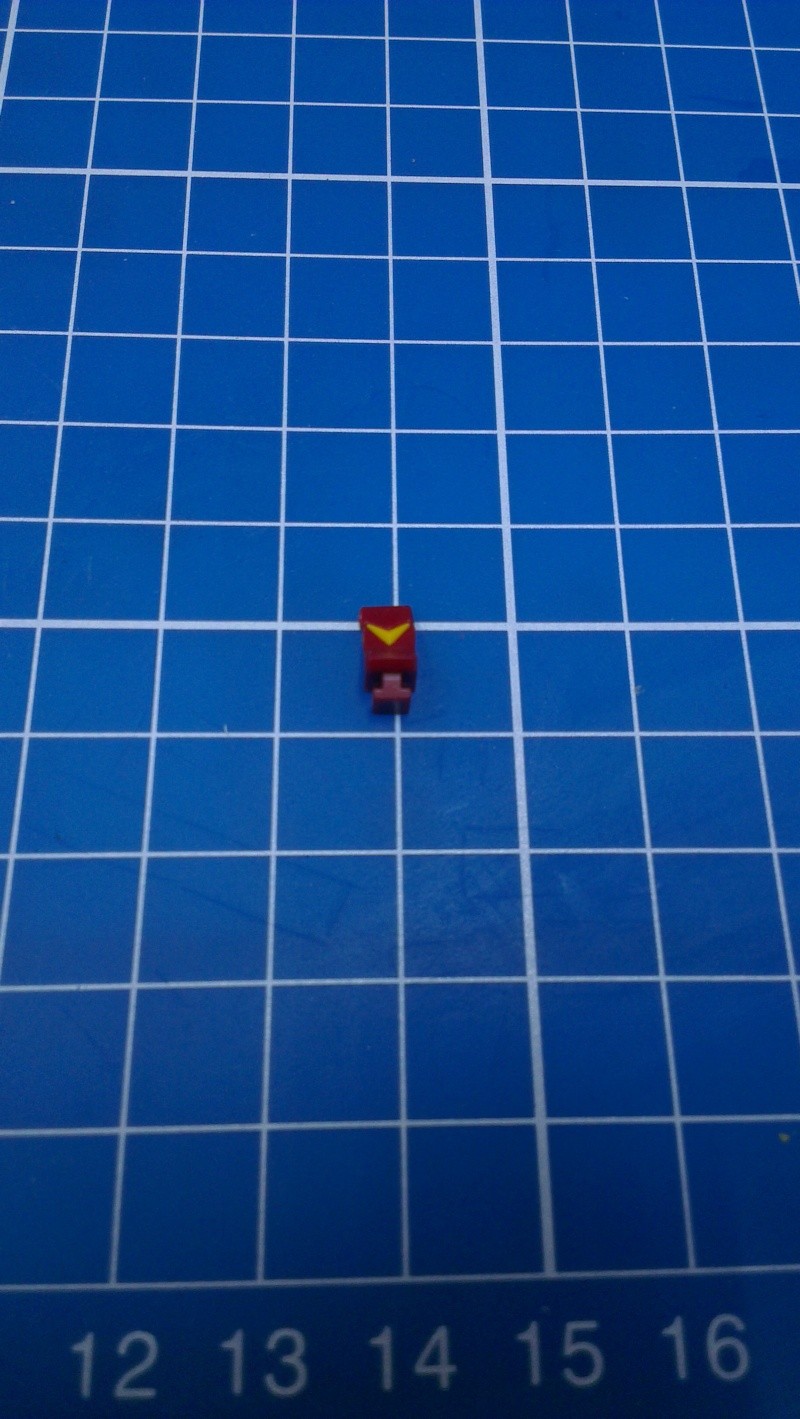
This is how the piece looks like assembled.
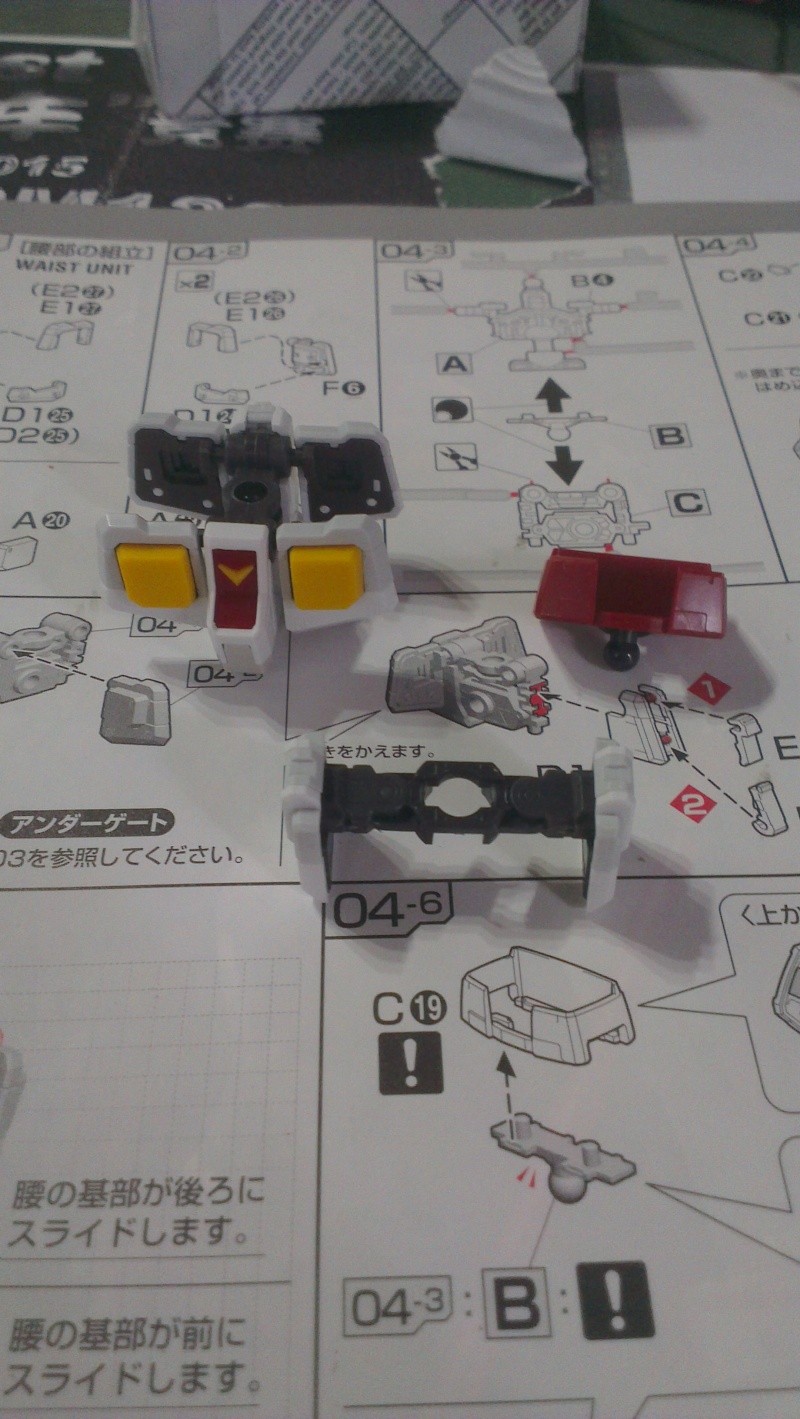
With the 'V' part assembled, the next step is the waist section.
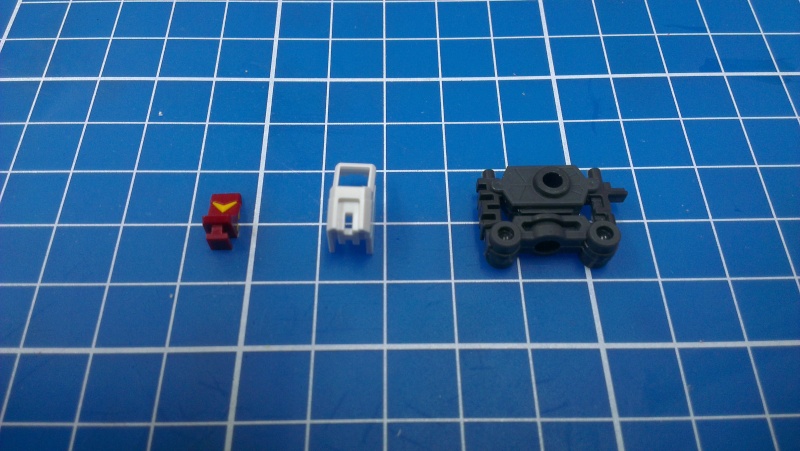
Parts required for the waist
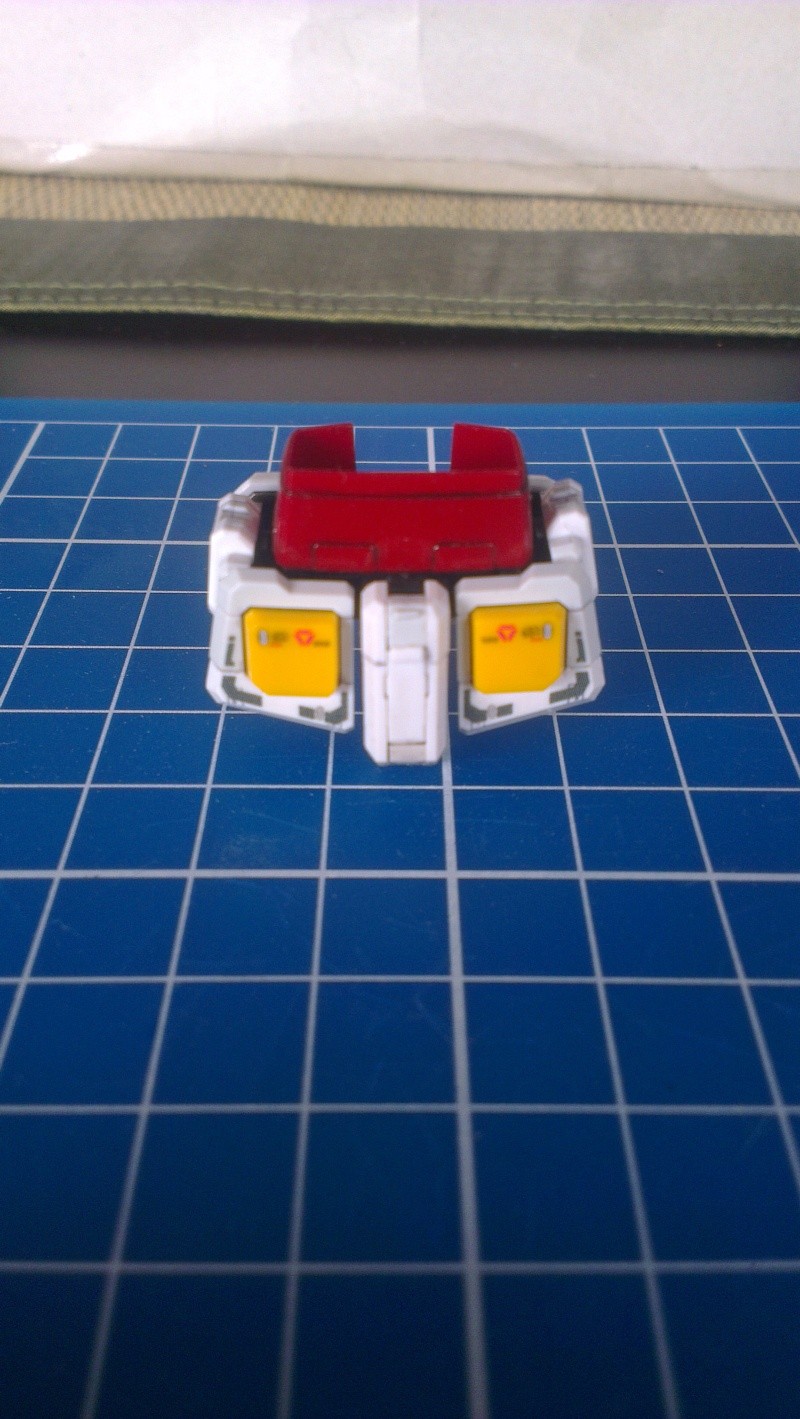
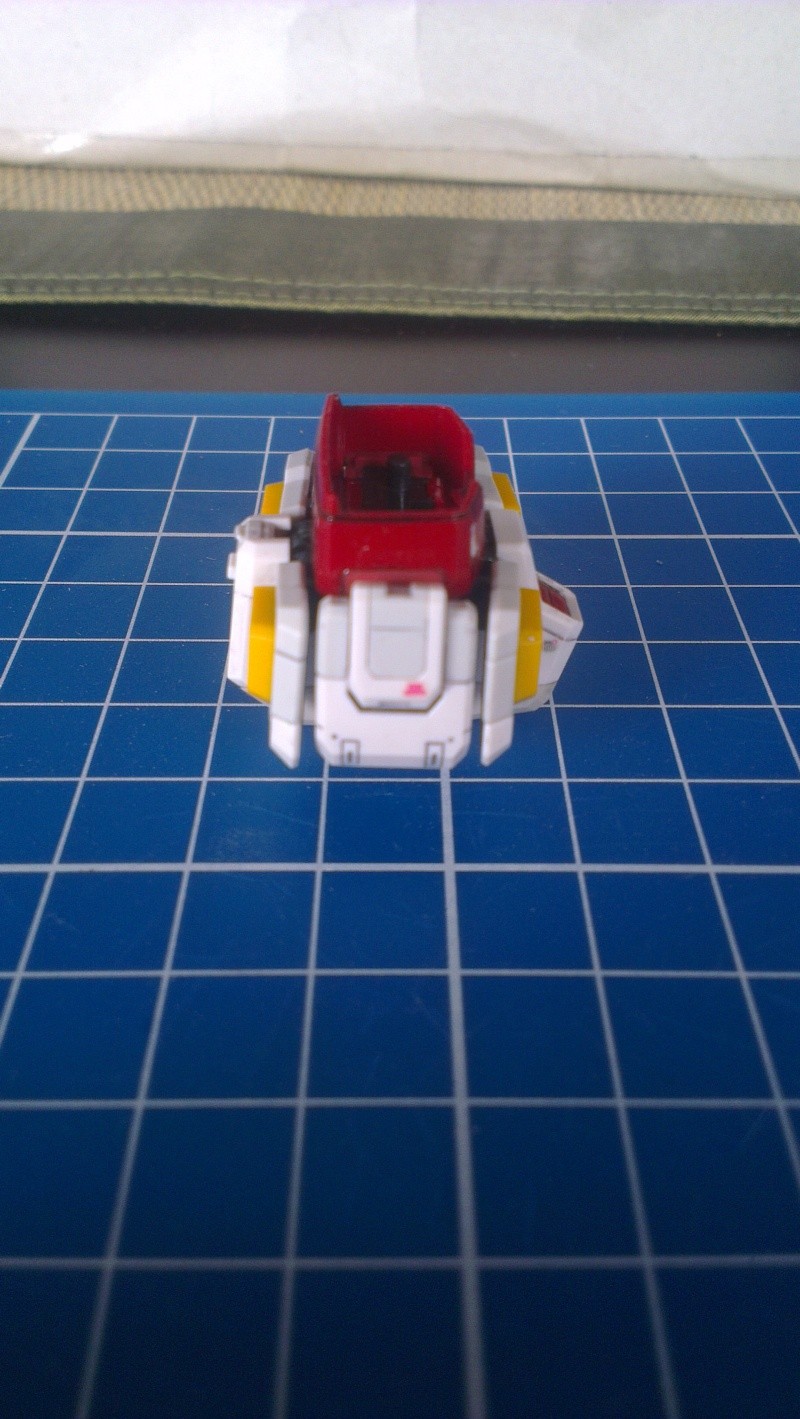
The process is simple. Red goes behind the white and then connected to the inner frame. This is for the front section of the waist. The back section requires another assembly and then connect them together. Here are the back part of the waist section.
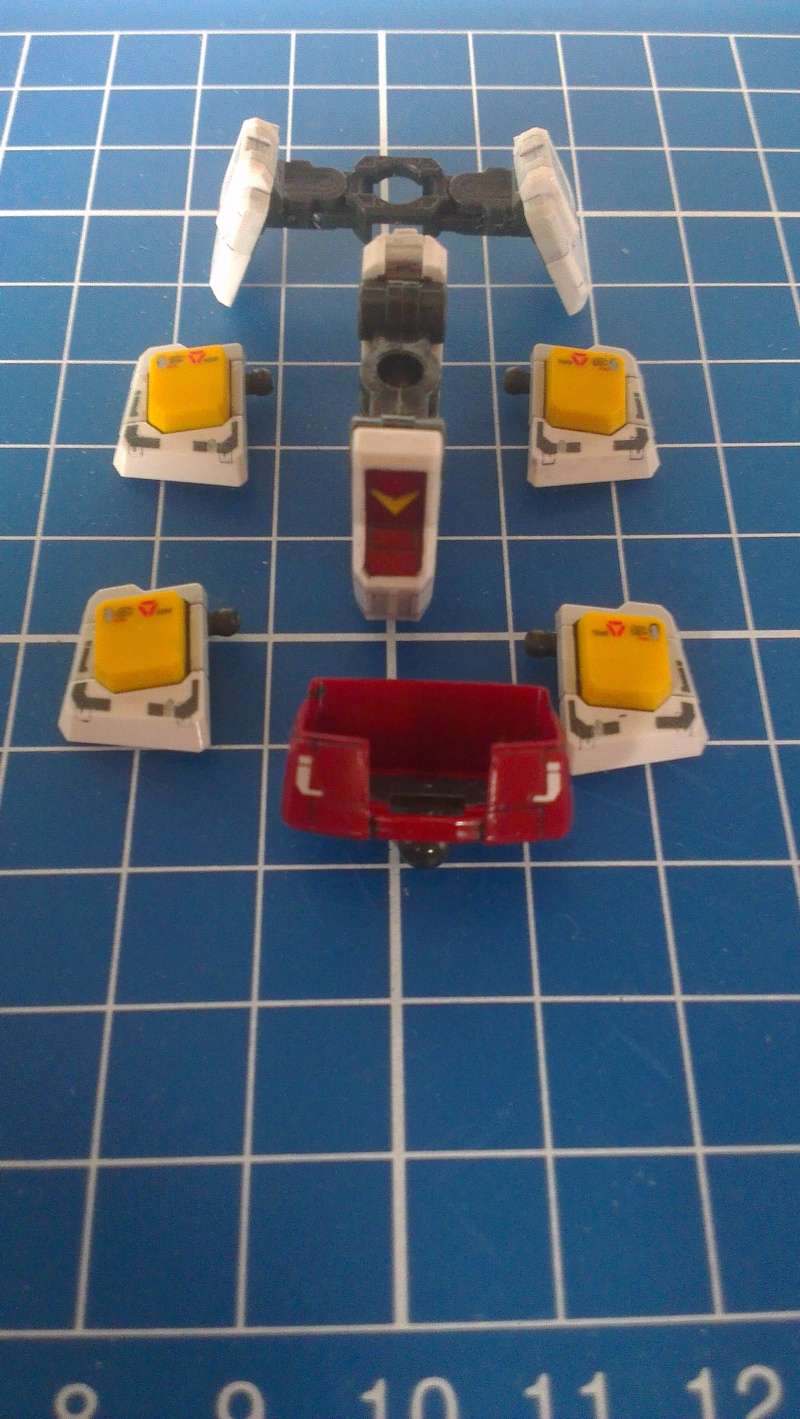
Not sure if it can be seen from the photos but the back section can be opened and closed. This is to keep the rifle at the back.
Sections of the waist before the final assembly.
Left: Completed waist section
Right: Parts waiting for Future to dry
Original plan to remove the skirts and apply the Future to them individually. After doing that for two skirts, I had an idea. It would seem easier to put the skirts on the inner frame and move them up to dry. Once the future is dry, it is time to decal and apply the panel line.
Waist section decaled and panel lined
After applying the decal and panel line, the parts are once again coated with a layer of Future to reduce the silvering of the waterslide and to provide a glossy finish.
A 360° view of the completed waist section.

Front and back of the waist

Left and right section of the waist
One thing to note about decaling the opposite side of any part. You will have to make sure that the decal are placed correctly. For my case, I accidentally placed the left section of the decal on the other end of the side skirt. Lucky for me, I'm using waterslide and I noticed the error before the layer of Future was applied. If I'm using the stickers, this would be the second time I've messed up. The first was on the RG Justice flight pack.
Now that the waist is assembled it is time to start working on the next section: the chest.

No comments:
Post a Comment