The need to be extra careful
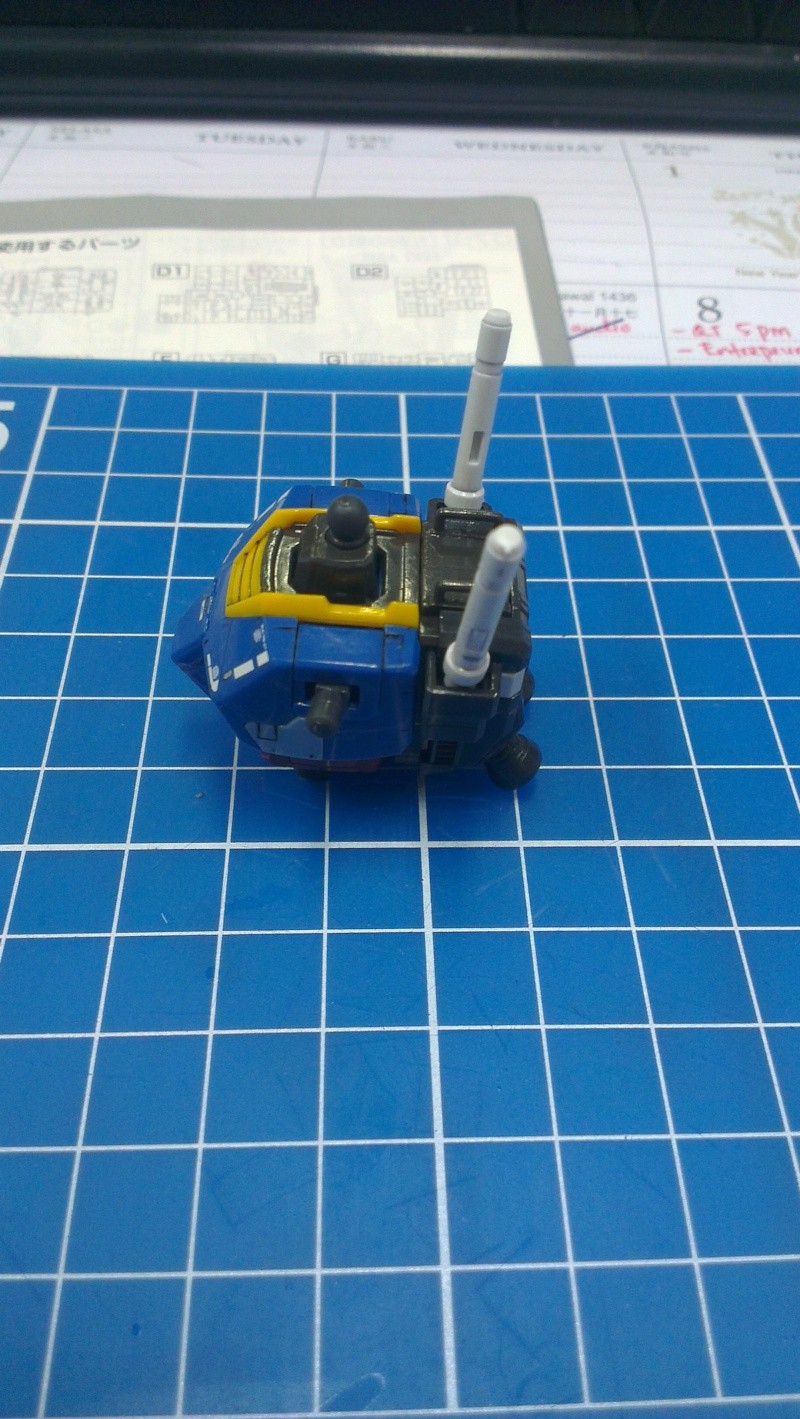
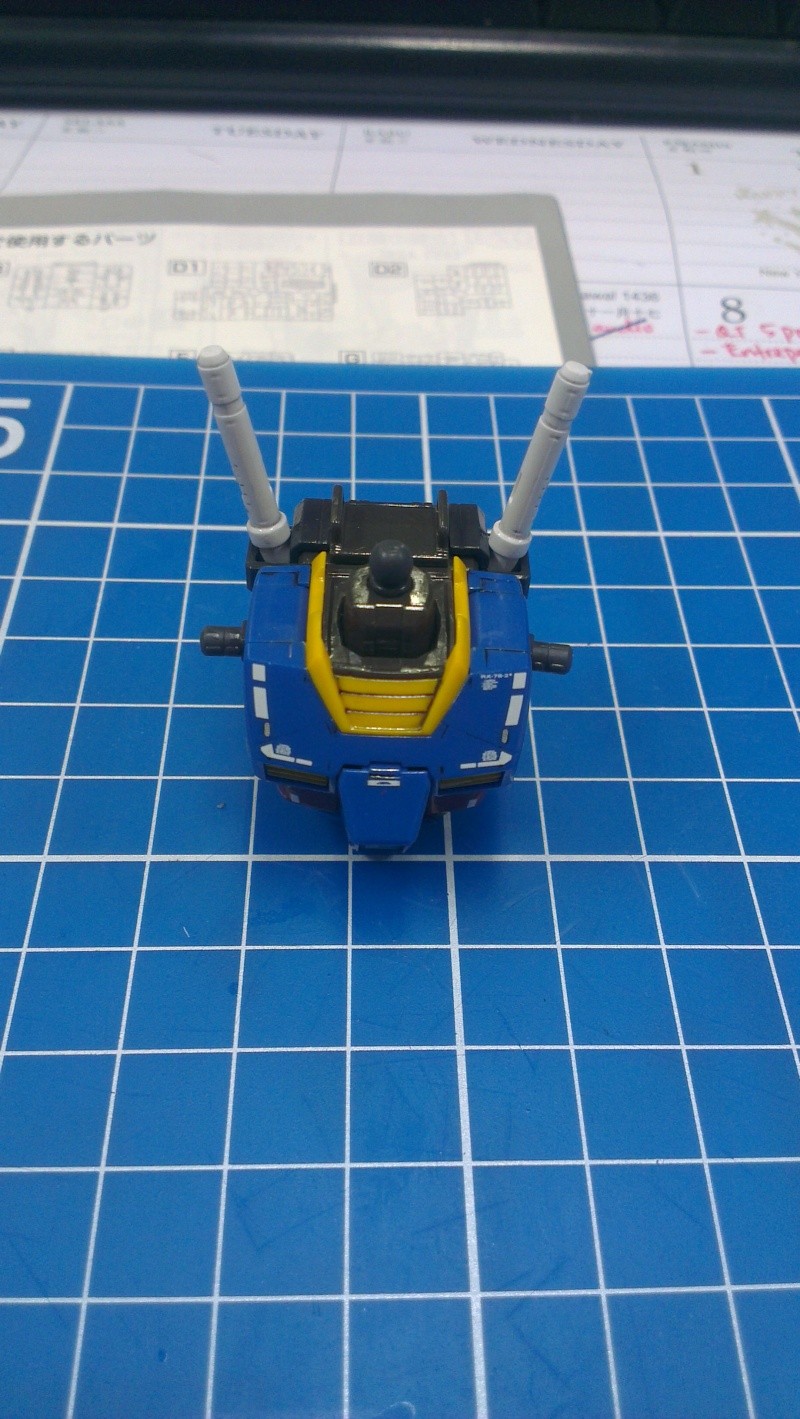
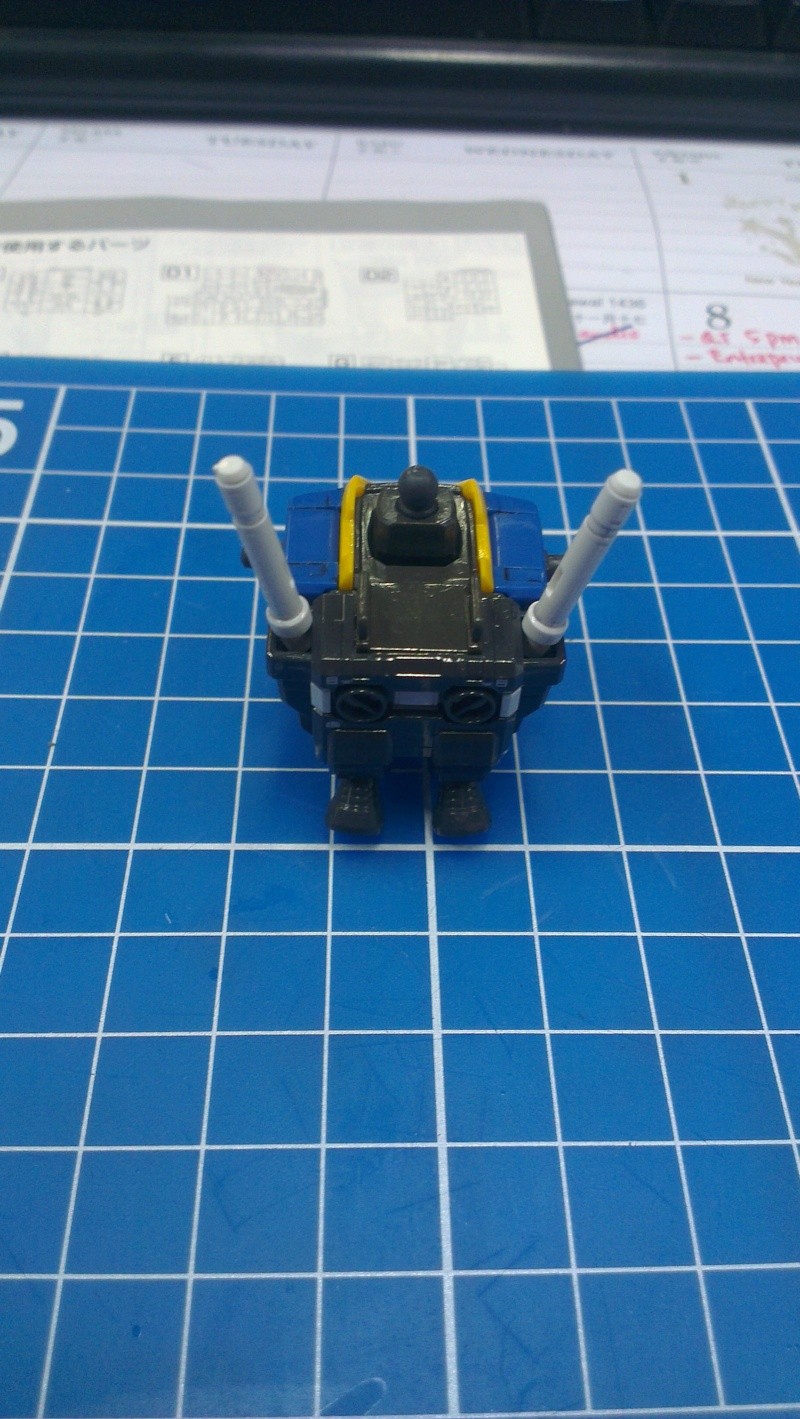
The waist and backpack are to be completed in this post. If you are wondering why I'm doing both of them together, it is not because of the same reason as the MSV Zaku-II where all the parts are interconnected to each other. Since this MS has a small backpack compared to the others, I decided to build them together and use the box for the backpack to keep the pieces of the core fighter.
Parts of the chest section
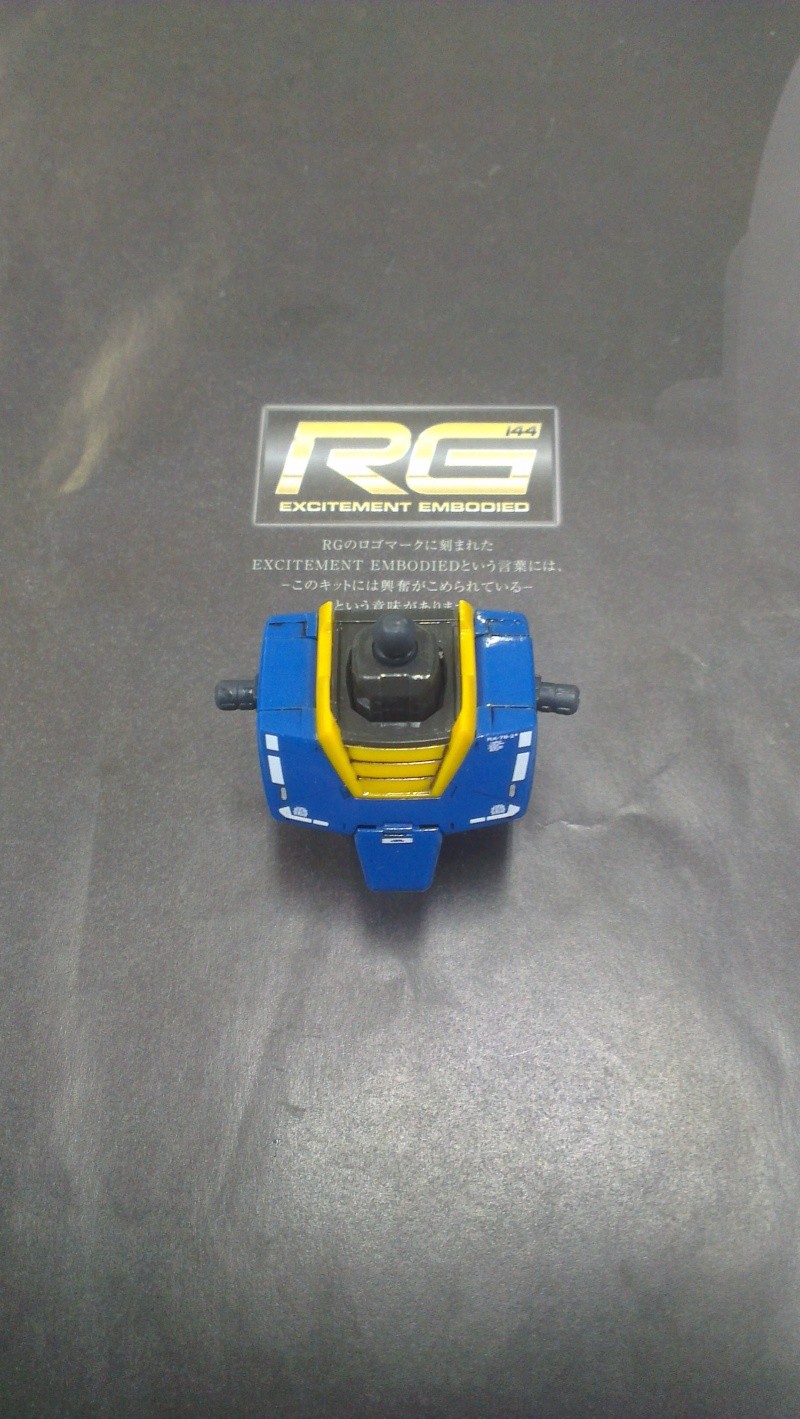
The issue faced in the previous post was the with the 'v' section of the waist. In this post, the issue faced is the decaling to be done on the chest vents.
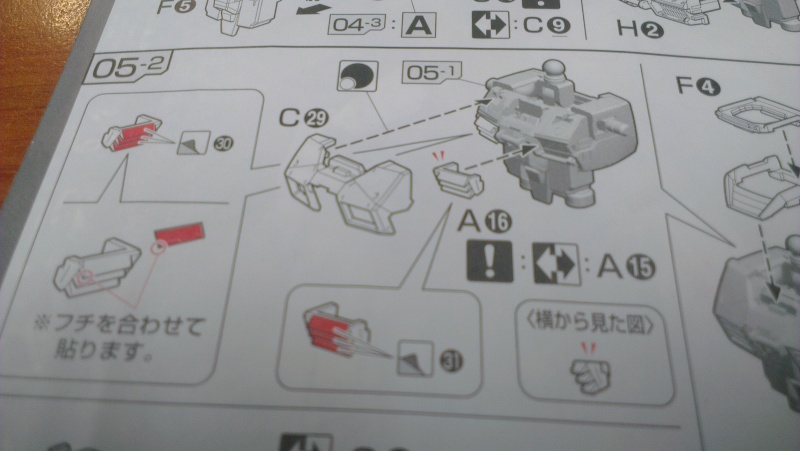
Left: Manual showing the location of the decals.
Right: Vents after decaling and protected with Future.
The main issue with this is getting the water out from the decal. The space to work with is so small so you will have to be extra careful. The easiest part is without a doubt the top decal. The bottom decals are a pain in the butt. Once I thought the decal was dry and when I accidentally touched it, it got stuck to my fingers instead. Once again your patience will be tested. After finish decaling, I don't see any difference to the vents especially after assembly.
Mentioned in WIP 2 about how I love building up the bulk of the RG kits, I still find it interesting when I'm doing the chest section. As can be seen in the first photo the inner frame is just a piece of a small black part but it looks completely different once you add in the other pieces like the core block and armors.
Pictures of the build-up process of the chest section.
As you can see, the inner frame is totally different from how it looks like originally. With the yellow and red piece assembled to complete the chest the entire chest is just waiting for a layer of Future, panel lines and decals.
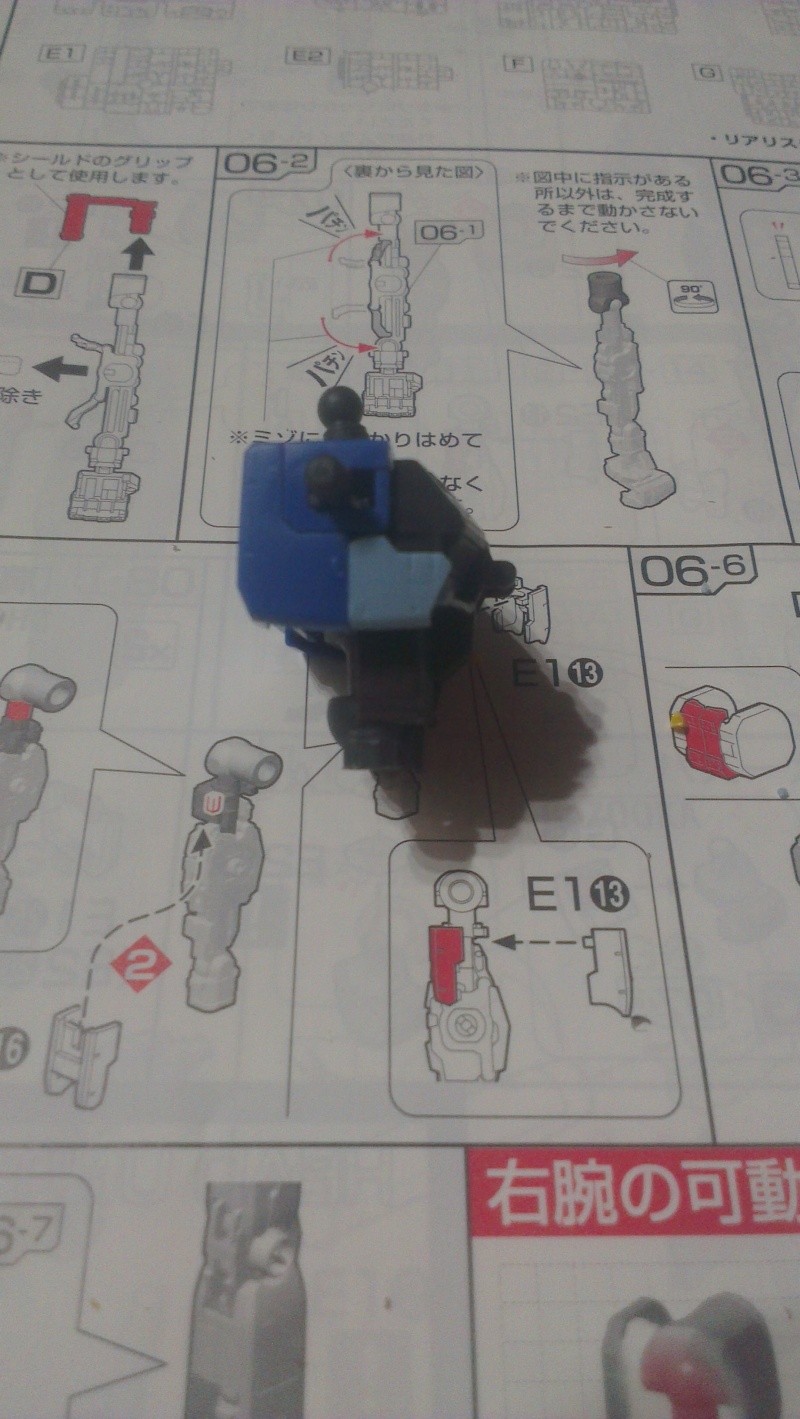
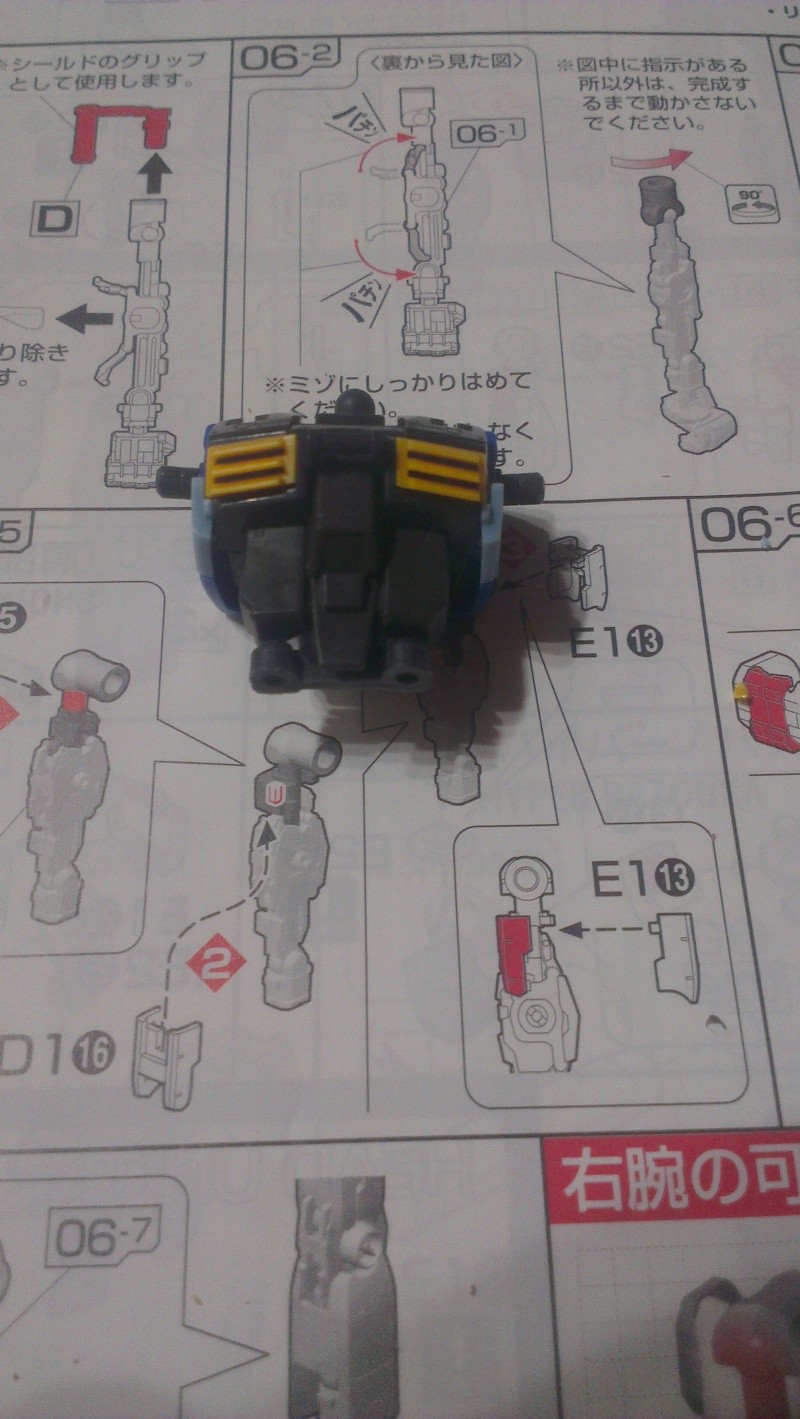
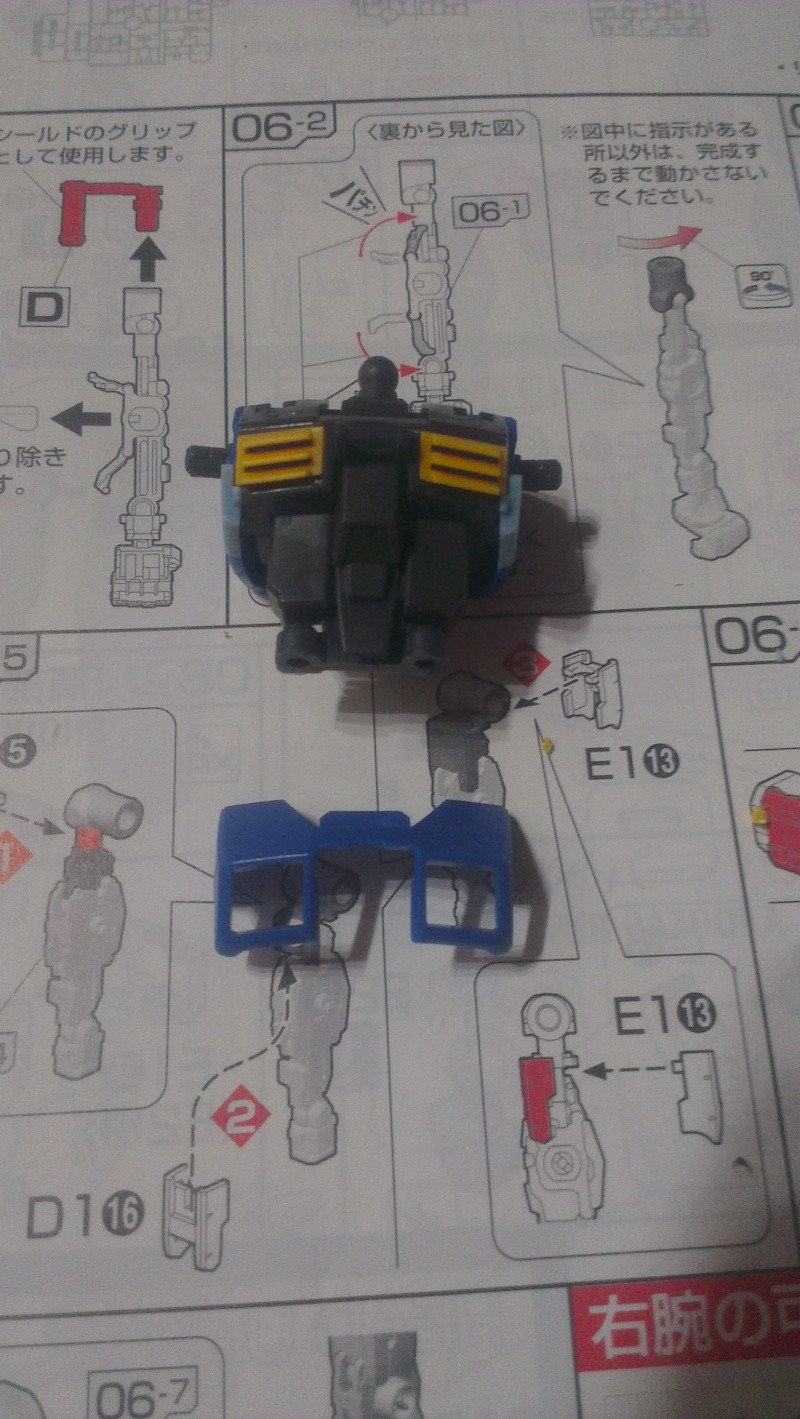
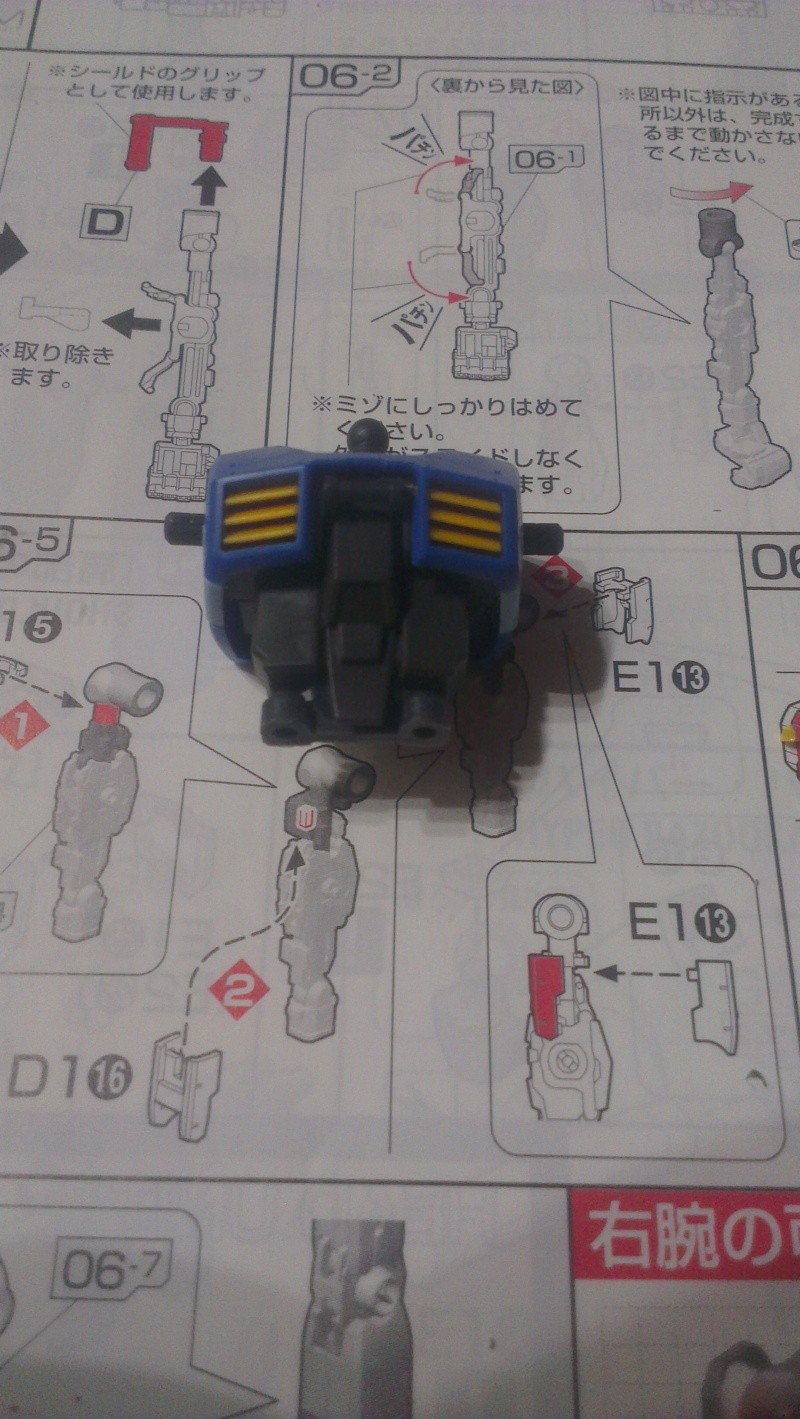
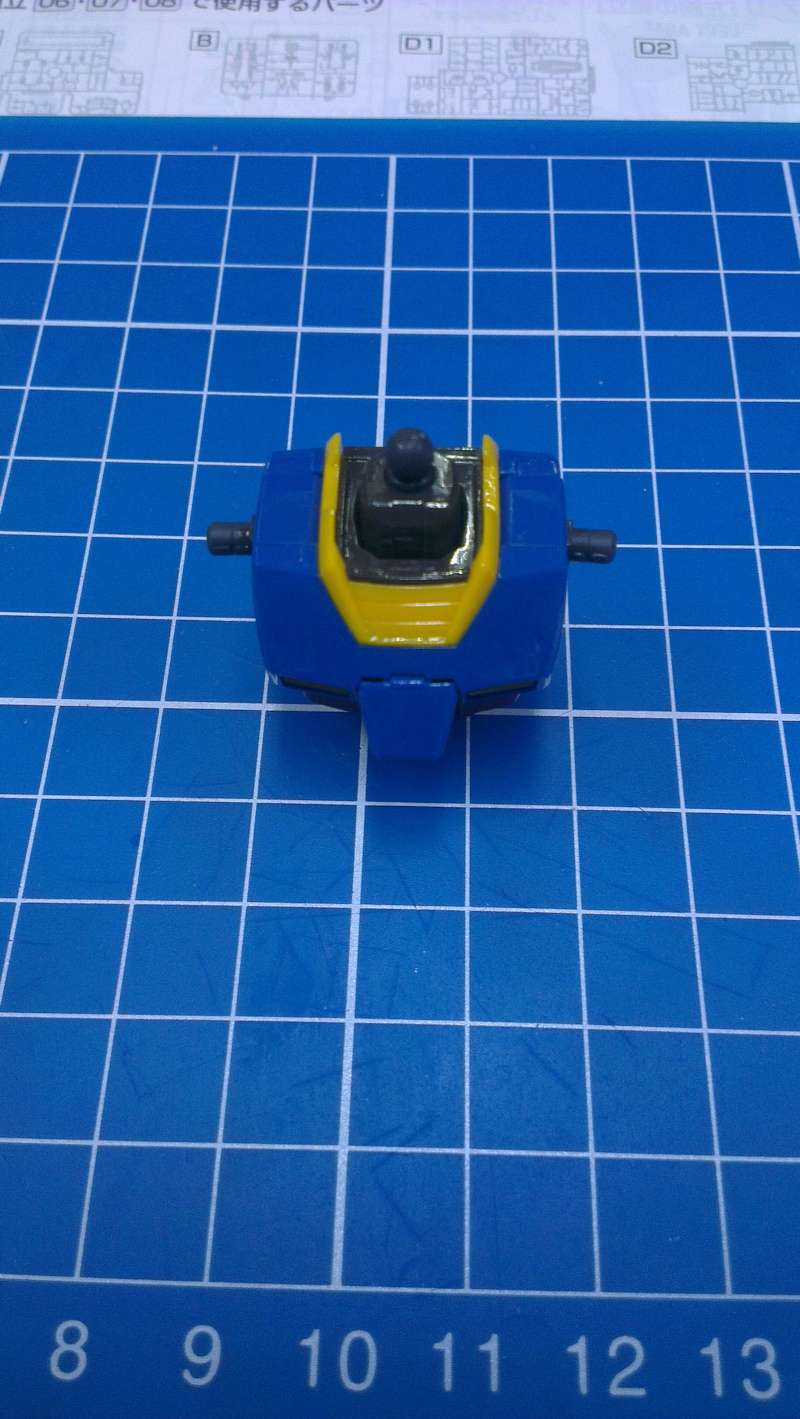
A 360° view of the completed waist section
A layer of Future has been applied to the chest and waiting for it to dry.
Difference between the parts before (left) and after (right) a layer of Future
Decals are added to the chest after the Future has dried. I find this method easier to put the decals on compared to finishing the entire kit and then start the decaling process. I tried that method with the RG Mk-II (Titans) and it gave me major headache. Flat parts like the chest and backpack is easy but when it comes to the legs it is hard to position the decals properly. That was the last time I'm putting any decals on after assembly. Before I started working on the RG, all I built was the SD and HG kits which has very minimal number of decals.
A comparison between parts with and without decals, panel lines and Future.

I'm not sure about you guys but I always feel that decals make a gundam look nicer. Without the decals the kit just look so empty and plain. I know that decaling up the gundam takes time like painting but I feel it is time well spent. There are some who doesn't like to decal up their kits and I respect that. Just MYR 0.02 worth. The only dilemma I'm facing is when I start on one of my titanium or extra finish kit should I decal it up? What do you guys thing? Do feel free to leave comments on your thoughts about this matter.
Completing the chest brings me to the next part of the kit which is the backpack. I think this is the smallest and easiest backpack I've built to date.
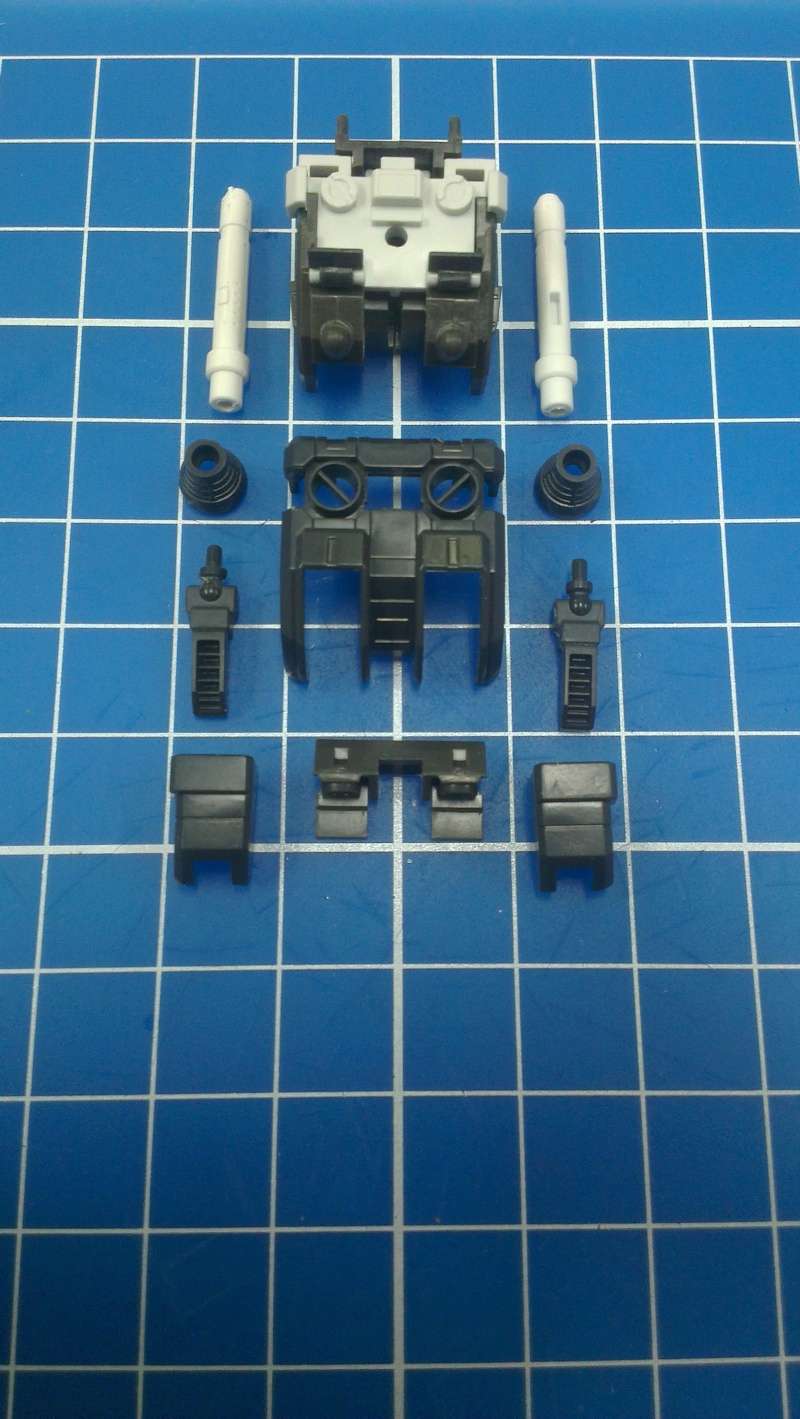
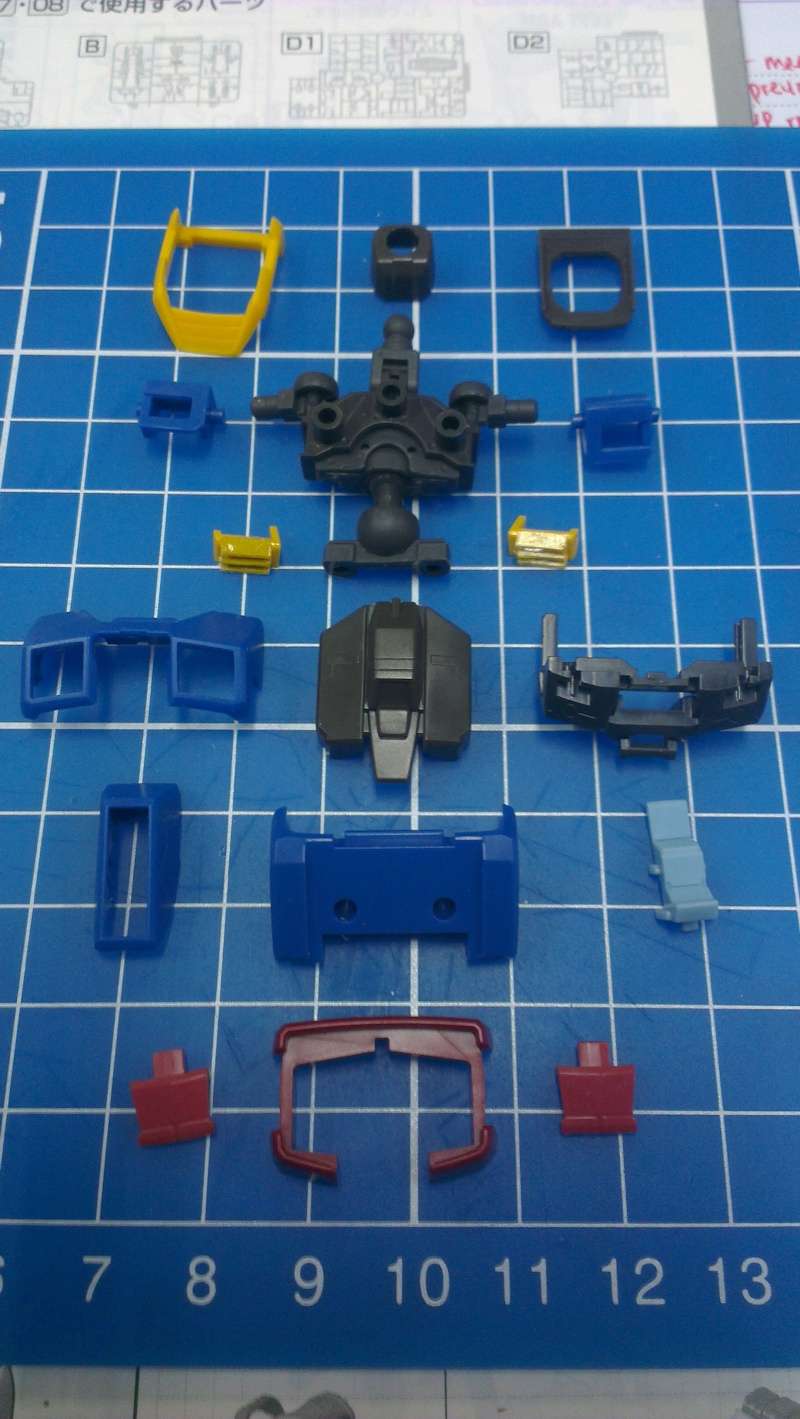
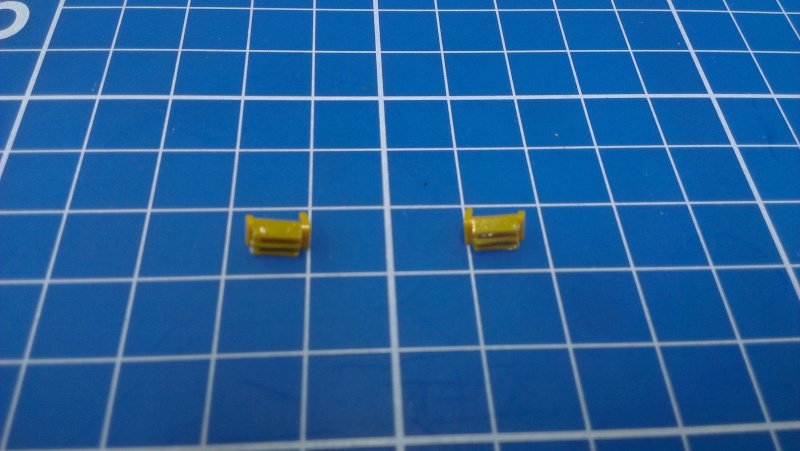
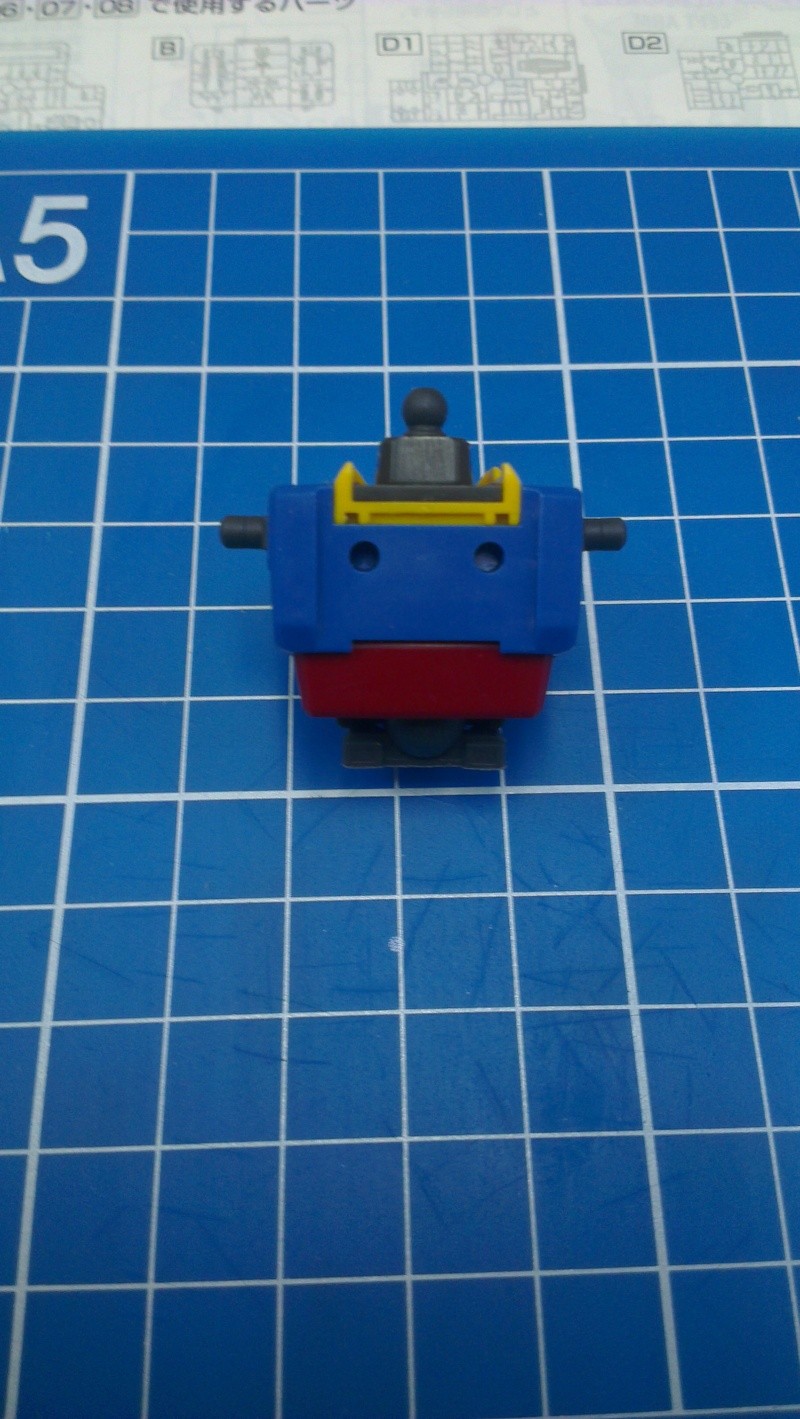
Parts of the backpack before assembly
The picture on top is a bit misleading. The white part is not connected to the black in the runner. I was testing out the fitting process and I accidentally pressed the white part in without removing the nubs. Luckily the nub marks on the white is perfectly hidden. I tried to remove the parts and that is when something bad happened.
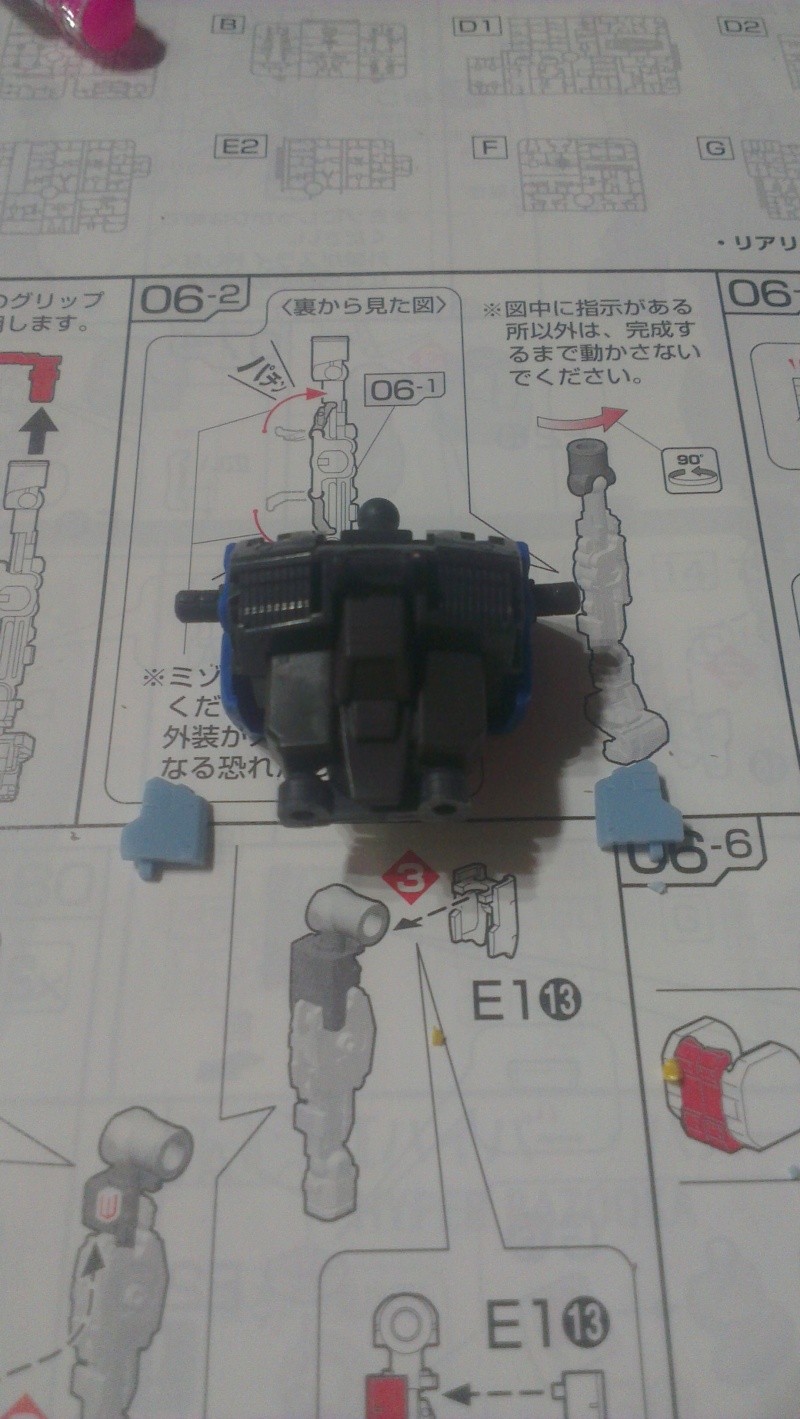
During the process of the removing the pieces, I broke on of the top railing on the backpack. Since I don't have plastic cement with me I tired to find some super glue but luck was not on my side. I guess I have to keep the railing properly until I get my hands on some glue. Luckily I remember reading that 'a drop of Future can be used as an adhesive. It’s not a super-strong adhesive, so it’s not for anything structural..' This is prefect for me because the railing is not structural and people seldom carry their kits by the small little railing unless they are looking for trouble.
The concept is the same as using cement. Instead of putting cement, put a layer of Future and glue the pieces together. Just make sure the Future is completely dry before touching it. Once it is dry, you can put another layer of future over the parts. Just make sure you don't touch the part or else you will have to glue it back again. Speaking from experience.
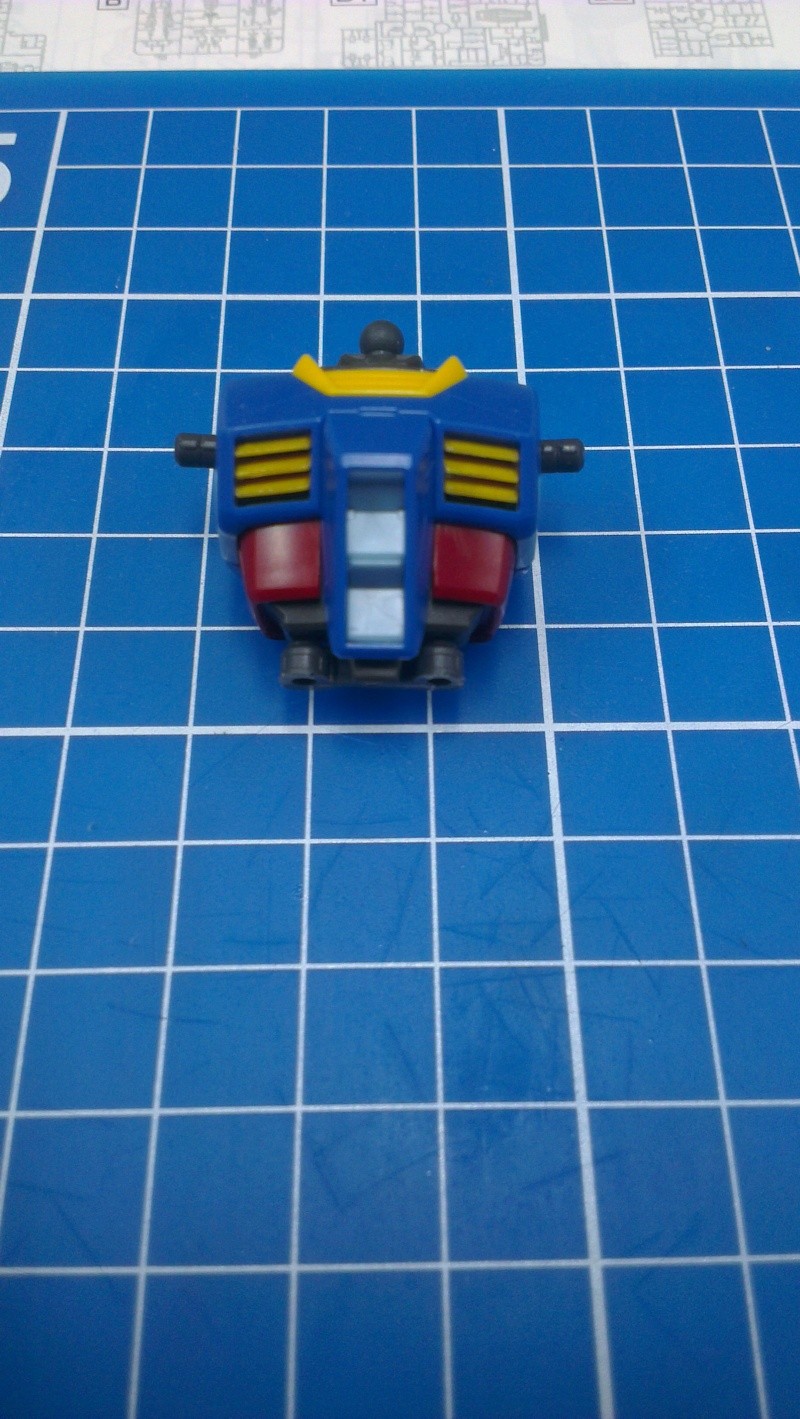
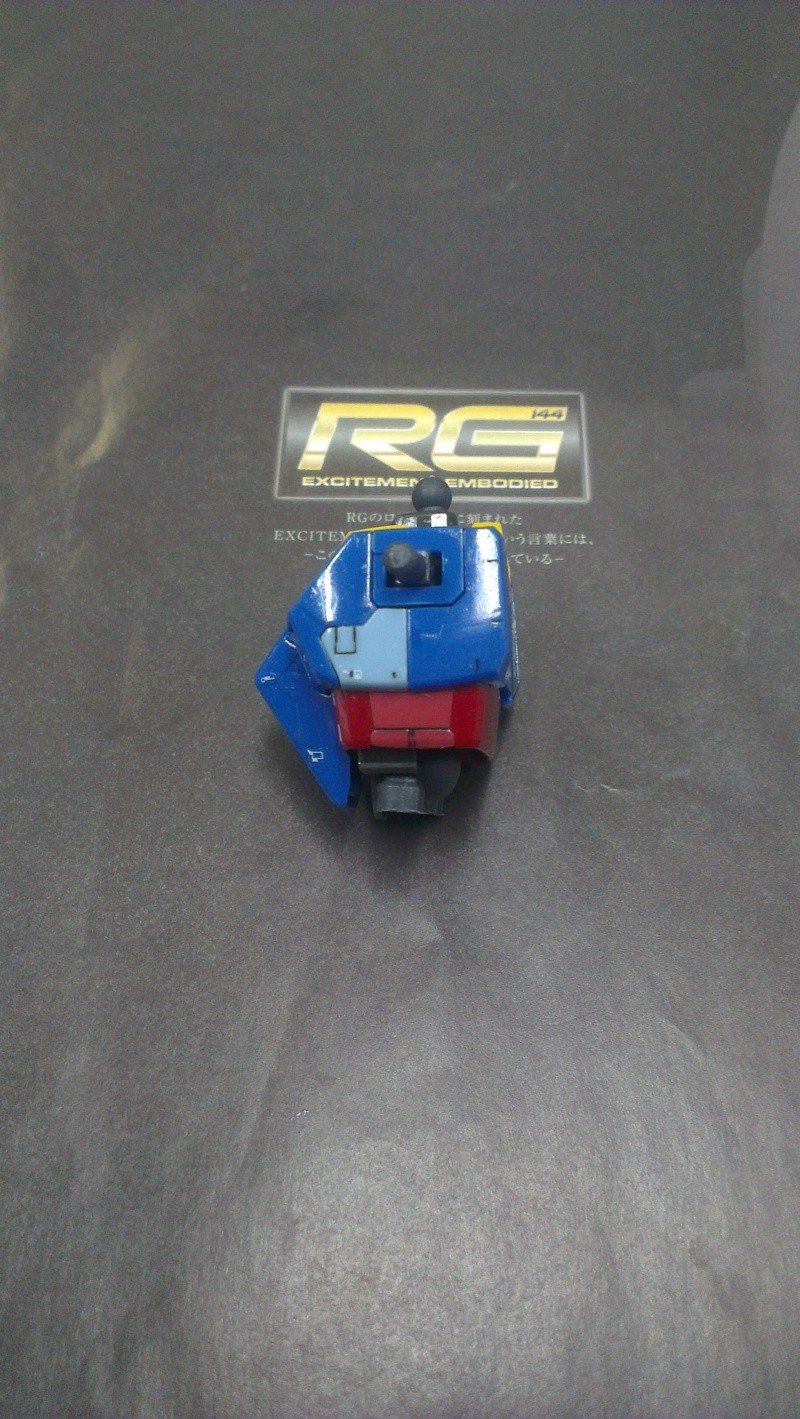
After adding layers upon layers of armor, you will get the completed backpack.
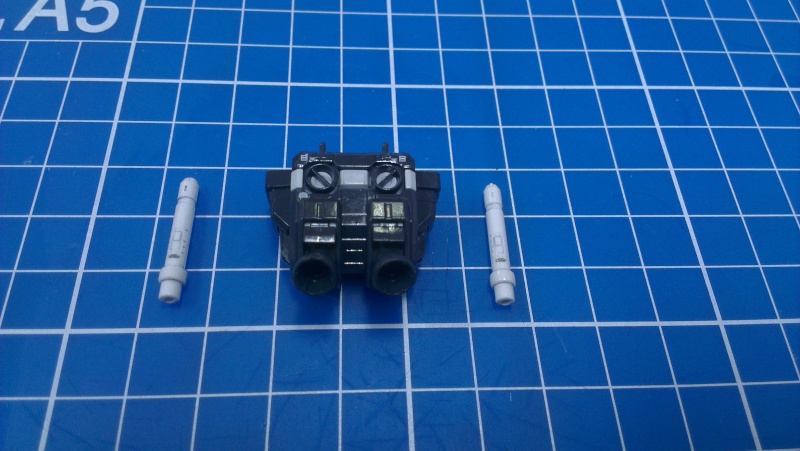

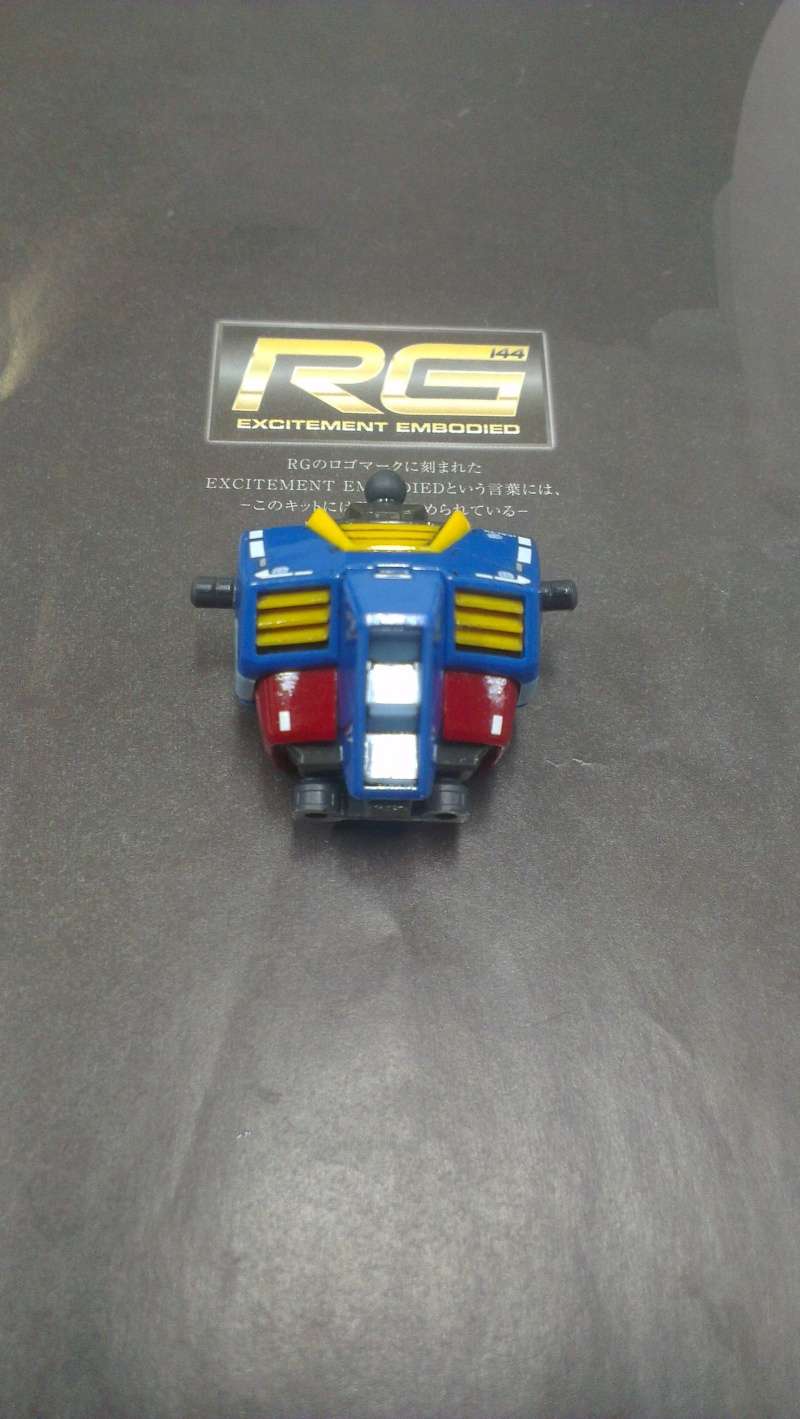
Completed backpack with and without the sabers attached

Chest and backpack before assembly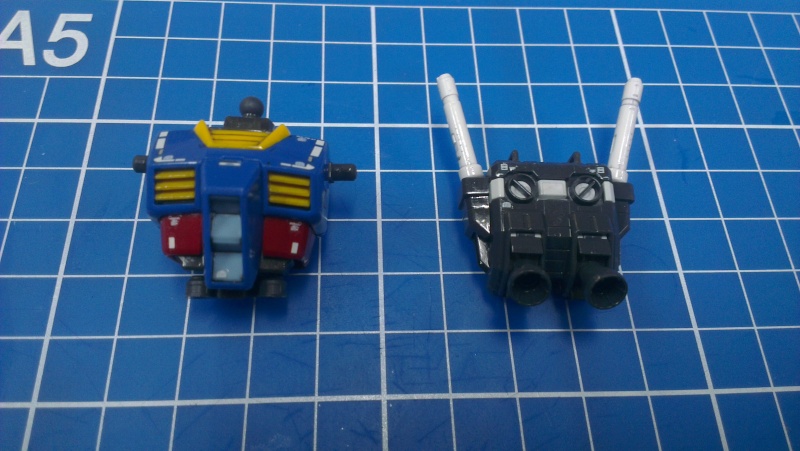
Attaching the backpack to the chest is simple. Just attach the male and female parts together and viola.
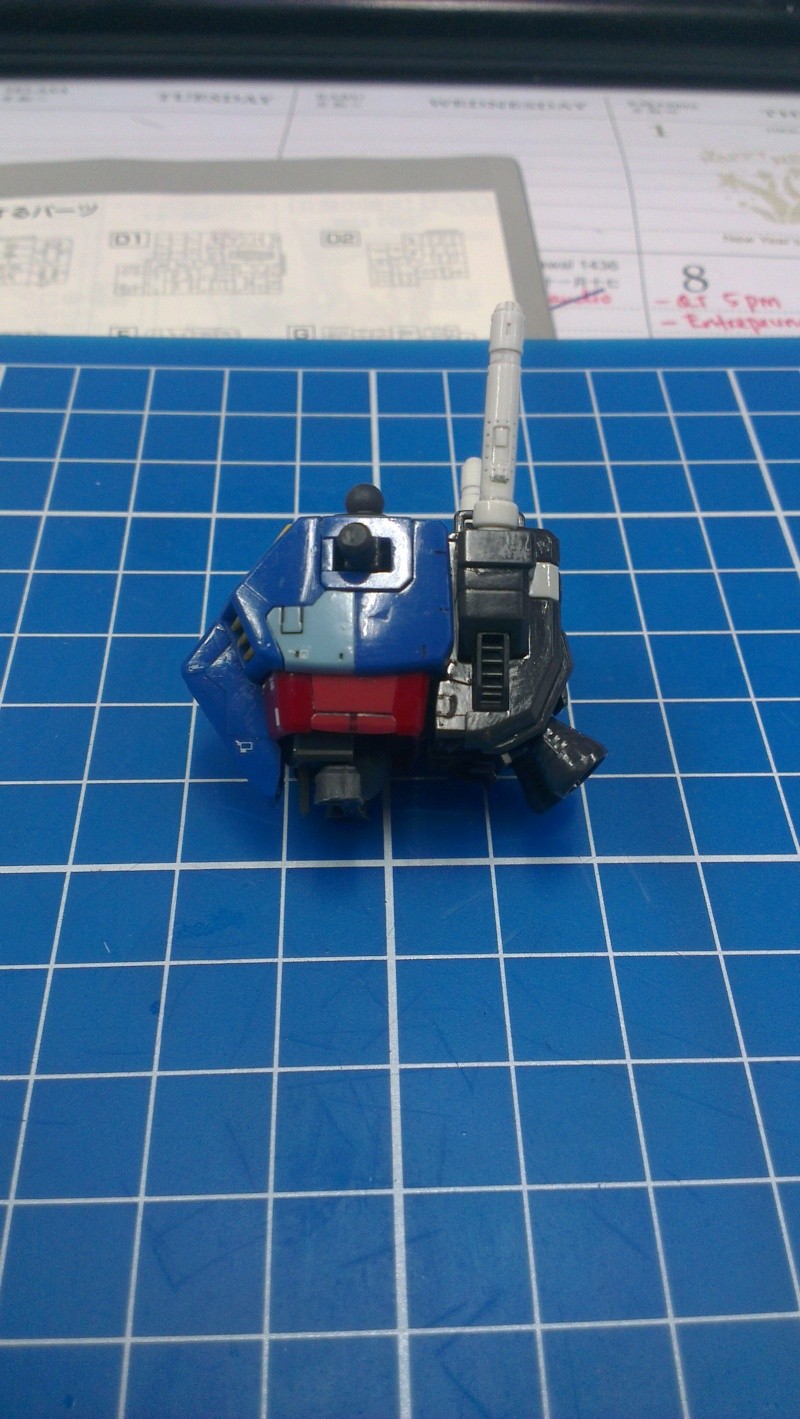
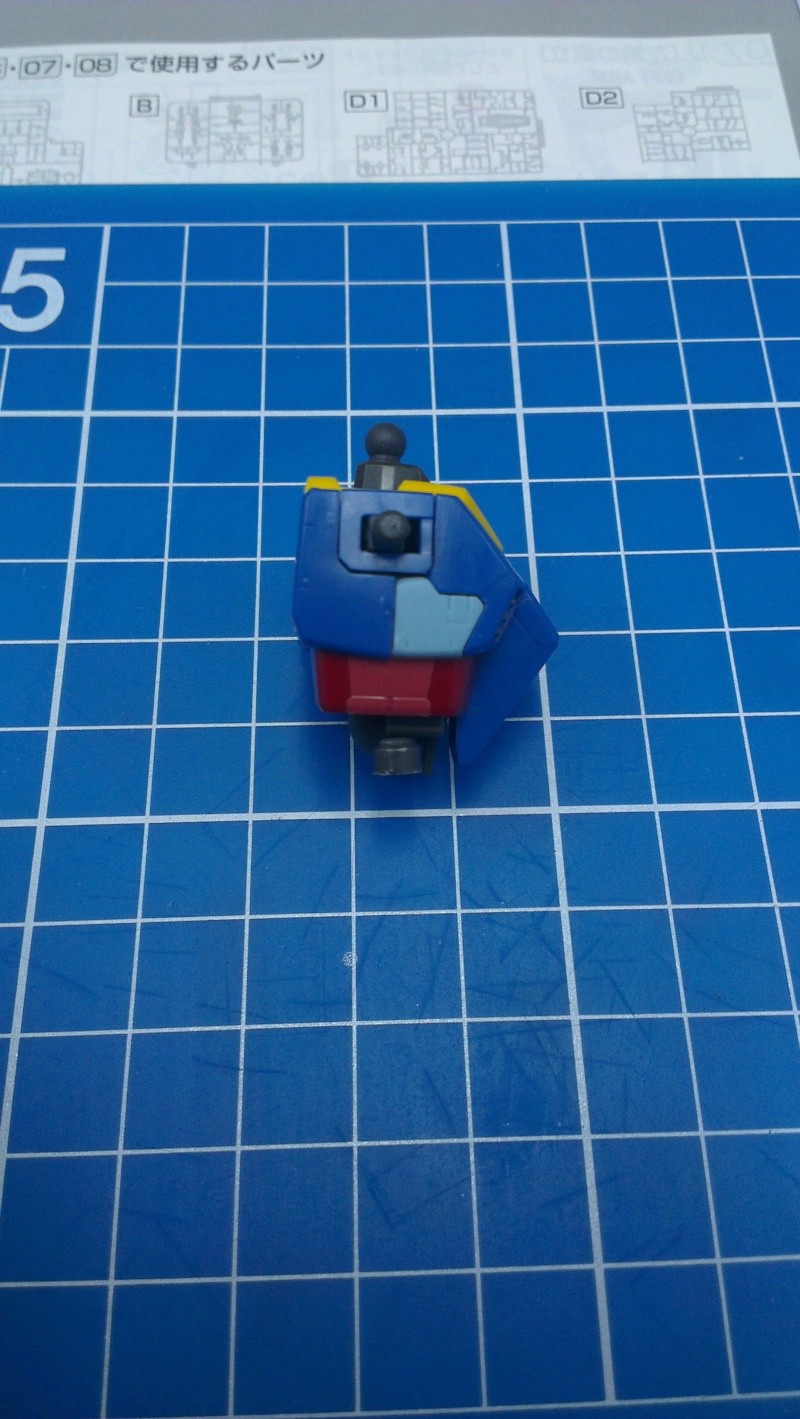
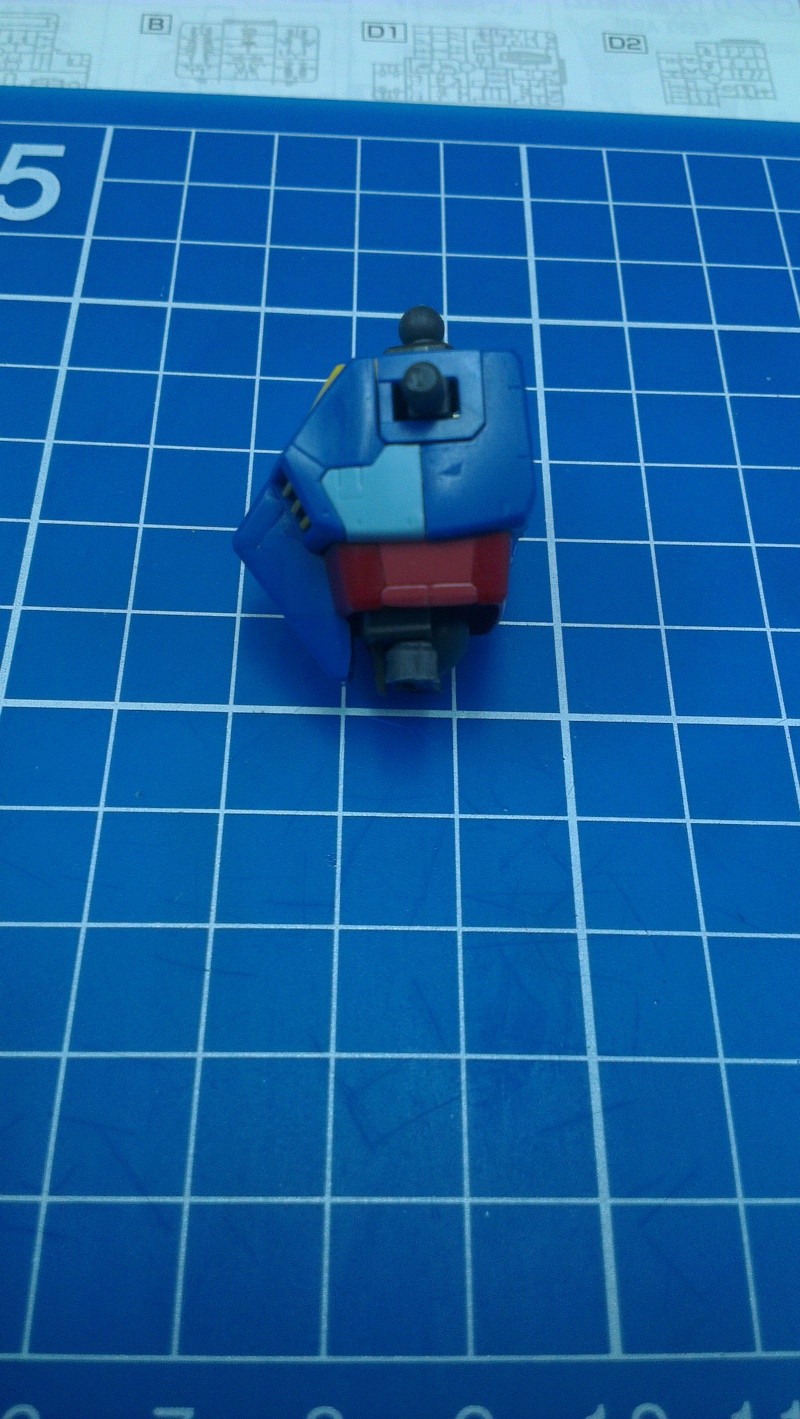
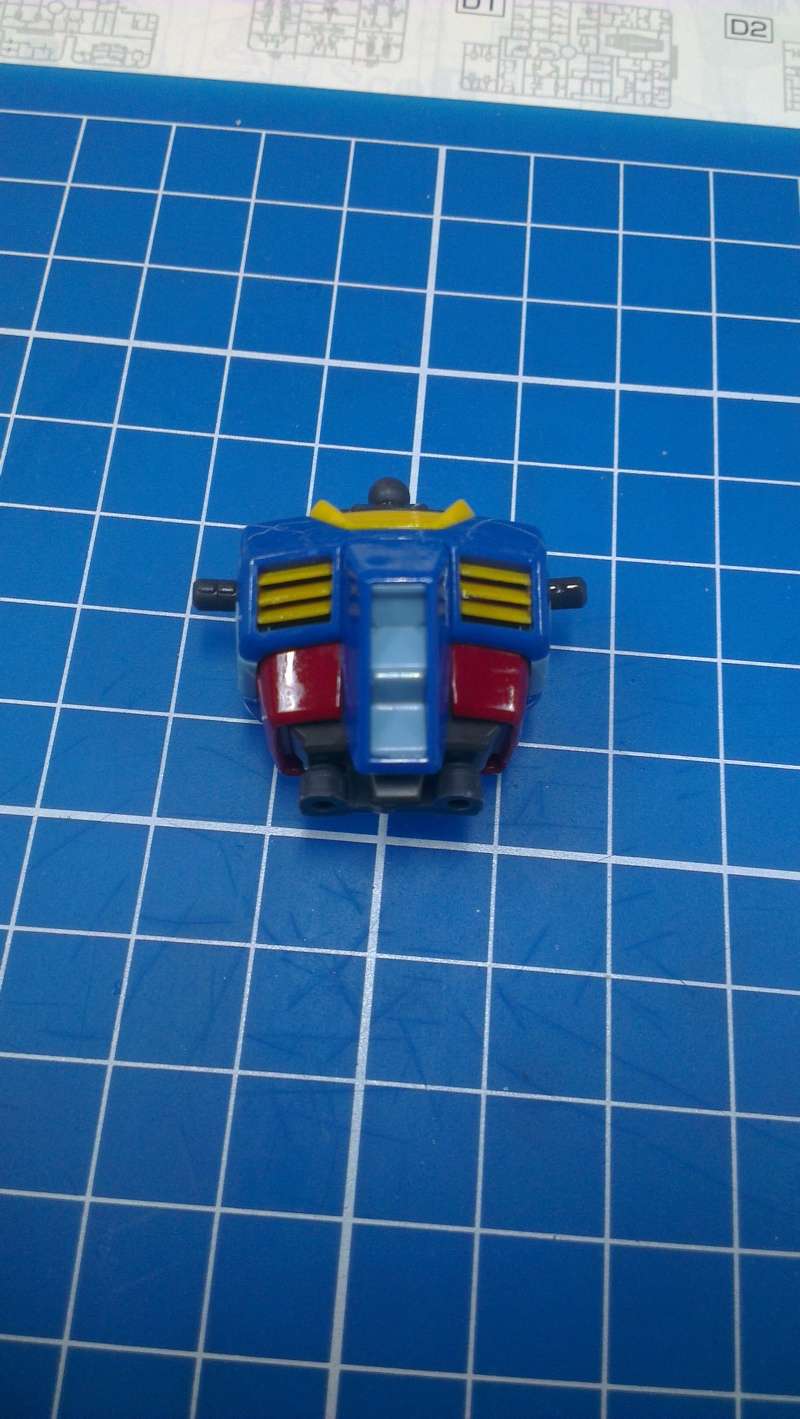
A 360° view of the completed chest and backpack section
After attaching the backpack to the kit, it kind of look like the RX 78-2 is carrying a bag. With the backpack on it looks like it is ready to be deployed. Some people like the sleeker MS like the Exia but I'm more to the bulky suit like the GP01. Somehow it makes the MS look stronger and can withstand heavy hitting. I do appreciate the sleeker design MS but if given a choice I will always go with the bulky looking type. Just a personal preference. With the chest and backpack completed, it is time to start on the next section.

No comments:
Post a Comment