Another major round of hand painting
More hand painting work from WIP 2.
The first color to be used will be the Gaia Color 074 Neutral Grey IV.

This color will only be used to paint 2 small parts located at the bottom of the plane.

The 2 areas which requires the Neutral Grey IV
I thought of getting the Masking Sol Neo to mask the surrounding area but didn't have the time to visit the hobby shop. The next best step is to use a small brush and slowly and carefully paint the areas.
If you have enough paint on the brush, one pass will be more than enough. For me, doing more than one pass is dangerous cause the more passes one make, the chances of screwing up is higher.

Areas after painting of Neutral Grey IV
The color with the least amount of parts to be painted is blue. The manual mentioned Clear Blue but since I didn't have that in my collection, the next best color to use is the Mr. Color Gundam Color UG13 A.E.U.G.'s MS Blue.
This color is only required at one tip of the wings. The other tip will be painted Clear Red which will be done later.


Top and bottom view of the blue tip
Mr. Hobby 61 Mr. Color Burnt Iron is next in line.

This color was used for the gun...


Parts with the Burnt Iron color
Mr. Hobby 47 Mr. Color Clear Red is next.

This color is used for the other side of the wing tip and the tip of the wings for the fold booster.
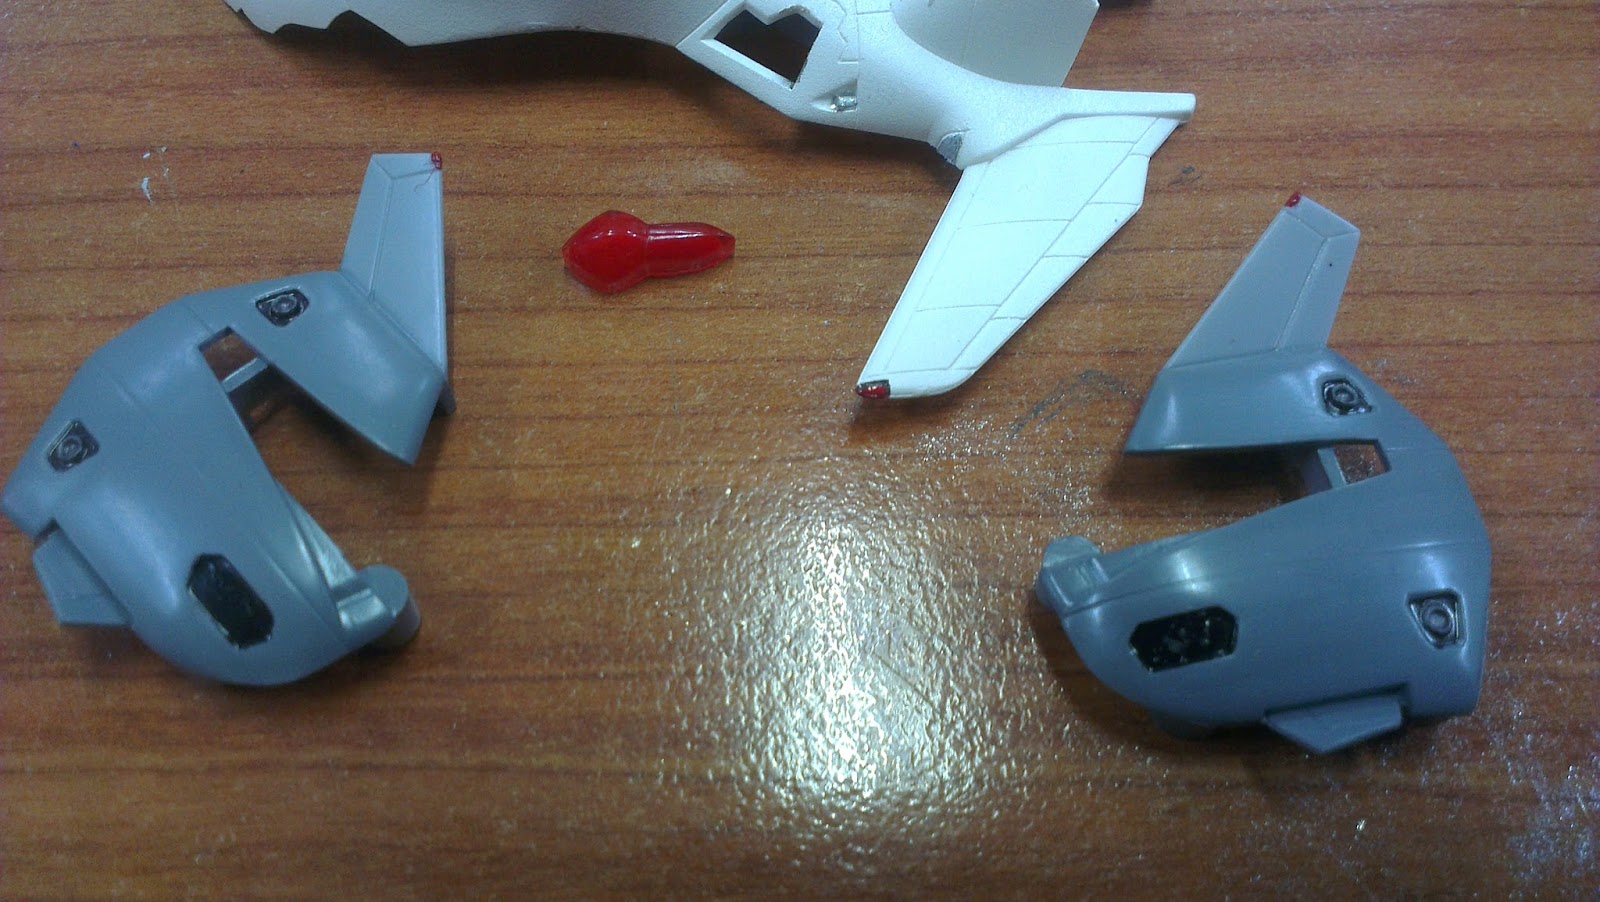
There are 2 clear pieces for the side of the plane. Somehow one of them decided to go on a vacation-of-no-return.

The lone ranger
In order to have the red color on both sides, a little simple modding is required. What I did was take a piece of clear plastic..

..measure the length and size required to cover the gap and cut it out...

2 pieces of clear plastic cut from the plastic sheet
..and finally paint both of them clear red.

With that all the major work for the plane is completed. Only left the pilot, tyres and landing gear to be painted.

The first color to put on the parts will be white from Mr. Hobby White Surfacer...


...for the tyres and pilot...

....and then Mr. Hobby 4 Mr. Color Yellow...

...for the sleeves on the pilot...

...Mr Hobby GX 211 Mr. Metallic Color GX GX Metal Yellow Green...

...for the pilot visor...

...and finally blue from Mr. Color Gundam Color UG13 A.E.U.G.'s MS Blue for the uniform. A green metallic pen was also used to color the chest area.

Completed pilot
That is all for the painting work for this kit. There are a lot of painting work to be done for this kit. To tell you the truth, I was afraid of all the painting but in the end, I enjoyed them the most. Painting this kit has given me the experience and confidence I need for hand painting the details of any future project.
The next post will be assembling and gluing all the parts and pieces together but there will be a bit of offset time because I need to complete the Gustav which was abandoned due to an itch to start this kit.

No comments:
Post a Comment