50 shades of red
First thing first. I would like to wish everyone a very Happy Chinese New Year and may the Goat year be good to you this year. This post will be building the main parts of the Epyon after getting all the red paint issue settled.
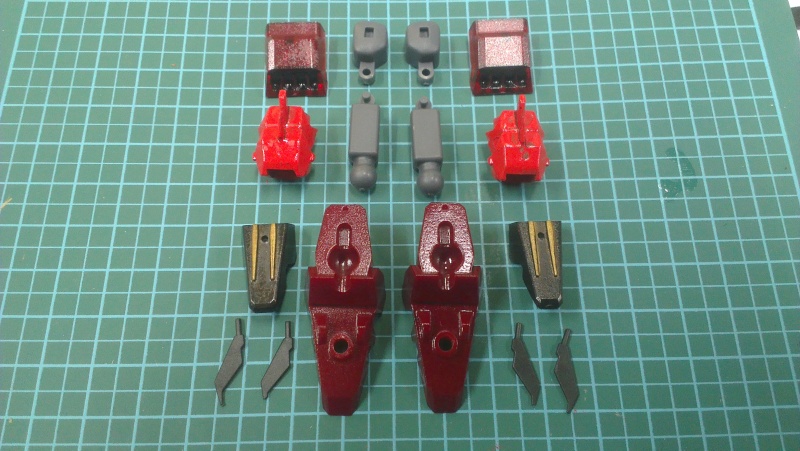
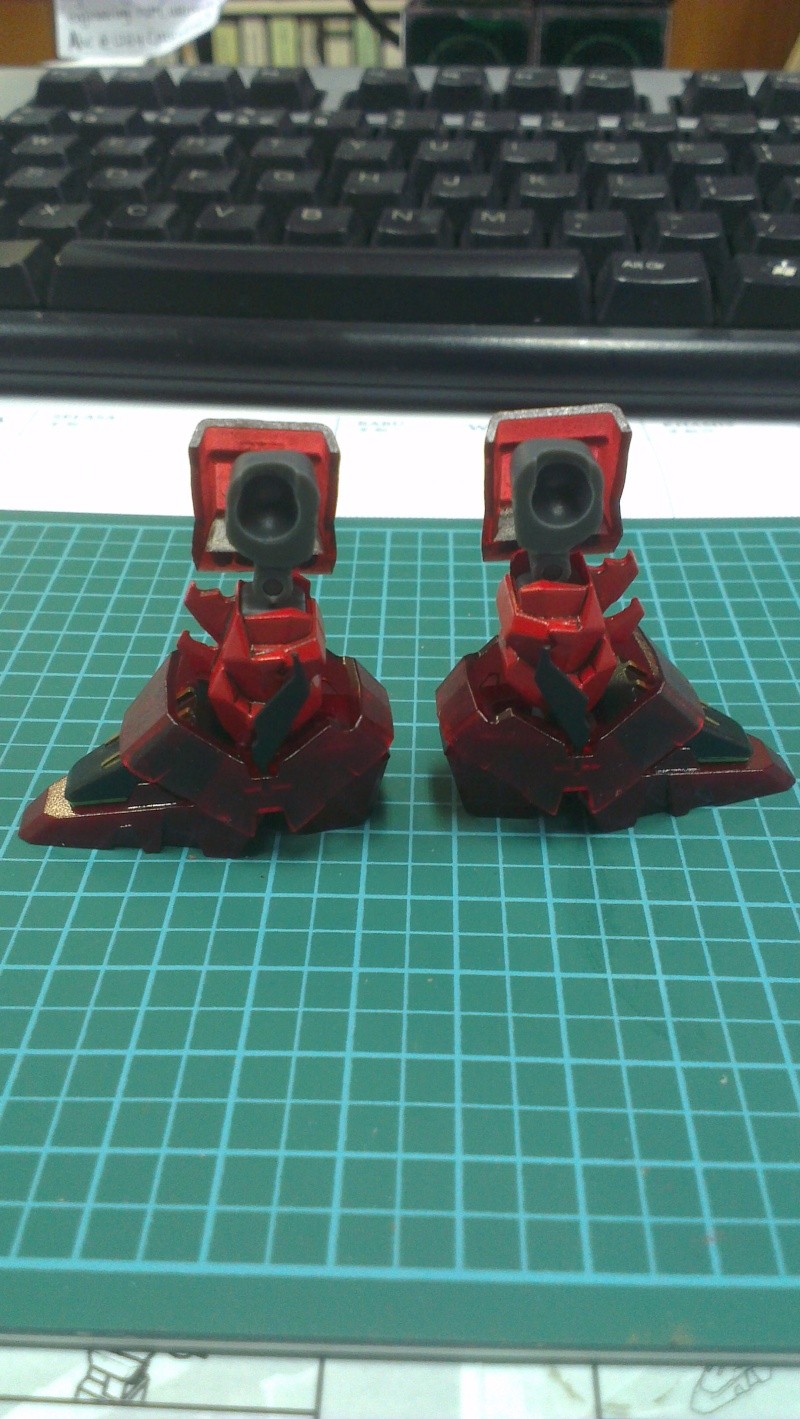
Parts of the feet before assembly
The feet will have 3 different red colors to it. The feet is the first attempt using Candy Red. Decided to leave it as it is as mentioned in the previous post. The gold were painted using Monami Metellic Gold instead of Sharpie. I find the Monami marker tip to be thinner and less chances of being messy. With that said, somehow the Monami Marker I used was faulty. After using it once, the paint will accumulate and form a big drop at the tip of the marker. I wasn't careful the first time it happened and I ended up with half the pieces covered in gold.

Eyes of the dragon
I actually forgot about the eyes of the dragon. Luckily I saw the eyes when I was referring to the photos in the manual. I painted it using the fluorescent green marker which I seldom use. The green comes out nice and is very eye-catching. Why do I seldom use it? The answer is simple. It is water based marker and the paint can never dry. I tried it out with the orange marker on my HG Rezel. I left it there for 24 hours and when I touched it I am still able to wipe it off like as though it was just painted on.
If that is the case, why am I using it now? The eyes of the dragon is recessed in so no matter how you handle the kit (unless you do it on purpose), you won't be able to touch and wipe it away. Beside your eyes require something bright to break away from all the red of this kit.
Mentioned earlier that this kit has both clear and normal armor parts and that I have decided to try and incorporate both into the build. I had to take some time thinking and deciding which part needs to be clear and which needs to be what type of red armor to make it look interesting. I 'think' I have figured out a nice balance and I shall show it first with the legs.
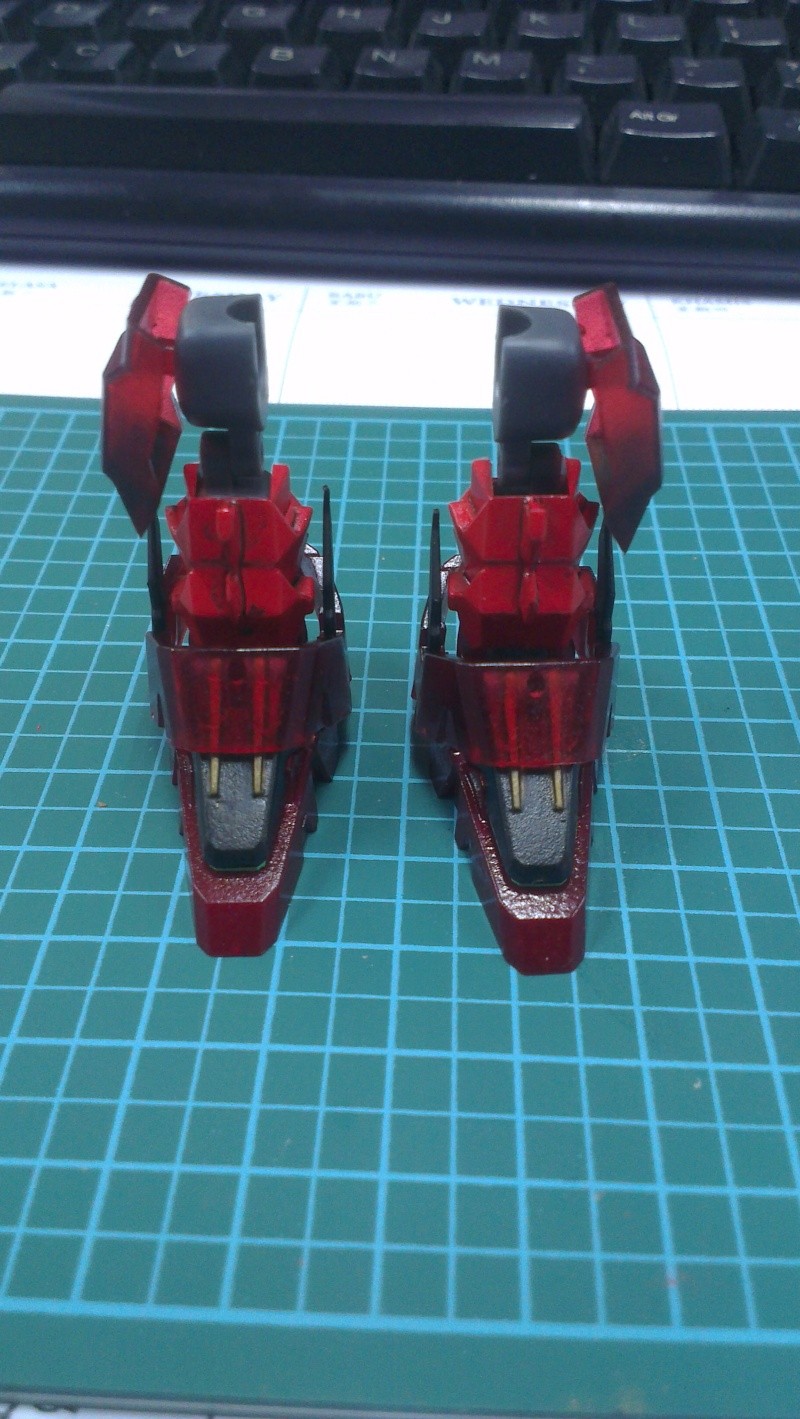
Front and back view of the leg
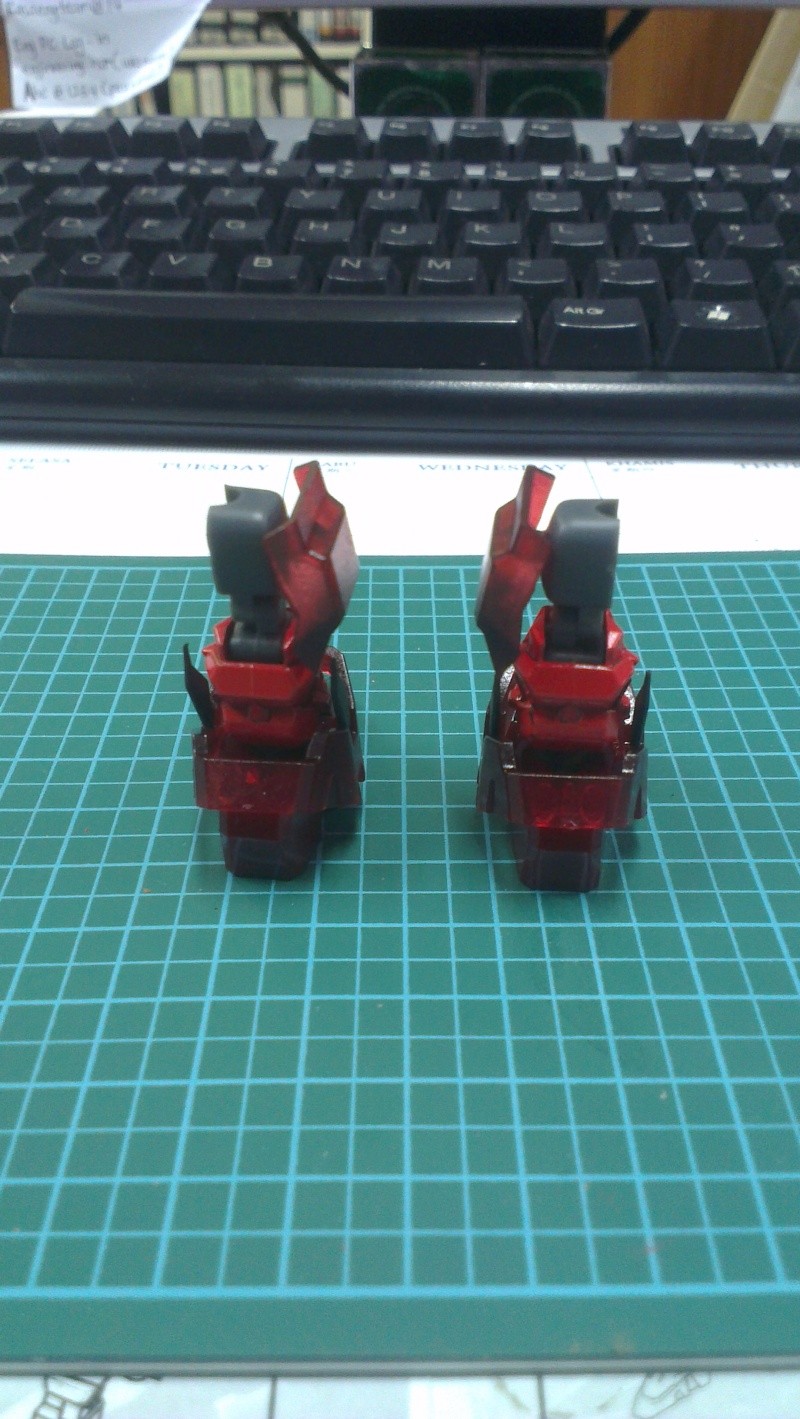
Left and right view of the leg
There were 2 transparent pieces used for the leg. The ankle armor and the side skirt. I kinda like how the different red comes together to make the leg look more interesting. If you were to look carefully, you can see small black dots on the leg armor. When I first saw it, I thought I didn't spray the parts properly so another layer of red went on. After it dried, the same spot returned and I figured this could be because of the matt finish for this kit. I originally didn't like the black spots but they are starting to grow on me. It makes the kit look like the paint has just recently peeled out but not long enough to rust.
The nice thing about this kit is you can swap armors whenever you like. The major armors like the ones for the legs and arms just slides into place. The rest are in pegs so extra care is required to remove them.
The next part of armor are the shoulders. The armors just snap together over the inner frame. Simple as that. There are 3 different types of armors used here. This is the first time the Candy Red armor is used on the kit. I have used the Candy red piece on the right shoulder and the transparent piece on the other side of the shoulder. For the back armor, I used the transparent piece on the right and the red on the left side.
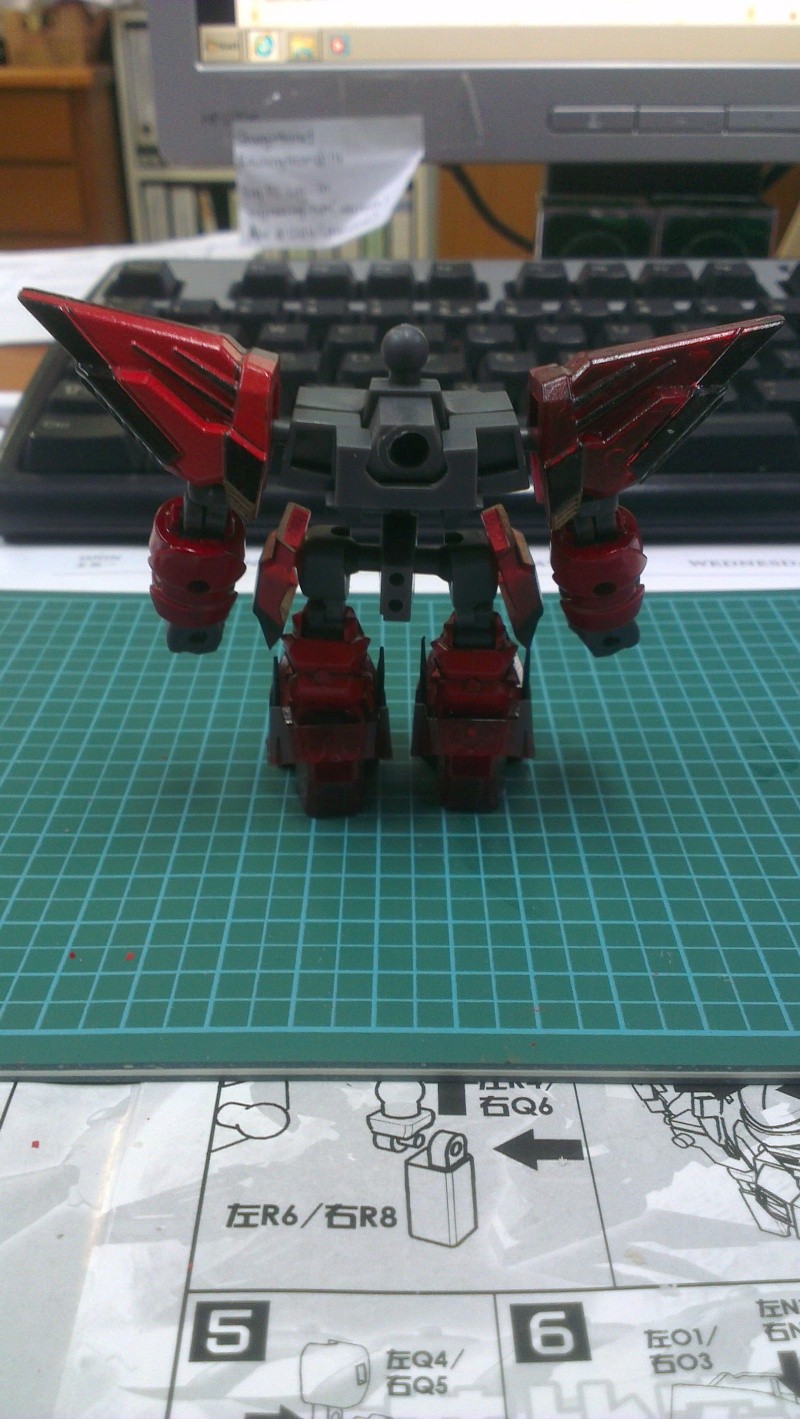
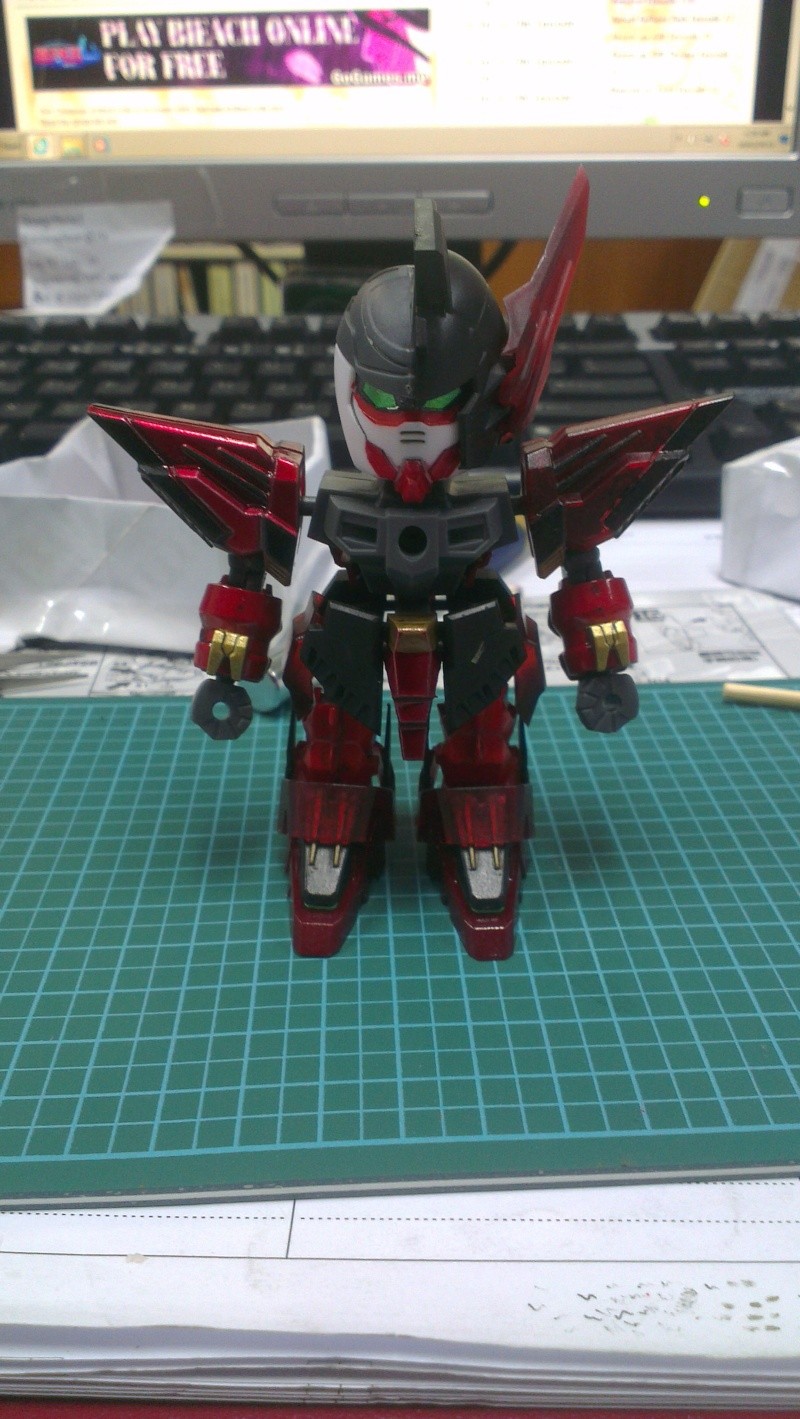
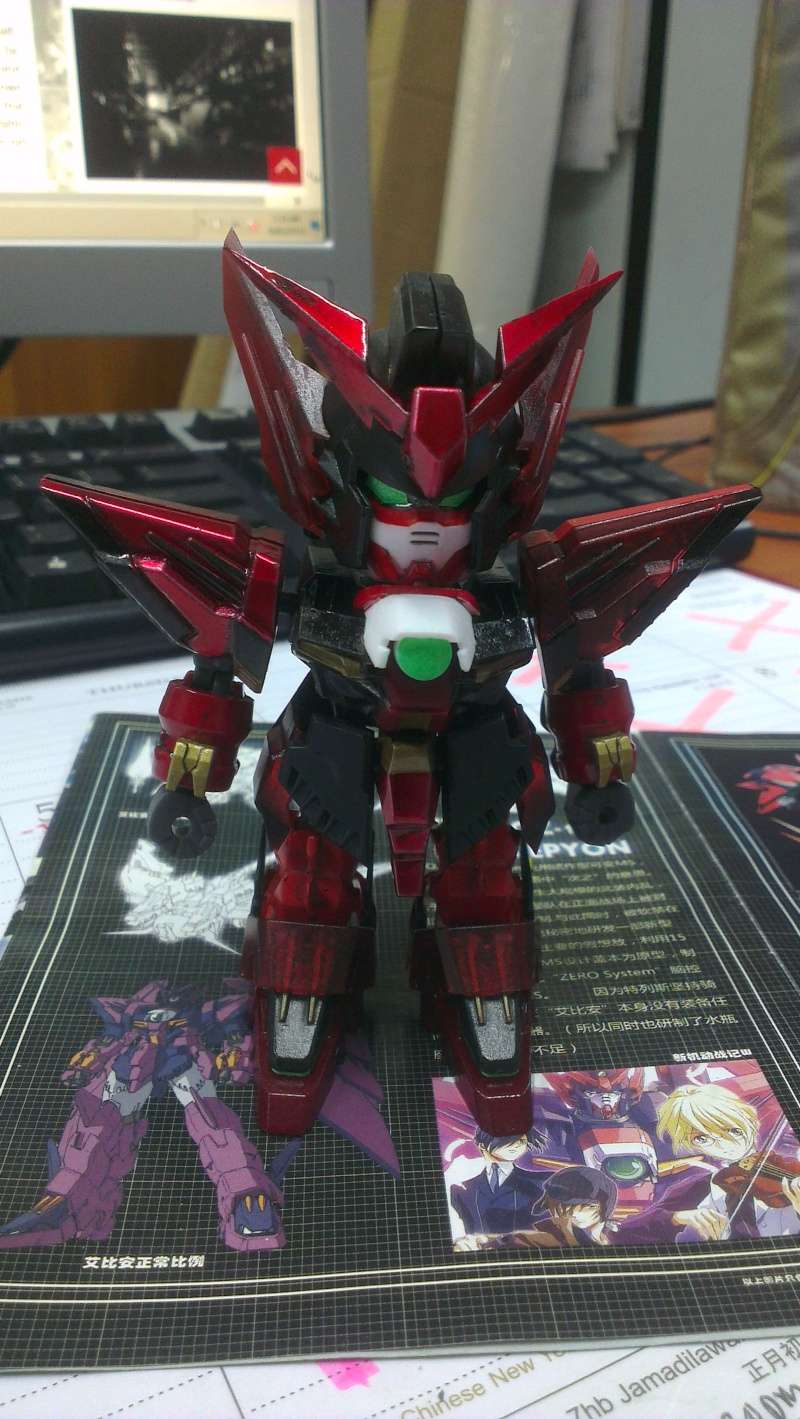
Front of the Epyon
The hand section is next in line:
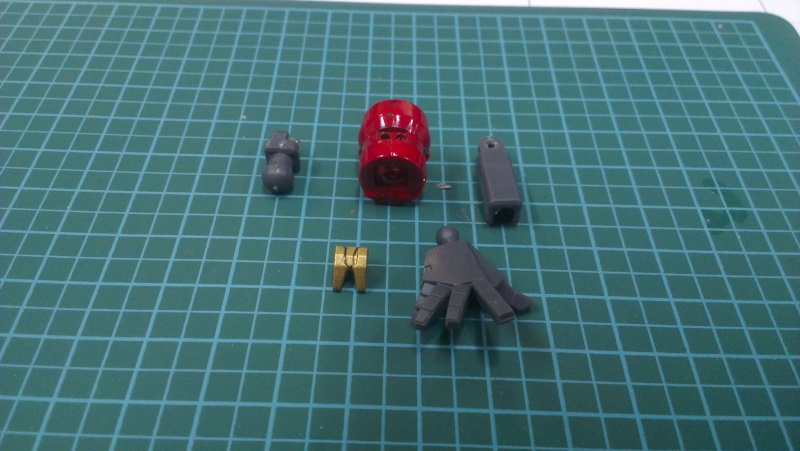
Parts of the hand
The red of the hand armor is slightly brighter than the rest of the kit. This was when I was curious to see what will happen when I used the clear red on the red part. The result is a nice bright red. I'm glad that the claw is a separate piece so painting it was a breeze.
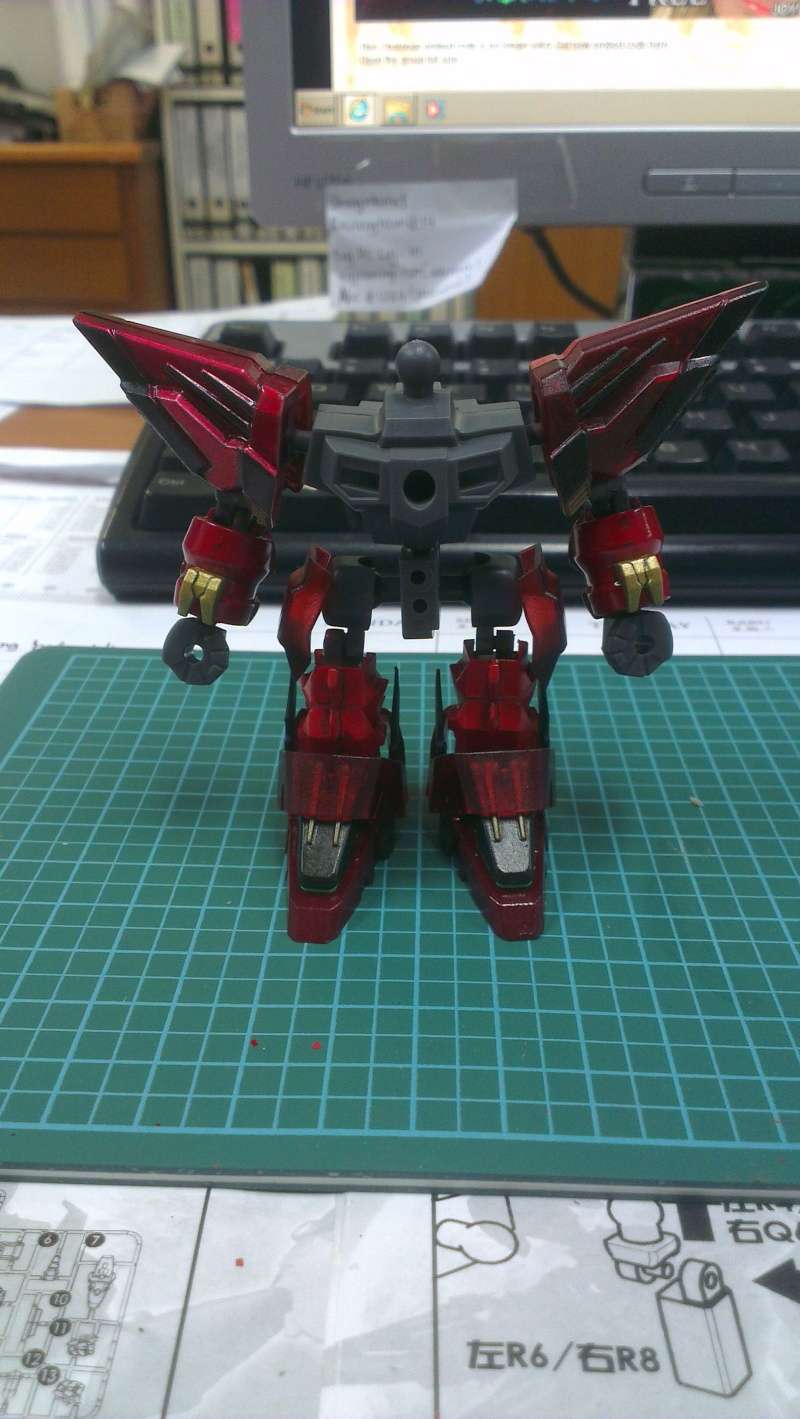
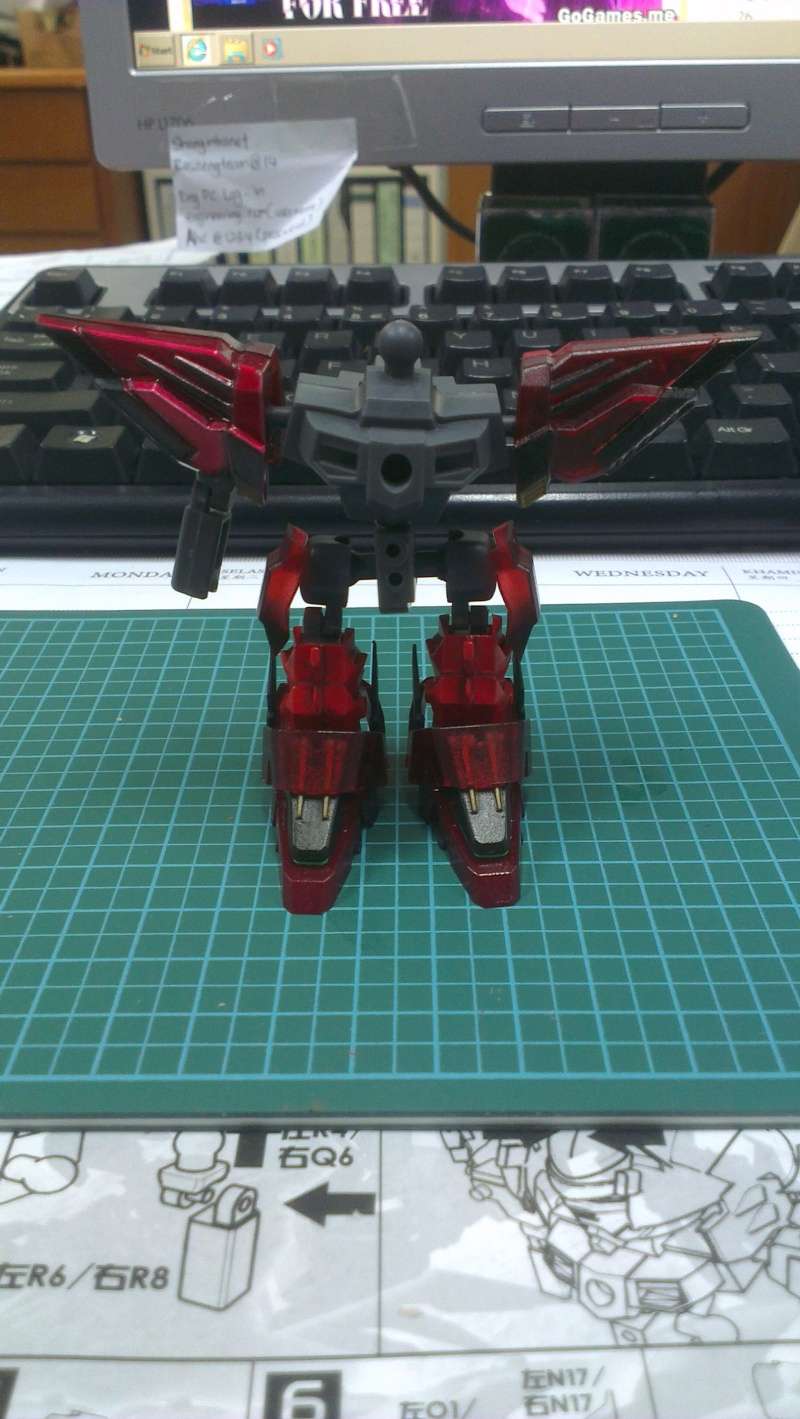
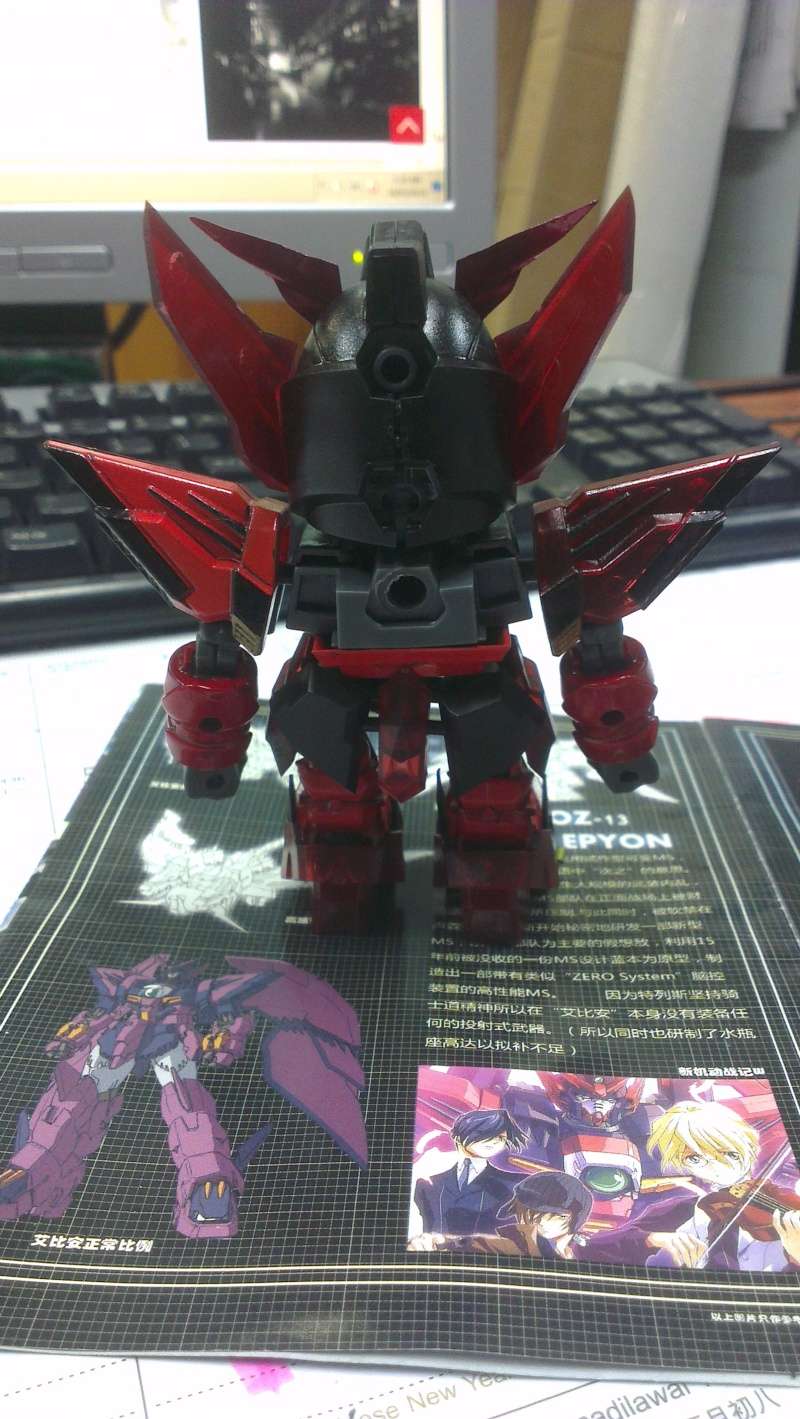
Front and back of Epyon
Not sure if the different colors of red is noticeable in the pictures. This reminds me that I really need to get my lightbox ready so I can take nicer photos to really show off the different shades of red. The armor on the shoulders are moulded in red and some blacks were added to bring some contrast.
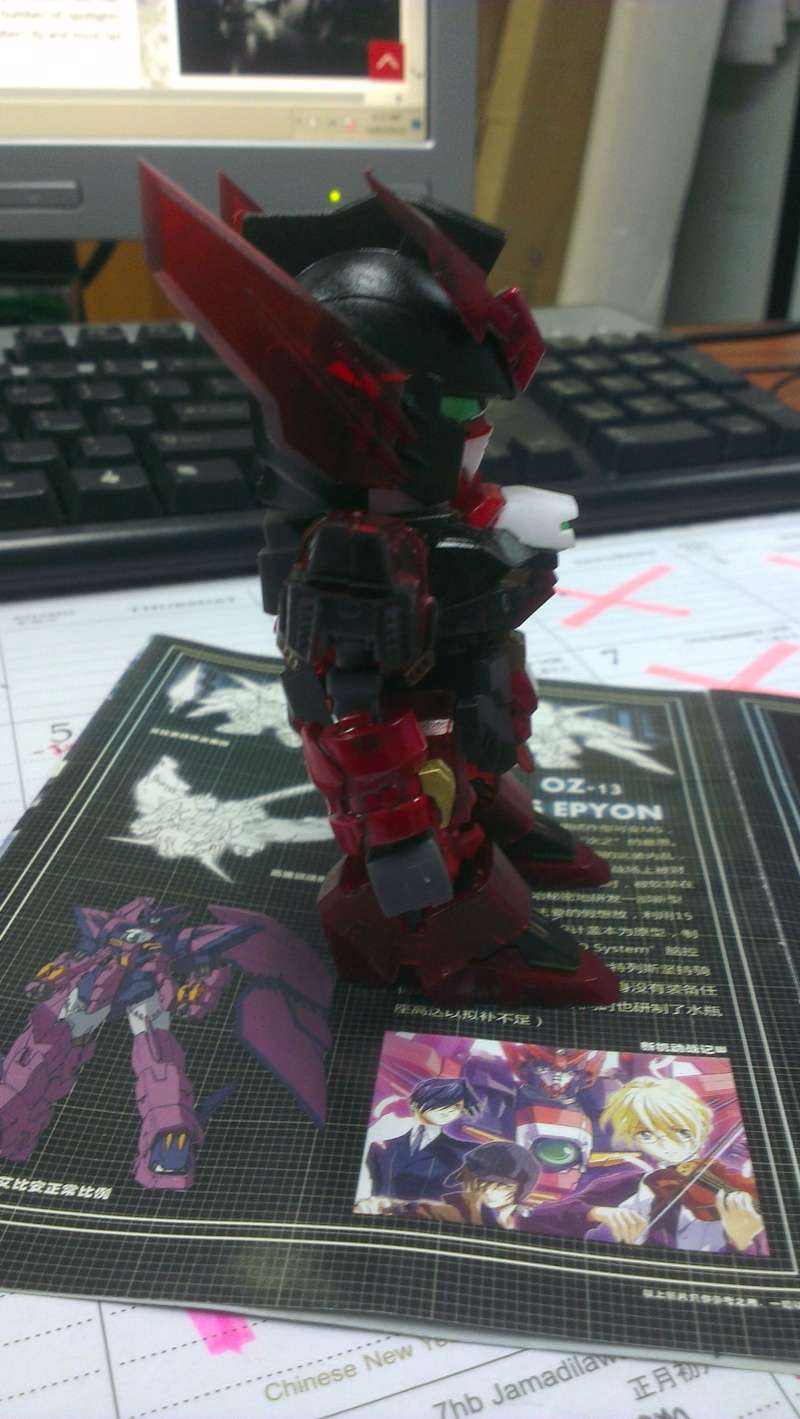
I usually do the head last but I had to make an exception for this kit. I had to assemble the head before I can put on the chest armor. The only sticker used in this kit are for the eyes.
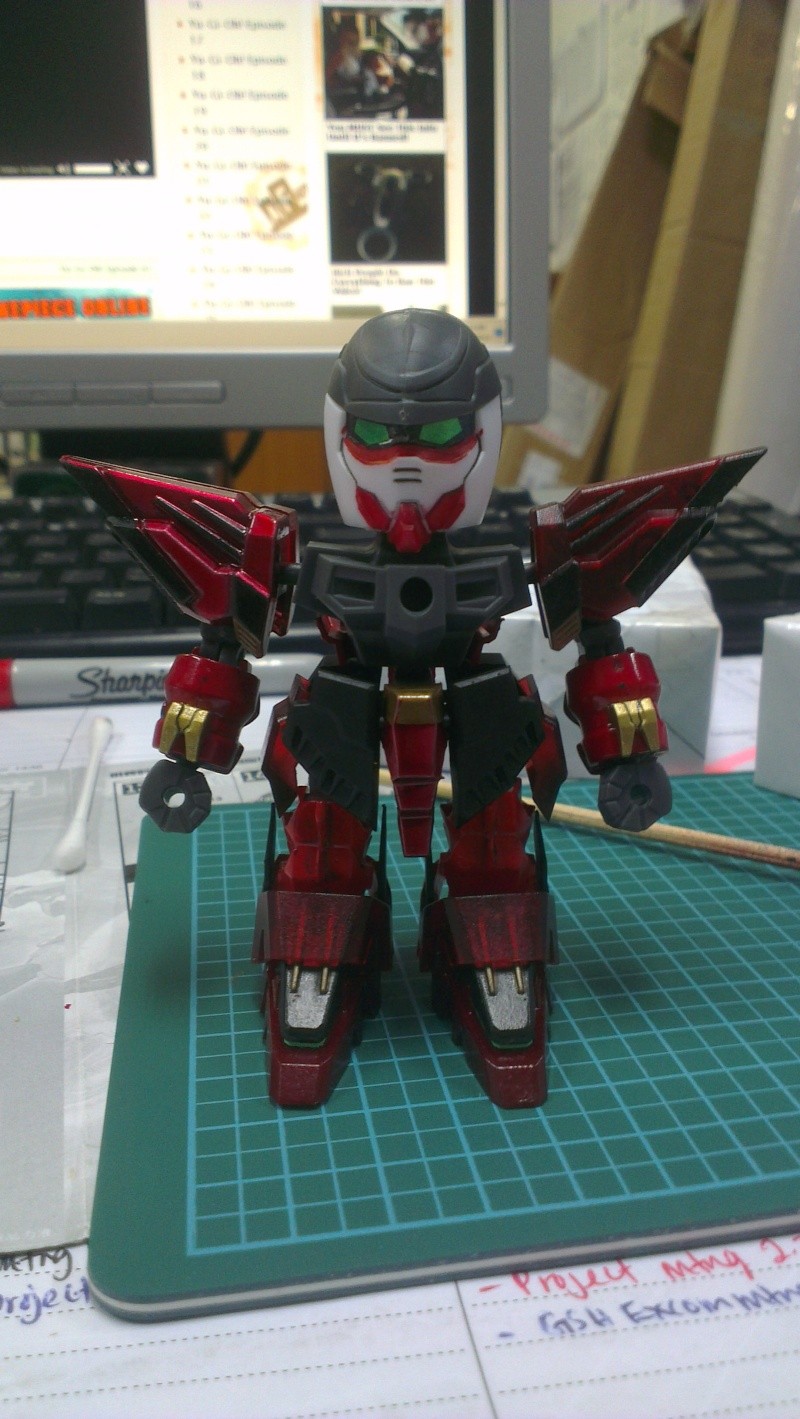
Head without the armor.
For the head, I have used the transparent armor for the sides and candy red for the 'V' fin.
Part of the head armor attached.
I was tempted to leave it looking like that and just add a 'V' fin to it. Decided against it and with the head completed, I have assembled the chest armor and therefore completing this kit.
Completed Epyon without the wings
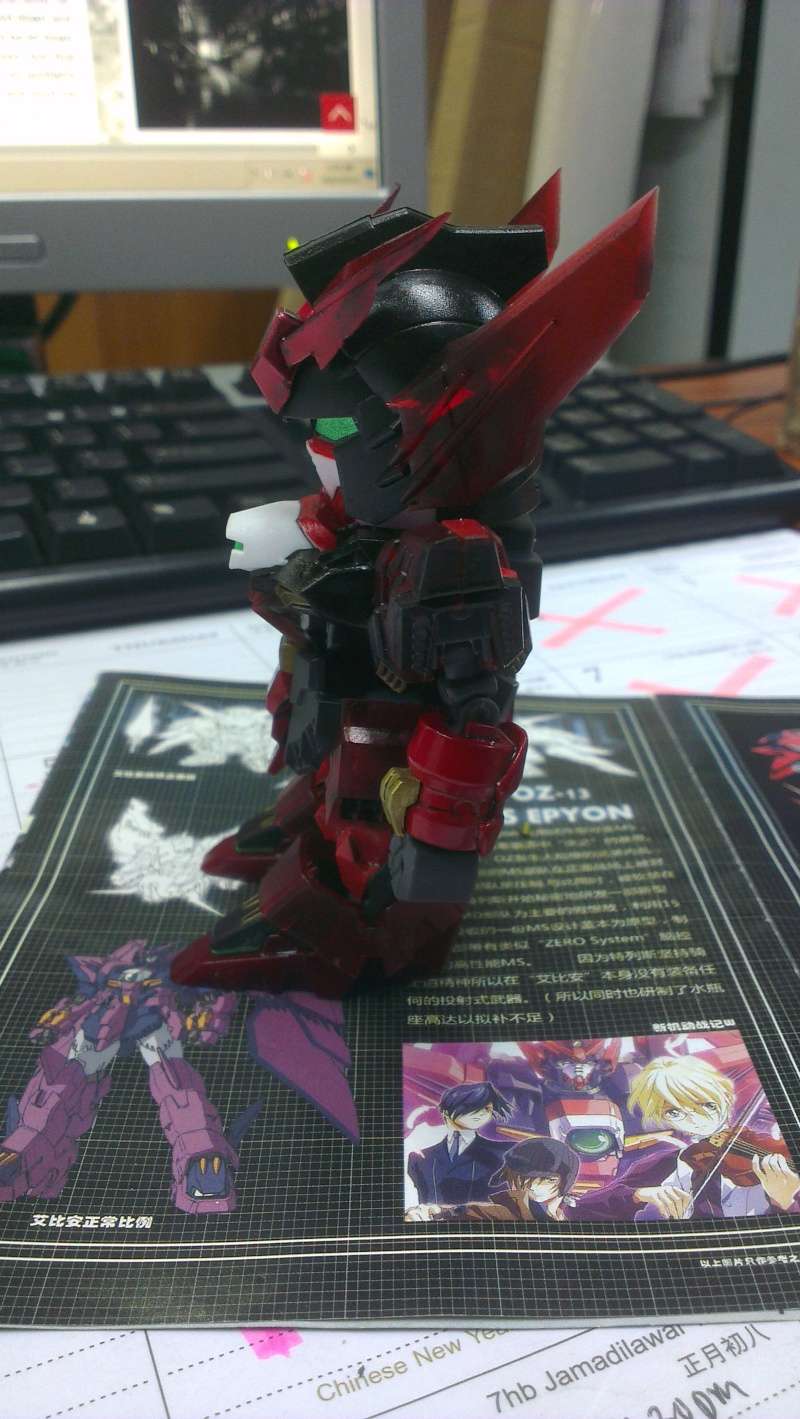
There is a slight permanent gap at the back of the head. When I tried to attach the head armor, the pieces doesn't seem to want to be together. They keep popping out and so I used some super glue to make them stay. The mistake I did was putting the glue first into the grooves at the head without preparing the parts. When I tried to assemble the right head armor the glue was drying and so I didn't have enough time to properly clamp it together. Lesson of the day: use Mr Cement S if you want to glue two armors together.
Remember the OOB build which I snapped together in wip 2? Now is time to bring it back to do a little comparison between the OOB kit and the detailed up kit.
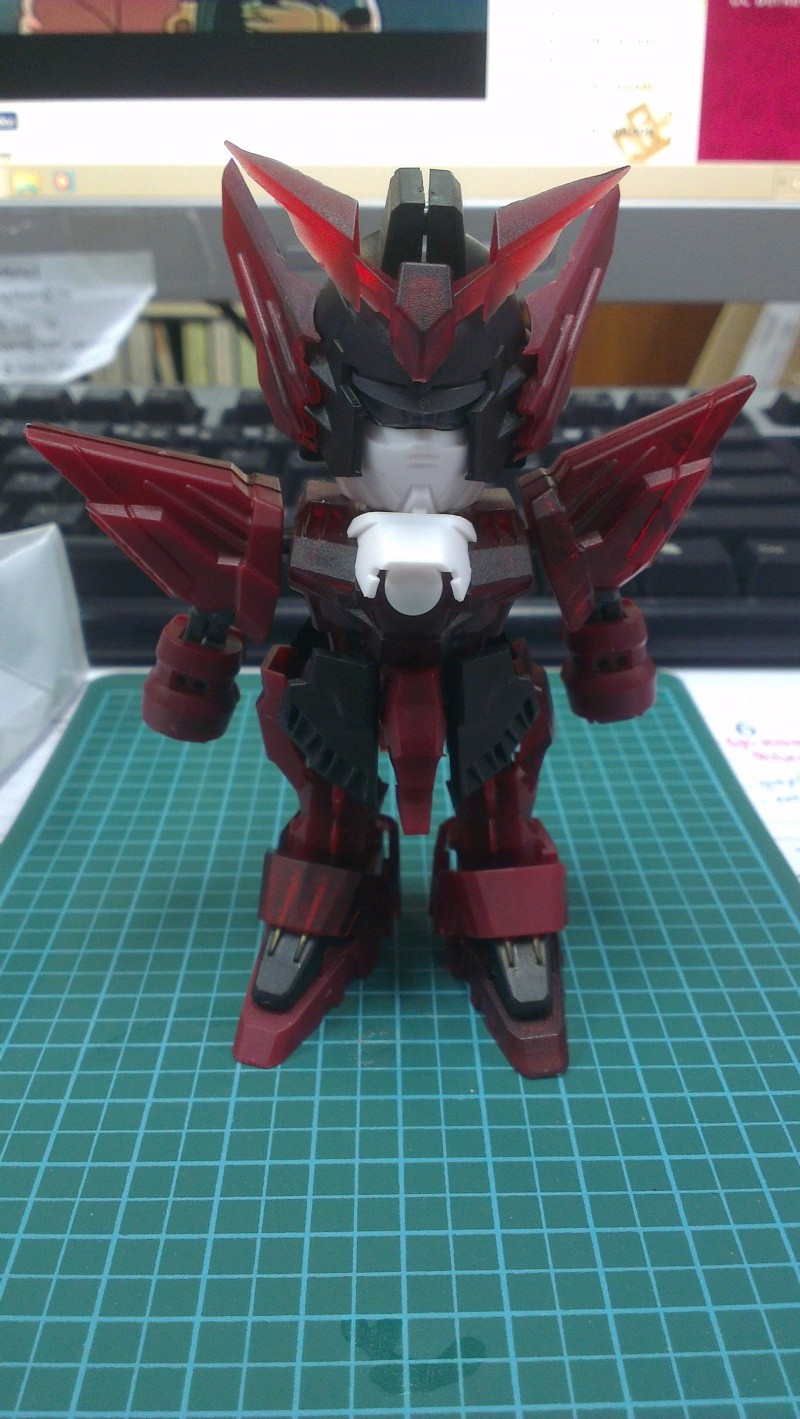
Left: OOB
Right: After painting
That's it for this kit. the next post will be about the wings and weapons.

No comments:
Post a Comment