Monday, June 27, 2016

Updates (17)


A little update on what's happening in my life

Hello everyone and I apologise for not updating this blog regularly. Mentioned in this post, this year will be a very busy year for me, I have completed my training in Thailand and a week after that the SHO course started. That was in the beginning of May.
 
In the middle of May, my mum had to go overseas for a month thus I was left with taking care of her pets for an entire month. I had to get up an hour earlier to go over to her place before going to work and going over there again after work before going back home to do my own chores. All I can say is that I'm glad it is over and it was the longest month in my life. Time really seem to pass at an extremely slow pace.
 
I'm delaying the diving course until after the SHO which would be after August. The new workplace is good but there are lots of things to do before audit. The best new I've had since transferring is that  my audit has been postponed to July. This gives me some extra time to prepare.

Thursday, March 31, 2016

LEGO Star Wars Microfighters Resistance X-Wing Fighter - WIP 2 (Final)

Accelerate to attack speed

Continuing the build of the LEGO Microfighters X-Wing.

In WIP 1, the pilot and the main body of the X-Wing has been completed. In this post, we will look at assembling the wings, attaching it to the body and showing the gimmicks.

Step 19: First step of assembling the wing

Front and back (right) view of one of four wings

2 completed wings

It takes a total of 8 steps to complete half of the wings. It is interesting to note how both the wings are attached to the body.

Friday, March 18, 2016

LEGO Star Wars Microfighters Resistance X-Wing Fighter - WIP 1

First of its kind (on the blog)
 
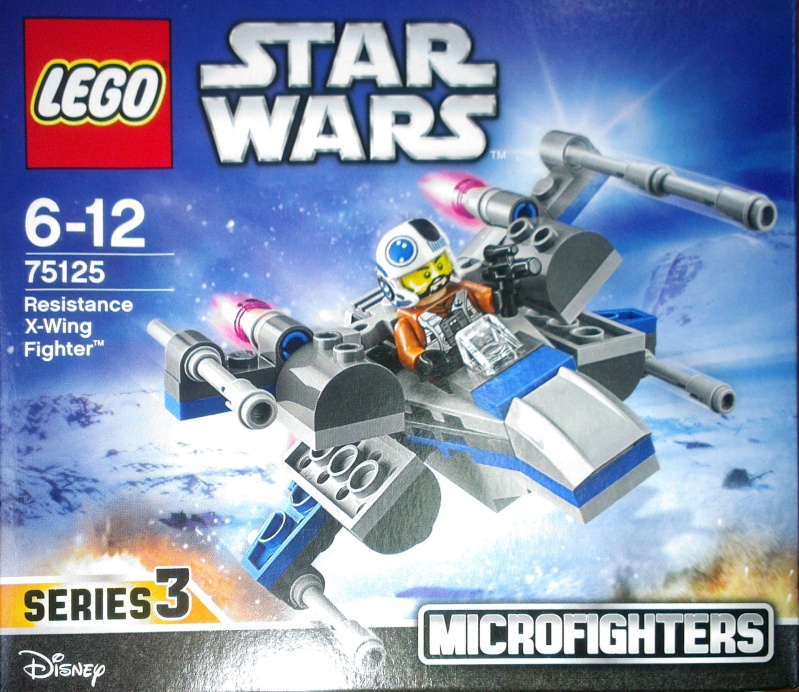
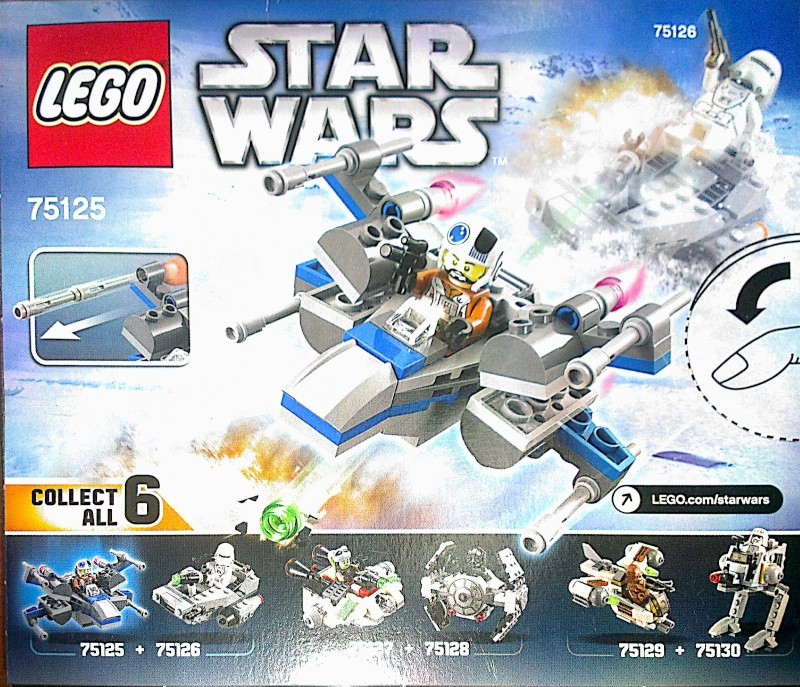
I have encountered some problems with the decals while working on the Eggplane YF-19. To stop the frustration and to cool down, I decided start on another small and a much simpler kit. Let us welcome: LEGO Star Wars Microfighters Resistance X-Wing Fighter. That is a mouthful so I will just refer to this set as the X-Wing.
 
Front view of the box
 
Back view of the box
 

Saturday, March 12, 2016

Updates (16)

Busy, busy, busy
 
Just a little heads up on what will be happening to this blog and also to my life. Somehow I had a feeling that this year started a little bit different than the rest. Before I talk about what will be happening to the blog, let me first explain what will be happening in my life for the year.
 
All was fine until after Chinese New Year. This is where some of the things which I wanted to do or in planning stage became a reality. Let's take a look on what I have on my plate for this year:

Sunday, February 28, 2016

Eggplane YF-19 - WIP 5

Decaling does make a difference

Mentioned in WIP 4, this post will be about assembling the Fold Booster and decaling the plane.

Parts for the Fold Booster
 
With a little bit of glue (Mr. Cement S), the pieces are assembled.
Top and bottom view

Saturday, February 27, 2016

Eggplane YF-19 - WIP 4

 Lots and lots of gluing required
 
With the D-Style Gustav completed, it is time to assemble the eggplane after all the paint job done in WIP 2 and WIP 3.
 
Parts for the main plane compartment

The parts which is missing from the picture above are the clear red pieces which was modified in WIP 3. Before any assembling can start, the first order of business is to glue the two grey pieces together.
Related Posts Plugin for WordPress, Blogger...