A Painful Assembly
All the painting work completed in the previous posting, will be putting together the kit starting with the feet. The first section is the paws and already has me stumped.
[Paws]
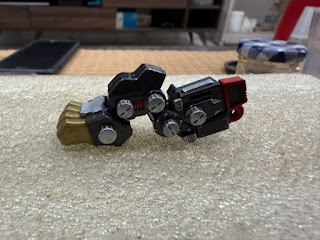
The ball joint is supposed to fit into the socket of the paw but it was loose. Any minor movement to it and the joint will separate from paw. Did not notice that there was something in the socket which prevents the ball joint from fully sitting in the socket like Gunpla kits. Even resorted to pliers to push the joint into the socket. This really made me think if it was worth painting the kit as so much strength is required and was afraid to scrap off part of the paint.
Turns out that was how the ball joint was supposed to sit in the socket. The armor piece in the front is the one holding the joint in place. Some strength is required to fully lock the pieces in place as the paint adds to the thickness of the parts.
[Hind legs]


[Fore legs]


[Body]
[Head]


As I was putting the pieces together, I was praying hard that no paint will be rubbed off. Some of the parts such as the AZ 3-Barrel Shock Cannon requires some strength to put the tab in place. The leg pieces were a bit tighter to assemble as well and was afraid of paint chipping.
Next post will be the final assembly of the Shield Liger, some action poses and some final thoughts of the kit.


No comments:
Post a Comment